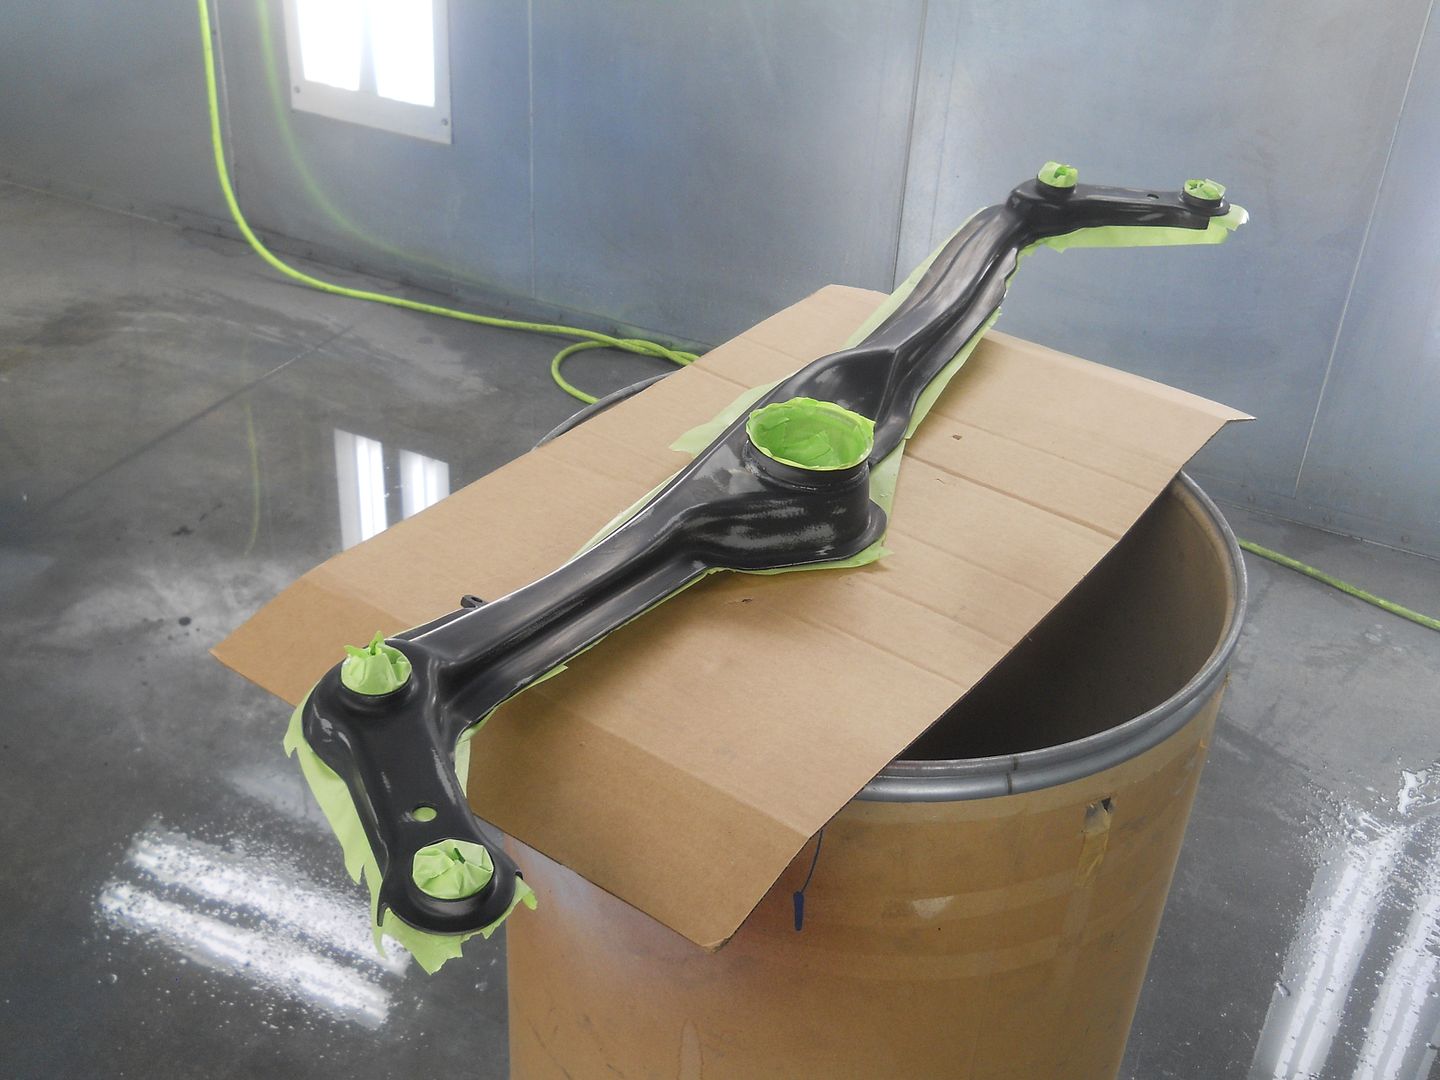
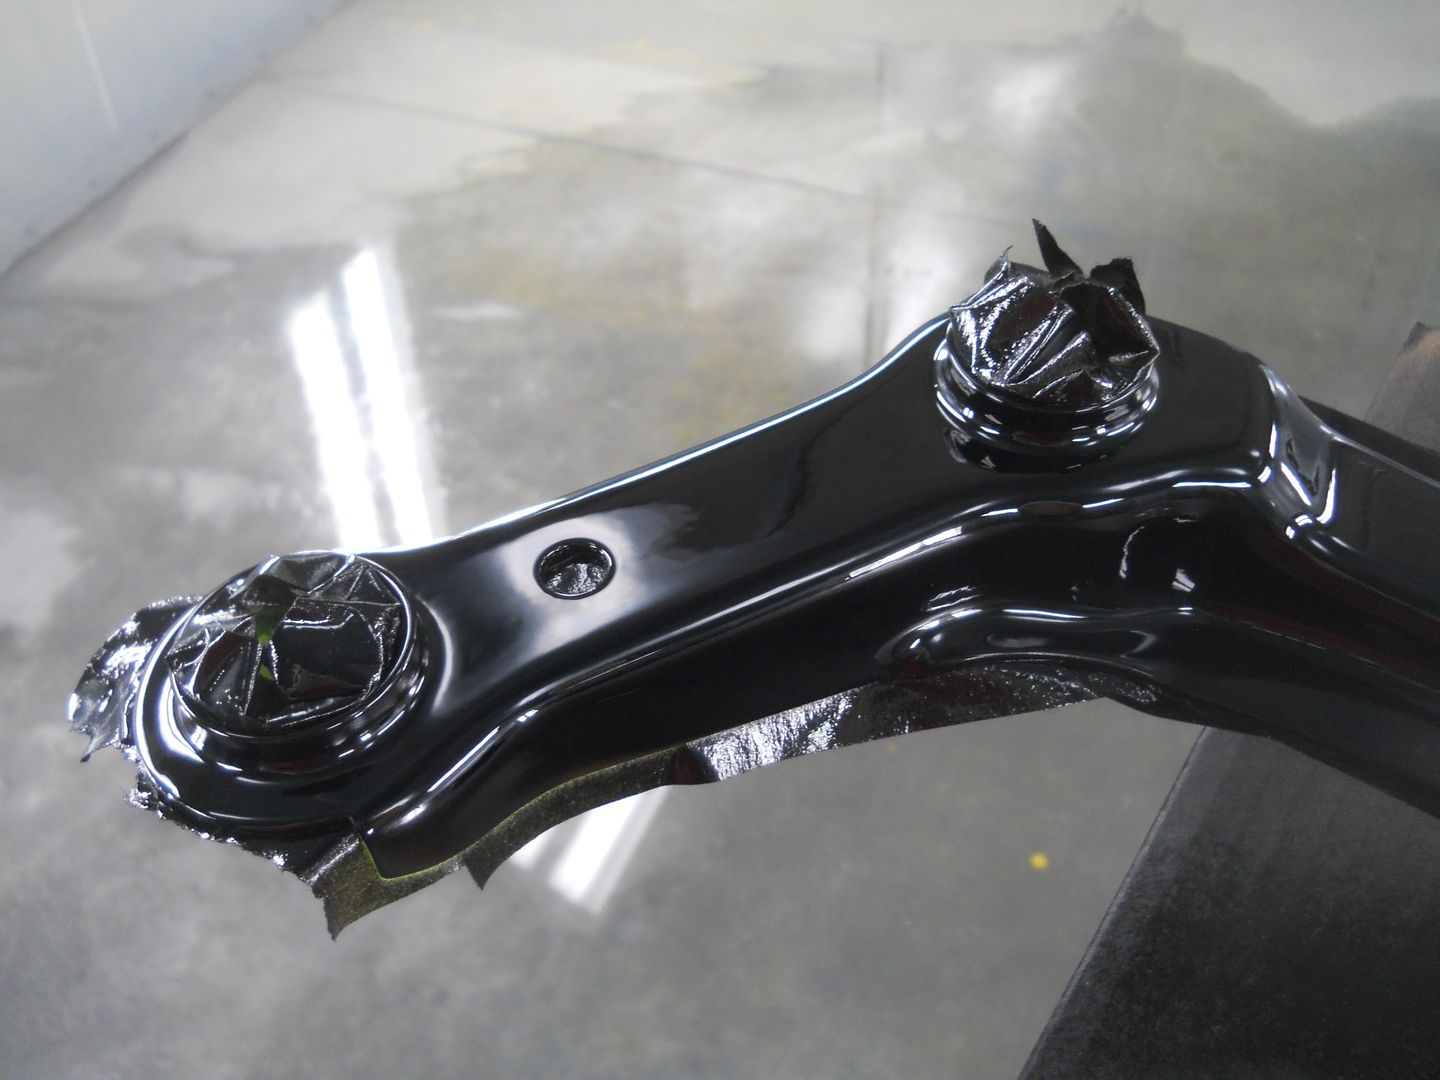
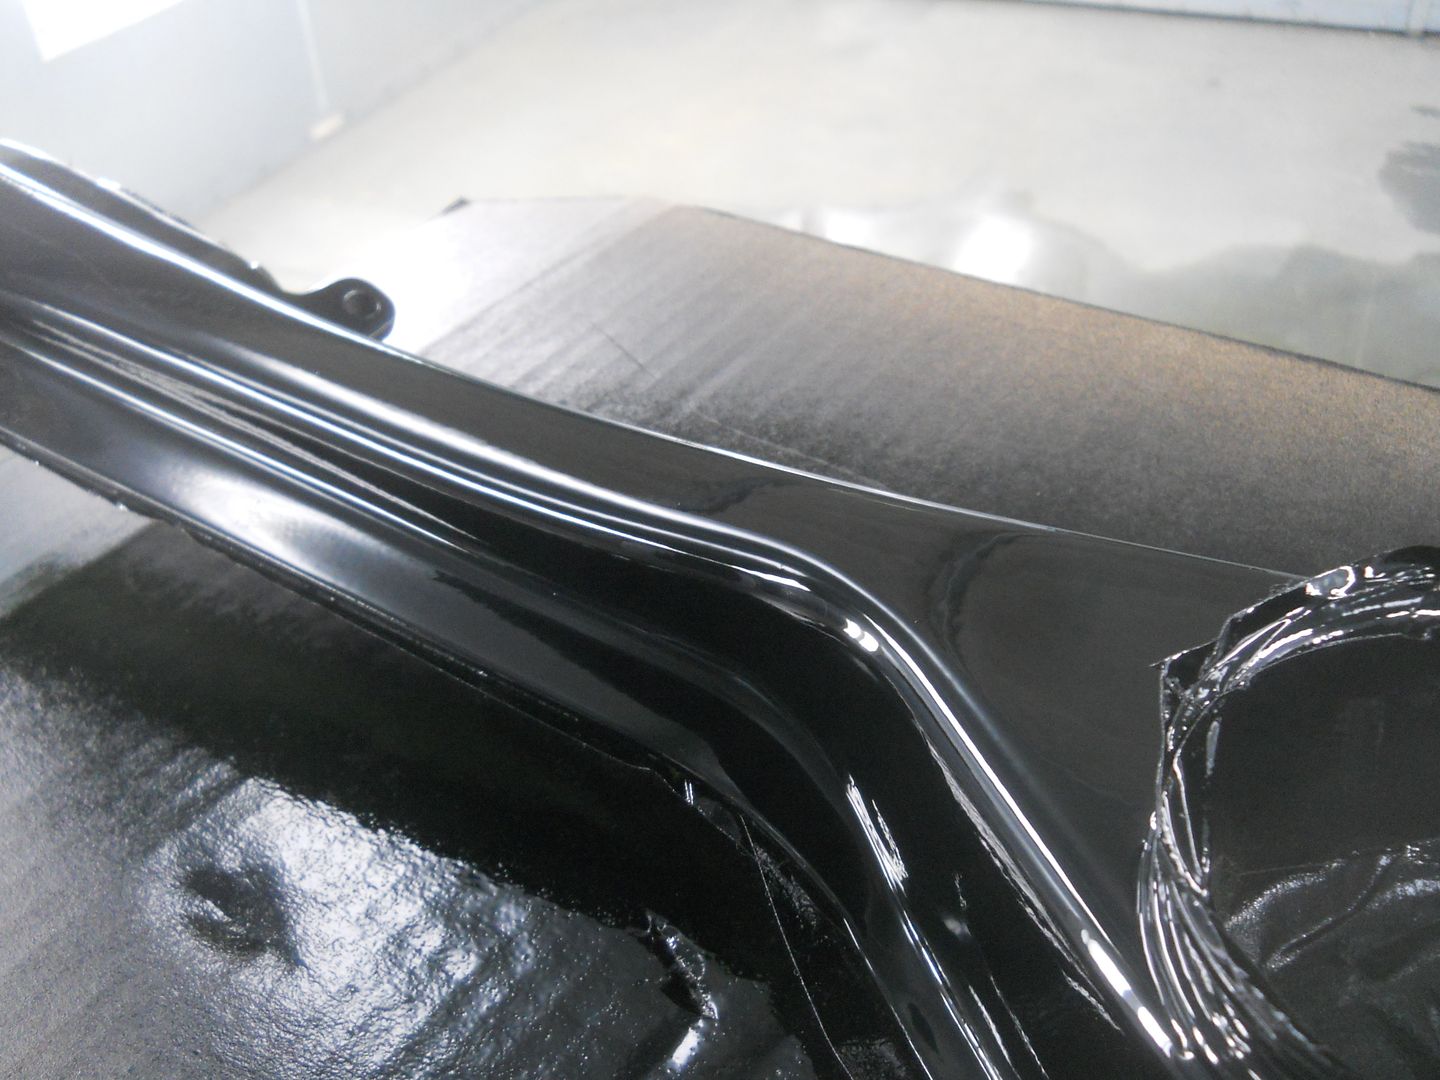
I wasn't happy with the paint on the top of the engine crossmember, so I taped the bottom and resprayed it.
Much better!
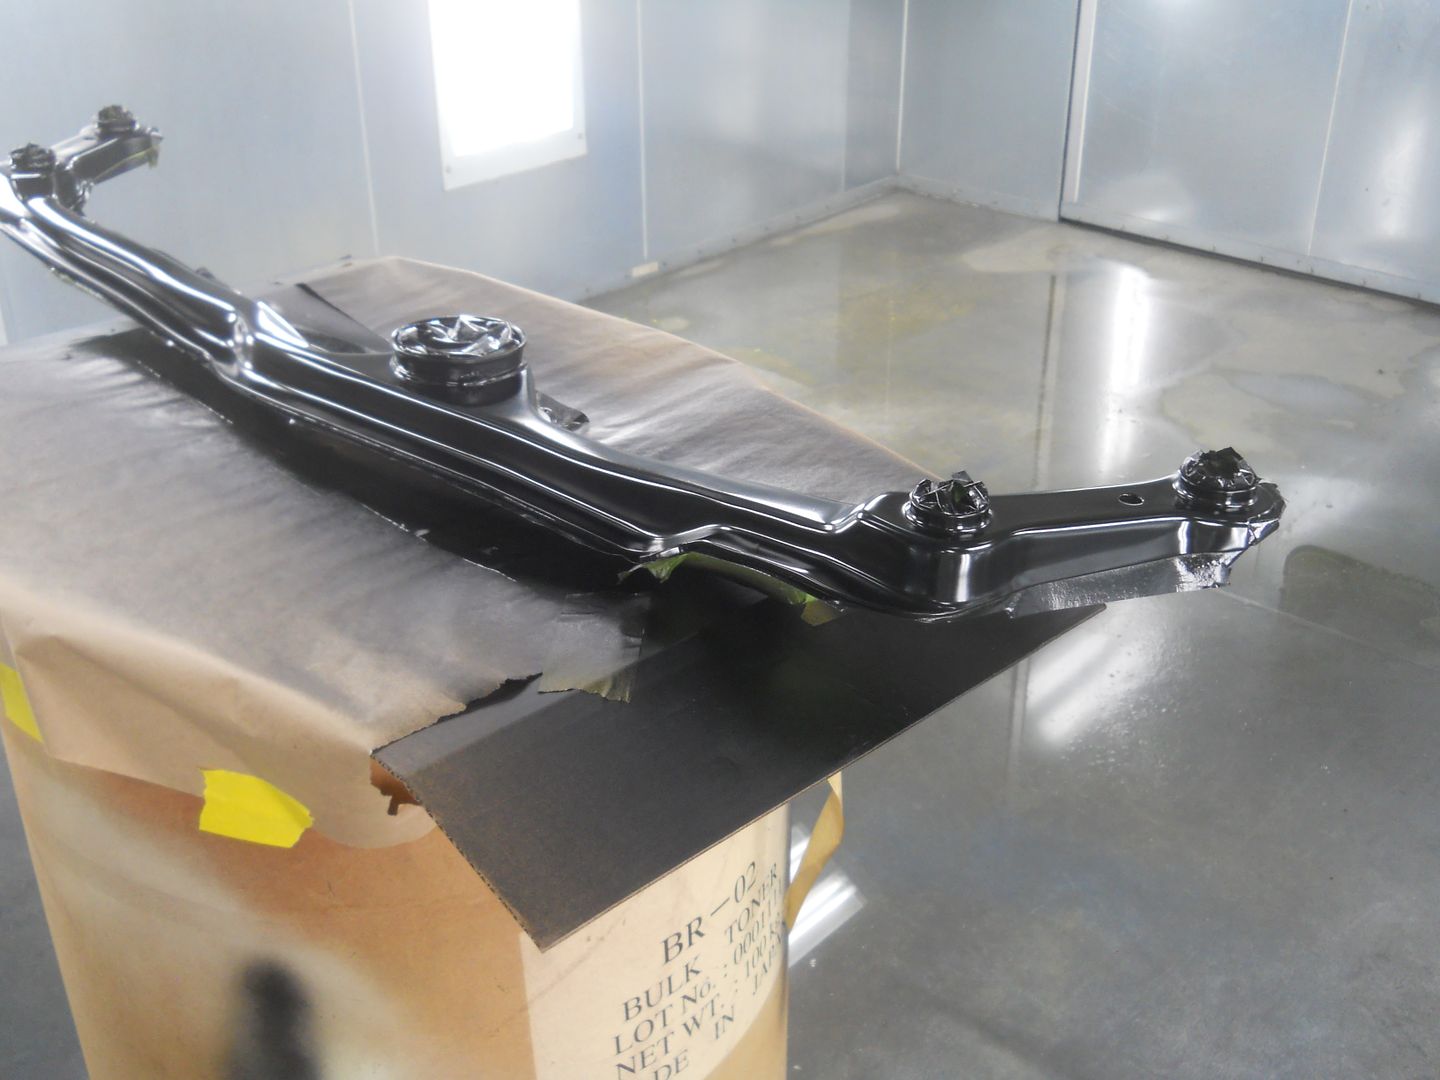
Then I tried to install the bushings. Not pictured: gigantic screwdrivers, prybars, and big scratches in my fresh paint. I fucked it up.
Paint... for the third time!
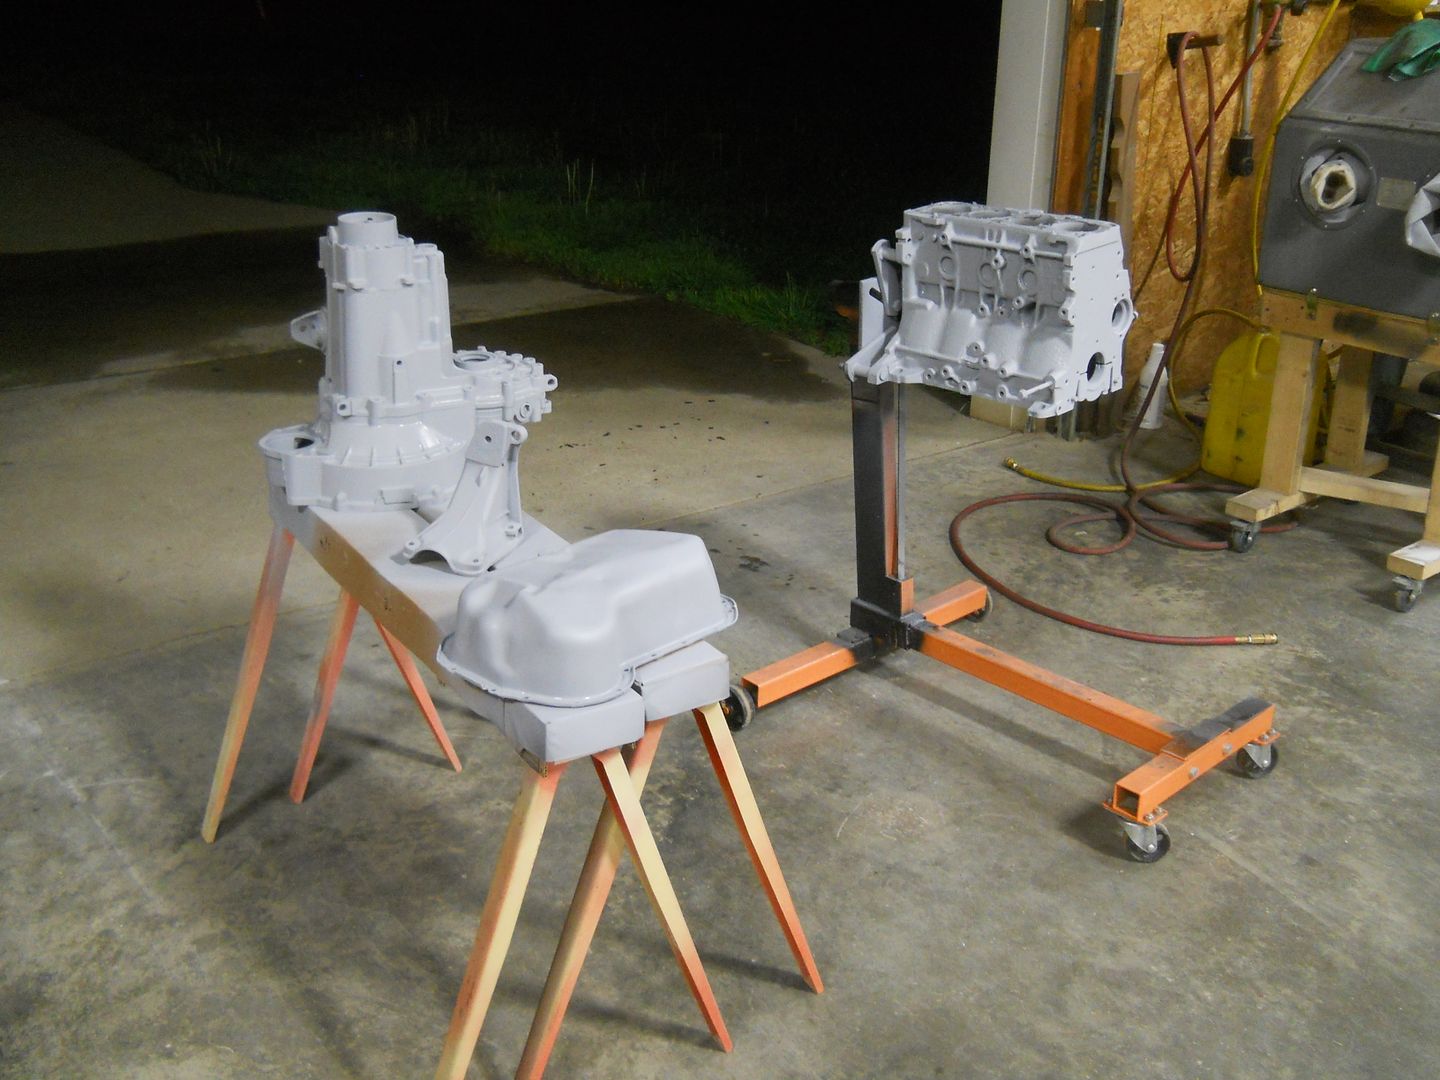
I decided to install a junk block/trans/head assembly so I can build the exhaust and power steering lines. I originally wanted to install the real motor, but I have a spare setup laying around and that will prevent scratches in the real parts.
This trans has been laying around outside for months, and it was junk when I got it. I decided to gut it so I can lift it easier.
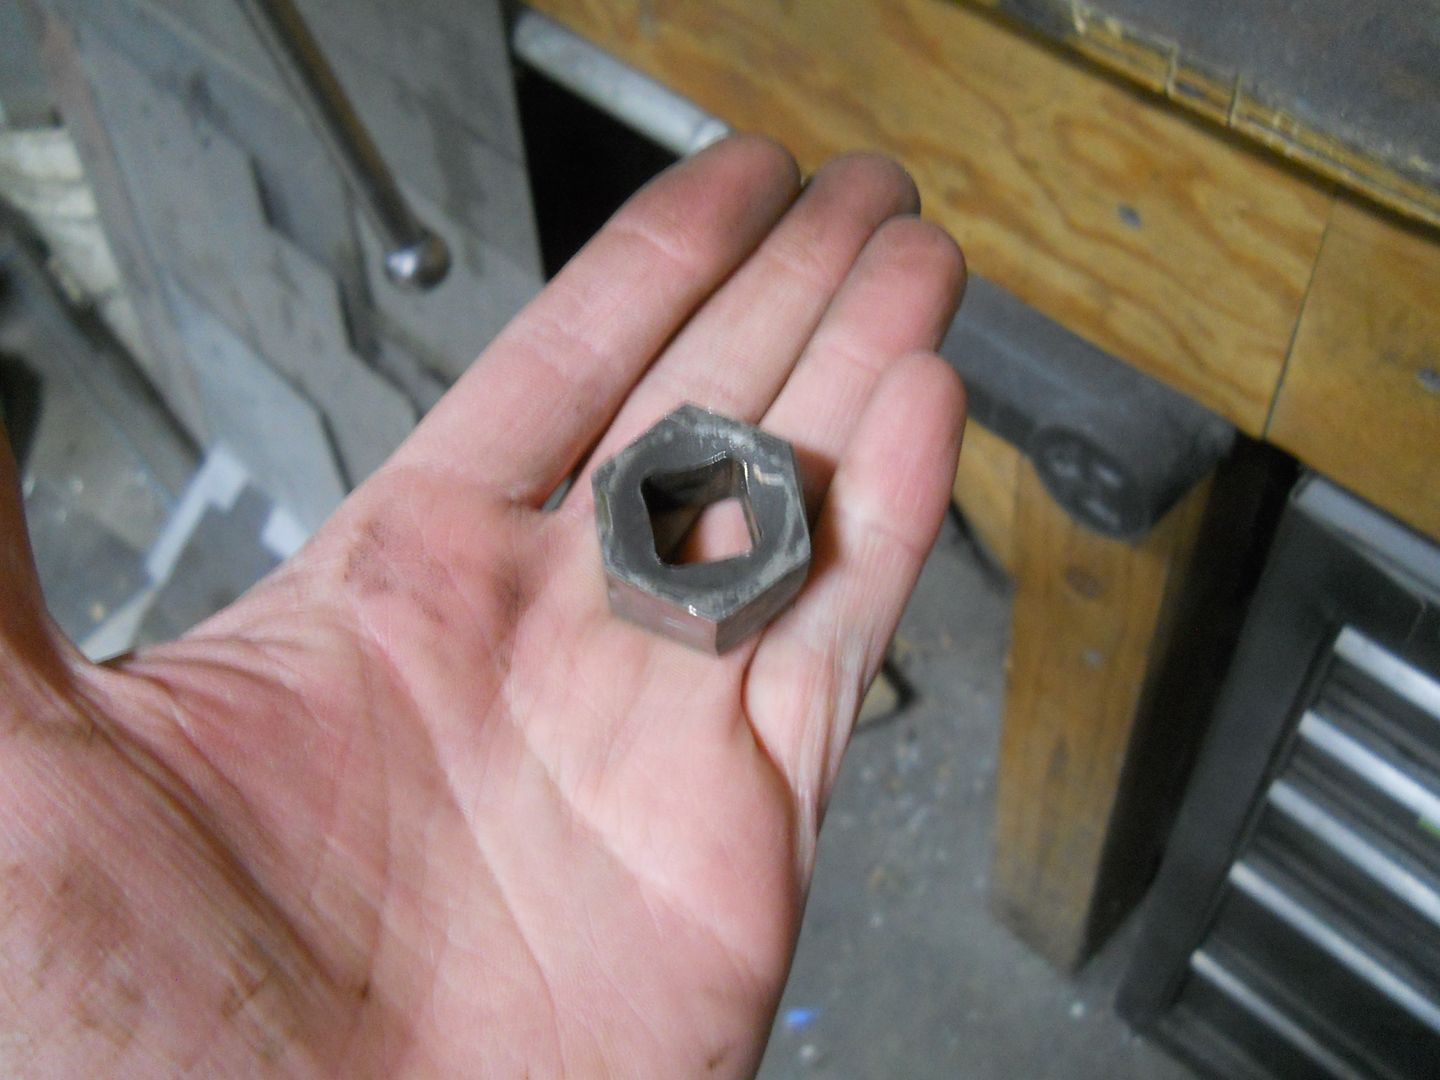
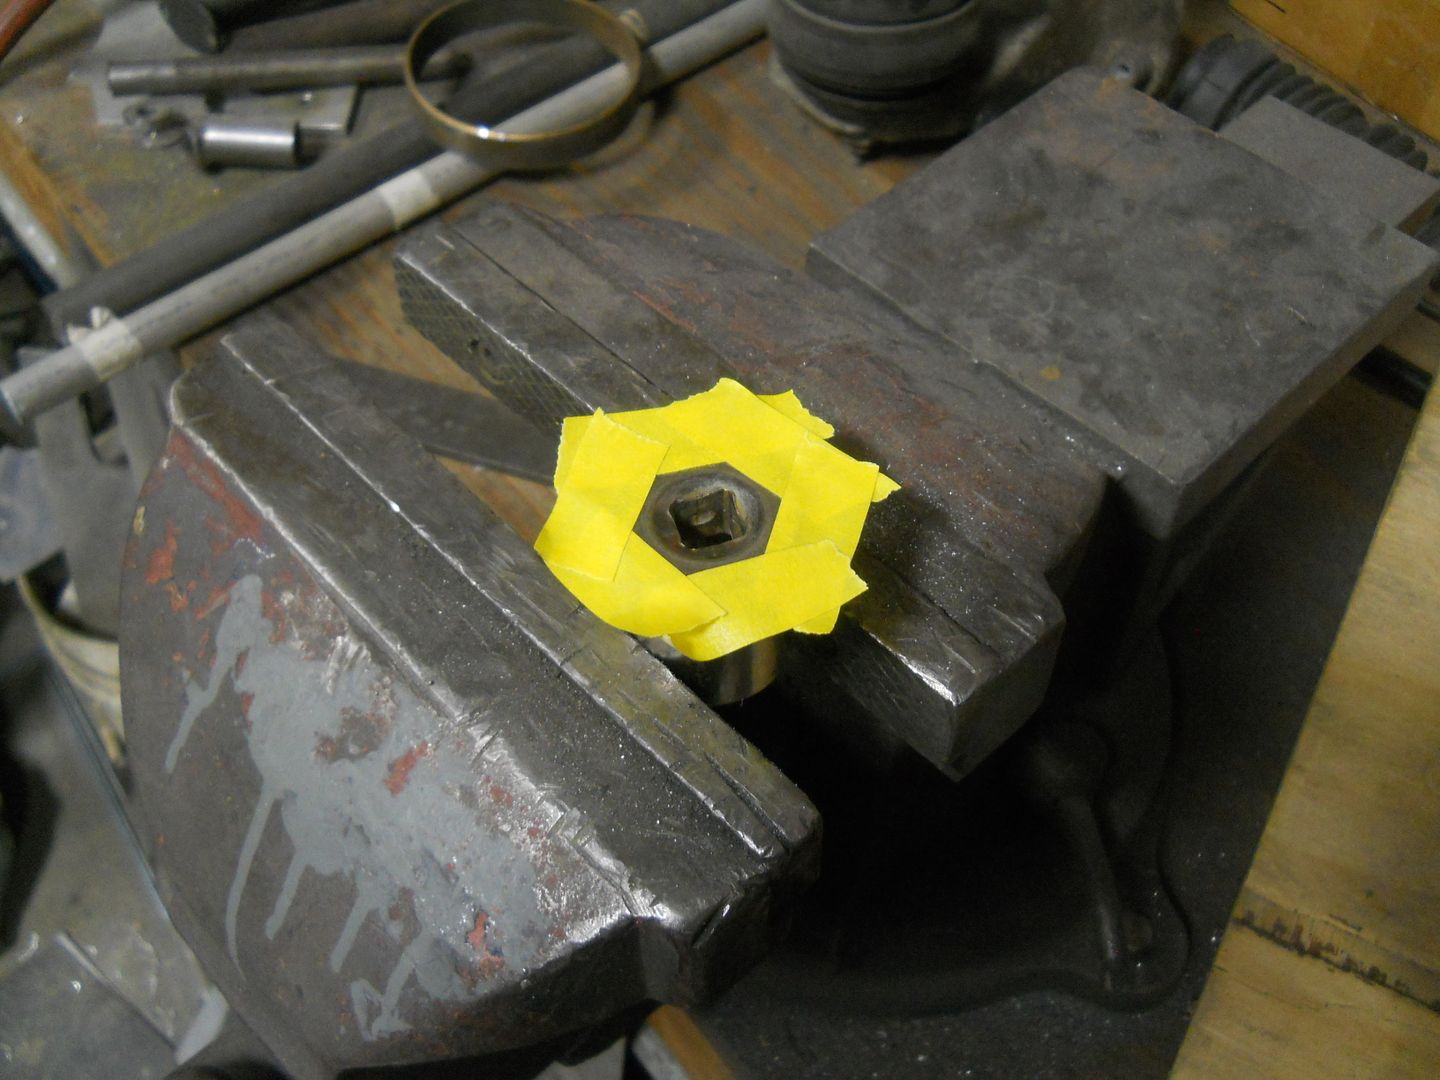
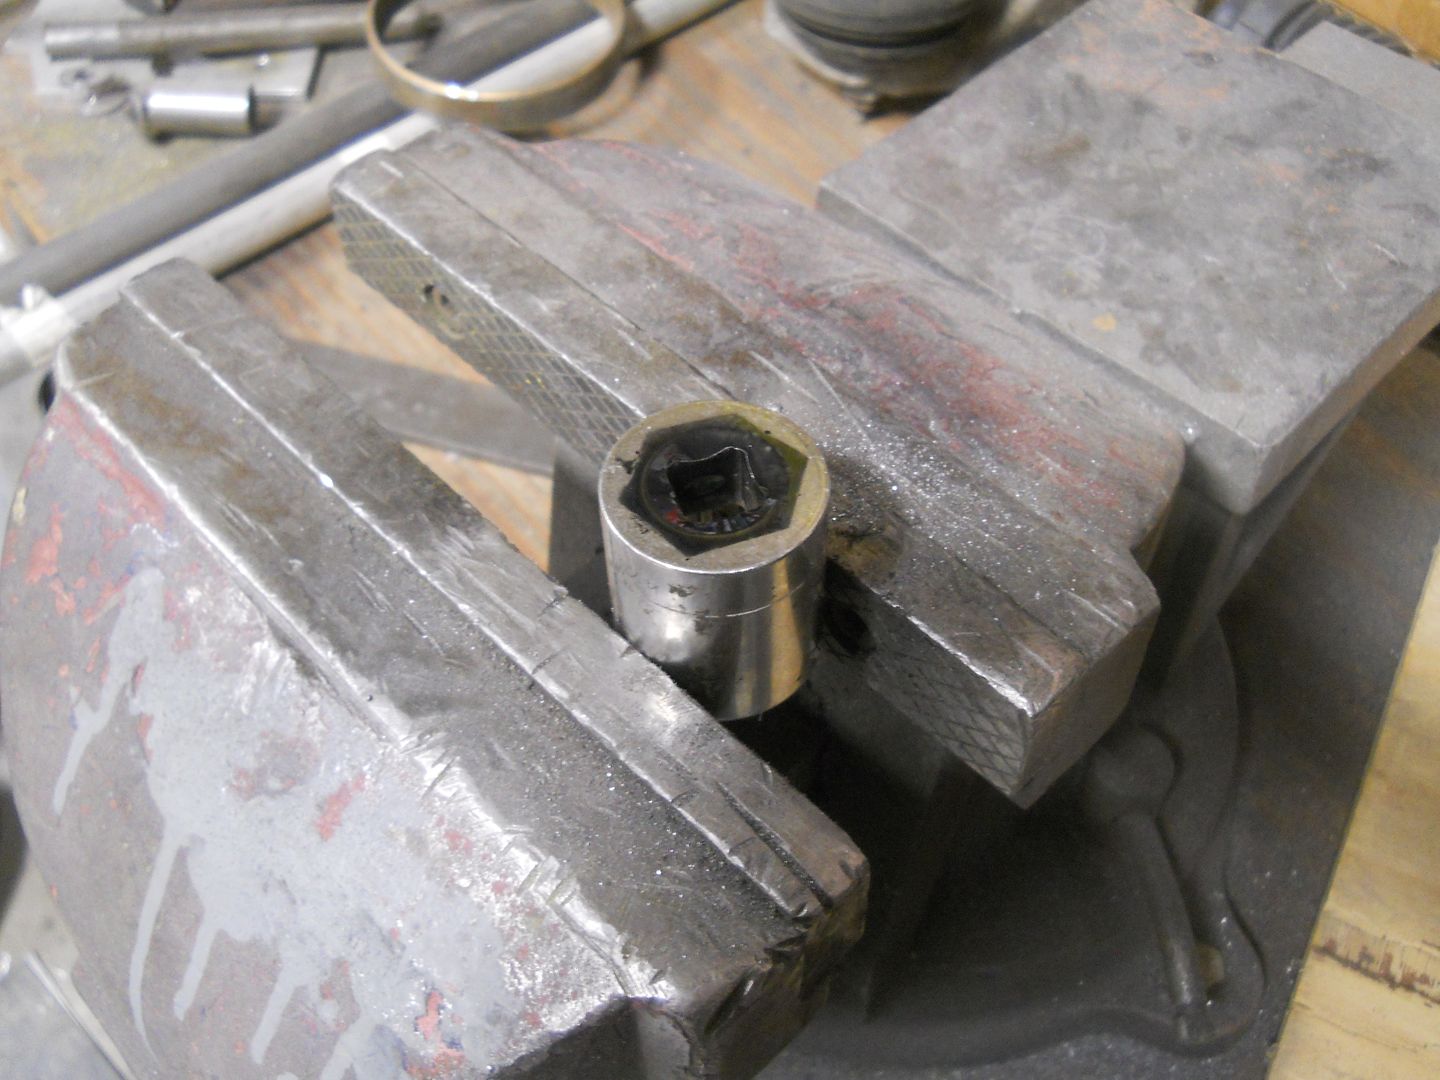
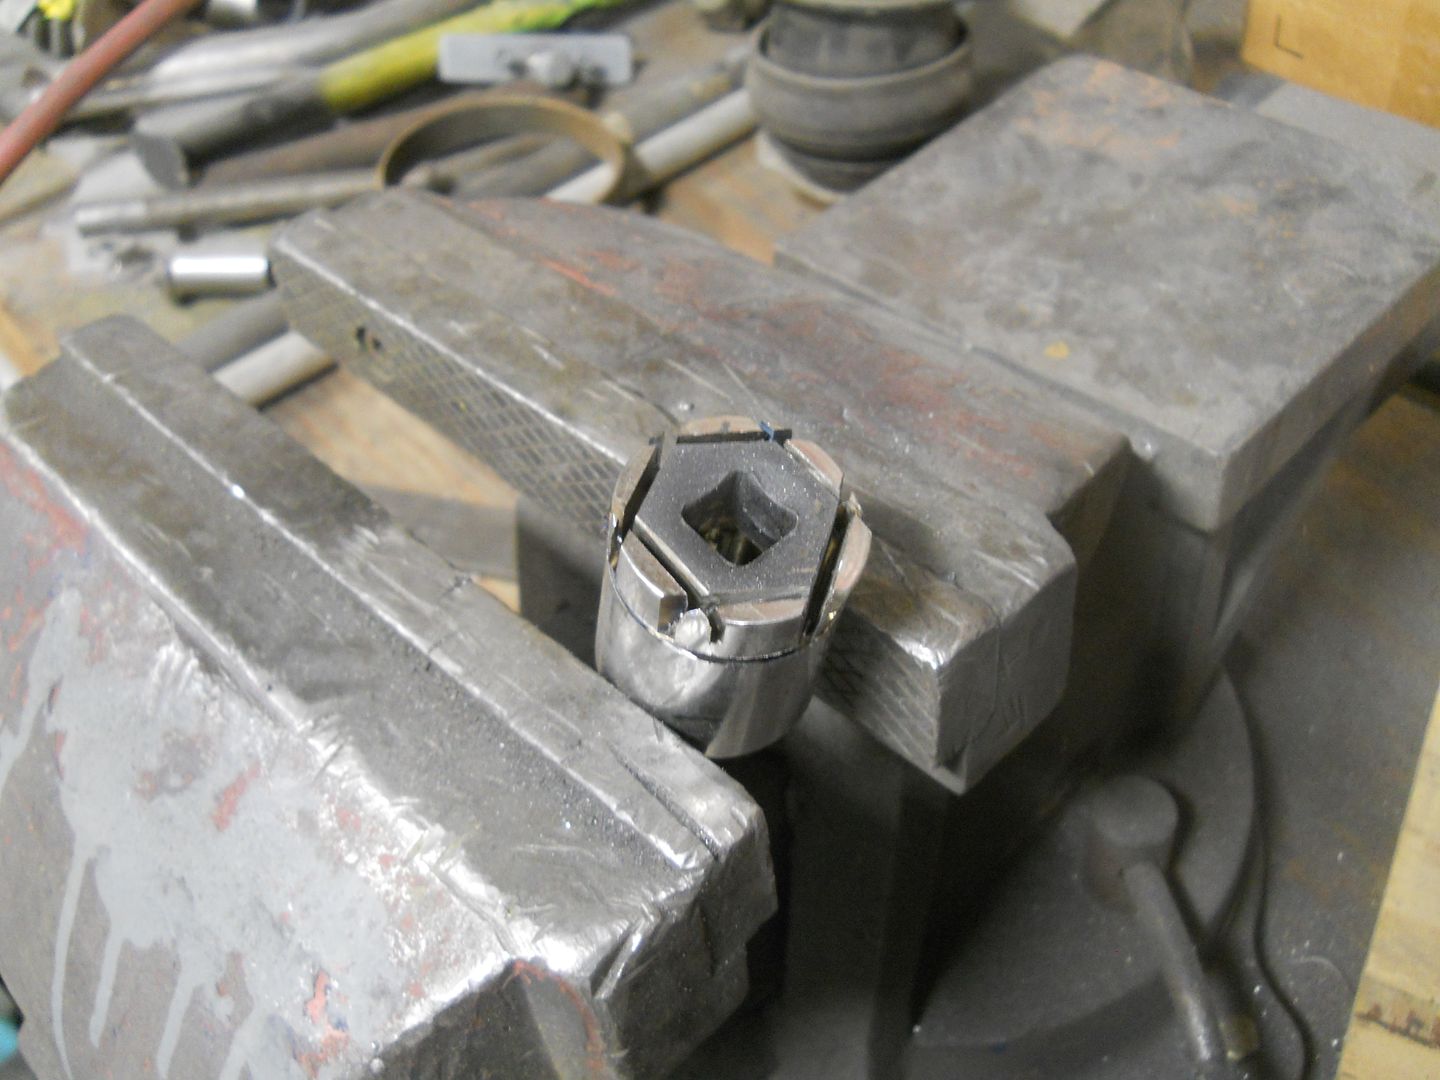
I didn't have the huge hex key for the selector shaft plug, so I made one!
Tape template:
Transferred to a junk socket:
Painted template:
Cut:
Success!
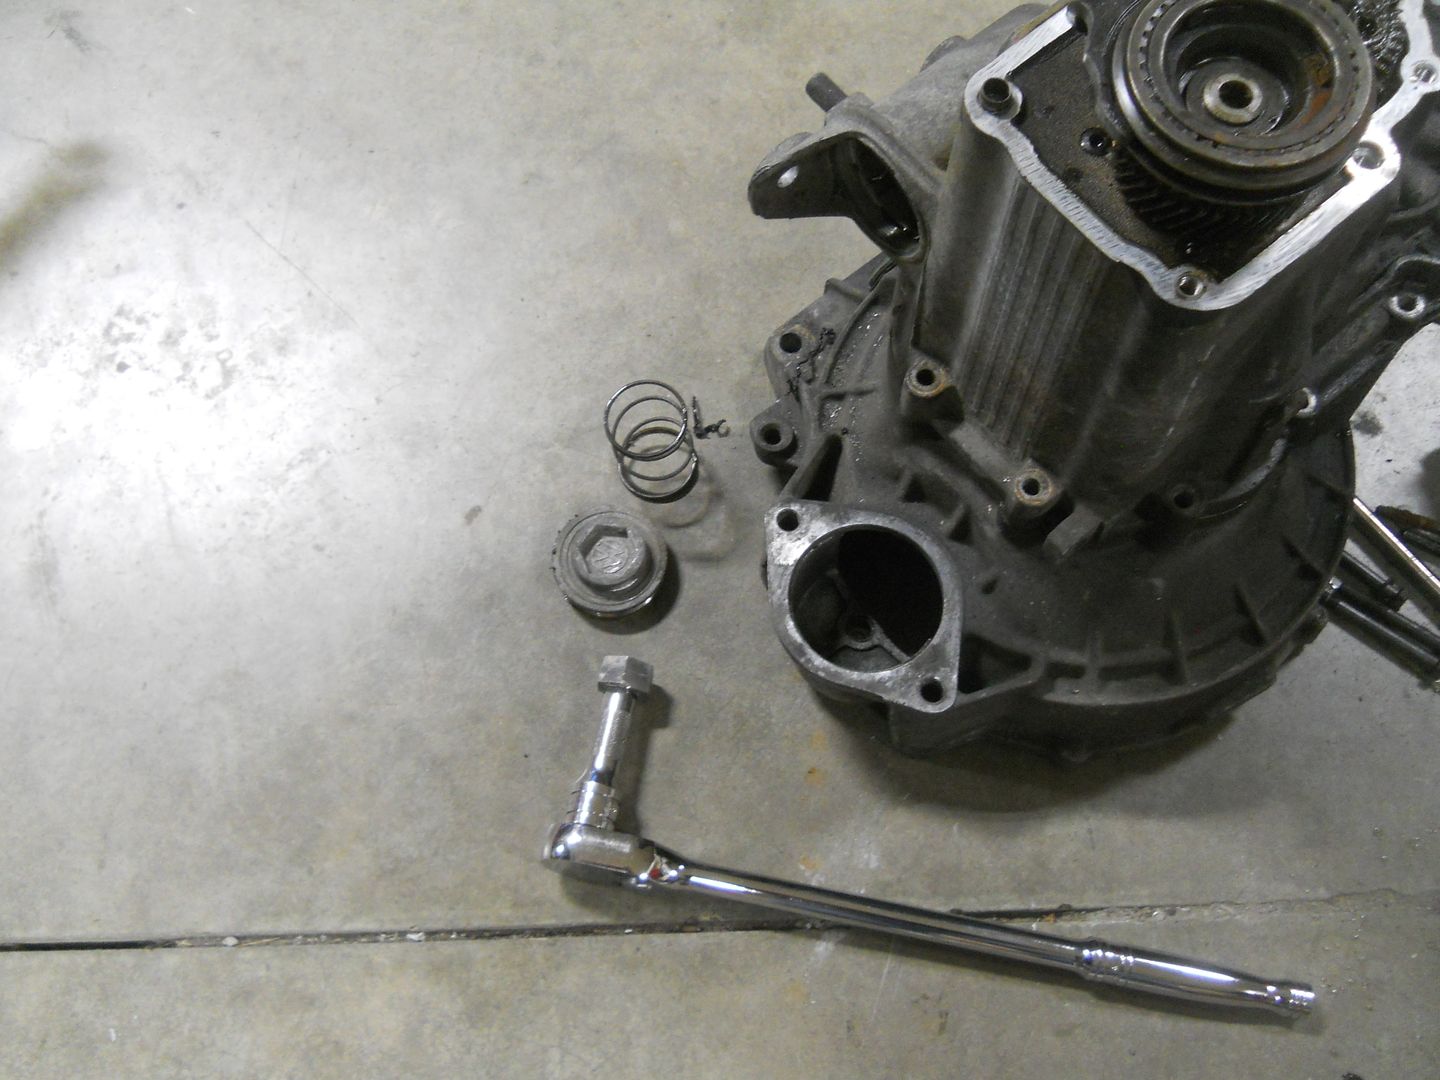
Skip a few steps
I decided to spray the trans and block with some junk primer, just to keep everything clean.
I was missing a transmission bracket, but Brady had one. He cruised out in his Cabrio to deliver it and check on my progress.
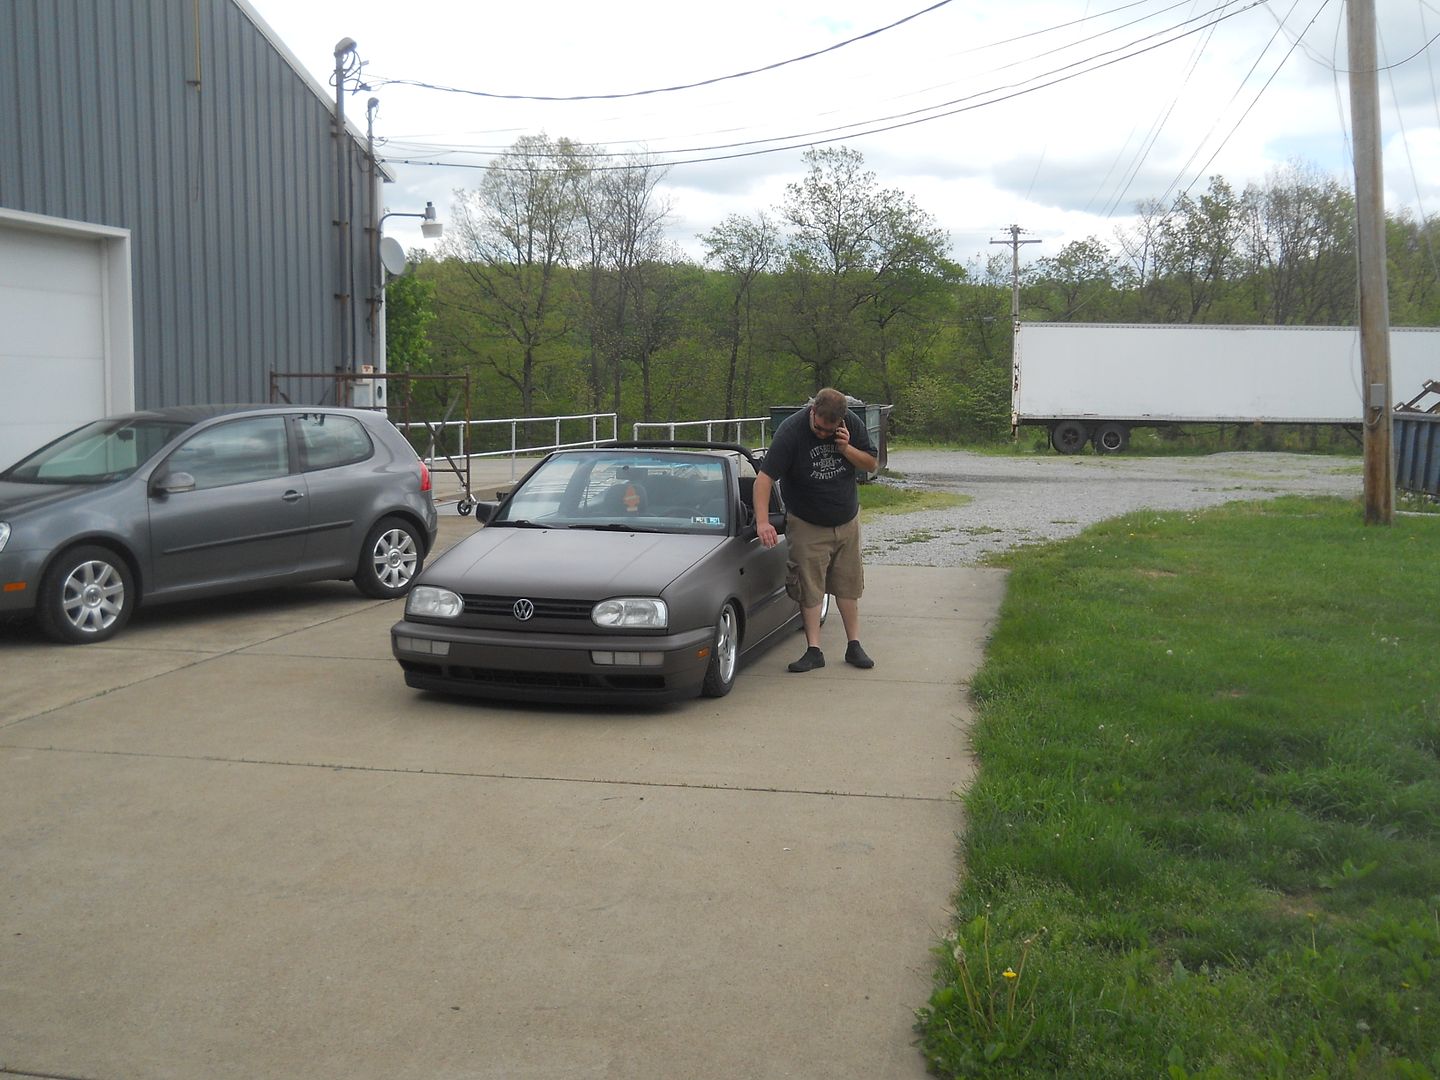
This thing is cool! Borbet E's, old Mason-Tech airride, and brown Plasti Dip.
All ready to drop in.
Sunday, May 19, 2013
Sunday, May 12, 2013
More supplies! Satin black single stage and epoxy primer.
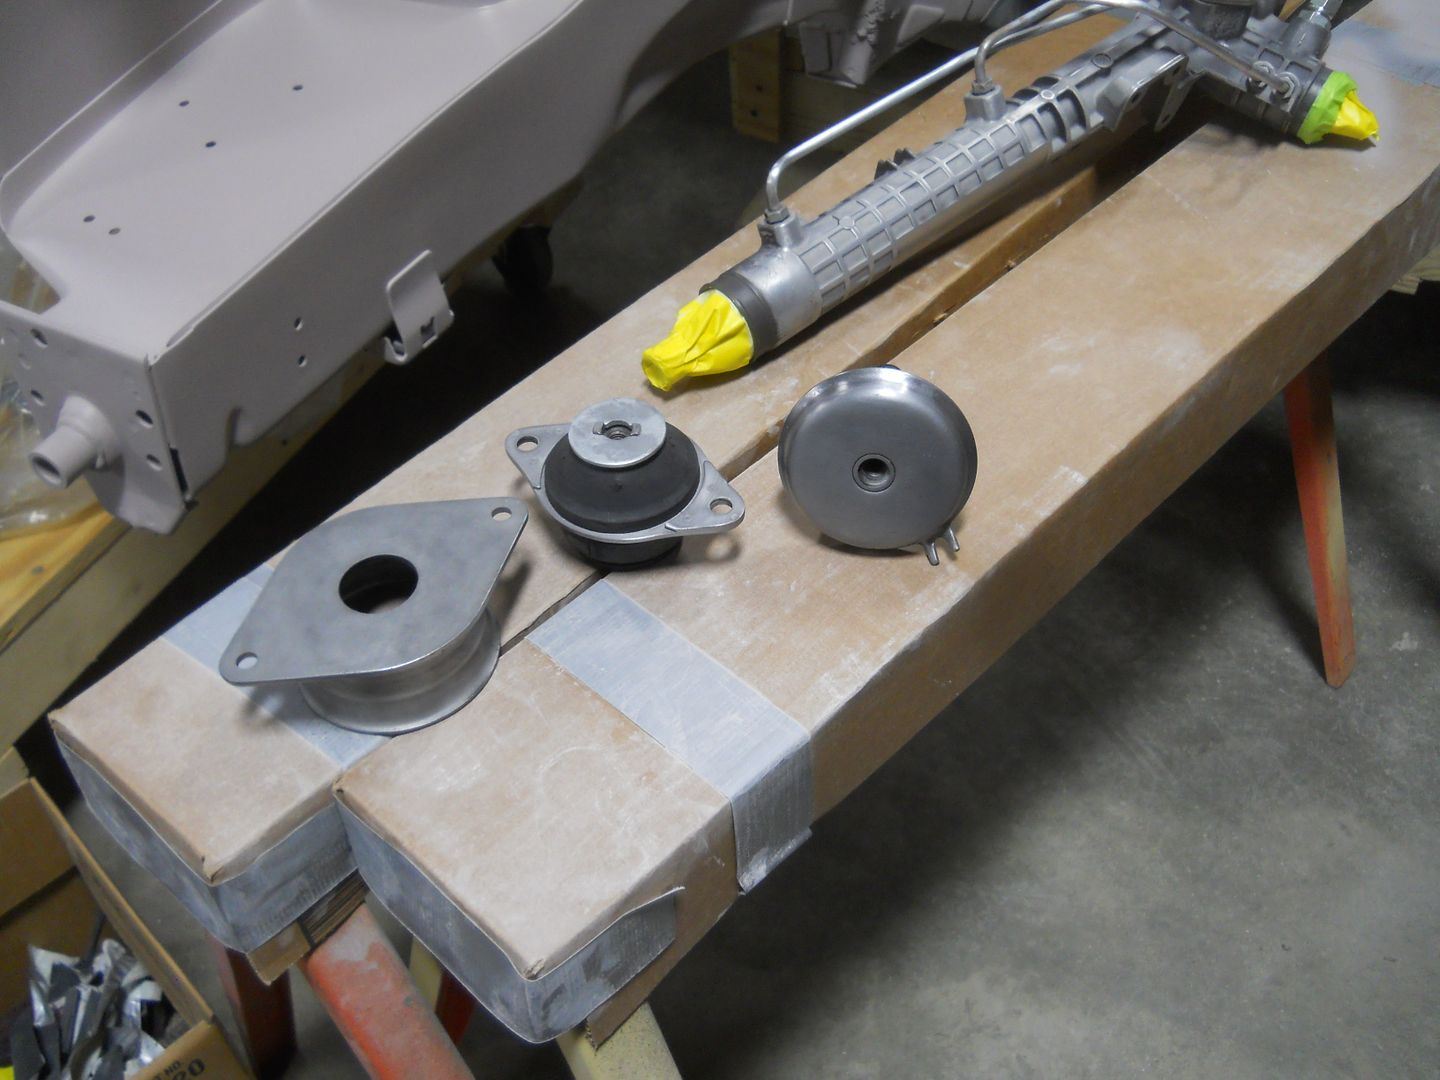
I cleaned up the motor mounts, took them apart, and prepped the individual parts for paint.
Ready for primer and paint!
Painted. The engine crossmember has some flaws and needs to be resprayed, but the rest of the parts turned out decent.
Ian, Jason, and Jimmy stopped out Saturday night to share stories and beers. Good times!
I cleaned up the motor mounts, took them apart, and prepped the individual parts for paint.
Ready for primer and paint!
Painted. The engine crossmember has some flaws and needs to be resprayed, but the rest of the parts turned out decent.
Ian, Jason, and Jimmy stopped out Saturday night to share stories and beers. Good times!
Wednesday, May 8, 2013
I took some time off this weekend for my buddy Dave's bachelor party. We rented a cabin on the lake; it was awesome.
Check out this badass old winch.
Back to work. I strung the front crossmembers up in the booth... then I realized I'm out of black paint. I have to wait until I can get to the PPG store on Saturday.
Papa Fazz came out to visit on his Road King
I machined the rest of the subframe bushing mounts. As soon as the front crossmember is painted, I can install these.
Carving a show car out of mud
Ready for epoxy primer
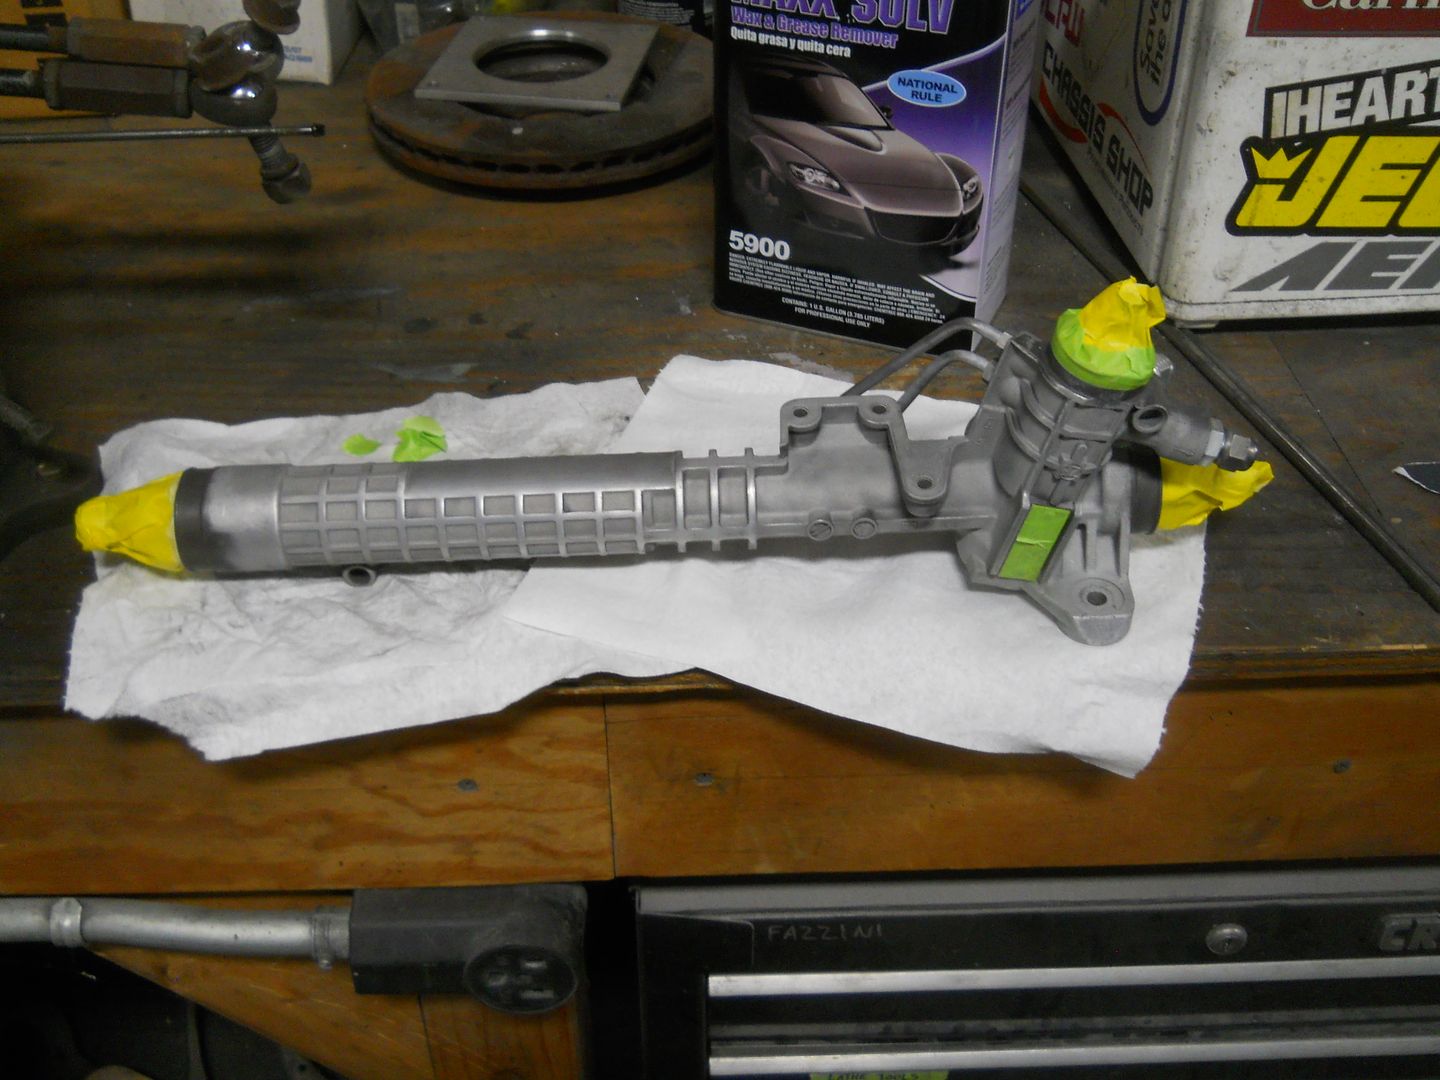
The power steering rack is also ready for paint.
Check out this badass old winch.
Back to work. I strung the front crossmembers up in the booth... then I realized I'm out of black paint. I have to wait until I can get to the PPG store on Saturday.
Papa Fazz came out to visit on his Road King
I machined the rest of the subframe bushing mounts. As soon as the front crossmember is painted, I can install these.
Carving a show car out of mud
Ready for epoxy primer
The power steering rack is also ready for paint.
Thursday, May 2, 2013
I sprayed another coat of primer on the front suspension crossmembers. Now I can sand them down to 400 grit (dry) and spray the single stage satin black on them.
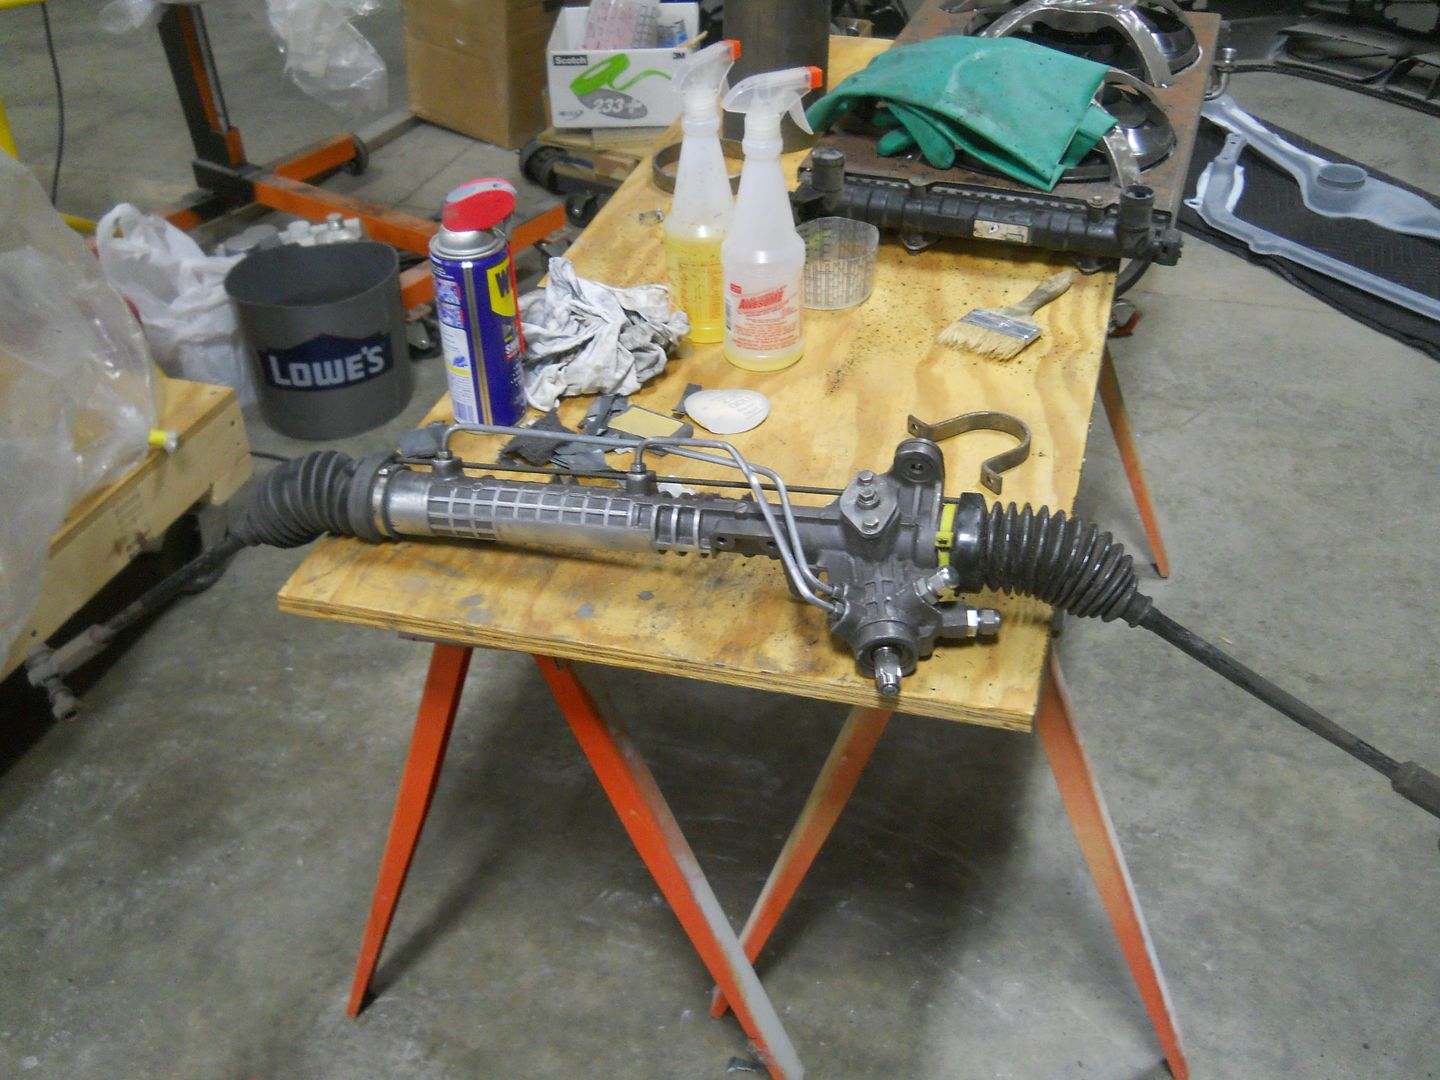
I started cleaning the power steering rack, I'm going to try to paint it black next week also.
In January 2012, I removed the front crossmember bushings.
http://wrinklered.blogspot.com/2012/01/i-took-break-from-transmission.html
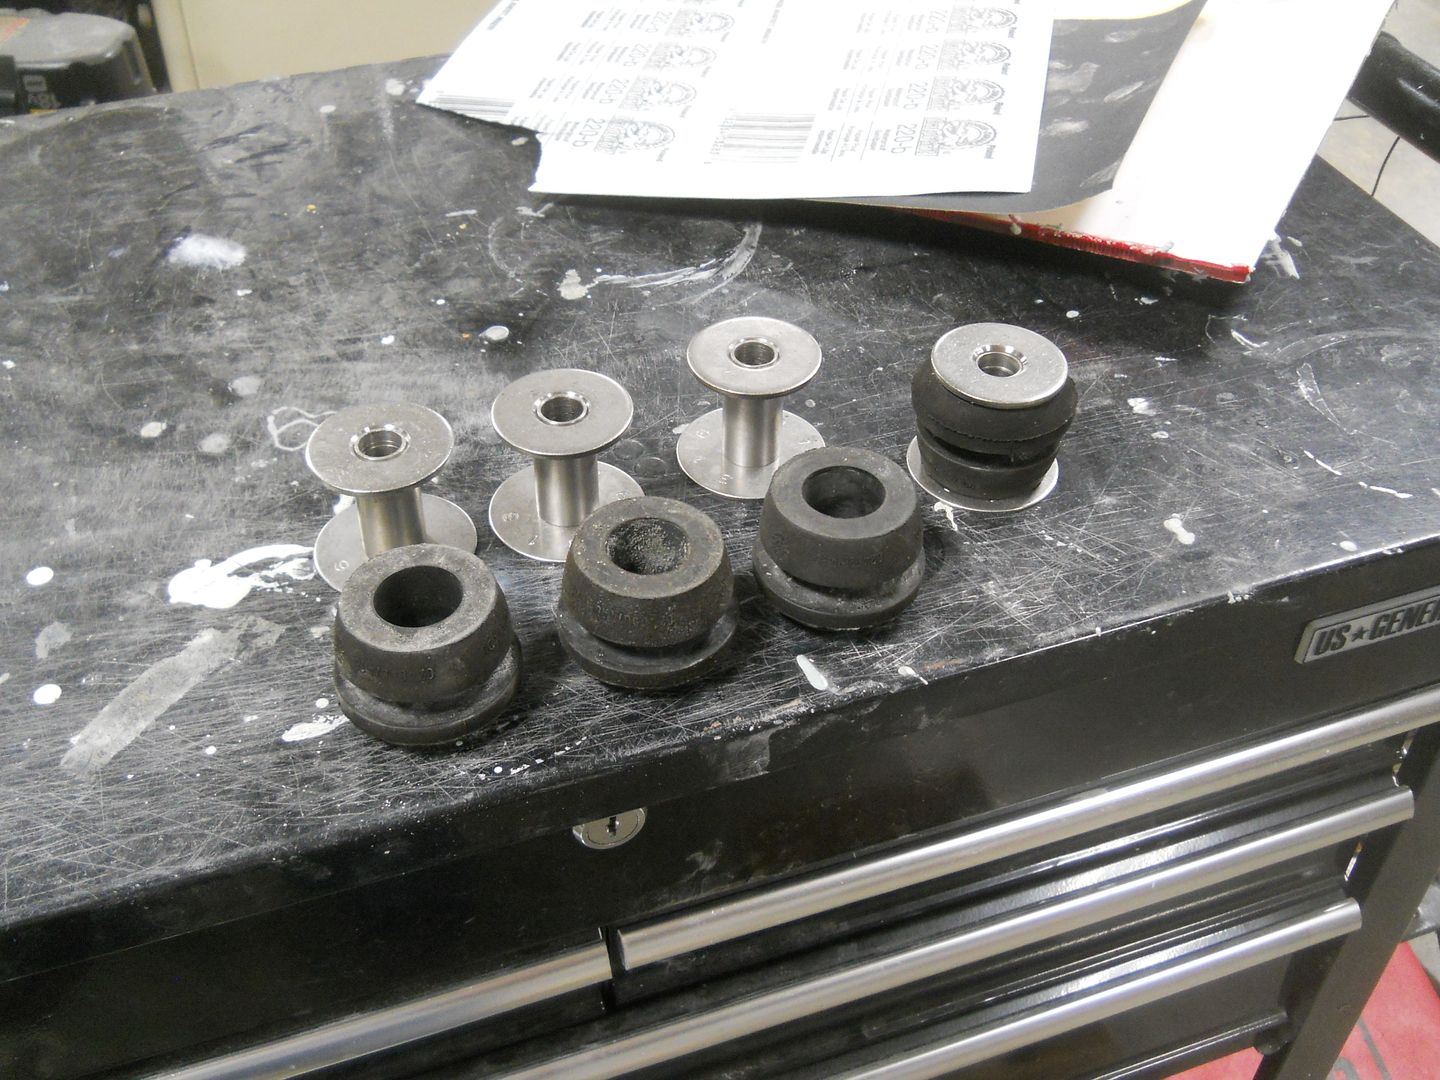
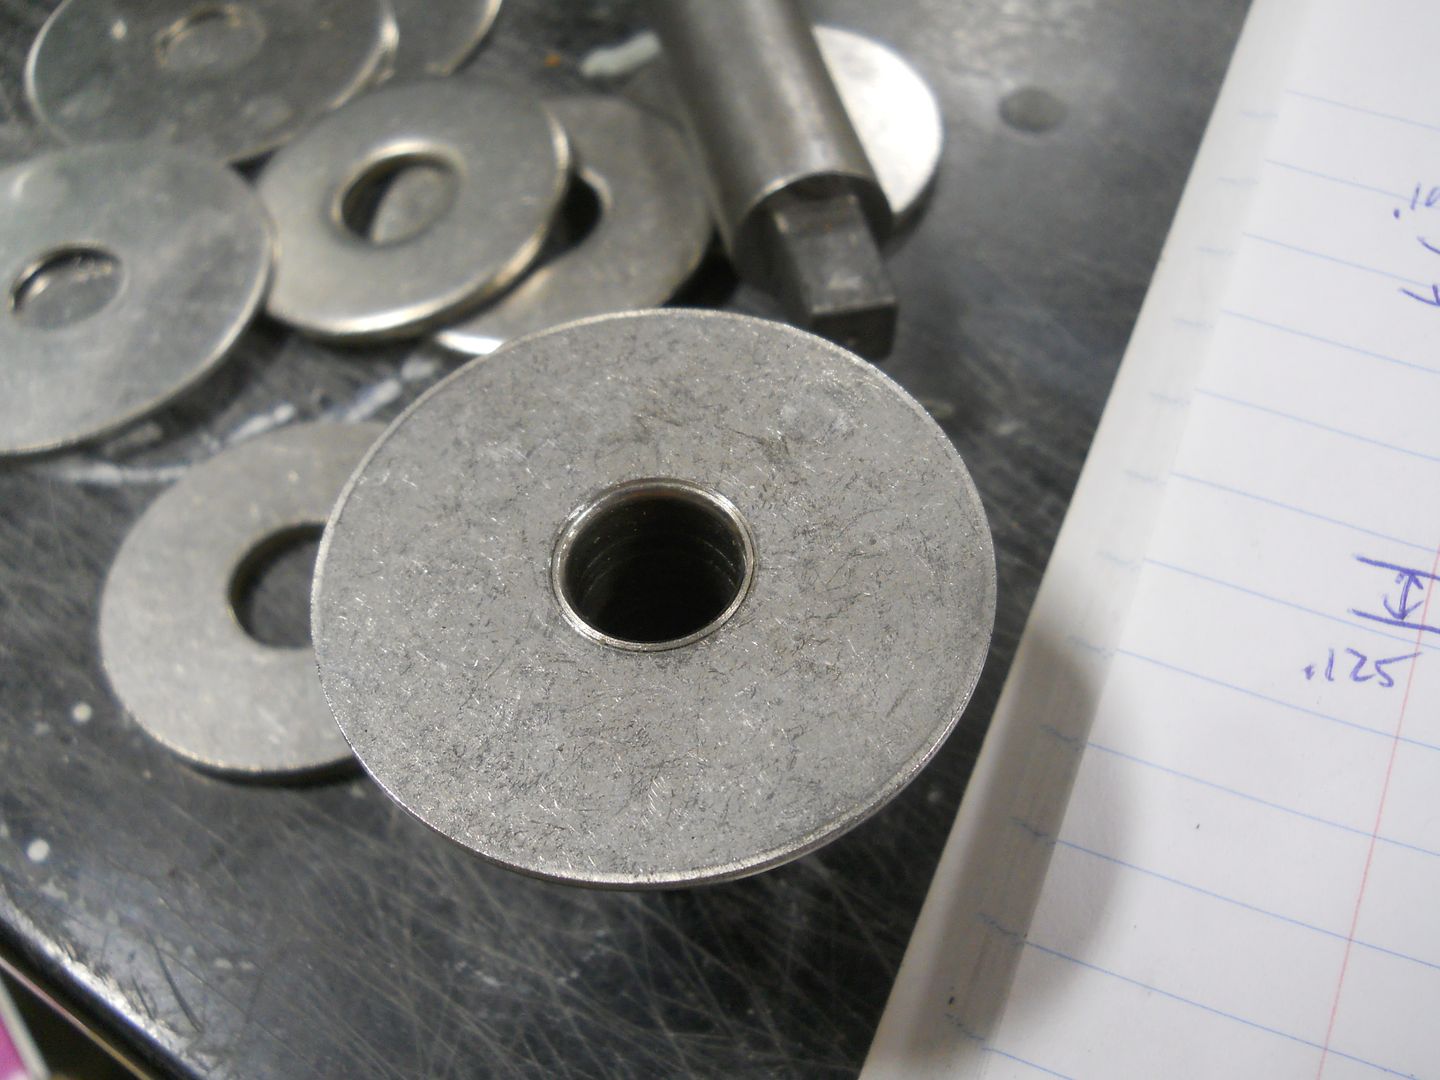
The supplies: The old bushings, some 316 stainless washers, some 303 stainless rod, and Turner's tea.
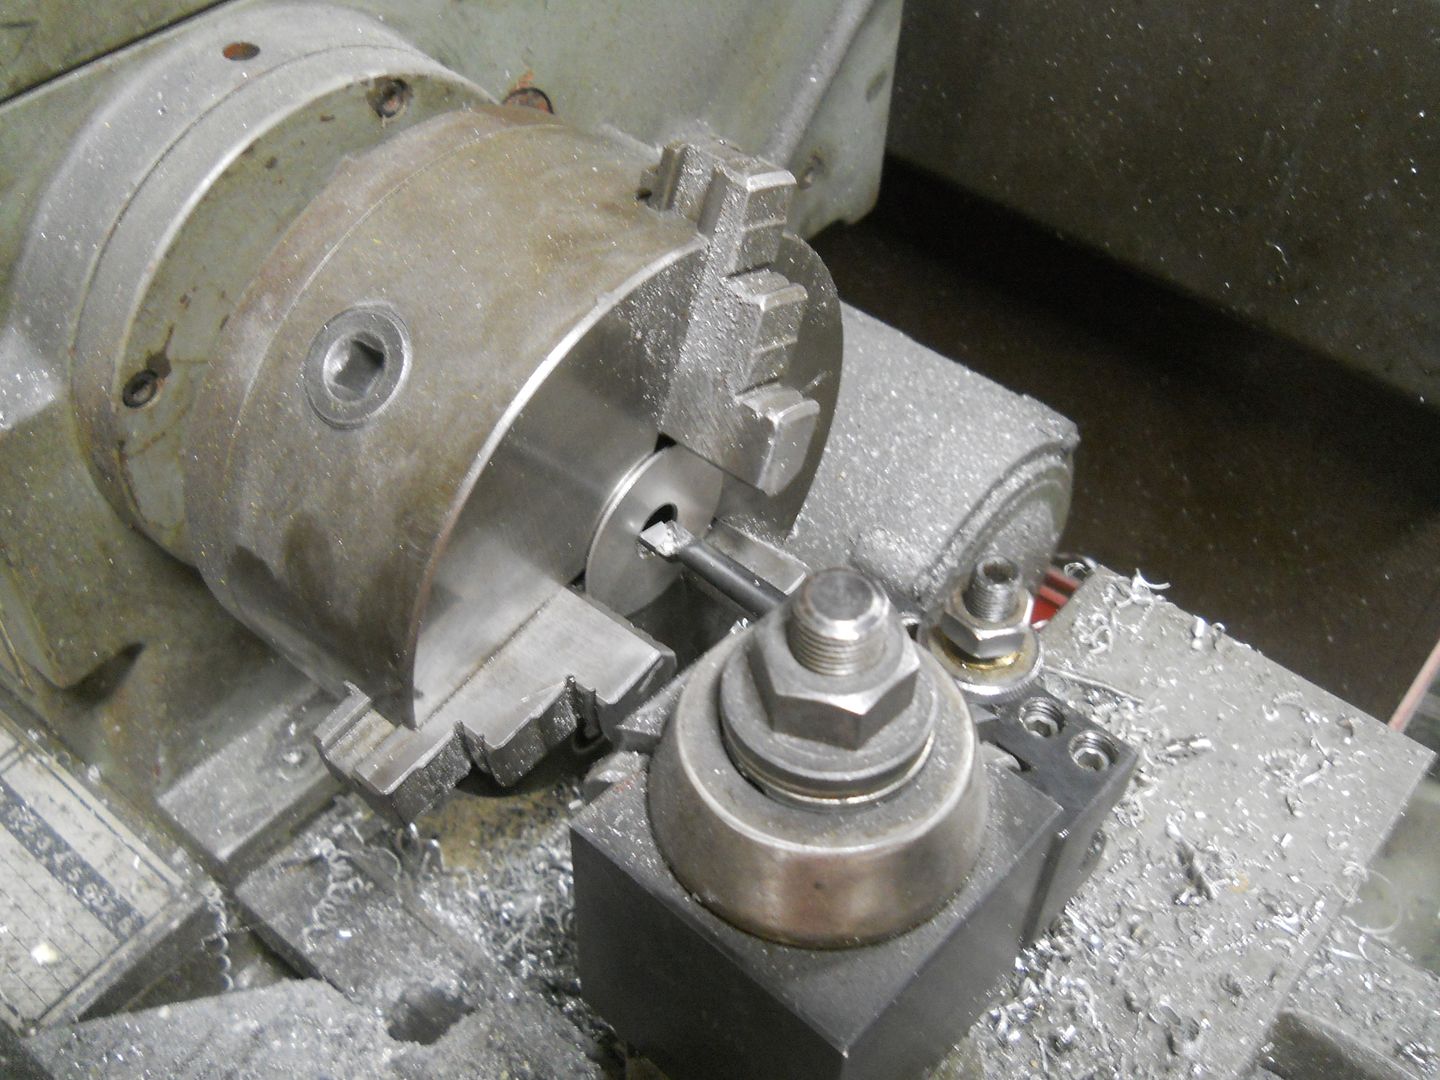
A bit of lathe work
Fit together
My swaging tool
Swaged in place. After I assemble the rubber through the crossmember, I can swage the 2nd washer on the other side. This will capture the bushing assembly, then it gets clamped permanently by a bolt.
Two done, two to go.
Woody's beetle is back on the road for the spring!
Woody Sr. is sill plugging away on his new Road Glide project. 26" front wheel!
I started cleaning the power steering rack, I'm going to try to paint it black next week also.
In January 2012, I removed the front crossmember bushings.
http://wrinklered.blogspot.com/2012/01/i-took-break-from-transmission.html
The supplies: The old bushings, some 316 stainless washers, some 303 stainless rod, and Turner's tea.
A bit of lathe work
Fit together
My swaging tool
Swaged in place. After I assemble the rubber through the crossmember, I can swage the 2nd washer on the other side. This will capture the bushing assembly, then it gets clamped permanently by a bolt.
Two done, two to go.
Woody's beetle is back on the road for the spring!
Woody Sr. is sill plugging away on his new Road Glide project. 26" front wheel!
Subscribe to:
Posts (Atom)