Sunday, July 3, 2016

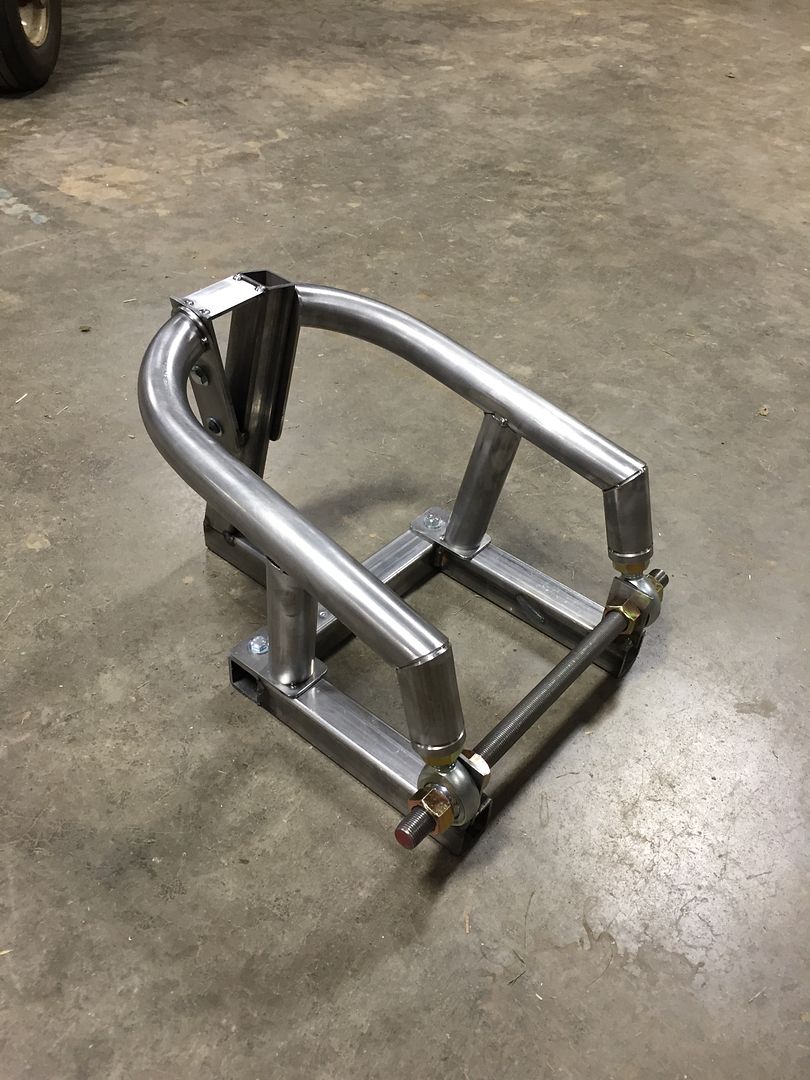
This morning I finished up the TVR hood hinge project with Fort Pitt Classic Cars.


I added a new pivot point, along with two reinforcement plates and diagonal bars, into the original structure of the hood.  Notches made on site with a grinder and file haha.
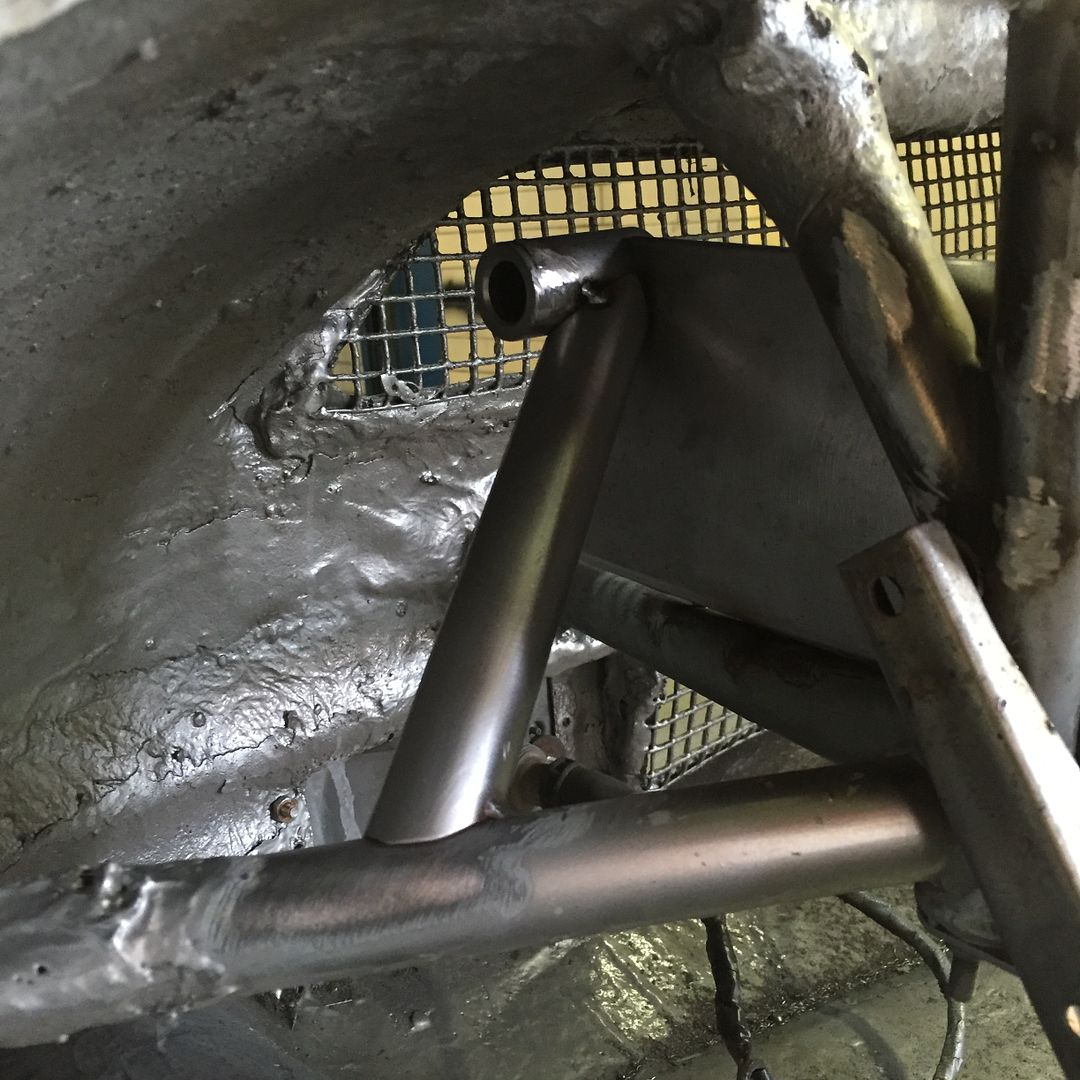


The next steps required a 220v welder, so I dragged my Miller to their shop.
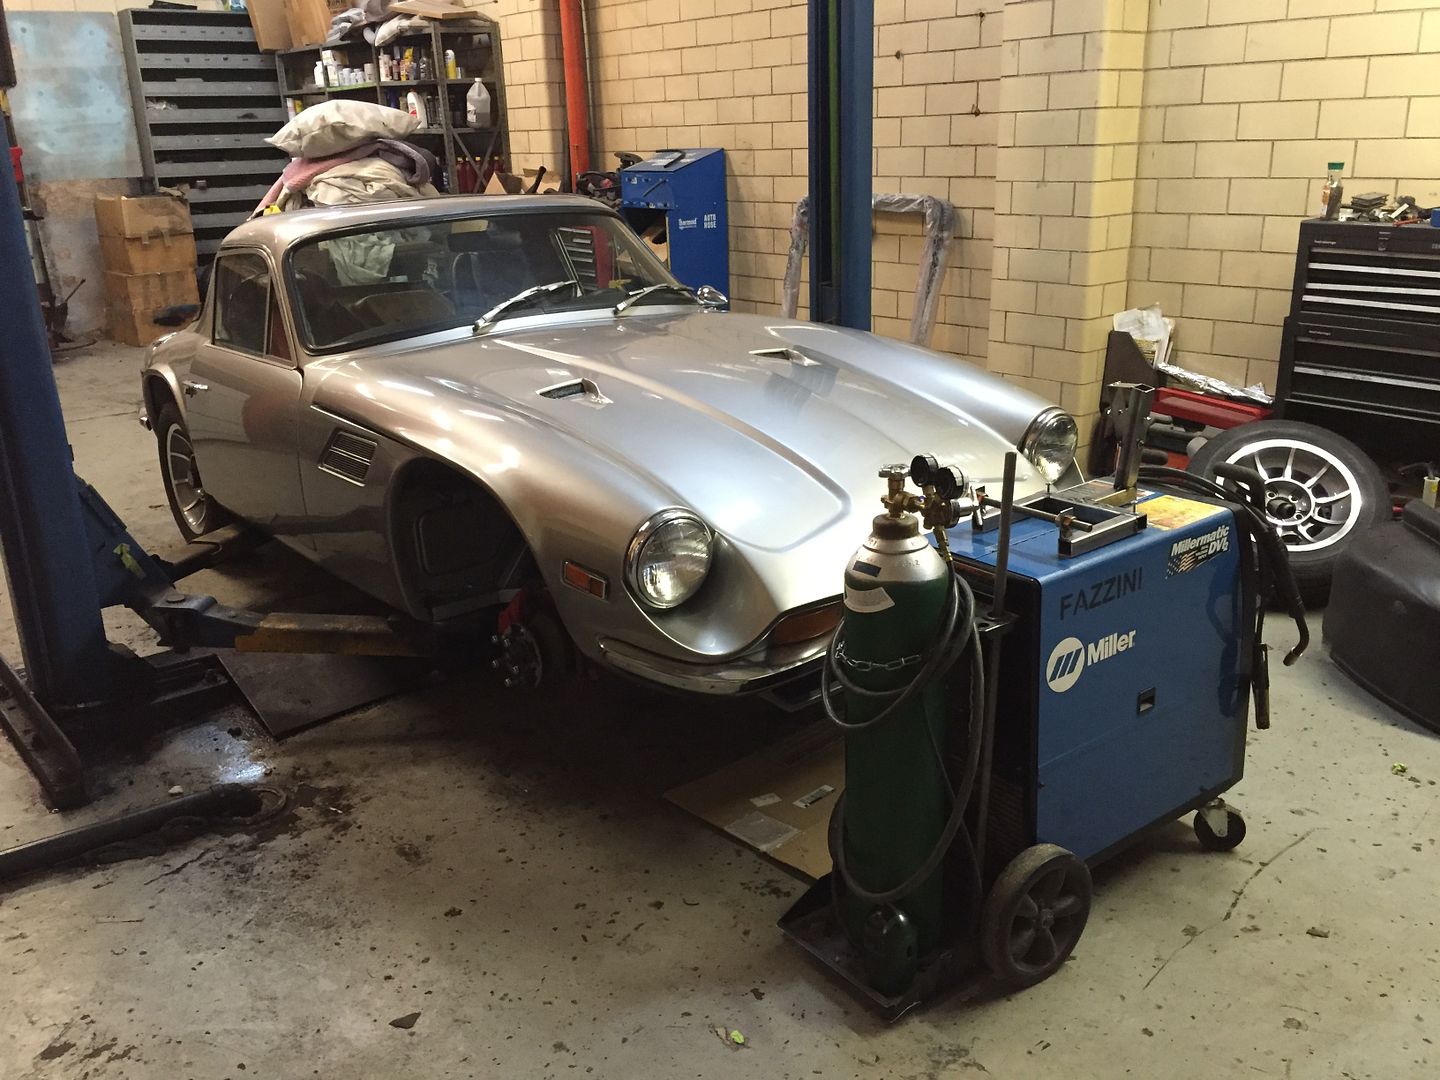


It's not my proudest work, but it may be the 2nd best fabrication on the car.  My worst welds are on par with the factory stuff haha.


When I left off in my last post, I had just delivered the hinge structure to Bill Lewis for TIG welding.  
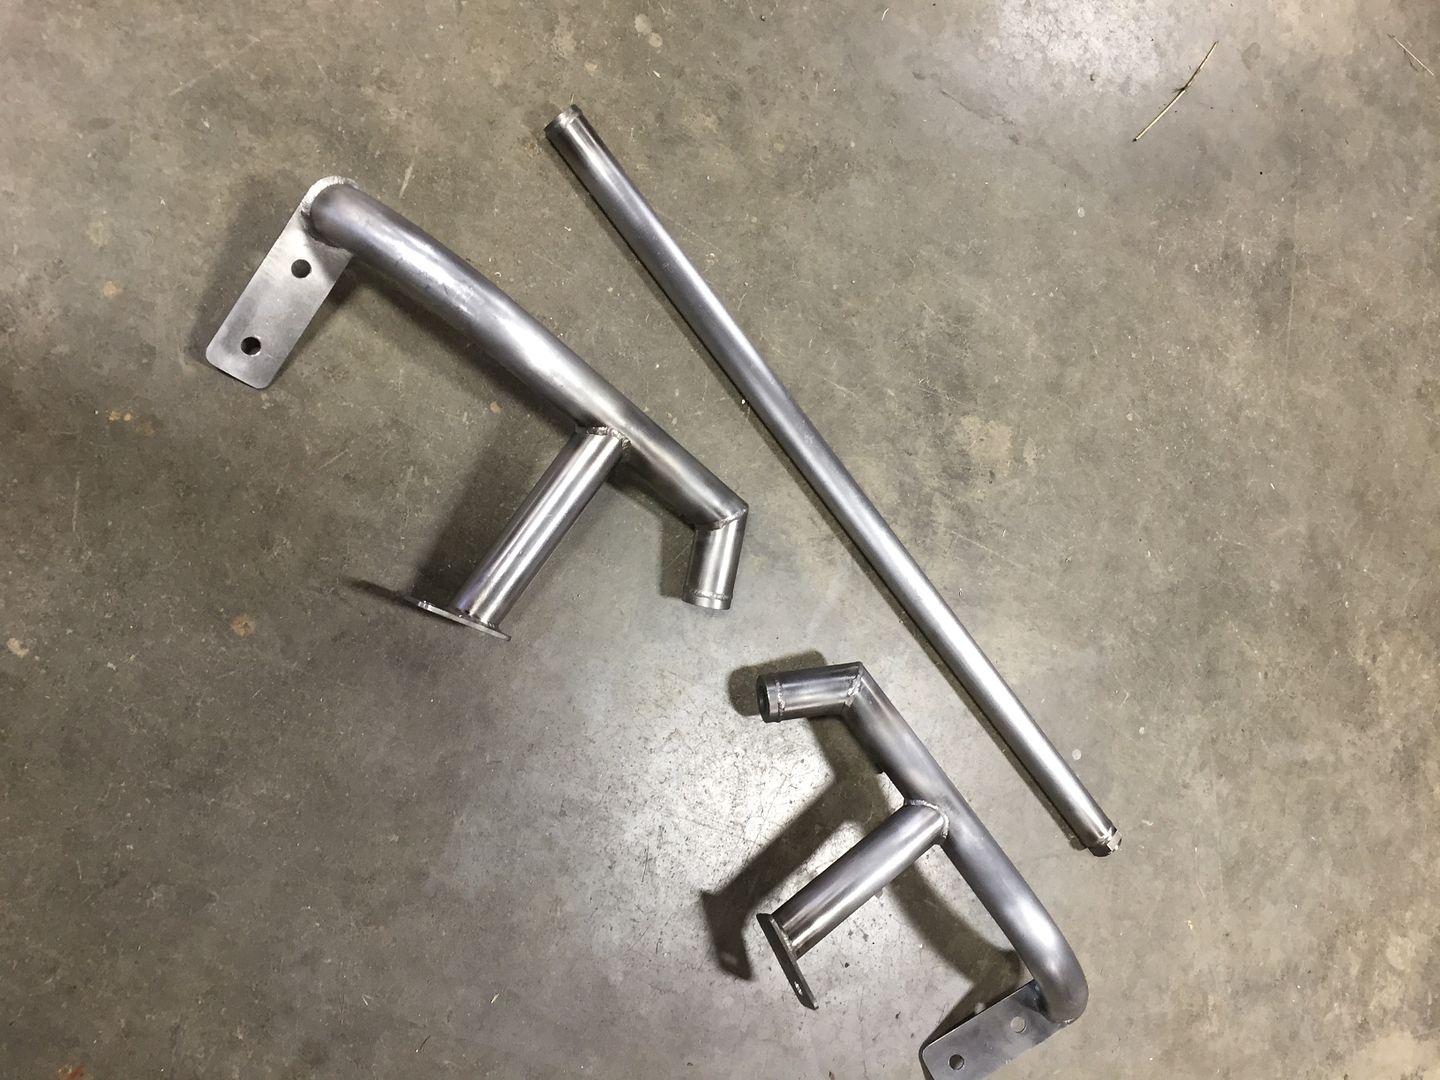


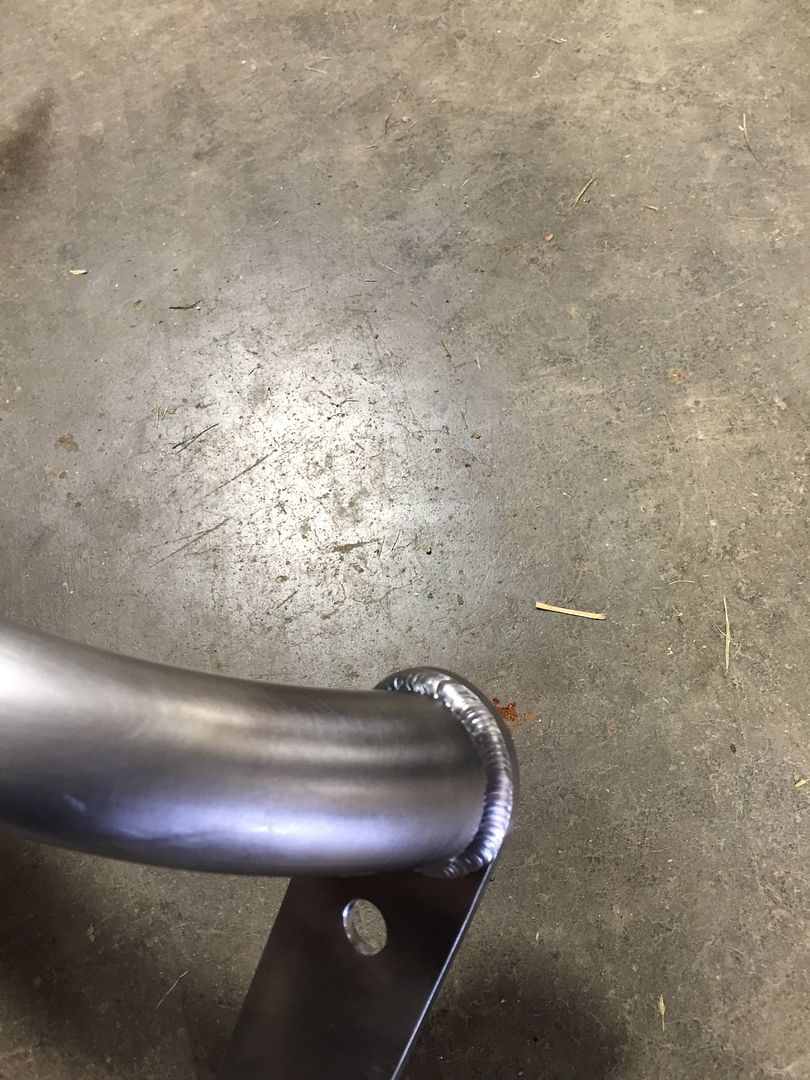
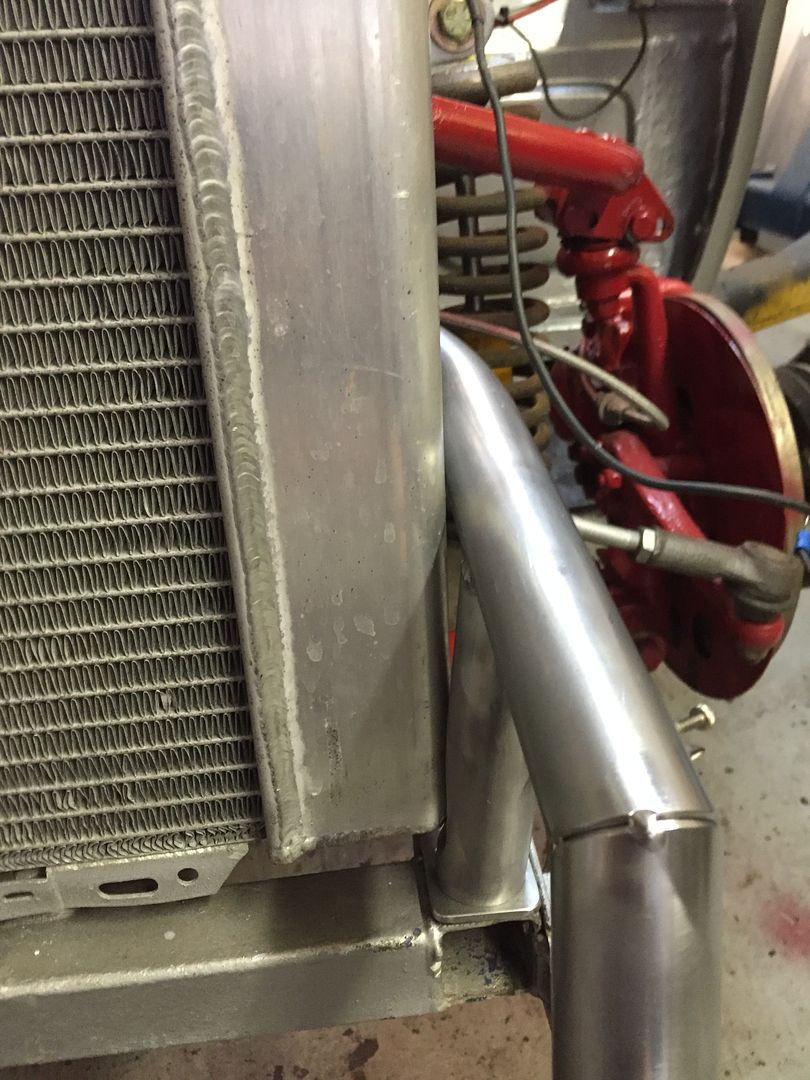
Here is a close-up of the finished clearance notch for the radiator.


Paint is the next step.  Unfortunately the budget for this project only allows rattle can paint, but I'm still prepping and masking properly.  I made these tapered aluminum sleeves to get paint as close to the threads as possible, so there will be no racking marks.


Primer

Rattle can red!


I wish I could have used WRINKLE RED!


After everything cured...or rather, dried... I went to Fort Pitt Classic Cars to install everything.  I'm using all SAE Grade 8 hardware with nylon insert nuts.  The rod ends are FK high strength 5/8" bore x 5/8' stud.


All bolted up!  The red is intended to match the control arms, shocks, and engine block.
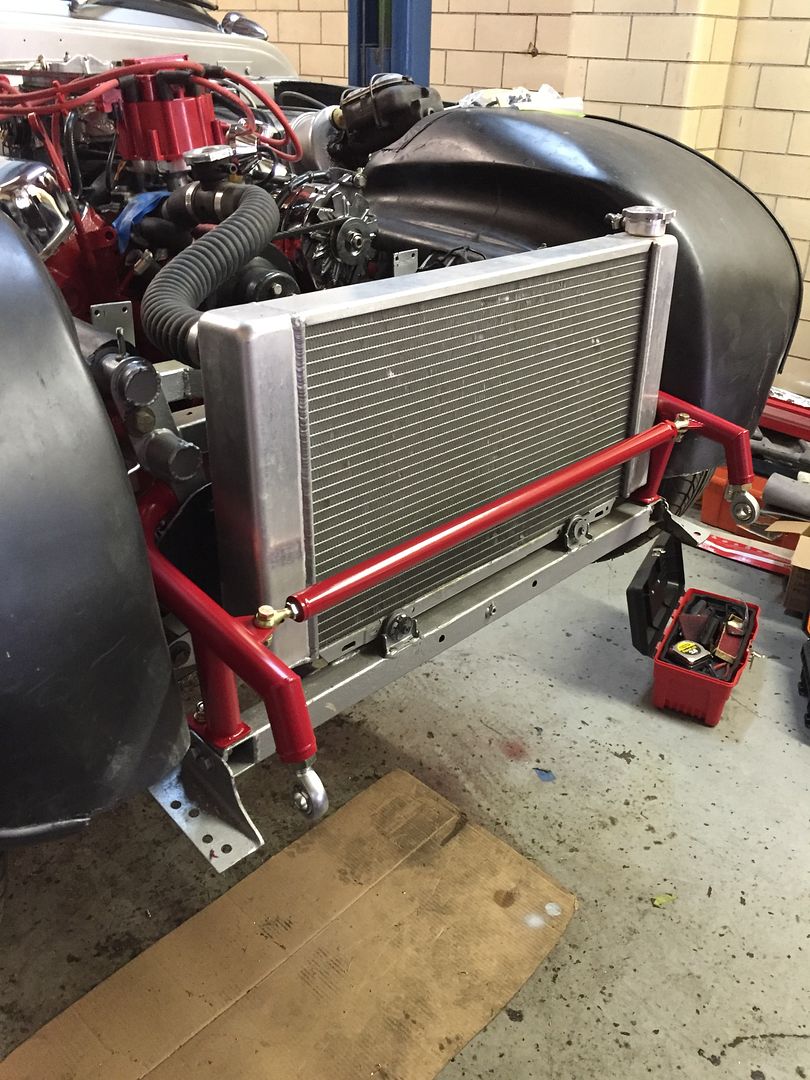


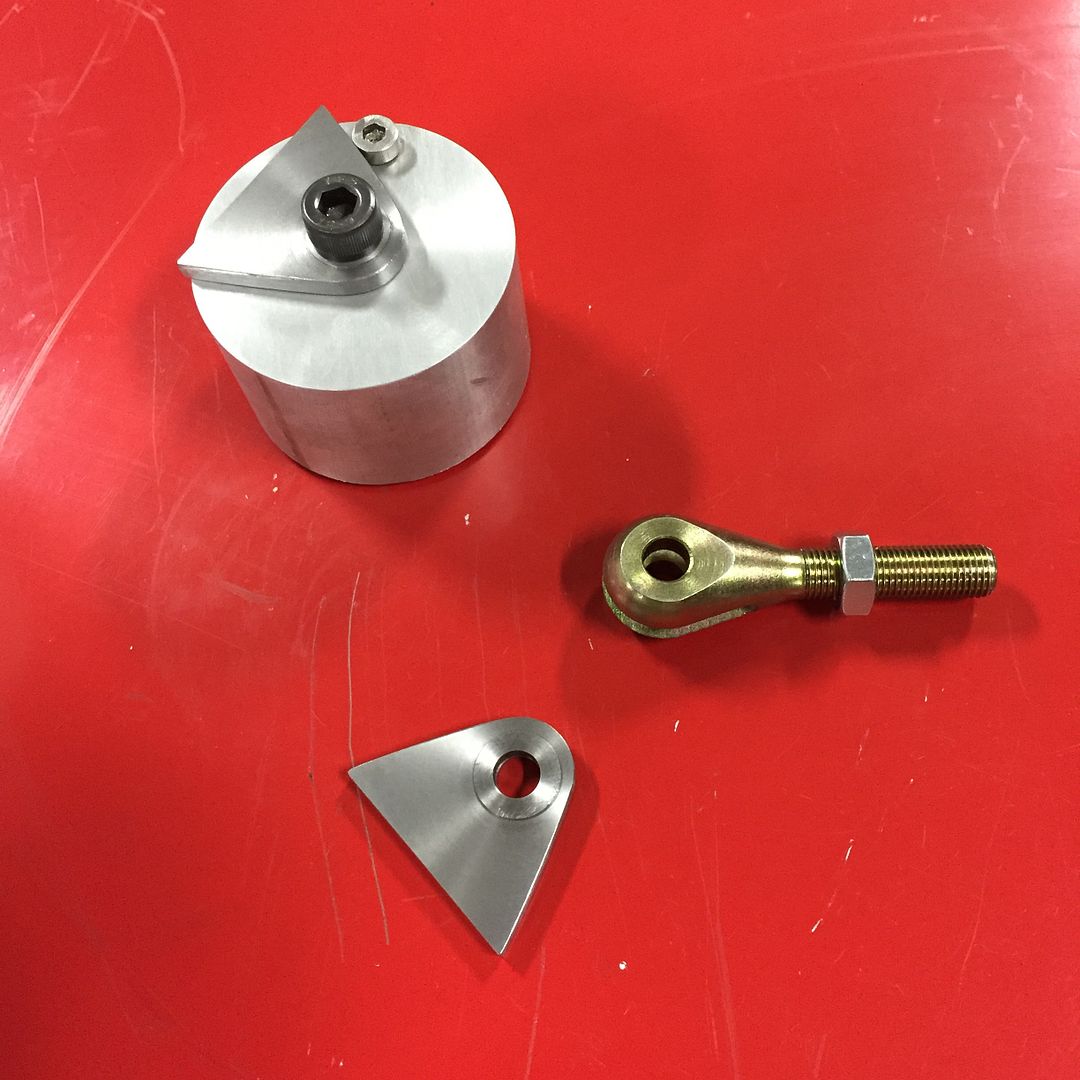
My clevis scheme worked exactly as planned.  This turned out to be critical on this project because the rattle can paint falls off if you look at it wrong, so the trauma of installing a clevis would have made this tab look horrible without the raised boss.
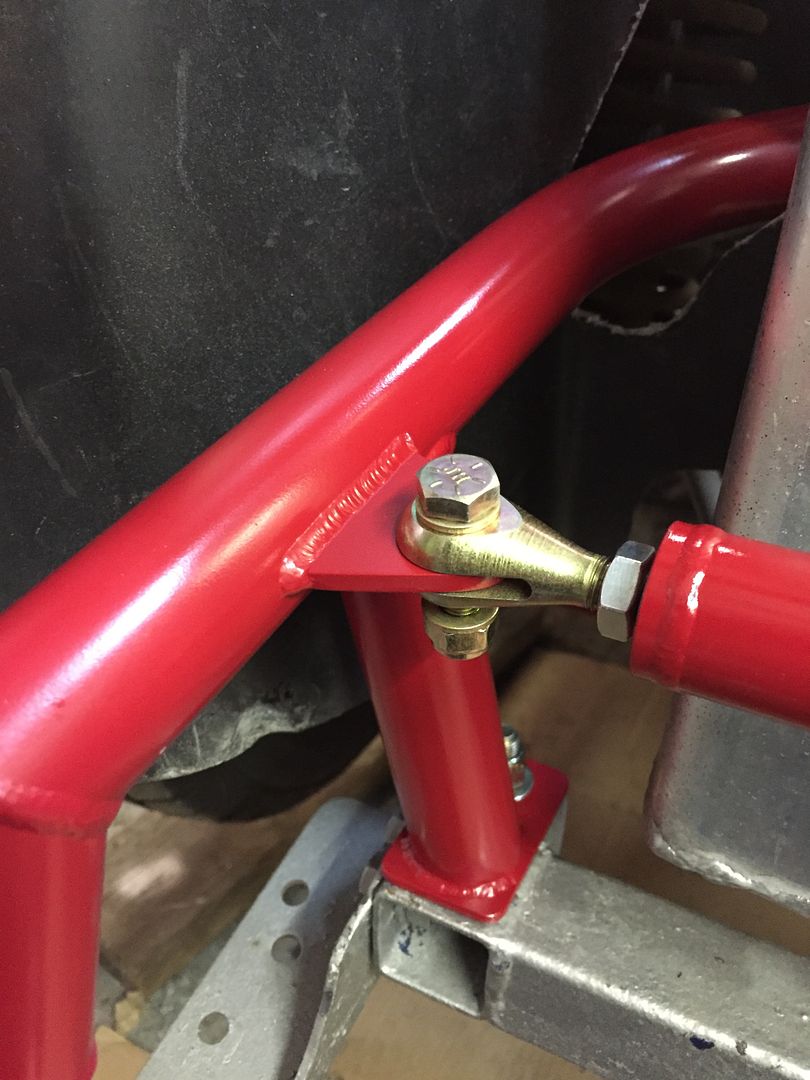


All finished up!


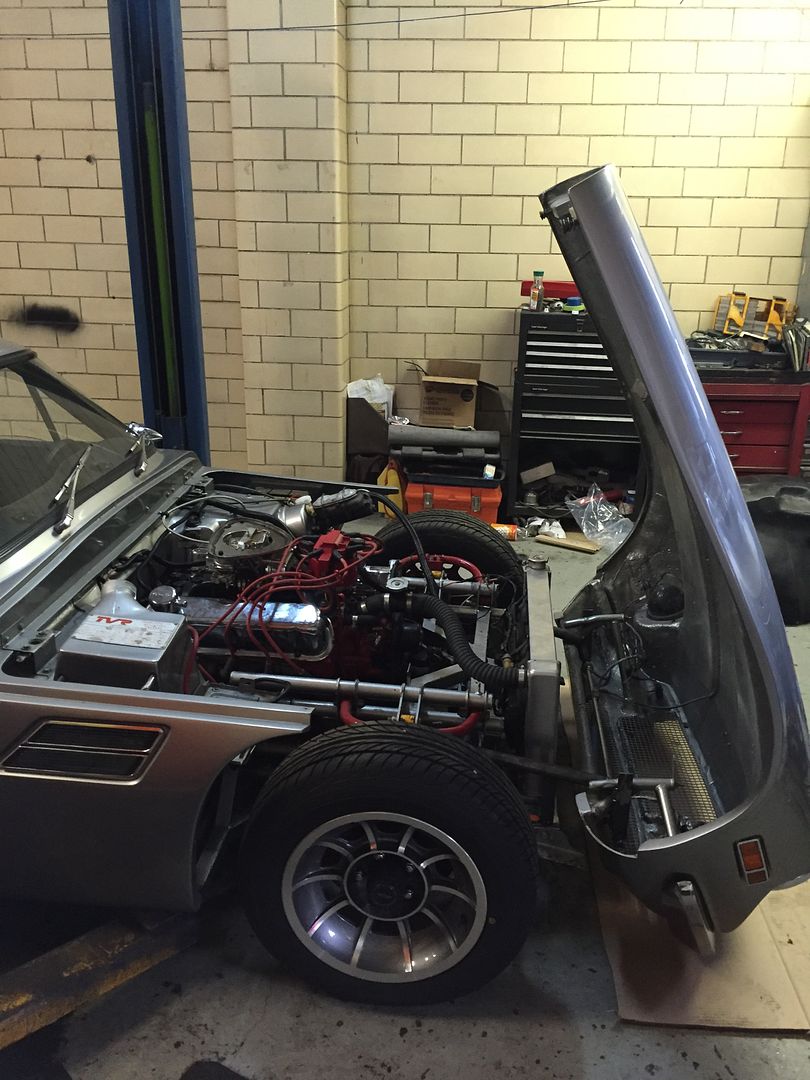
With the hood open, there is 1-1/2" clearance under the front bumper.
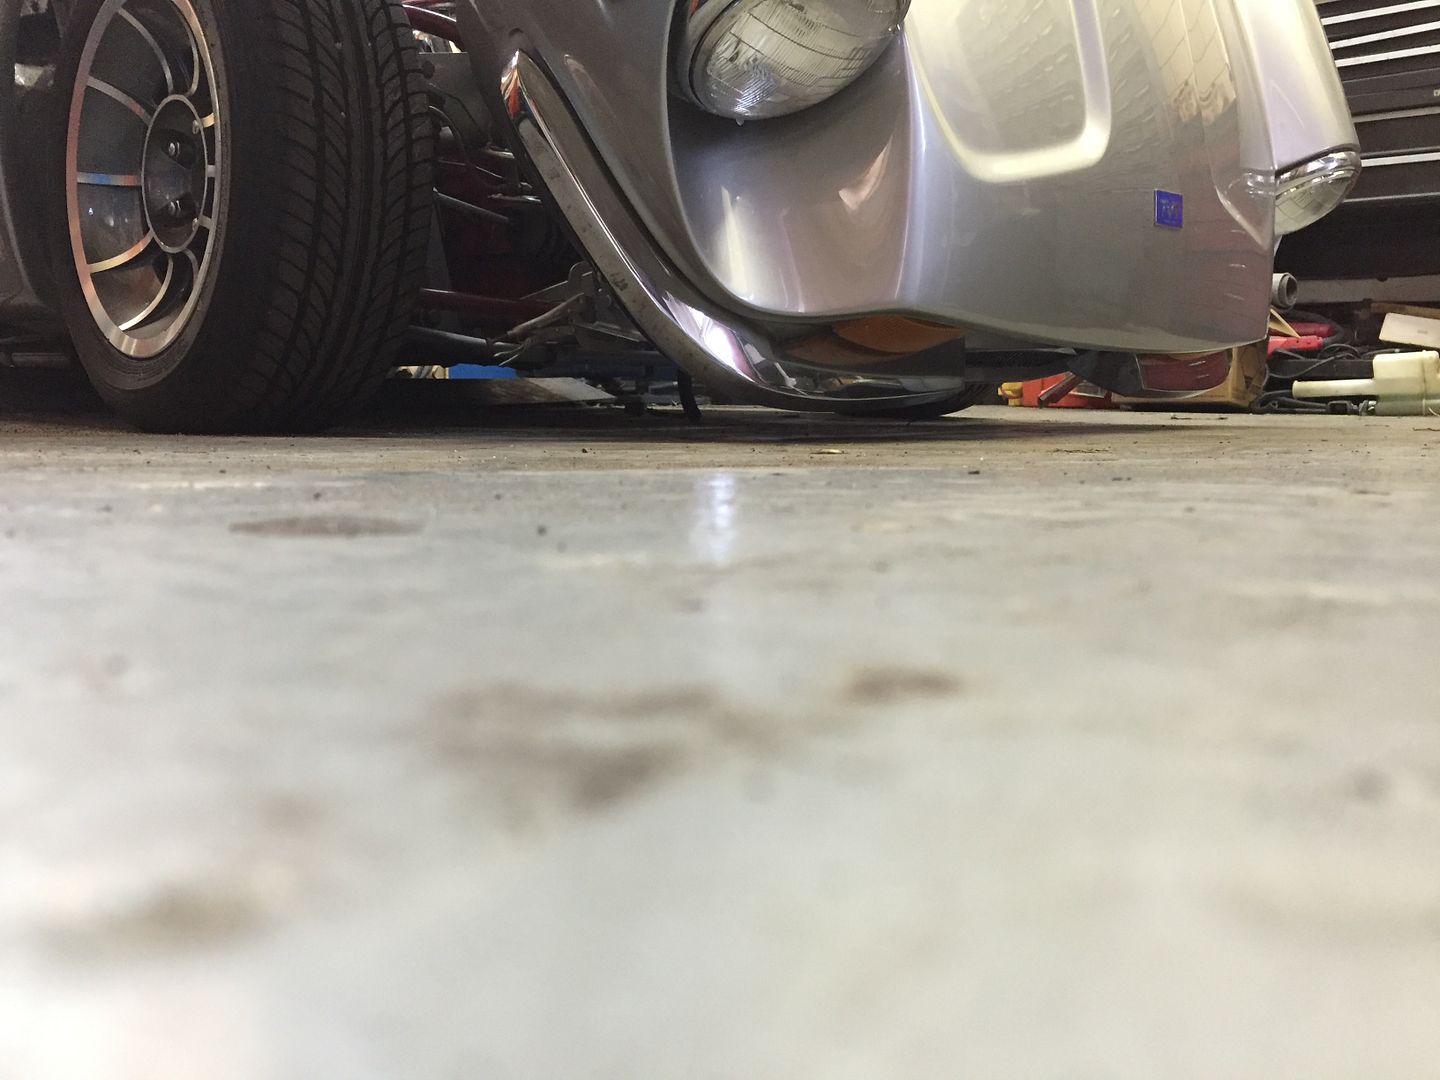

This picture also shows the trimmed fender liners, which I forgot to take detailed pictures of.


Here is a quick before and after.  Before, the hood opened to 21"
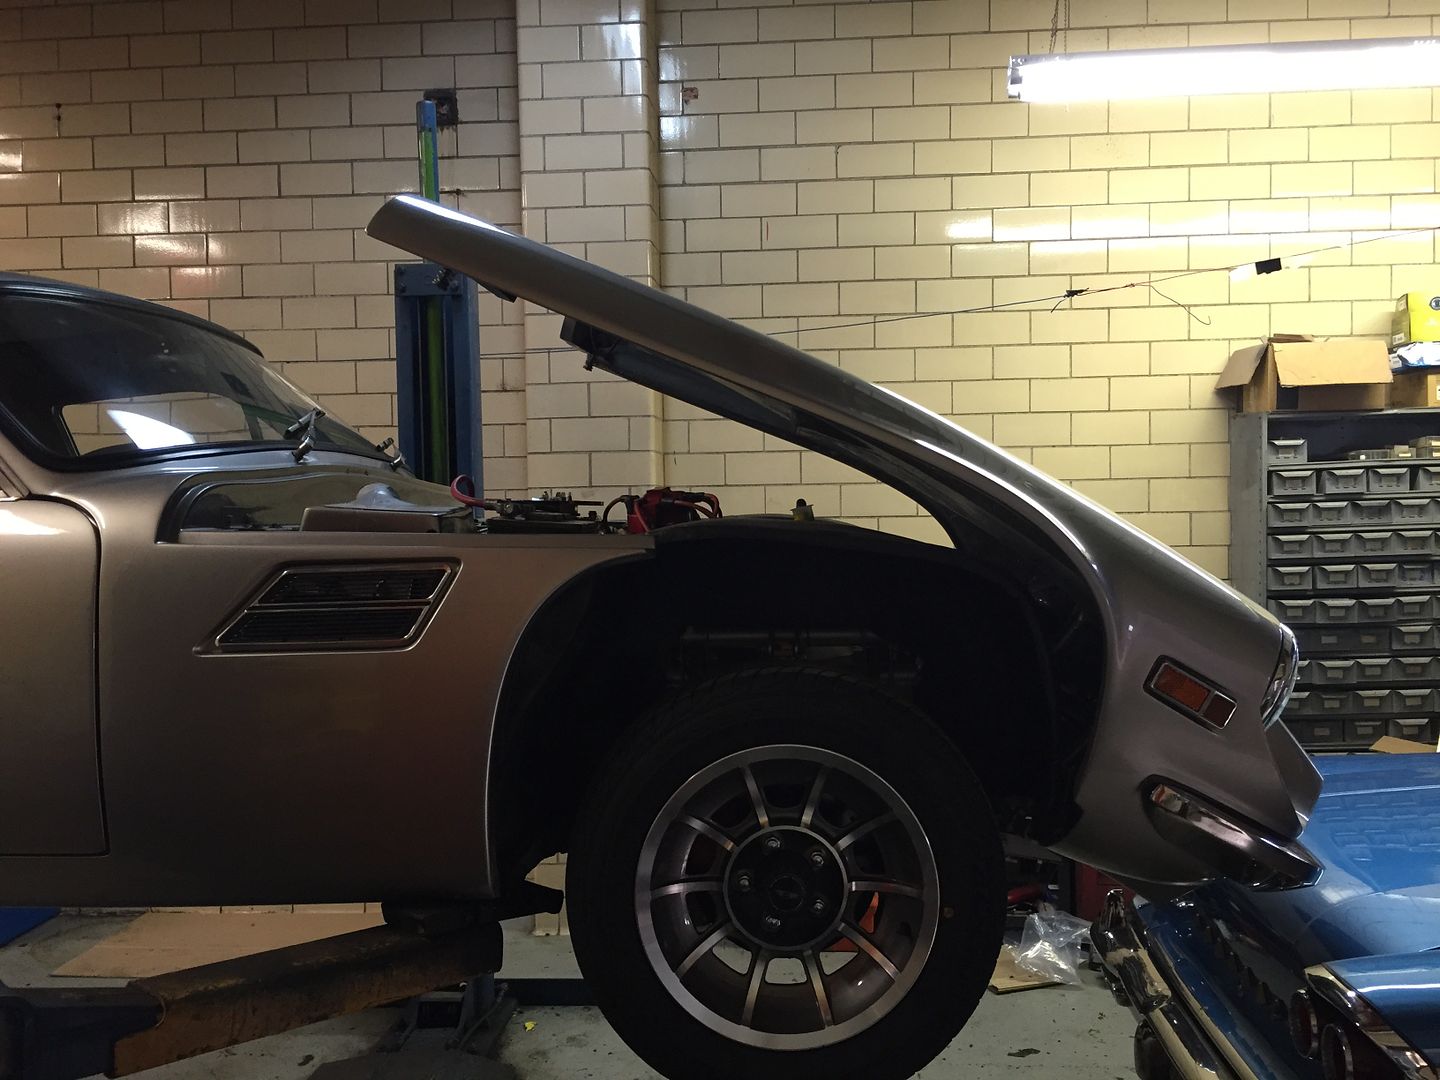
And After.  Full opening.
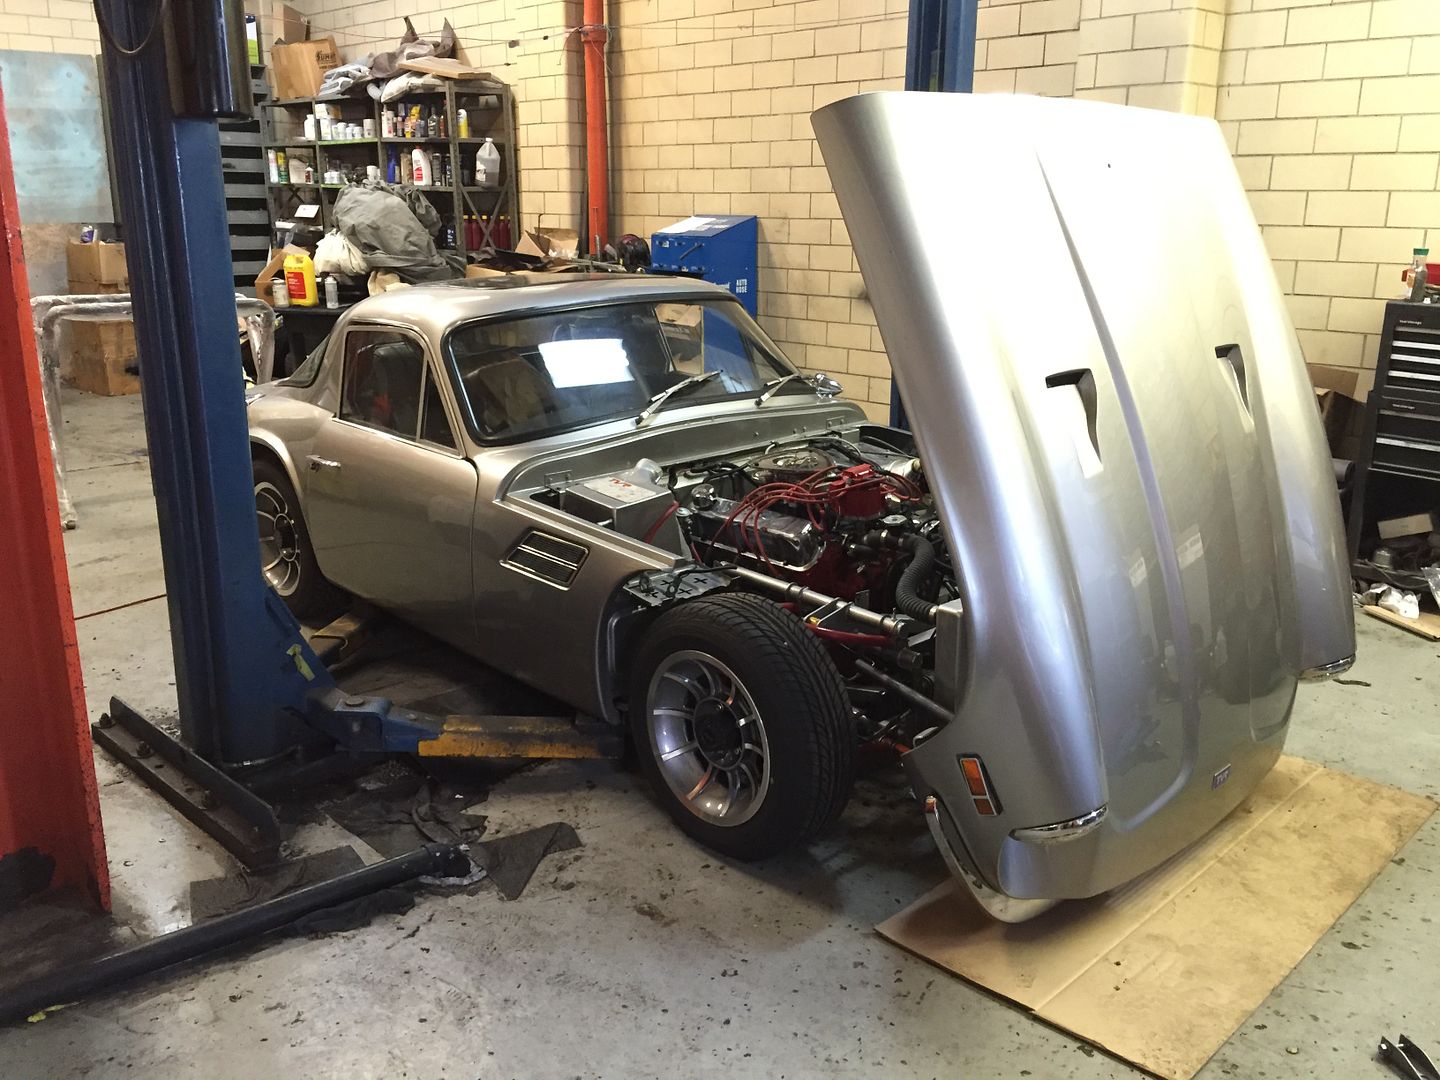

After finishing up, I had a lot of cleanup to do.  I unpacked all of my tools, including my welder.  Nobody was around to help me lift it out (this is a heavy fucker by the way), so I used the lift!


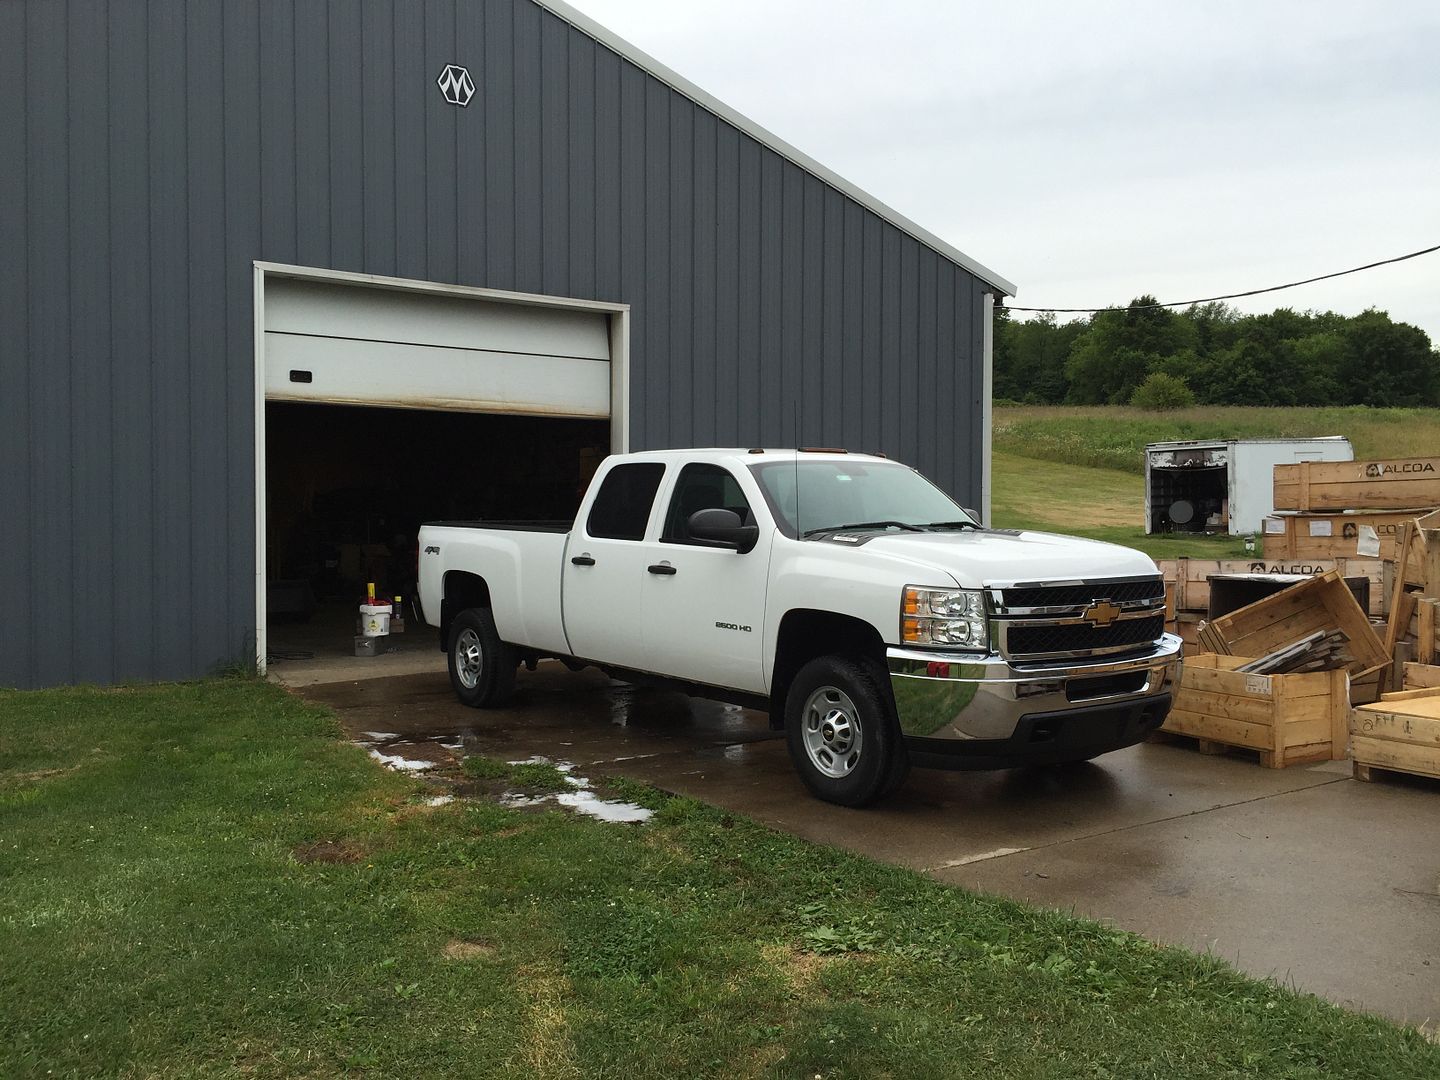
Then I spent 6 hours cleaning my truck inside and out.  This may be the cleanest it has ever been.


Wednesday, June 29, 2016

I've been into something a little different lately.  I have been working with a local shop, Fort Pitt Classic Cars, on a 1974 TVR 2500M.  I was asked to redesign the hood hinge structure and fabricate all of the necessary components.

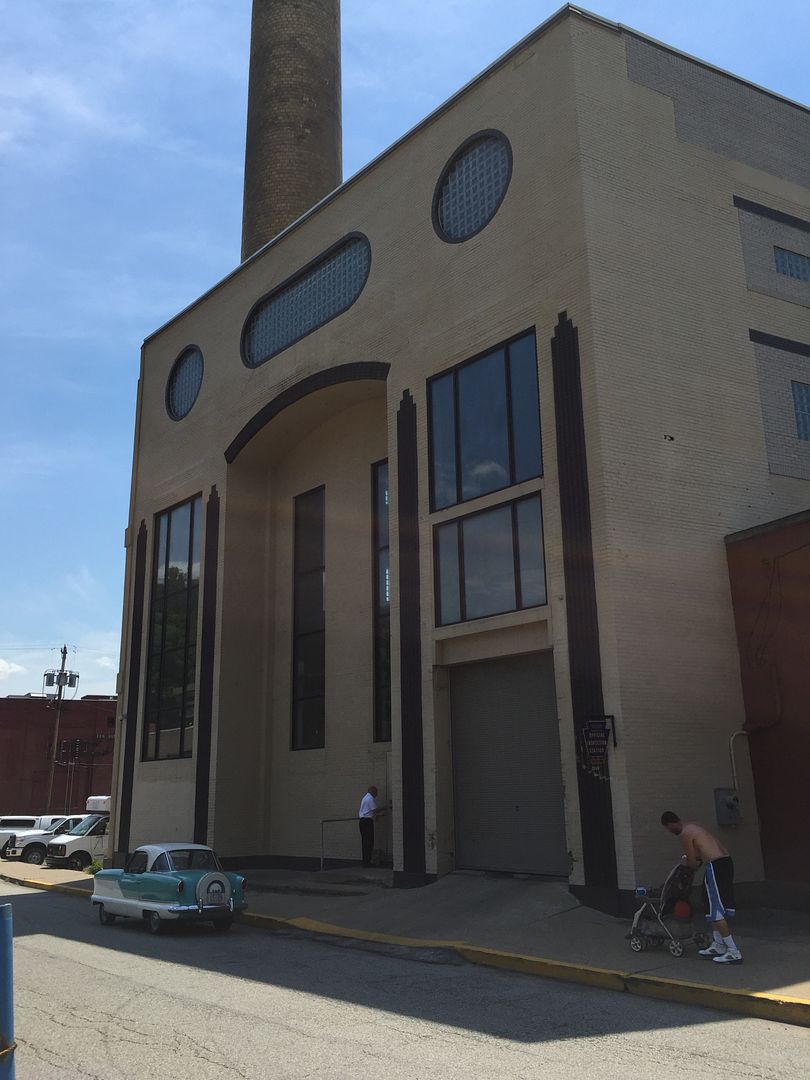
I have been working out of their storage and detailing facility, which is located in an old brewery.  It's a super cool old building full of super cool stuff!


The original hood, which opens forward, did not open very far.

The hood only opened enough to peek inside, but not enough to do anything.  It also didn't stay open, you have to hold it the entire time.

So I came up with a plan.  I decided to keep the simple single-pivot hinge, but relocate the pivot point forward and upward.  I traced a profile view in DraftSight and played around with the dimensions to determine how far it had to move.


Here are the mechanics of the original hinge.  It's a bunch of garbage welded together, based on a piece of Unistrut spray painted silver.  Fucking fantastic.


Here is the structure inside the hood.  The workmanship on these things was pretty horrific, I'm not sure if these bars were bent from the factory or if they had been damaged at some point.  Oh well.

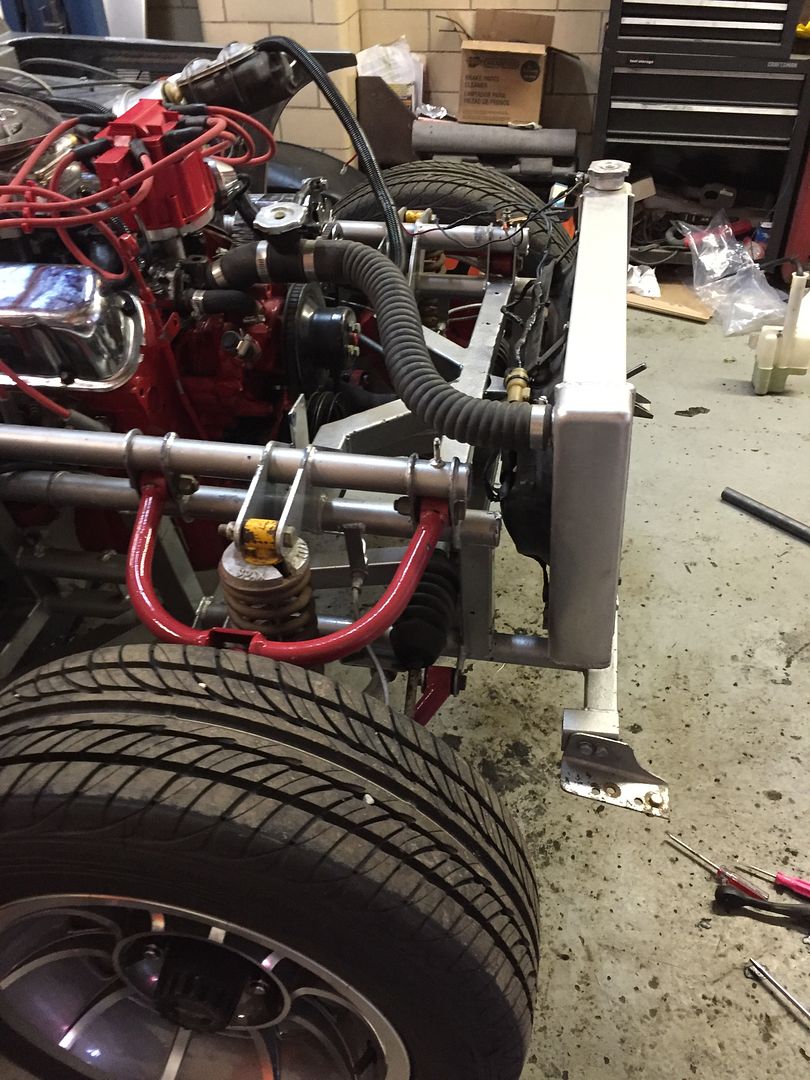
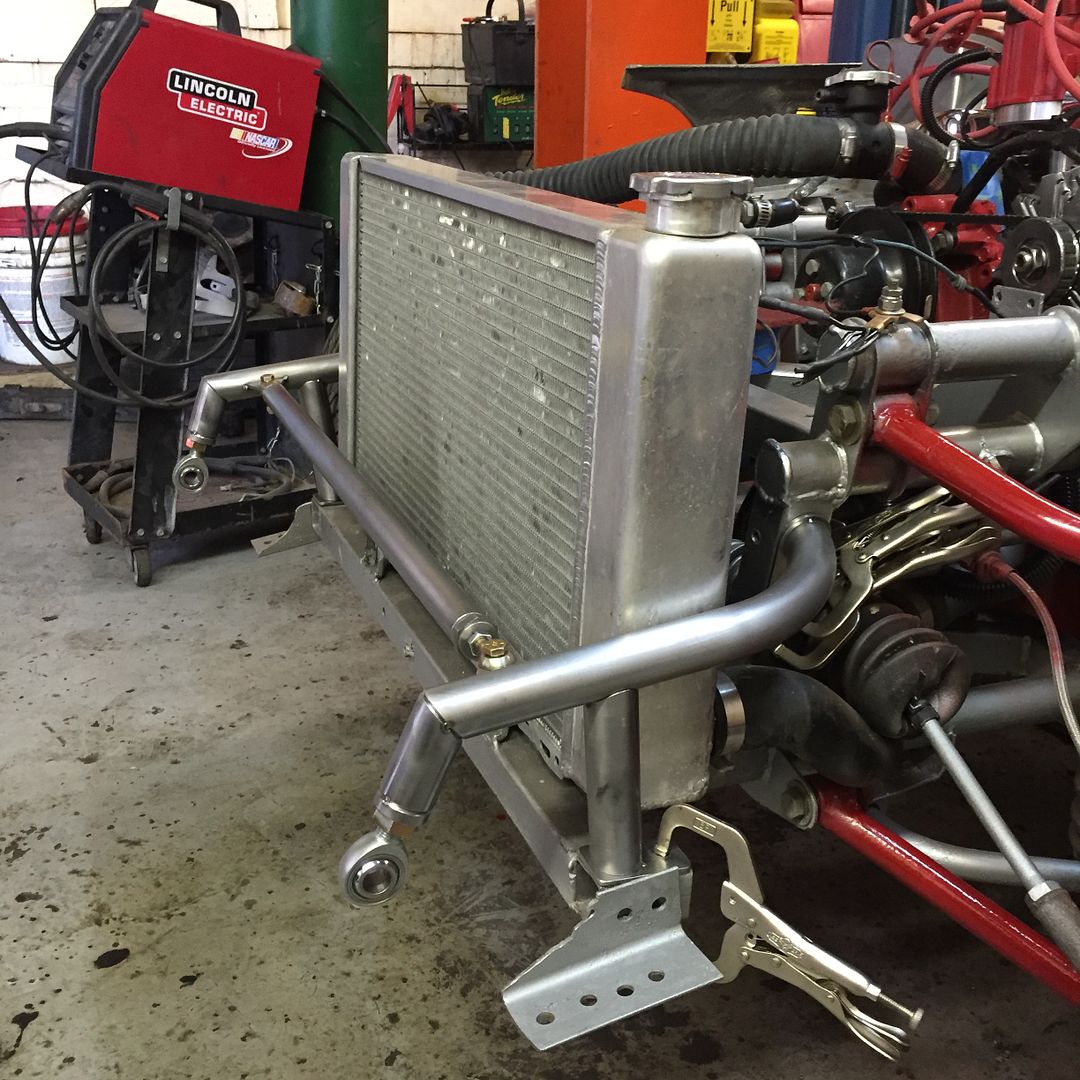
There isn't a lot of real estate up front, and certainly not a lot of structurally sound areas to tie into, but I decided to sneak a bar beside the radiator to support the new hinges.


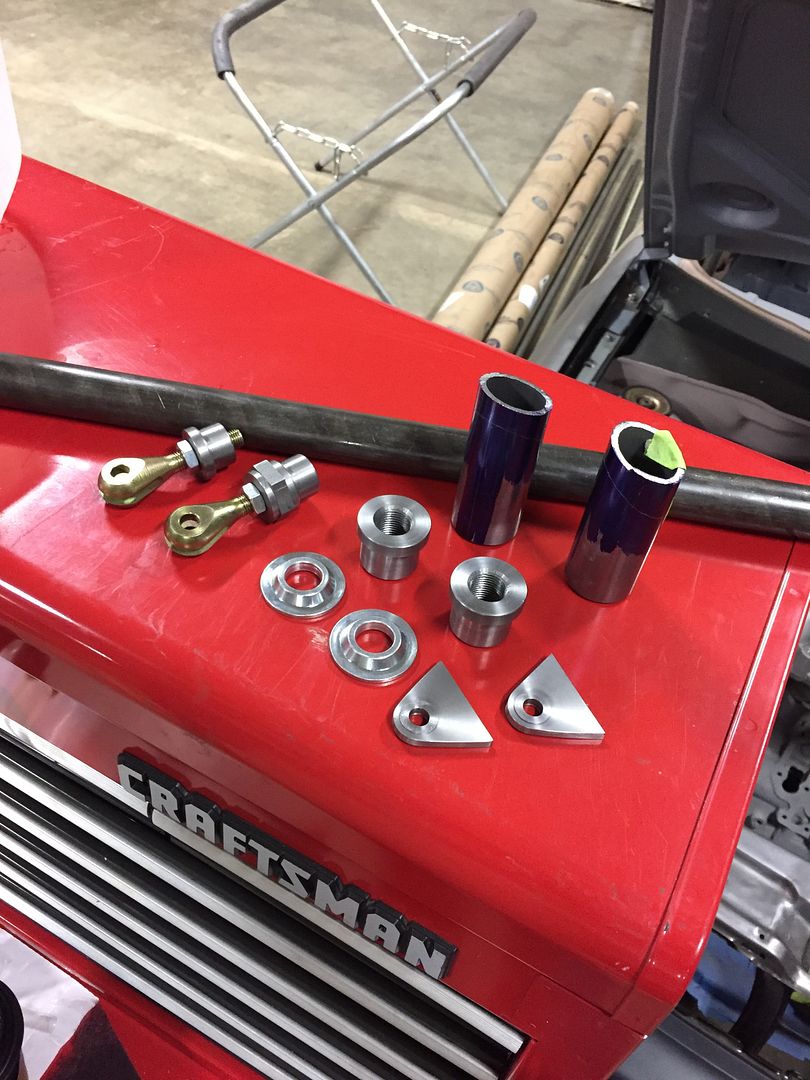
To get started, I decided to build a 'mock-up' hinge on the car using scraps.  I machined enough parts to make it partially functional and hold the 5/8" rod ends I will be using for pivot points.

With the hood in place and aligned, I clamped and tacked together a bunch of junk to get the dimensions correct.


Success!  The hood now stands almost completely upright, and it sits at a self-supporting angle (from the weight of the headlights) so gravity holds it up.


Now the hard part begins.  I built a jig off of my mock-up pieces in order to copy the dimensions from the car to my fixture. After the jig is built from the mock-up pieces, it will be used to make the final pieces.

I started by machining all of the little bosses and hardware required.


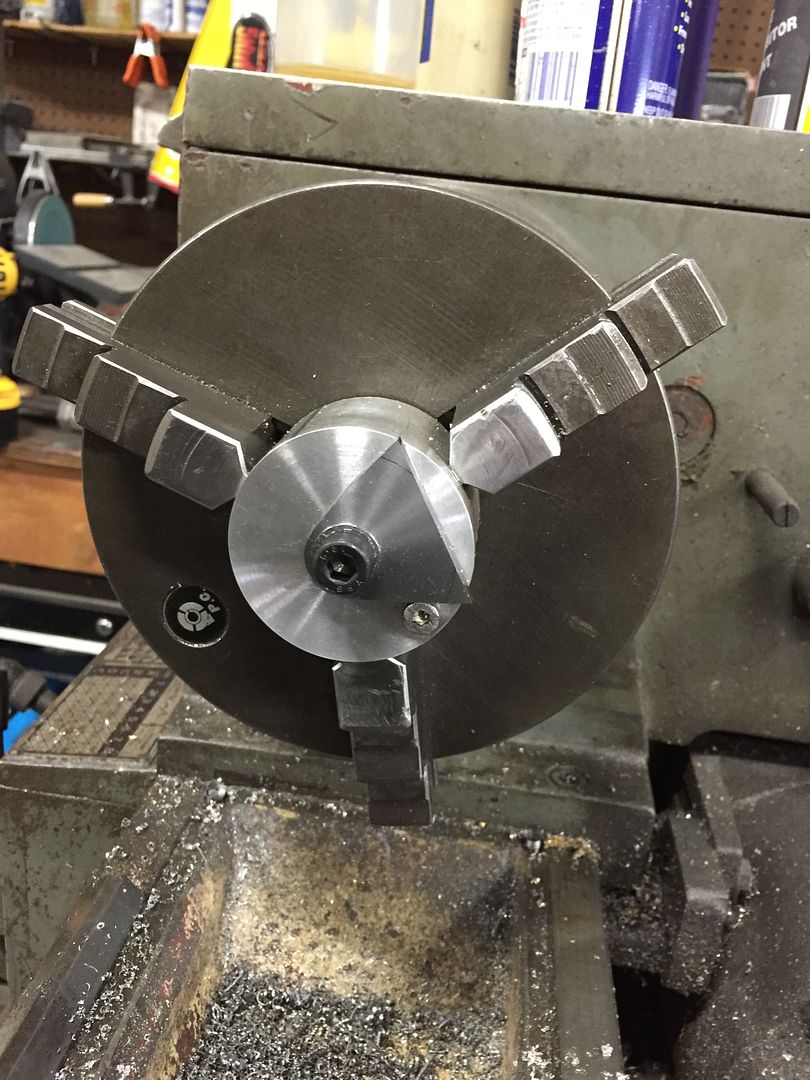
I am using a clevis on each end of my crossmember, and one thing always bothers me about these.  In order to install them, you MUST destroy the paint on the tab.  So I came up with a solution.  I machined this fixture in my lathe:


Then I mounted each tab in the fixture and turned down 0.015" from each side.  This effectively creates a raised boss that will be clamped tight in the clevis while the rest can be painted and remain scratch-free.


Fast forward a couple steps, and the first side was built and tack welded together.  This is made from 0.120" wall mild steel DOM tubing and 1/8" thick plate.

Both sides tacked and in the jig

With the pieces tacked together, I fit them into the car to place the crossmember and perform another test fit before finish welding.


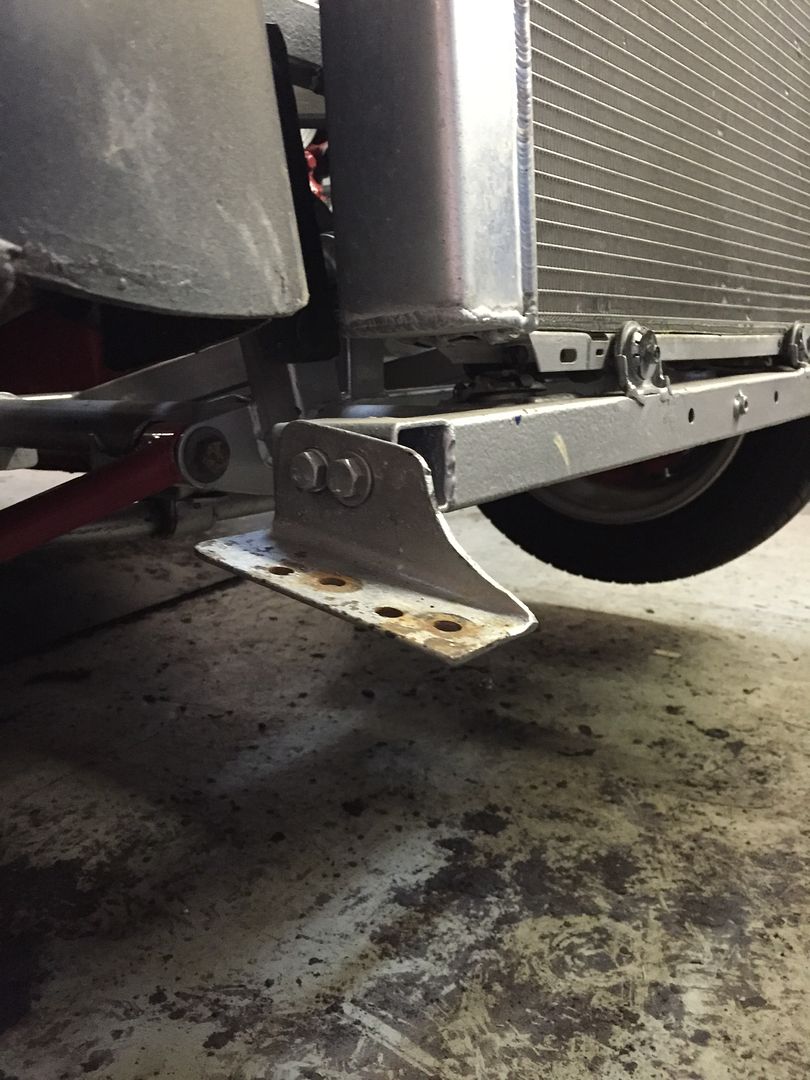
Because the radiator is asymmetric, actually the whole damn car is asymmetric, but I had to clearance the left side support beam.  On site I just ground until it cleared.

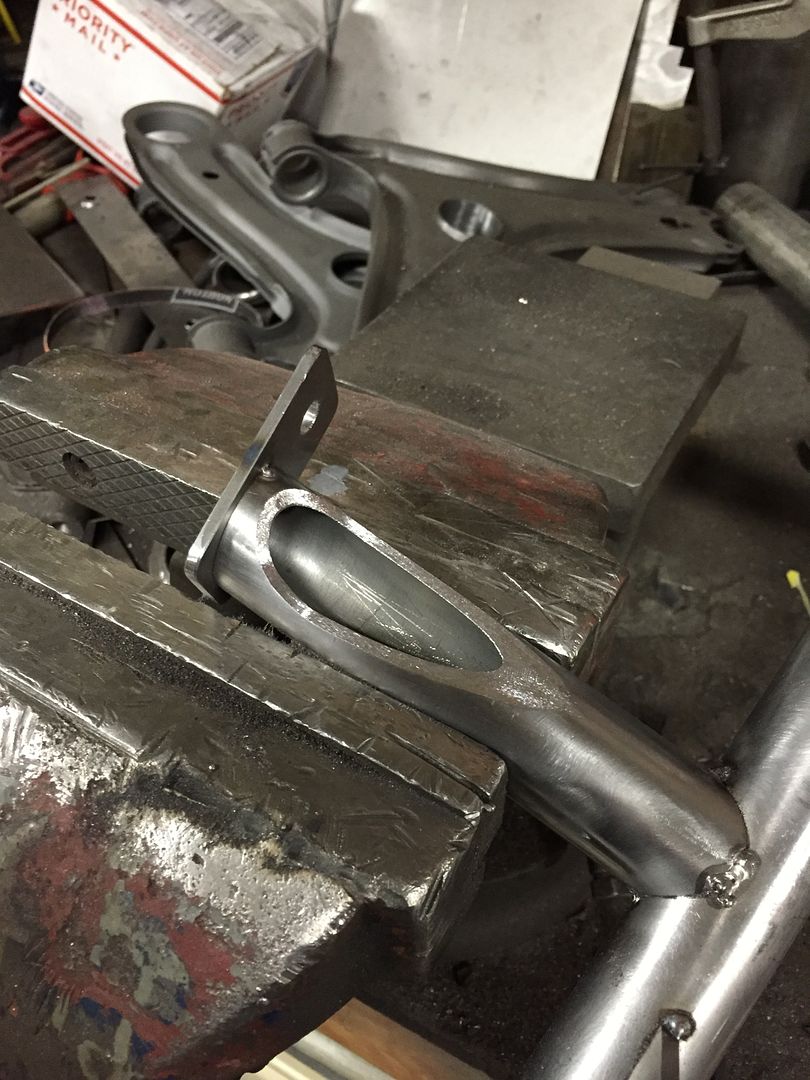
Back at my shop I decided to do a little better.  I cut out a teardrop shape, made a template, and filled it with sheet.  P.S. don't mind that horrific TIG tack, I was having Argon issues.  And also skill issues.


And I forgot to take a picture of the finished clearance dent.

Anyway, this project will be continued! I dropped off the parts in the fixture to Bill Lewis for final TIG welding.