Monday, November 24, 2014

I did a little more work on my fan shroud this weekend.  I started thinking about it, and couldn't remember exactly when I started building this thing.  I knew it had been a while, but I started digging to find some actual dates.  It started on April 29, 2010 as a few emails with my friend Chris D'Eramo debating the design details, then I uploaded this picture on May 1!  I started this piece 4-1/2 years ago.  My sheet metal skills have definitely improved since then, so I've revisited some of the construction.


When I left off, I had finished the fan mounts, but they were still not welded to the plate.

They closed up a little bit during my last welding operations, so I had to straighten them out a little bit!

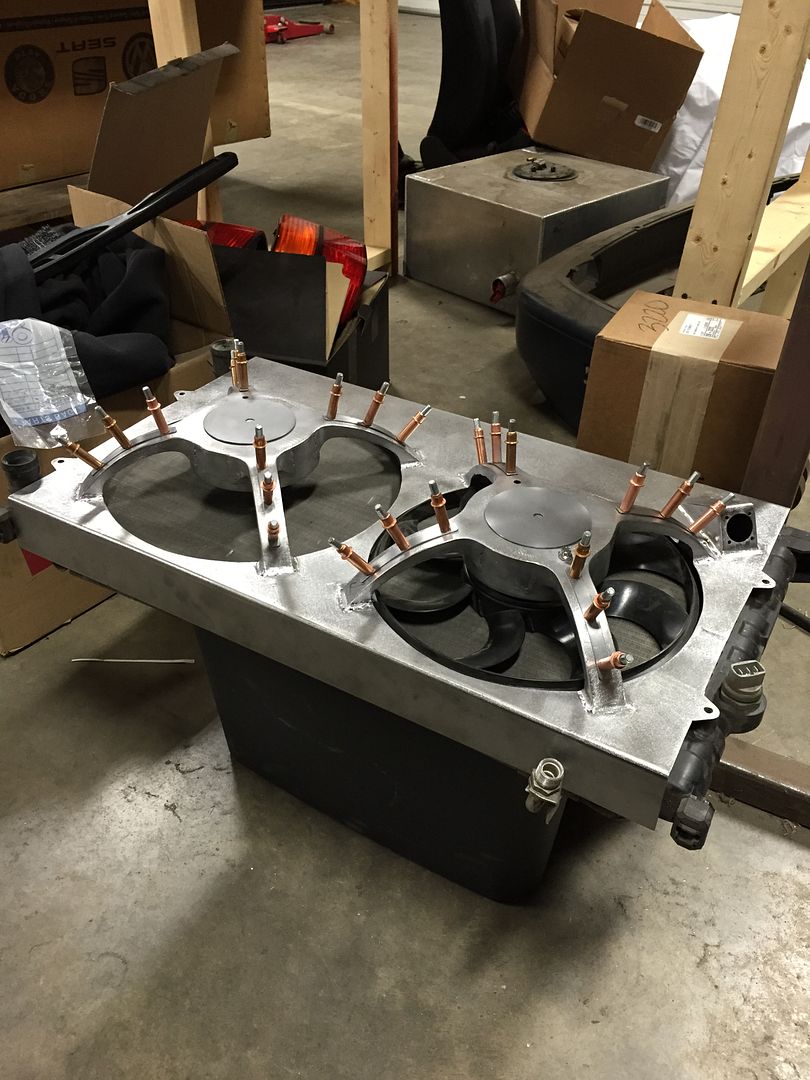
Fast forward a few steps - the fan mounts are welded into the plate and all of the welds are ground.  To minimize distortion, I laid a bunch of ugly, cold MIG tacks and ground them smooth.  I originally wanted to have Bill Lewis TIG it up, but I wouldn't be able to manage the distortion on such a thin, flat plate.


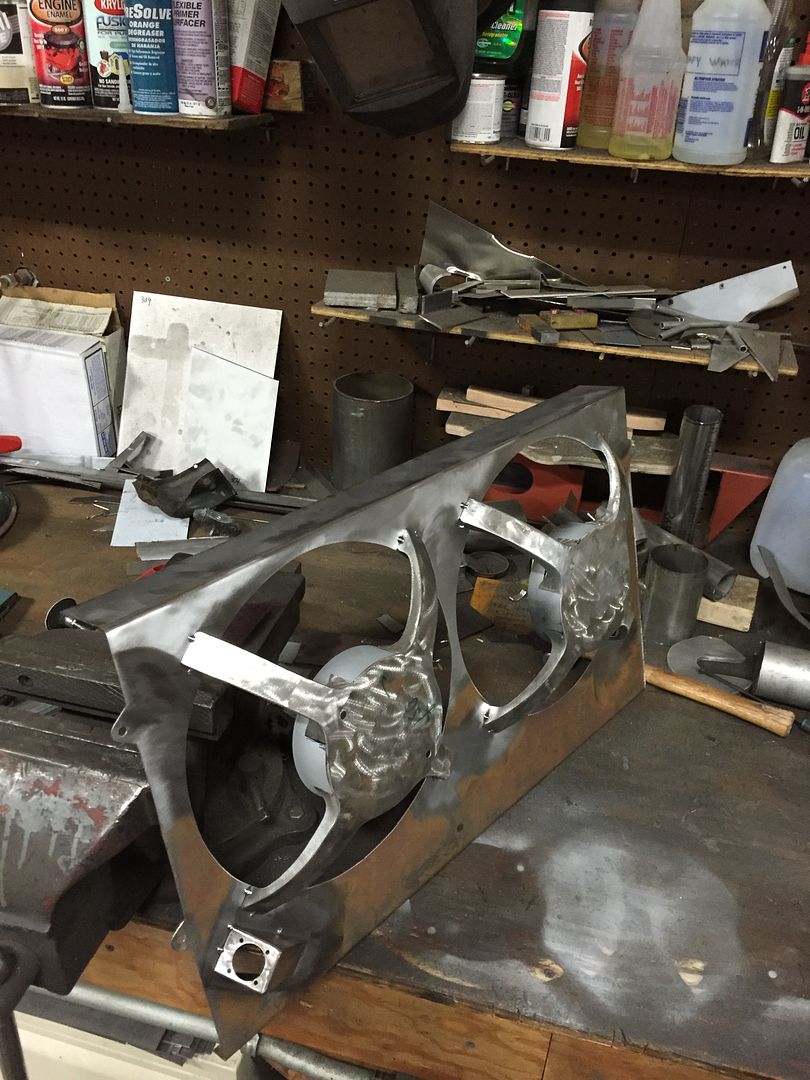
The big wide open areas looked a little too plain, so I decided to add some ribs to break it up.  The plan is partially shown here in white paper.

I'm getting greedy now, shearing sheet metal to 3 decimal places!  Each piece is tailored to the width and taper in each leg of the fan blades.  If I cut all 8 the same, the proportions would be off on the legs that are slightly wider or slightly narrower than the average.


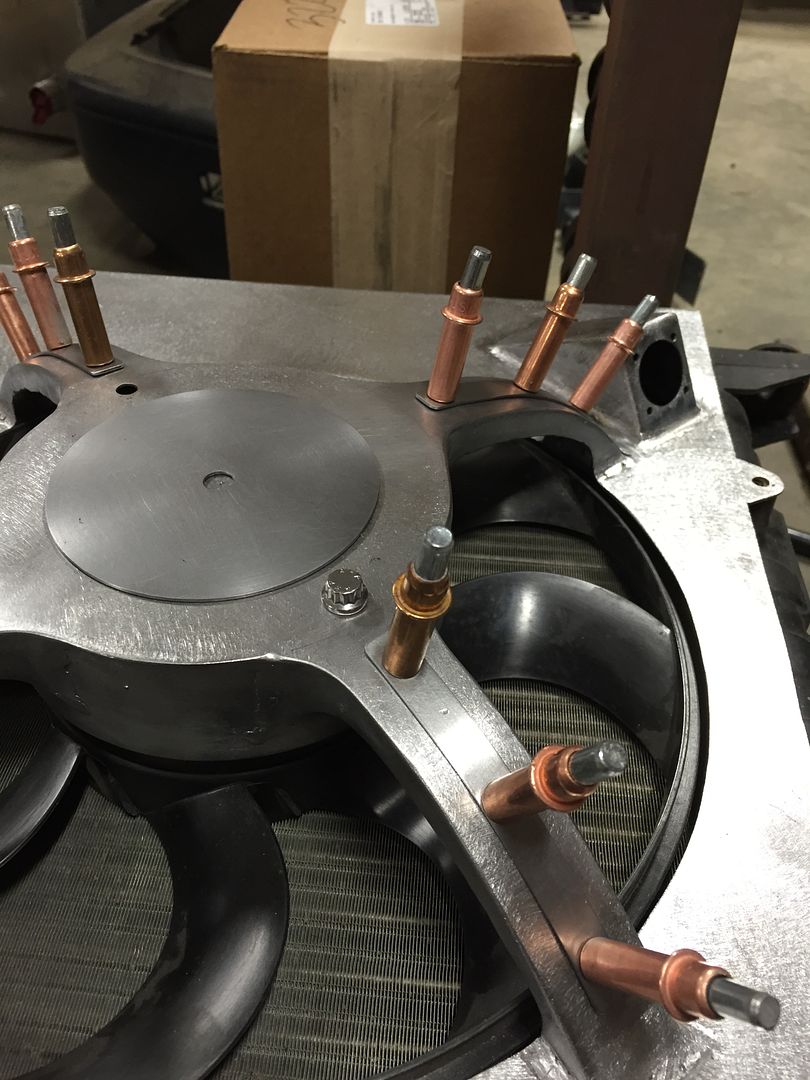
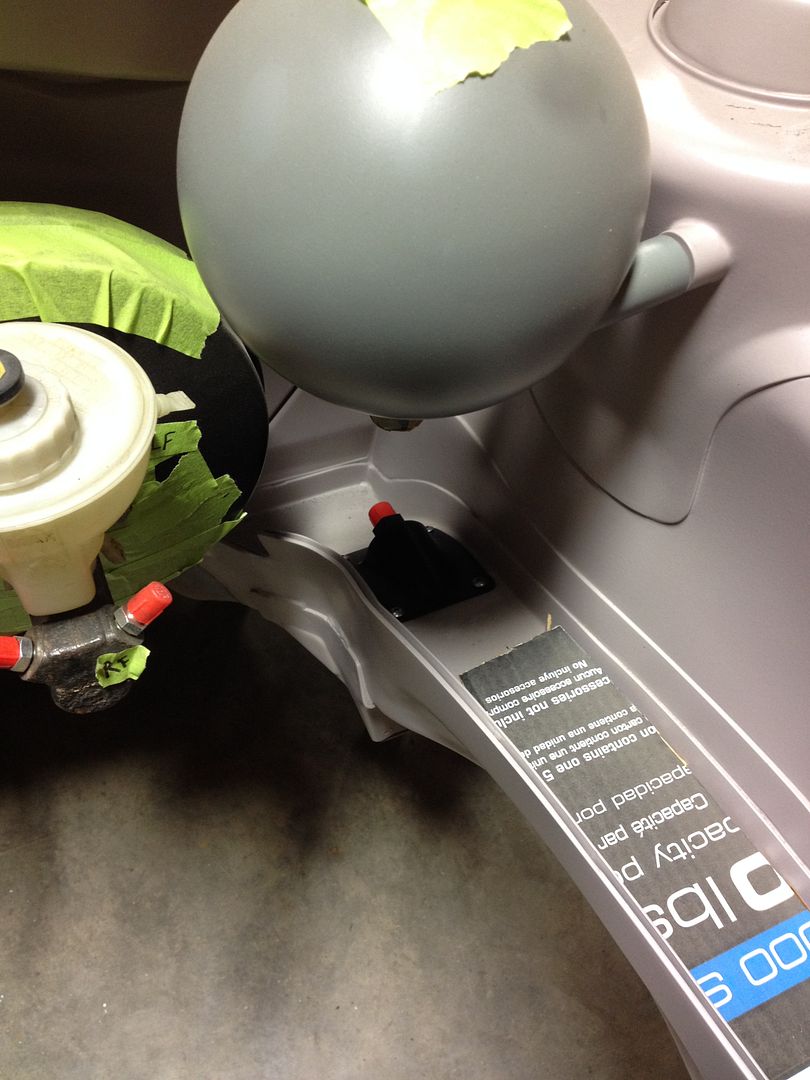
I also made some round plates for the center of the fan mounts, just to add something to break up the big flat surface.  I needed two 3" diameter 18ga steel plates, so I cut them into octagons in the shear and rounded them off in my lathe.

To bend the ribs to their shape, I cut a wood fixture.  Every once in a while I get to use my first real hammer - this Stanley steel-reinforced claw hammer was a gift for my 9th birthday!

I pressed each of the 8 ribs to match the curvature of the fan mount legs.  I guessed pretty close on the amount of over-bending required, they all fit pretty well.  You can see the desired radius marked on the lower wooden plate, it's slightly wider than the radius cut into the fixture.

Fast foward a few steps, I mounted each of them in their spot and drilled for Cleco clamps.  I'm going to plug weld these in place to preserve the edges.


Thursday, November 20, 2014

I finished building my fuel tank this weekend.  I assembled the Aeromotive Phantom in-tank pump setup, which is a pretty nice piece.  I'm also using a JAZ level sensor.


The Aeromotive pump setup includes its own foam and rubber baffle setup, which makes the tank fabrication much simpler.  It even includes a fixture to stuff the foam into the tank without cutting it on the sharp edges.

All buttoned up with stainless fasteners and gaskets.  I'm waiting on a few -6 O-ring boss plugs before I can pressure test the assembly, but I'm sure it will be fine.

I made this fan shroud a few years ago, and I'm finally getting back to it.  I decided to clean it up a little bit.  Previously the beams or legs were open on the inside, but I decided to close them in.

I got it a little too hot during the welding, and the entire thing shrunk and puckered up!

I cut it back apart, ground all of the welds, and straightened out the flat panel.  The next step is to weld the panel to the fan mounts.


Sunday, November 9, 2014

I officially finished all of the brake lines and hydraulic lines this weekend.  I had to finish one bend and flare for the right rear brake line, and I also added a few P-clamps.

The old P-clamps were mounted a little higher, these ones are closer to the bend.


I also added P-clamps to all of the 3/8" hydraulic plumbing.  These are rubber-lined stainless steel, and they mount through an M5 rivnut.


All of the hydraulic lines are done, so I removed them from the car and capped all of the ends.


Speaking of rivnuts, I replaced some more of the factory threaded studs with rivet nuts.  The stock clips and sheet metal nuts don't look very good, now I can use stainless bolts.

I spent a lot of time cleaning up a bunch of old welds under the car.  These were all welded 6-7 years ago, and I'm not real proud of most of them!

Some of them I'm re-welding, others I'm just grinding smooth.


So occasionally Pandora plays this song... and it always seems like the line "the surface shines, while the inside rots" plays at the exact moment I'm doing something I'm not proud of haha.  The last few times have been while I was re-painting some part I didn't rebuild internally, and this time I'm grinding off shitty old porous welds so they look nice.  Fuck you, Rise Against, I'll make my car shiny if I want.


Grinding over your head sucks.  My eyes and lungs are itchy.

I welded a few more patch panels under the car - these are the last ones.  I forgot to take 'before' pictures, but these areas were all smashed up.


I welded one more patch panel in the interior, and I think I'm officially done with patch panels!  Maybe one more in the trunk, but this is about it.

I threw the motor assembly back into the car, because the next steps are going to be bodywork.  I'm starting with the radiator support, I plan to modify it and clean it up a little bit.

I also need to finalize the fuel line routing once I get the fuel rail in place.


Woody and Sr. have made a lot of progress on their trucks.


The shop is clean and showing a lot of progress!

Sunday, November 2, 2014

New tools!  I bought a 3/8' - 1-1/4" set of SK deep impact sockets, a gigantic punch, and a few freebies from "SK Day" sponsored by the Garage Journal forums and Harry Epstein.  SK went through a bankruptcy a few years ago, and has emerged with a state-of-the-art factory in Illinois.  They brought all production back to the US, and they're committed to making top quality tools here in the states.  This set has replaced the last remaining imported socket set I had in my toolbox.

I had to replace the cooling fan in my welder.  It has been slowly dying over the last few weeks, and it finally quit running.  I was able to get the parts in one day from my Miller distributor, and I could have had it same-day if I was really in a hurry for it.

I finished up the fuel filler neck guard, trimmed all of the edges, and finish welded all of the joints.

I'm sending all of the steel parts for the fuel system out for sandblasting and primer.  Most of these pieces have remnants of my old undercoating, which needs to go, and the sandblaster will reach places I can't easily get with a wire wheel.


I had two more brackets to build before I could consider the fuel system complete.  This one is underneath the rear passenger seat, it will mount the bulkhead fittings for the return and vent lines, as well as hold the fuel filter for the supply line.  I made it out of 304 stainless so I don't have to deal with paint since these fittings will spew raw fuel during installation/removal/service.


I'm not too excited about the T-bolt clamp, I'm going to find something that looks a little better.

I also had to built a bulkhead in the engine bay where the supply and return lines will pass through in their route to the fuel rail.  I made a paper template, then transferred it to 18ga steel.


It's hard to see with the shadows in my photo, but this bracket was designed to match the power steering bulkhead on the driver side.