New tools!
I bought a set of Snap-on 1/4" drive hex bit sockets. My socket drawer is just about complete!
There isn't a lot of room left!
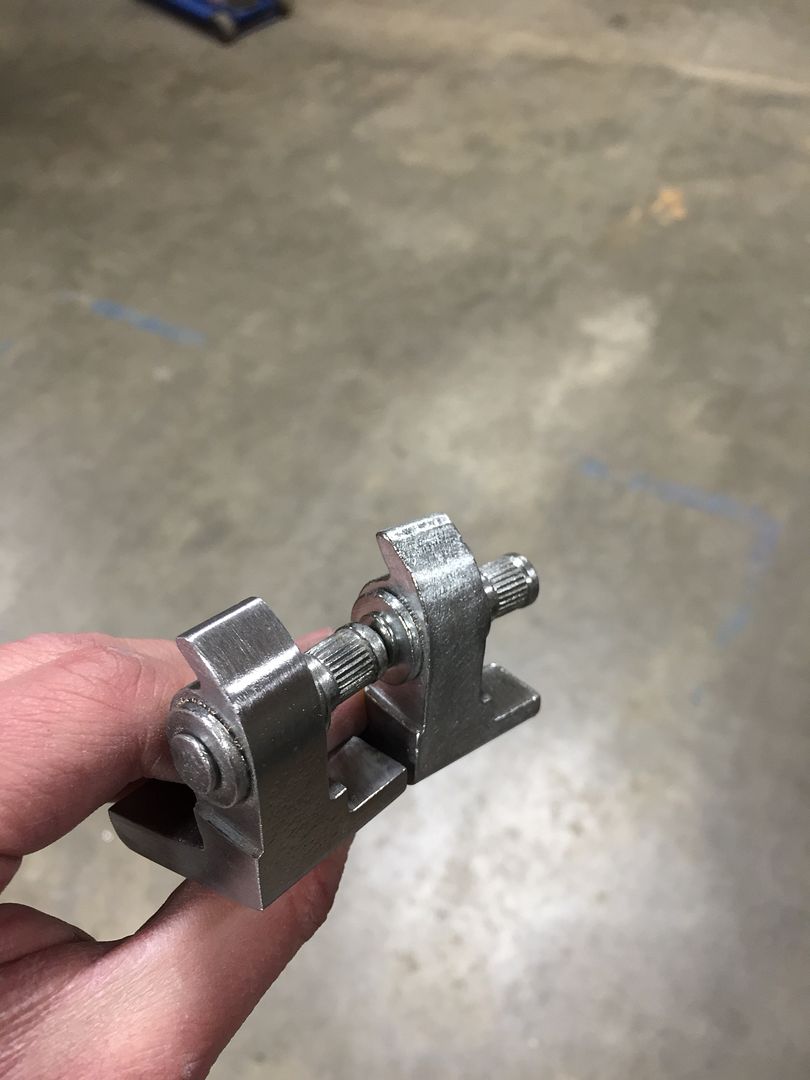
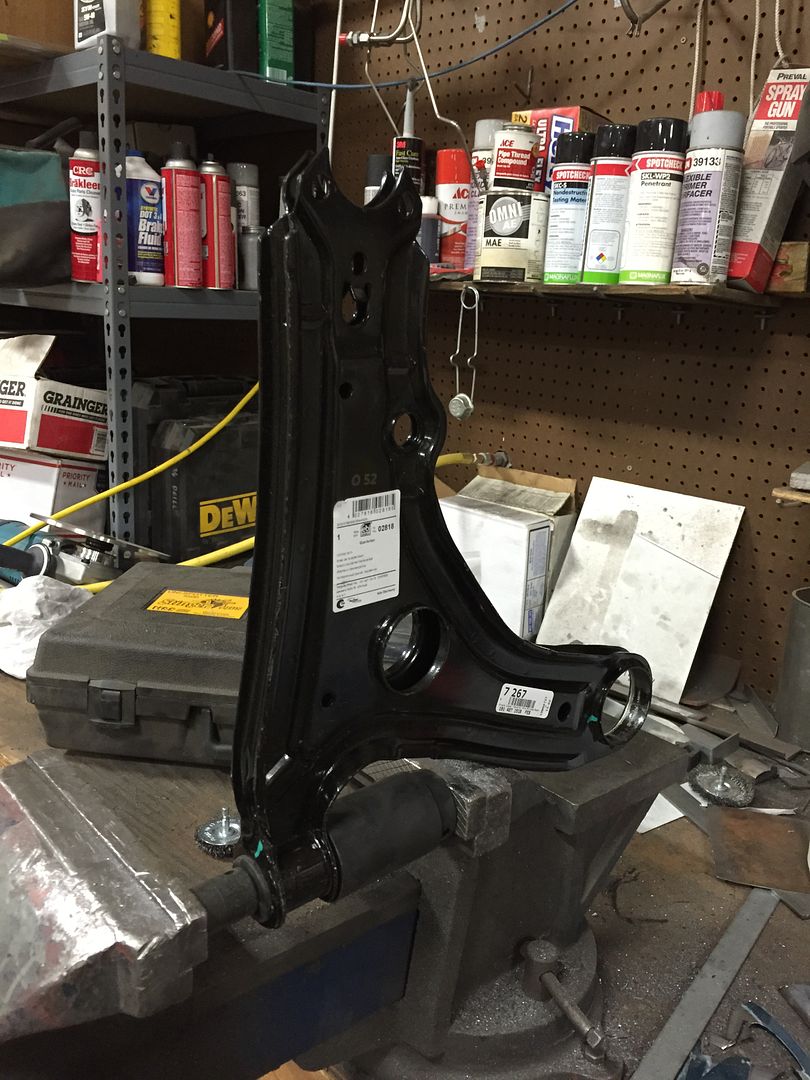
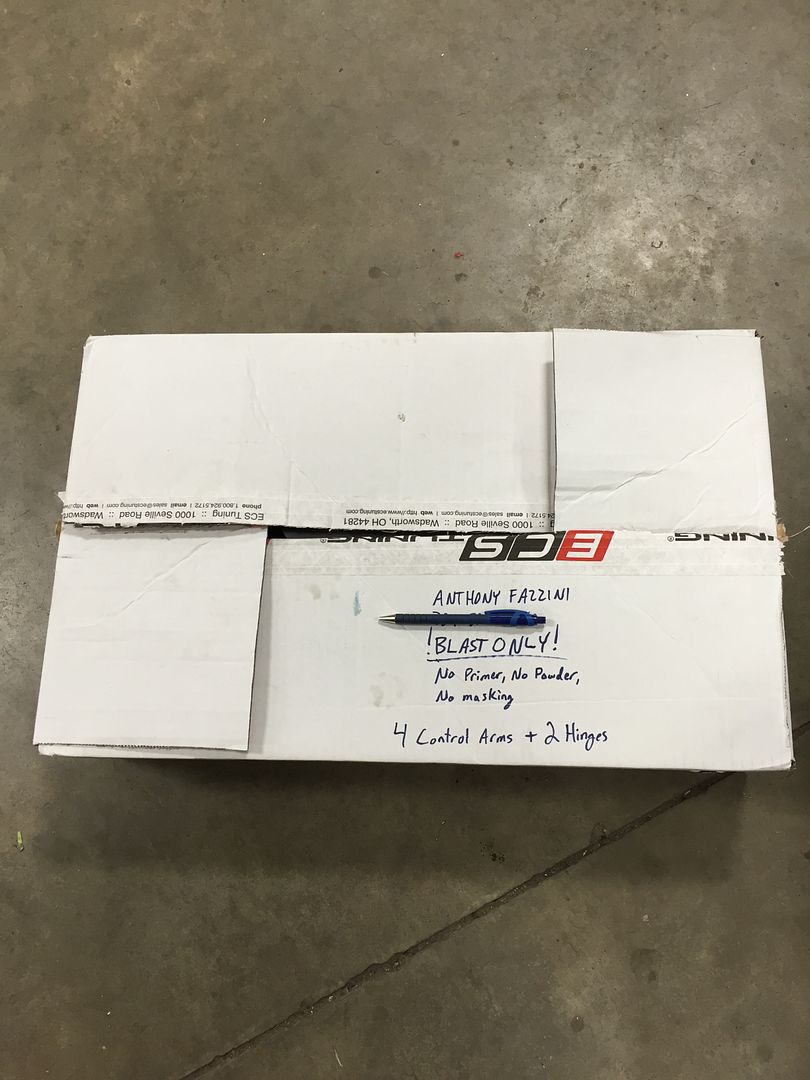
The control arms and trunk hinges I sent for media blast came back, they turned out OK. They're not perfectly clean, but I can get the rest with a wire wheel in a few minutes.
A whole pile of parts and supplies arrived! I ordered a fuel rail and fuel pressure regulator mount from Bahn Brenner Motorsports. These pieces are pretty nice! They have been out of stock for years, and they finally started producing them again.
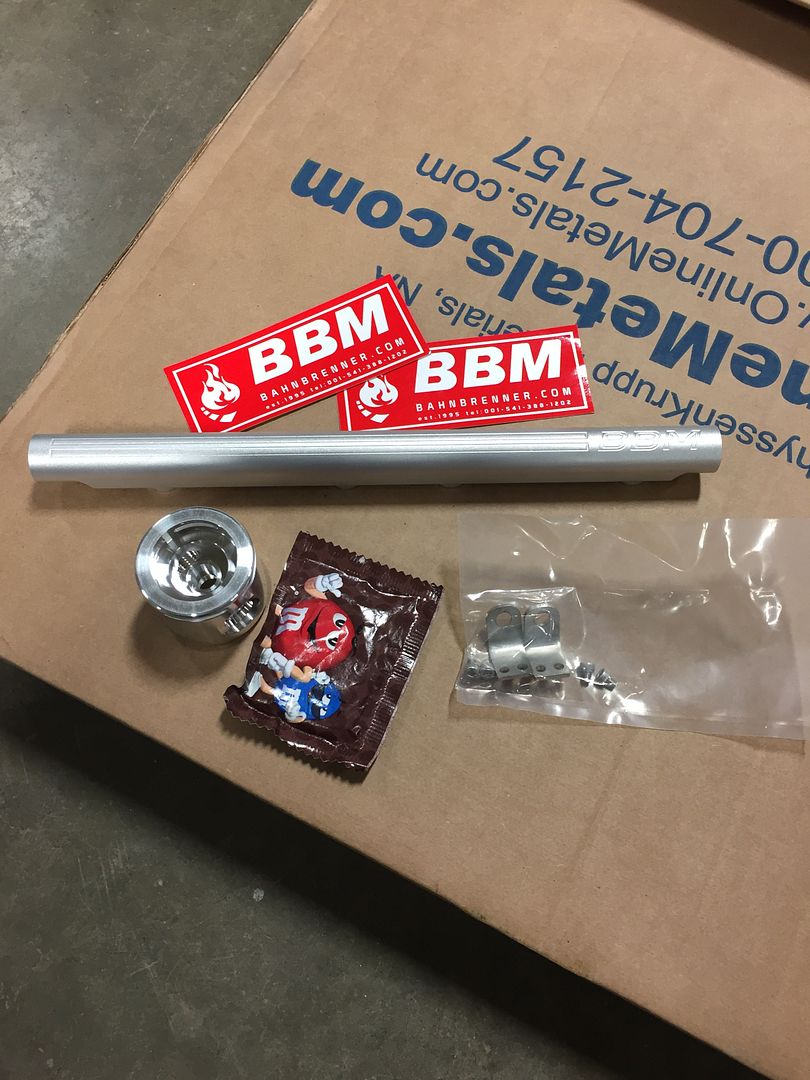
All of the milling marks will be polished out, then anodized, then painted.
SAE -6 O-ring boss ports all around!
A bunch of fancy new abrasives showed up from McMaster, these will come in handy for my next project involving the control arms.
I ordered some super thin stainless steel sheet. I plan on plating all of the hood hinge mounting surfaces so I can adjust or remove the hood without chipping any paint. I'm going to bond sections of this thin sheet directly to the steel and then paint around it.
This is what the area under the hood hinge looked like. This was just filled with seam sealer from the factory, but I decided to weld it.
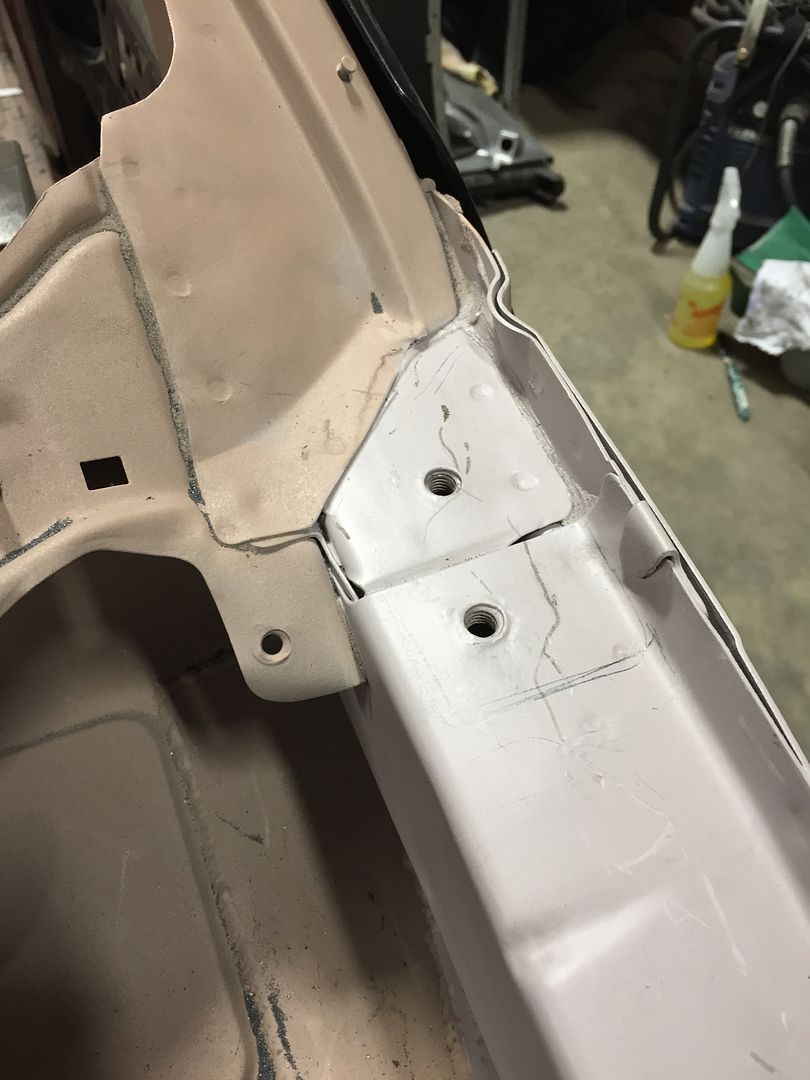
I made a template and cut out the driver side piece first. I wasn't quite happy with the radius where it intersects with the vertical seam, I wanted a softer bend radius.
I clamped a piece of scrap 16ga steel onto the back of it and bent them together, which achieved the larger radius.
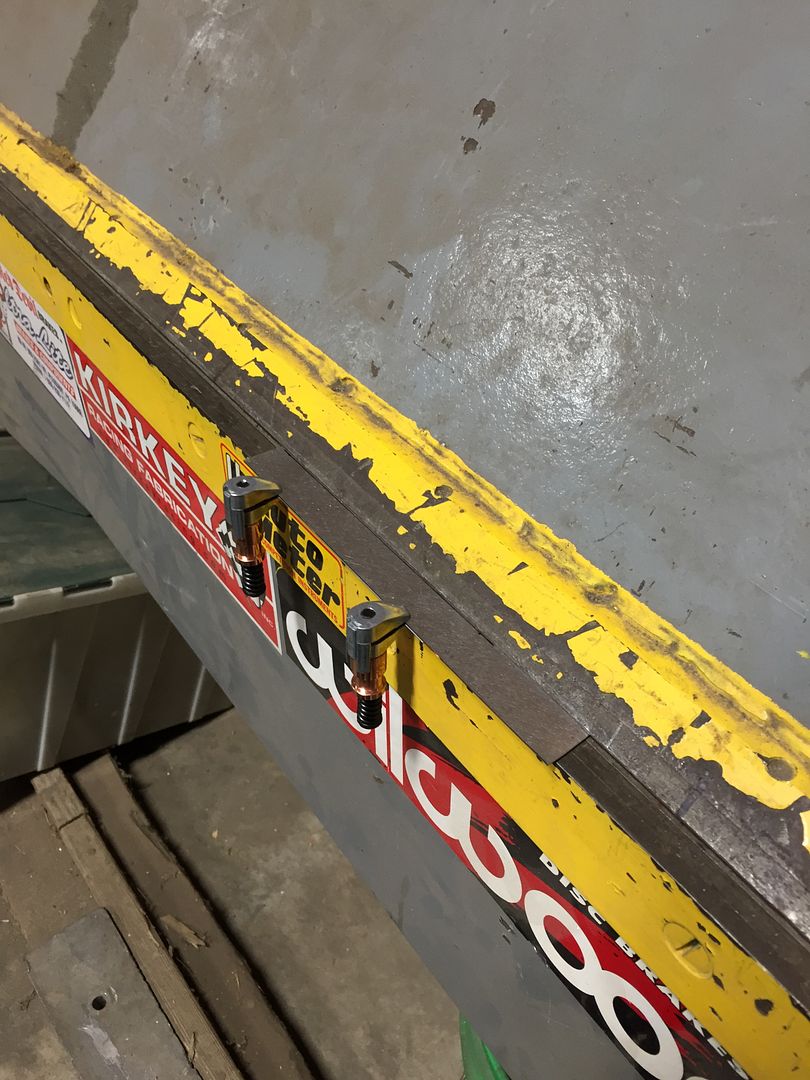
Before on the left, and after on the right.
Much better! This will be much tighter to the factory steel once it's clamped and bonded in place.
With the fenders in place, this will be a small subtle modification that should improve the overall look without being too loud.
Monday, April 27, 2015
Sunday, April 19, 2015
Continuing with the bodywork, I started to prep and prime the door hinges. As with most of the door jambs and underhood areas, the door hinges aren't finished as nice as the exterior panels. I spent some time smoothing out the castings and rough machining marks.
DP40LF epoxy primer
In the foreground is a rear door hinge, which will be visible when the front doors are opened. In the background is a front door hinge, which can't be seen once the fenders are installed. I only cleaned up the rear hinges, and you can see the difference!
I also cleaned up the hood hinges. I filed all of the edges flat, sanded the sharp edges, and rounded the edges that weren't sheared very nice when they were originally stamped.
The cleaned hinge is on the right, original is on the left.
All finished and ready for primer. Maybe even a little putty.
I removed the trunk hinges and stripped them of all the plastic, rubber, and struts. These will be sent out for media blasting since they're a little more complex, plus I have a few other things to go.
I will also be sending four new lower control arms out for media blast. I'm going to make a few modifications to these, which will be much easier with the paint removed.
I removed all of the original rubber bushings, all of the suspension pivots will be replaced with spherical bearings.
All ready for blasting!
Sunday, April 12, 2015
The weather was beautiful this weekend, so I took a break from fender work to prep some parts for epoxy primer since I could spray outside.
The rear doors I'm using are from a 1997, which had locking pins in the bottom corner. My 1994 doesn't have these, so I'm welding the holes in the door.
Along with shaving this hole, I'm smoothing out some of the other areas of the door jamb.
The door jamb stampings aren't perfect from the factory, there are a lot of wrinkles and imperfections. I hammered and puttied around a little bit to clean them up.
My epoxy primer of choice.
I laid the first coat a little light, then followed with a full wet coat.
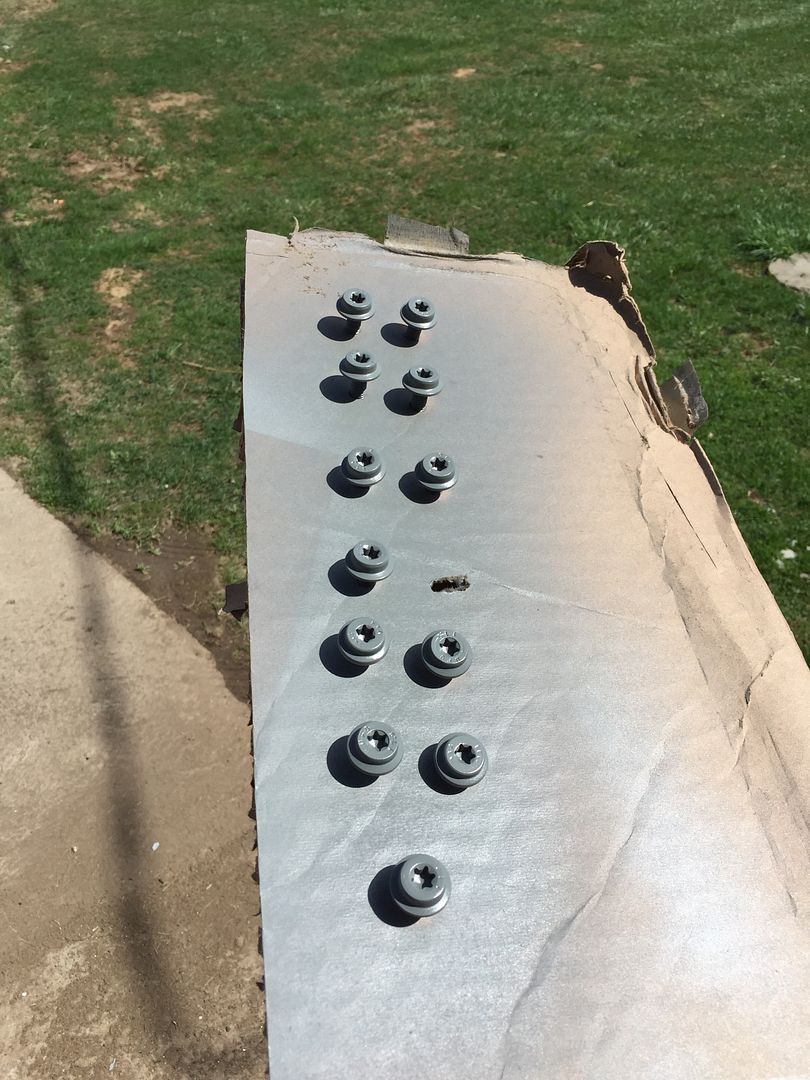
I also stripped and primered the door hinge bolts. I will be assembling the doors and painting over the hinges.
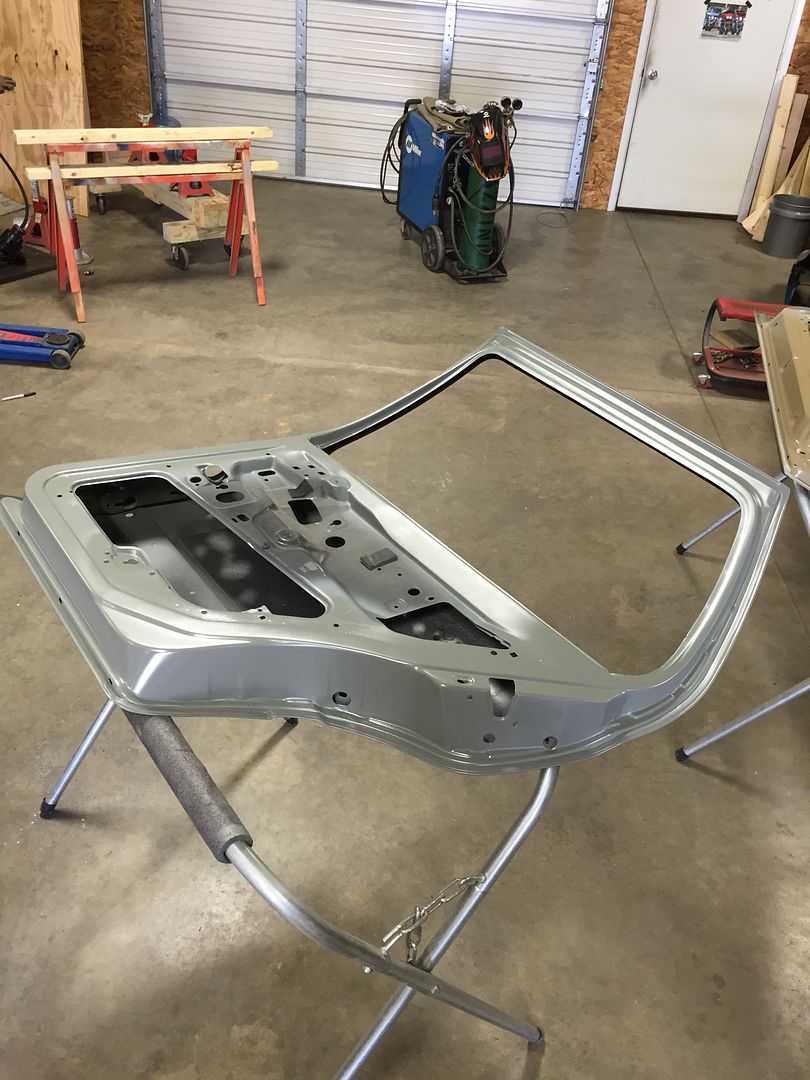
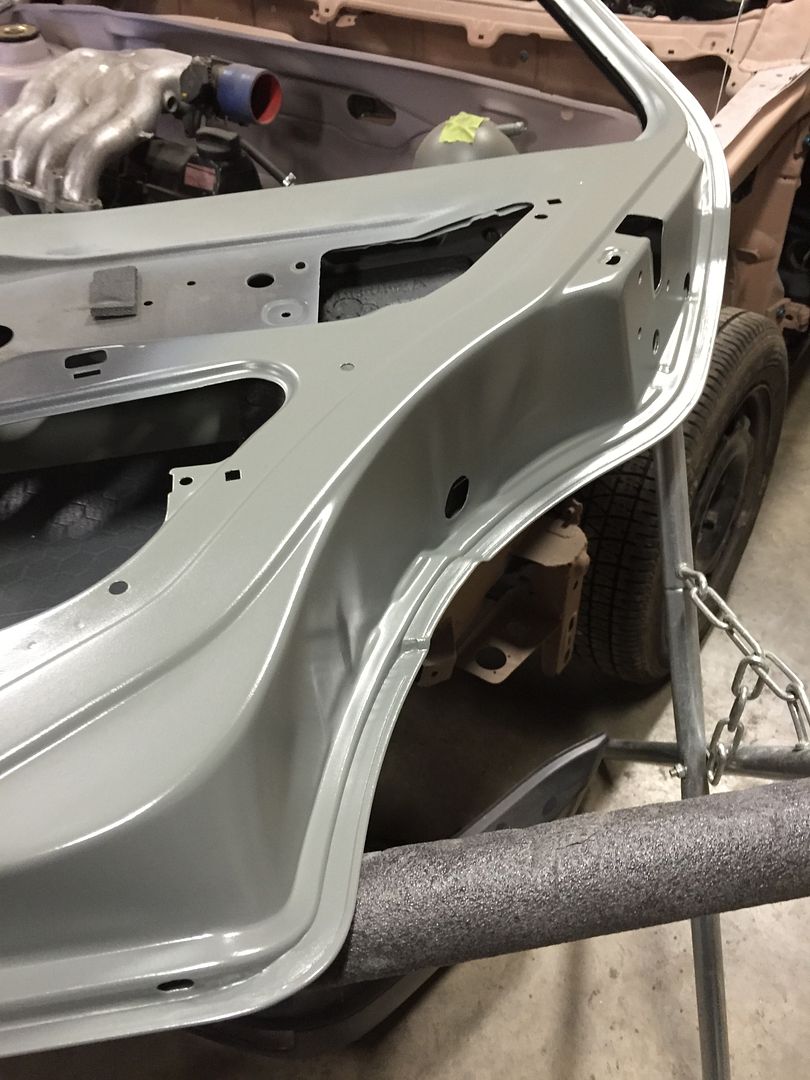
I only sprayed the front edge of the passenger side front door. This was a brand new OEM door, so I only had to prime the area under the hinges which is bare from the factory.
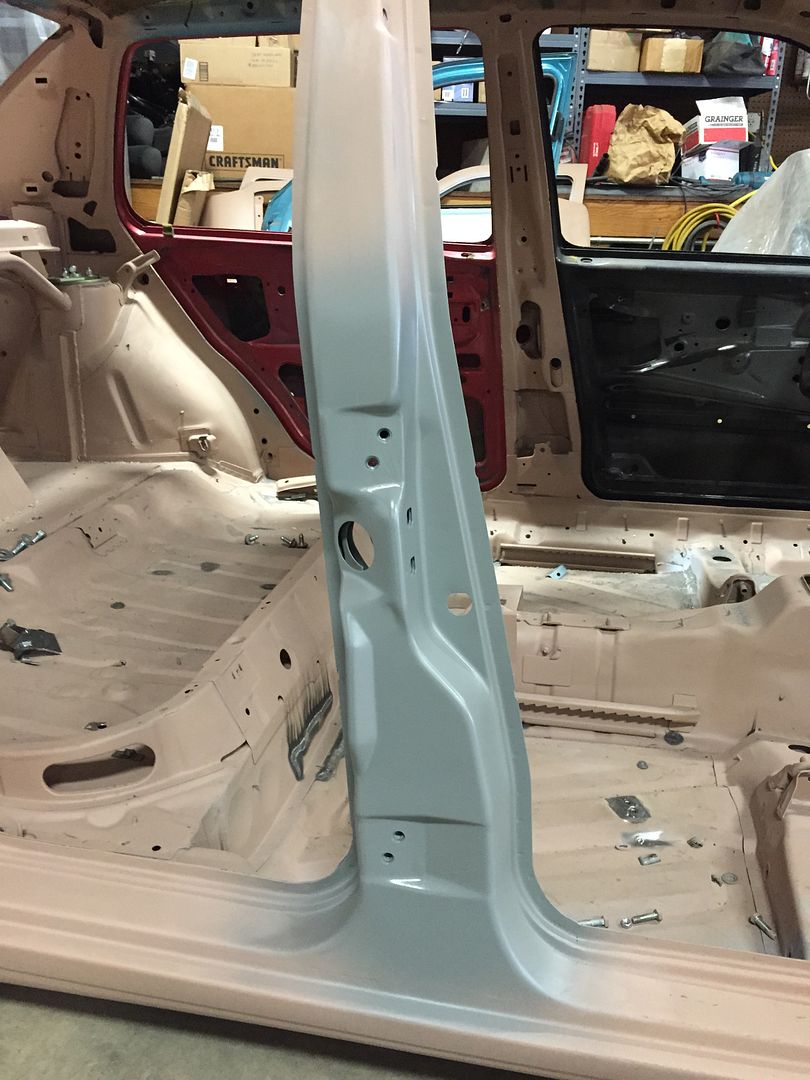
I also primed the pillars where the hinges will bolt. Since I'm painting over the hinges, I wanted some epoxy primer under the bolted joints to prevent rust from creeping out under the paint.
The rear doors I'm using are from a 1997, which had locking pins in the bottom corner. My 1994 doesn't have these, so I'm welding the holes in the door.
Along with shaving this hole, I'm smoothing out some of the other areas of the door jamb.
The door jamb stampings aren't perfect from the factory, there are a lot of wrinkles and imperfections. I hammered and puttied around a little bit to clean them up.
My epoxy primer of choice.
I laid the first coat a little light, then followed with a full wet coat.
I also stripped and primered the door hinge bolts. I will be assembling the doors and painting over the hinges.
I only sprayed the front edge of the passenger side front door. This was a brand new OEM door, so I only had to prime the area under the hinges which is bare from the factory.
I also primed the pillars where the hinges will bolt. Since I'm painting over the hinges, I wanted some epoxy primer under the bolted joints to prevent rust from creeping out under the paint.
Sunday, March 29, 2015
Body preparation continues!
I removed the reinforcement strips from the top of my fenders. I'm going to recreate these somehow, but the stock ones were too ugly.
I spent a good amount of time removing all of the factory wax sealant, rust preventative stuff, crud, and undercoating from the inside of the fenders. I plan on painting the inside of the fenders, which will require more prep later, but for now they just needed to be cleaned up!
The left front fender I bought had an antenna hole. I saved a donor piece from an old fender for this exact purpose - to have an exact match to the thickness and contour for future patch panel use.
I stripped the paint and scribed out exactly the shape required to fill the hole.
I tried to get the fit perfect to make the welding easier. I was pretty happy with it, there were almost no gaps all the way around.
Tacked
For TIG welding thin sheet with tight gaps, it is ideal to use as little heat as possible. Because of this, using thicker filler wire requires more heat than is really required to weld the joint. I use .023" MIG wire, which is only a little thinner than the .030" panel. I set the MIG to "steal some wire" settings:
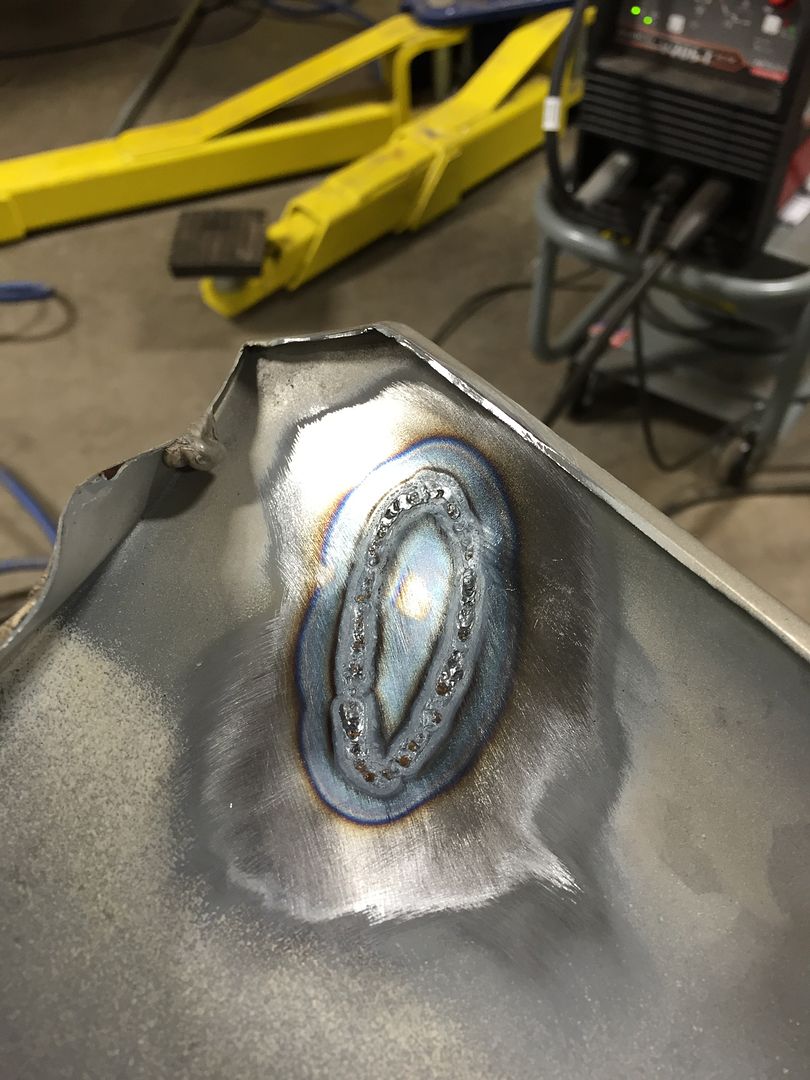
Then I welded it up! I used 30 amps with a 1/16" Tungsten, moving pretty fast, and only a little bit of filler.
It's not the most beautiful or consistent weld, but it works for this purpose.
The back. Decent penetration all around.
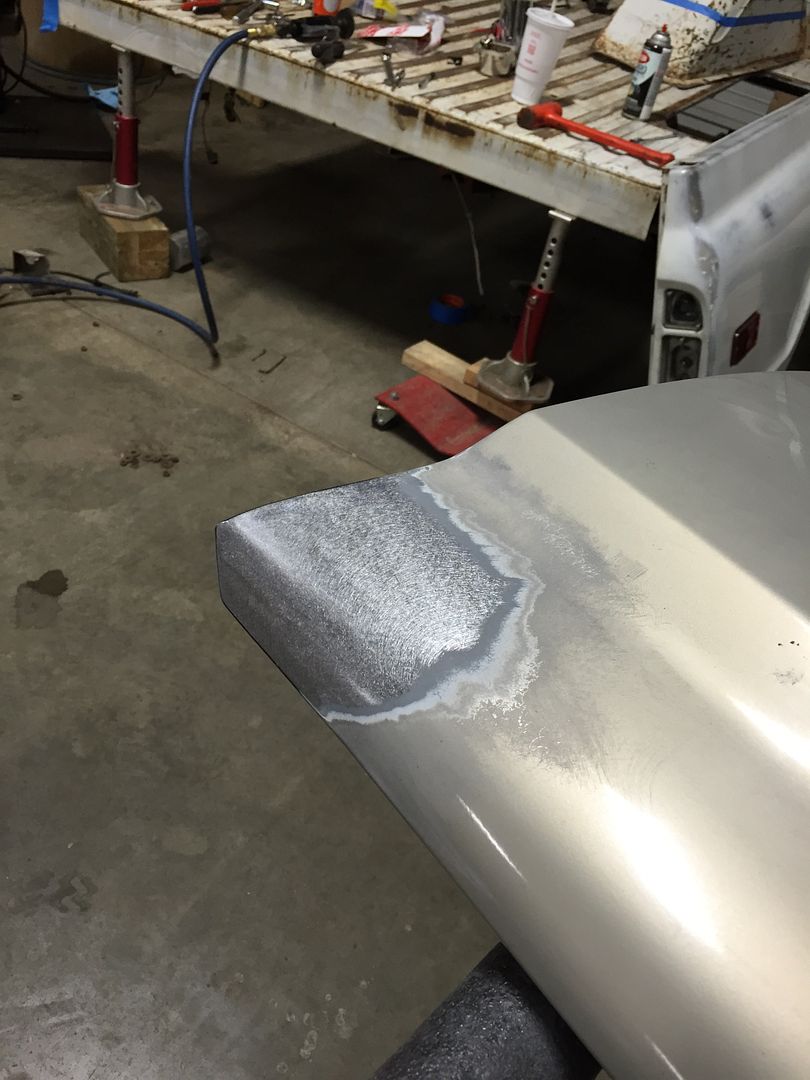
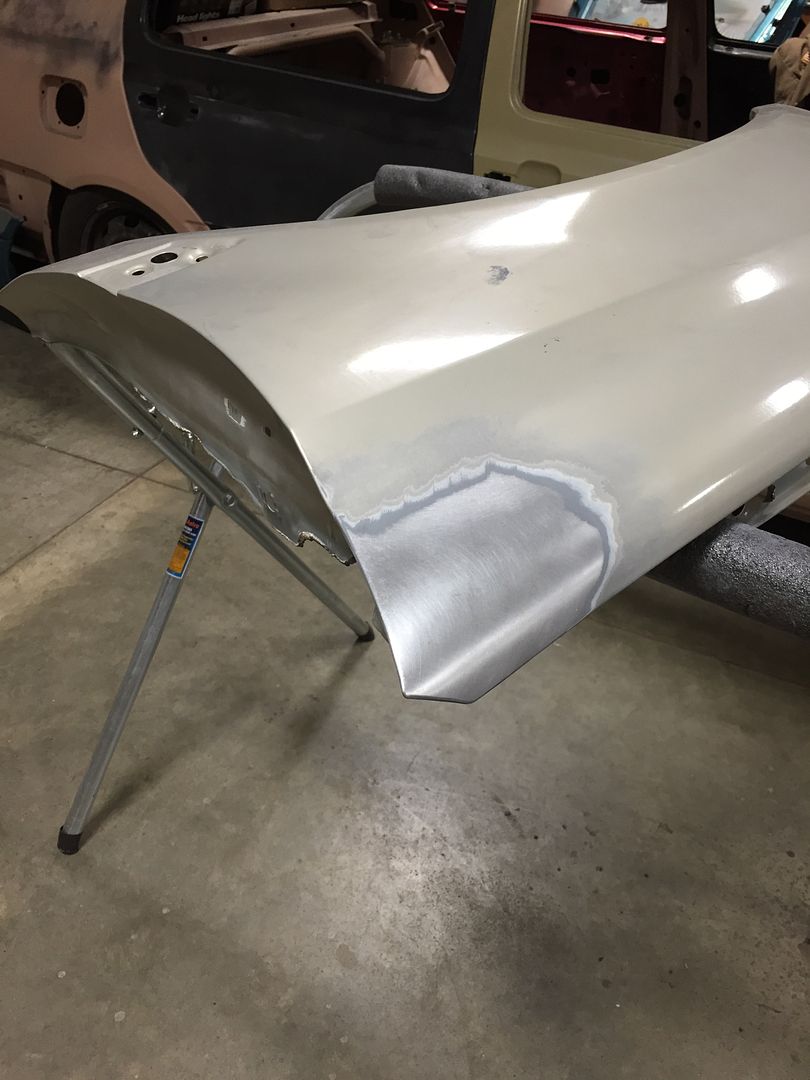
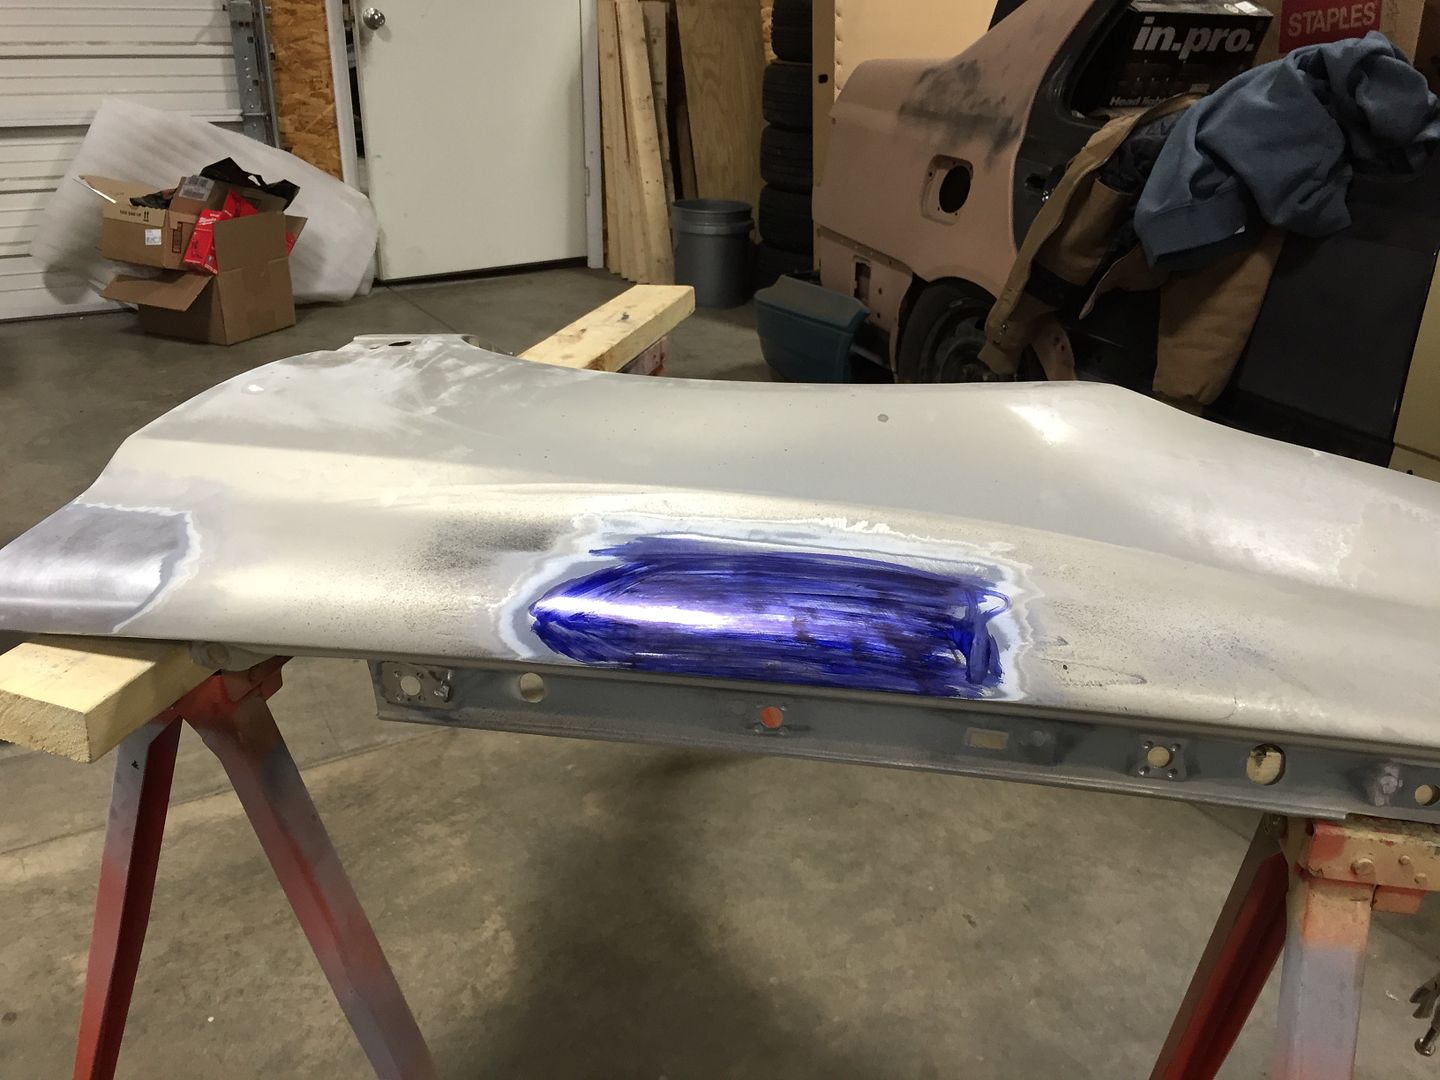
I slowly started hammering the weld back to flat and grinding away the bead. I'm using bluing to mark the high and low spots with a sanding block.
After a few hours of hammering, it's done! It isn't 100% perfect, but will hardly require any filler.
There was one big dented area on my donor fender, and I'm trying some new dent removal techniques. This spot didn't go quite as well!
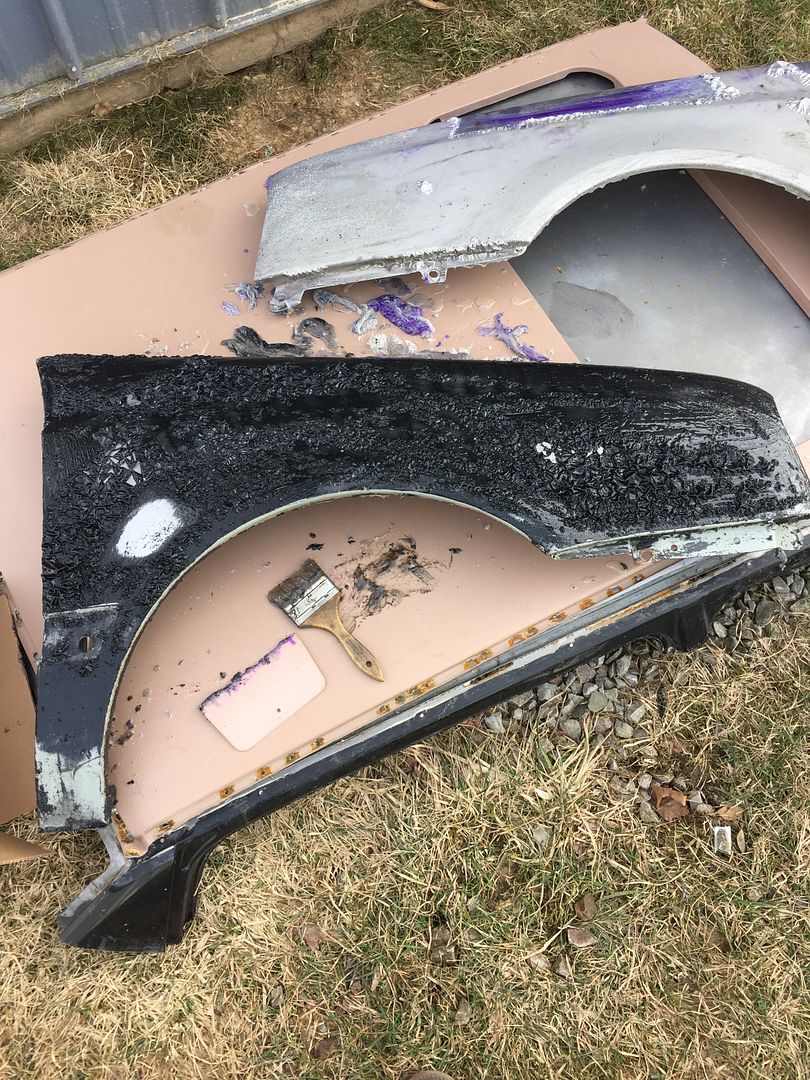
Since the sun was shining today, I decided it was a good day to remove all of the paint from both fenders. Neither one was in the best shape, so it's best just to start fresh.
Aircraft remover is wicked stuff!
I'm going to continue on with fender work this week. I also have to build mounts for the lower corner since I changed how they mount.
Subscribe to:
Posts (Atom)