This weekend I went to the Pittsburgh Vintage Grand Prix! It's a really cool event here in Pittsburgh that combines a car show on the Schenley Park golf course and a vintage race through the park on city streets.
The show started over a week ago, with special events every day until the weekend races in Schenley Park. The Walnut Street car show was very interesting for me this year since I live so close. I was able to see all of the cars, then come back later in the evening to watch them drive away.
They close 4 blocks of Walnut street, a fancy shopping district, for an invite-only car show highlighting a diverse mix of the overall show.
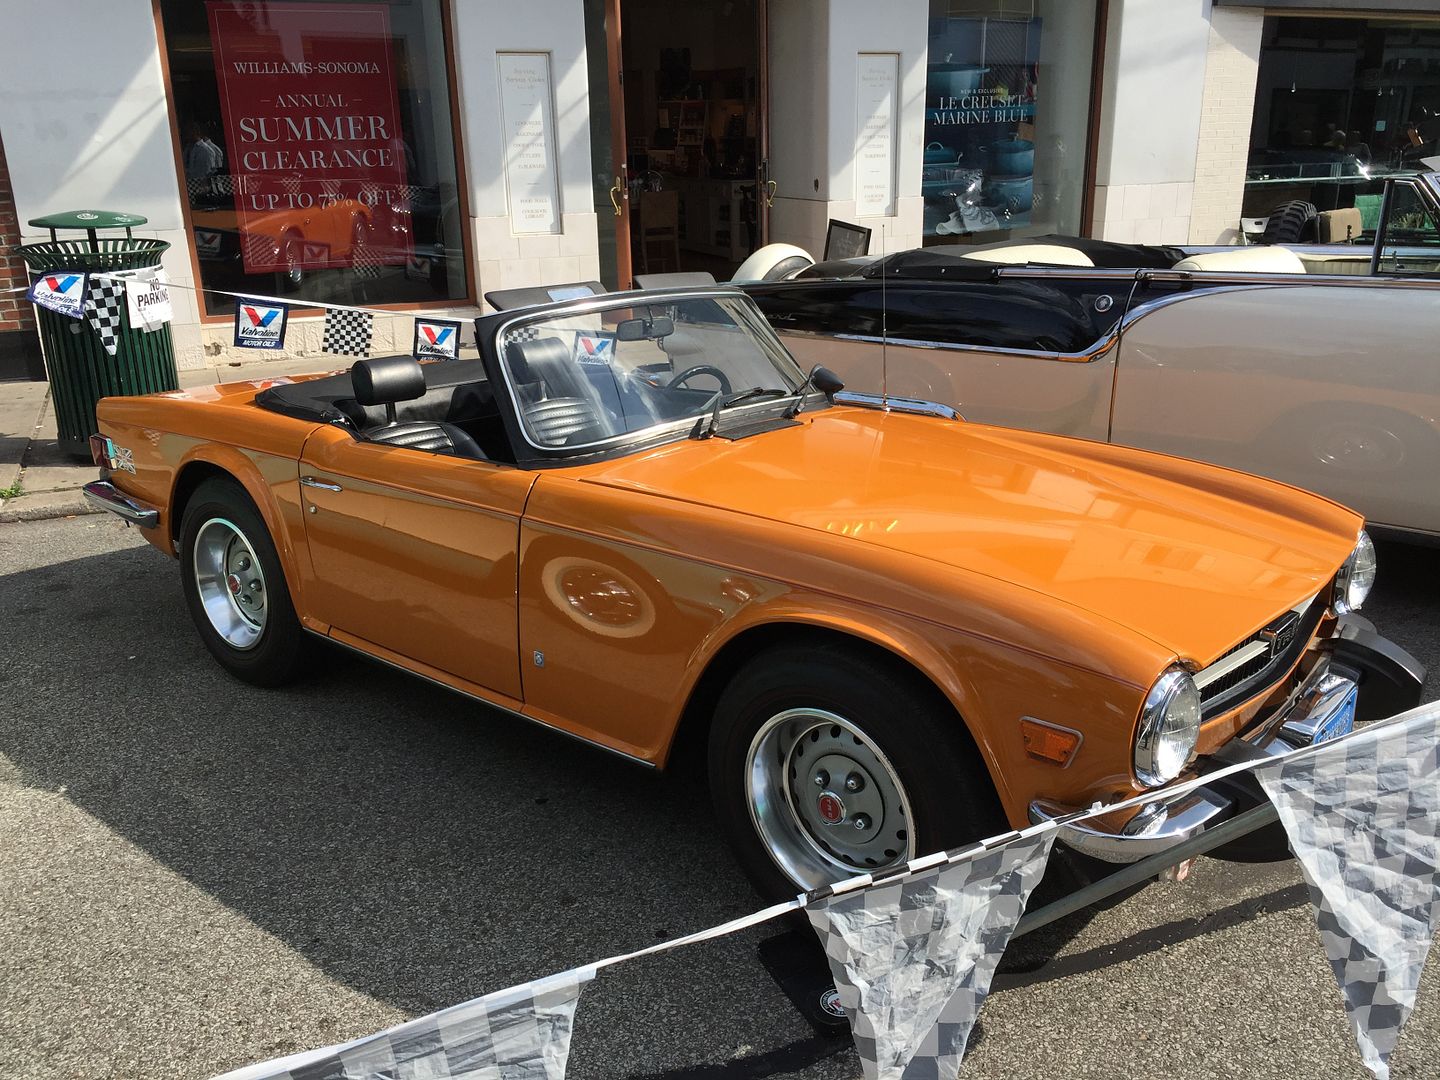
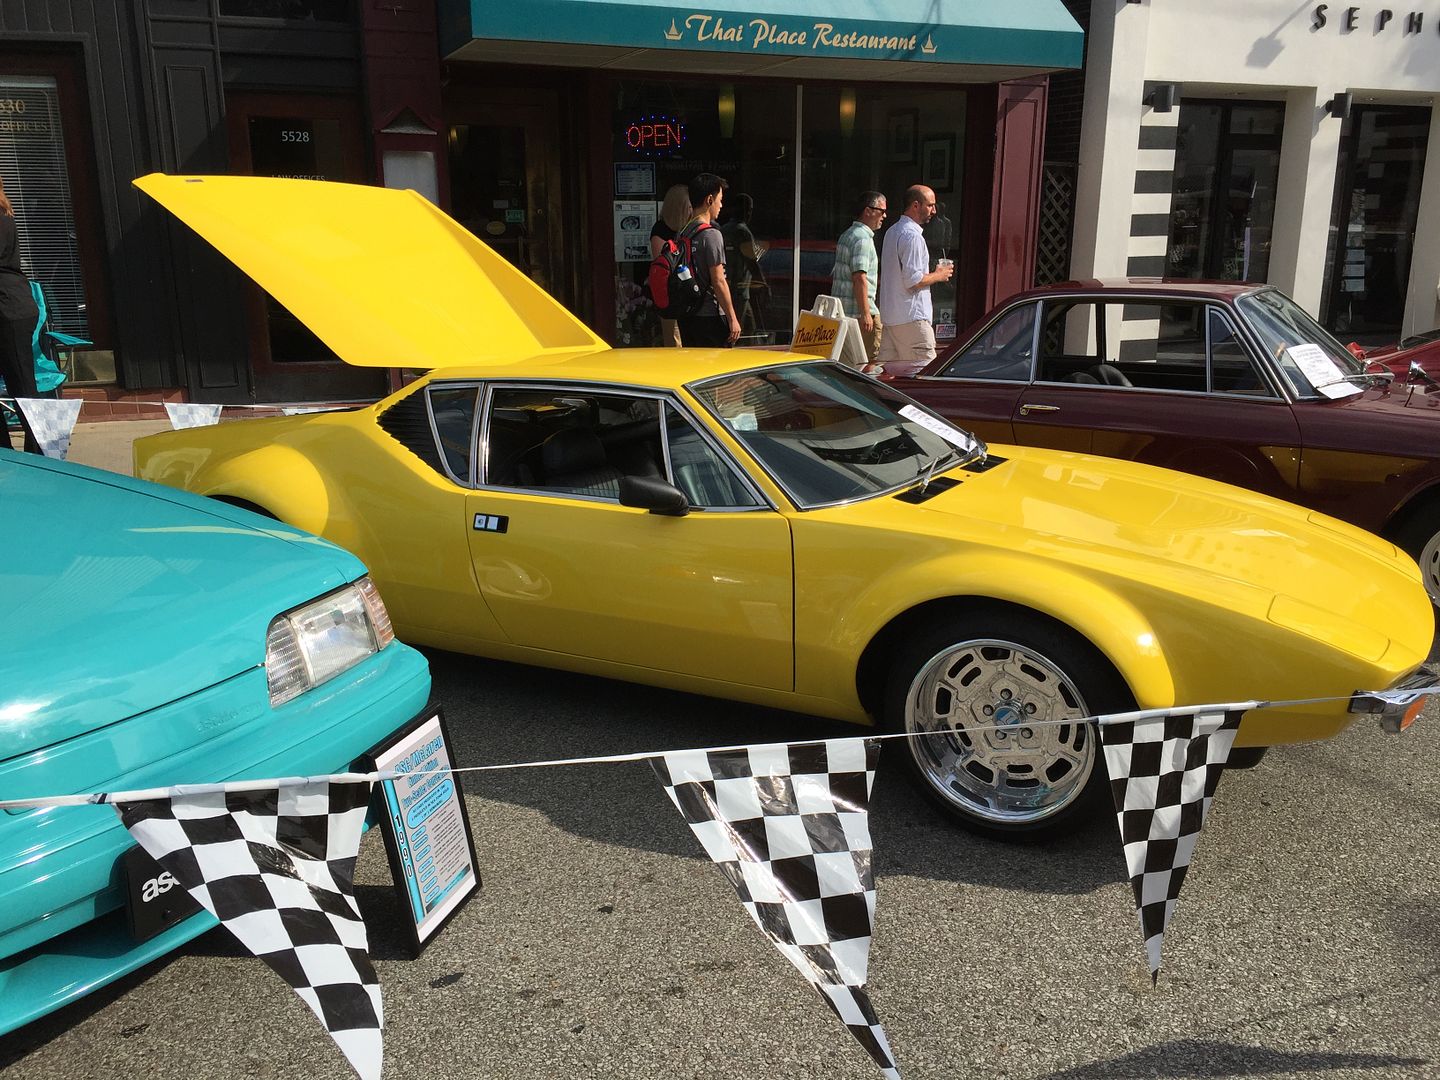
These aren't your typical Hondas and Chevelles.
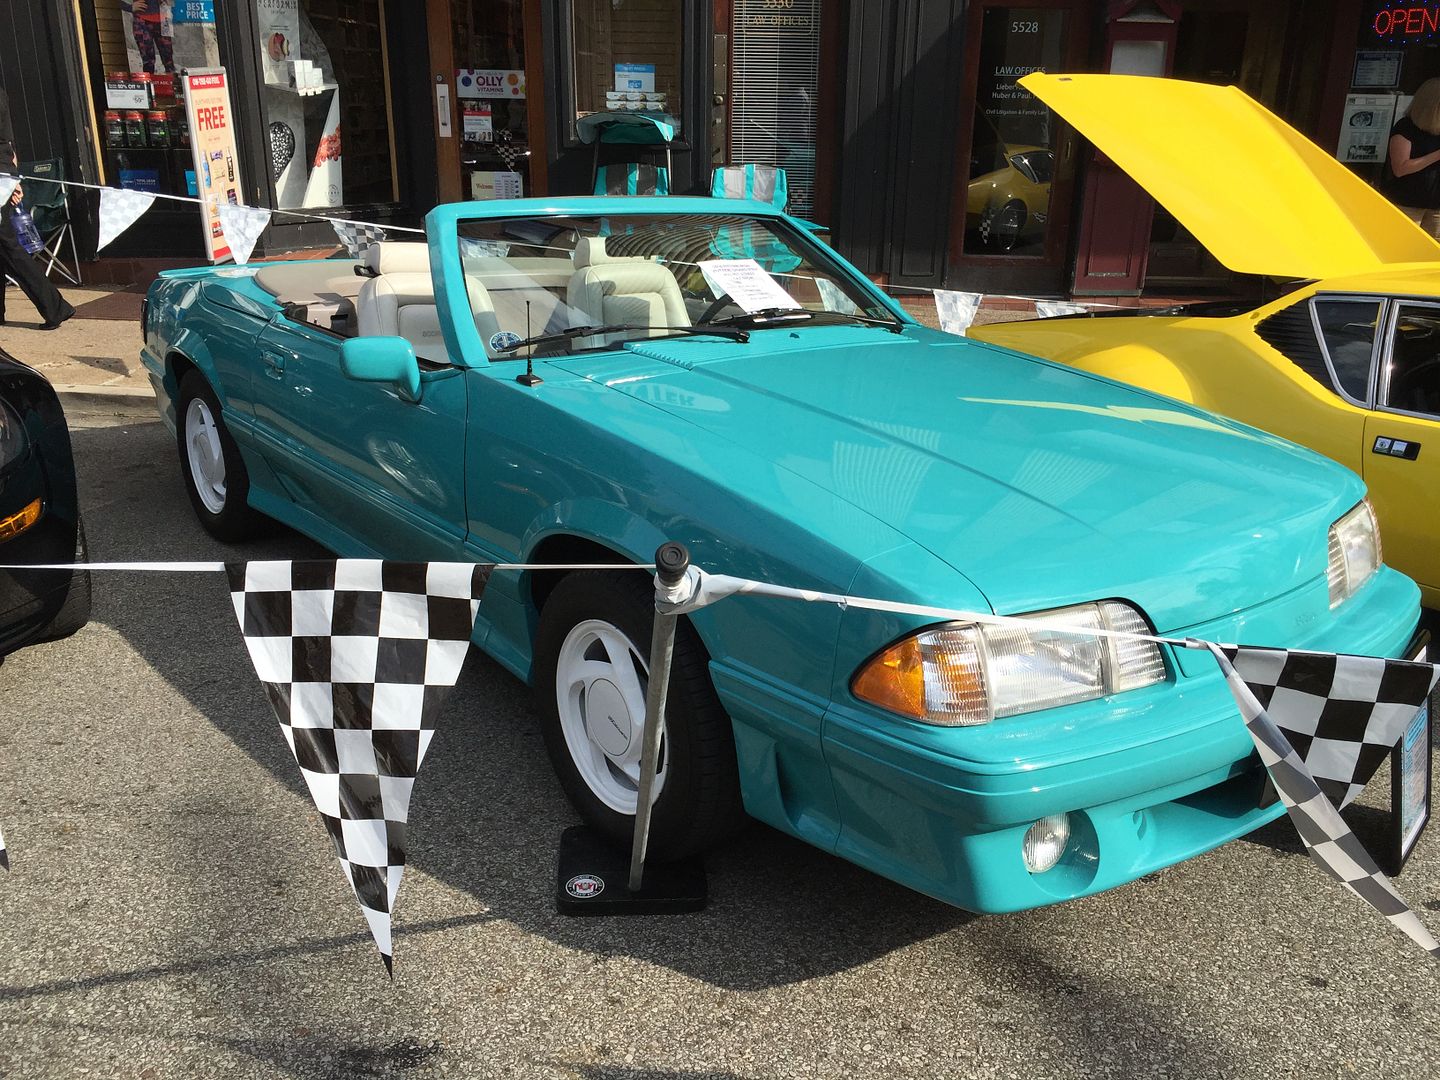
ASC Mclaren Mustang was an interesting sight.
This satin white R8 was not part of the show, just happened to be parked nearby.
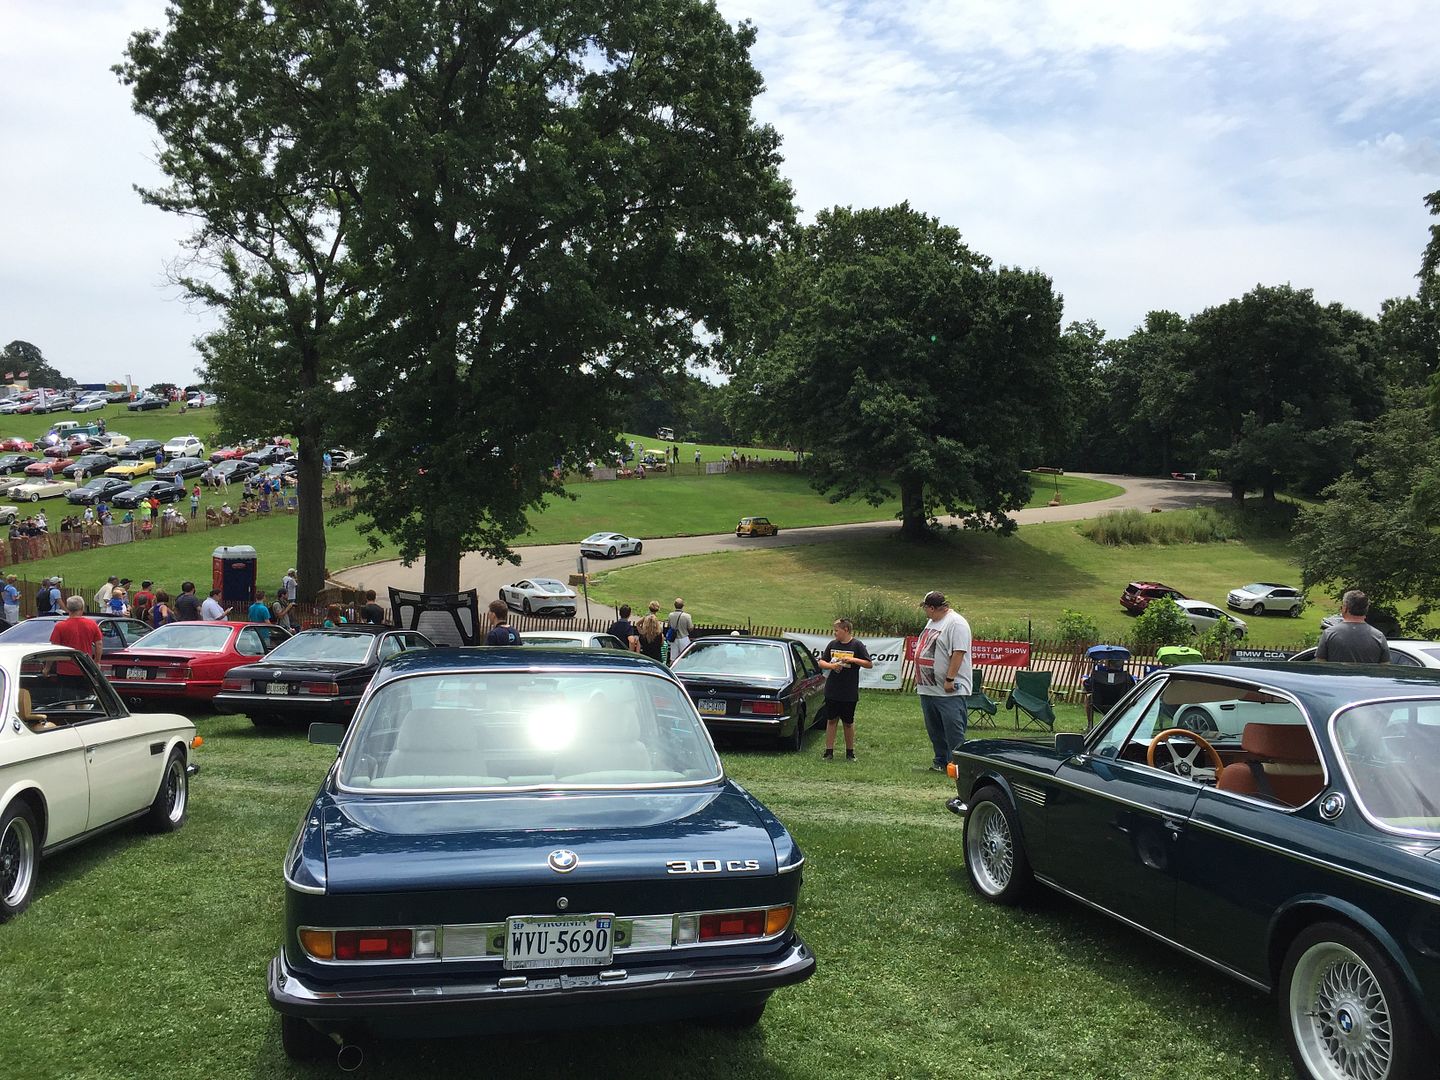
This weekend was the actual car show and race. I went both Saturday and Sunday since I live 5 minutes from the park. The weather was beautiful, but crazy hot.
What a bargain! It said they have more for sale; I might just buy two.
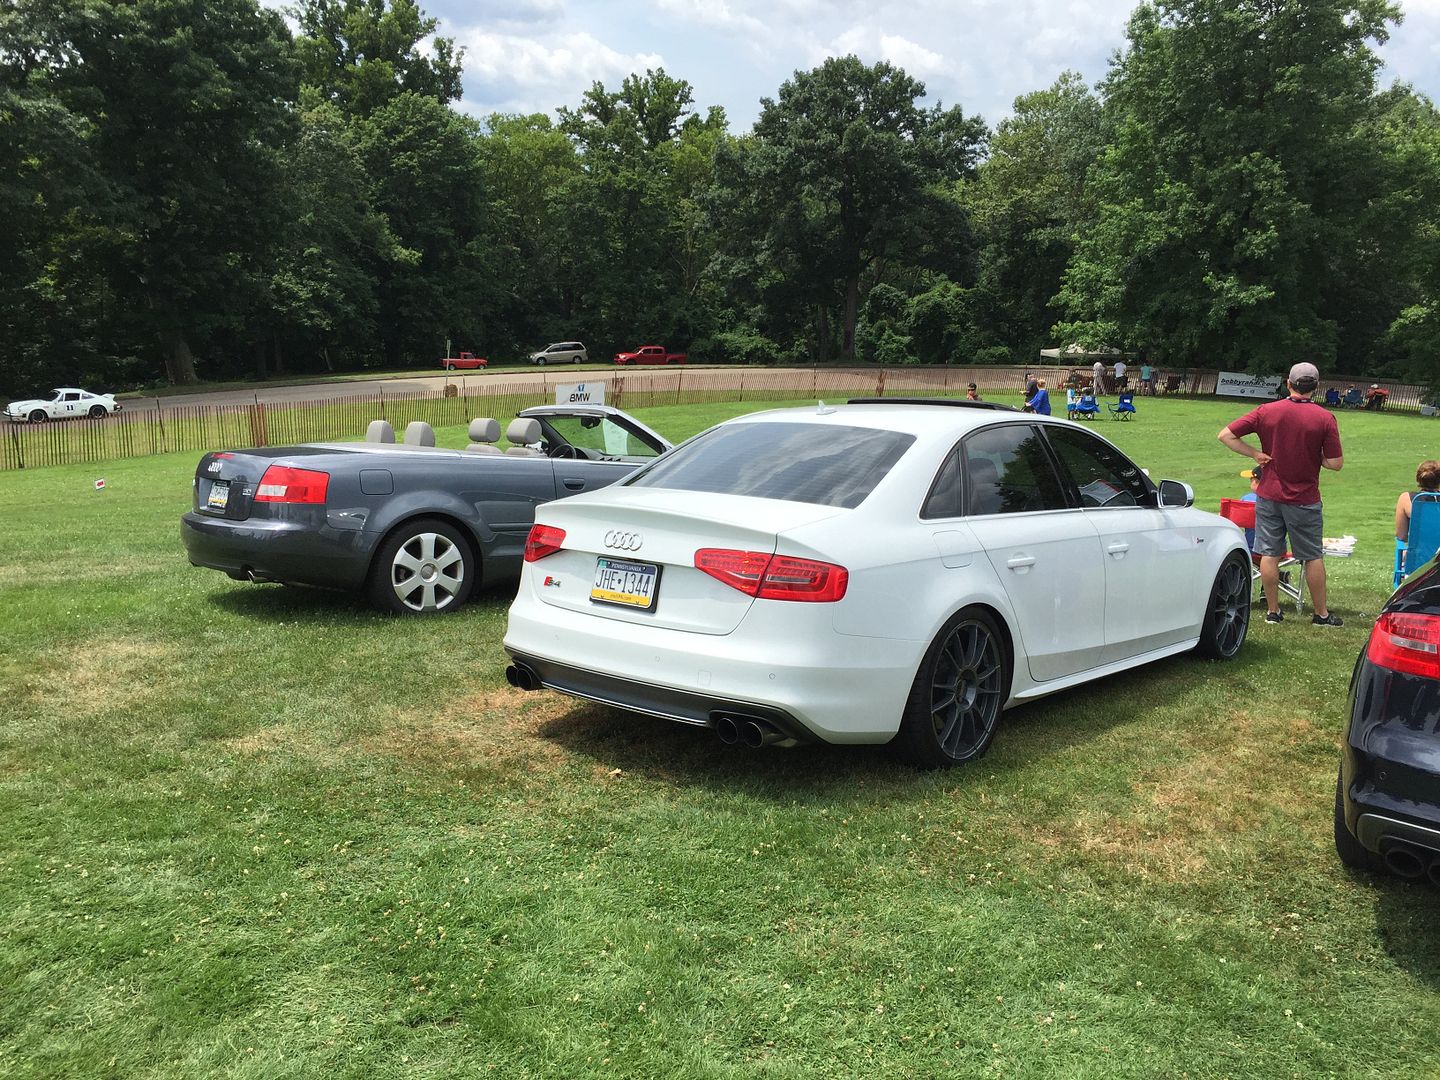
Clean S4
This one makes me miss my old MK2 golf!
I really liked this Corrado. Just simple and clean.
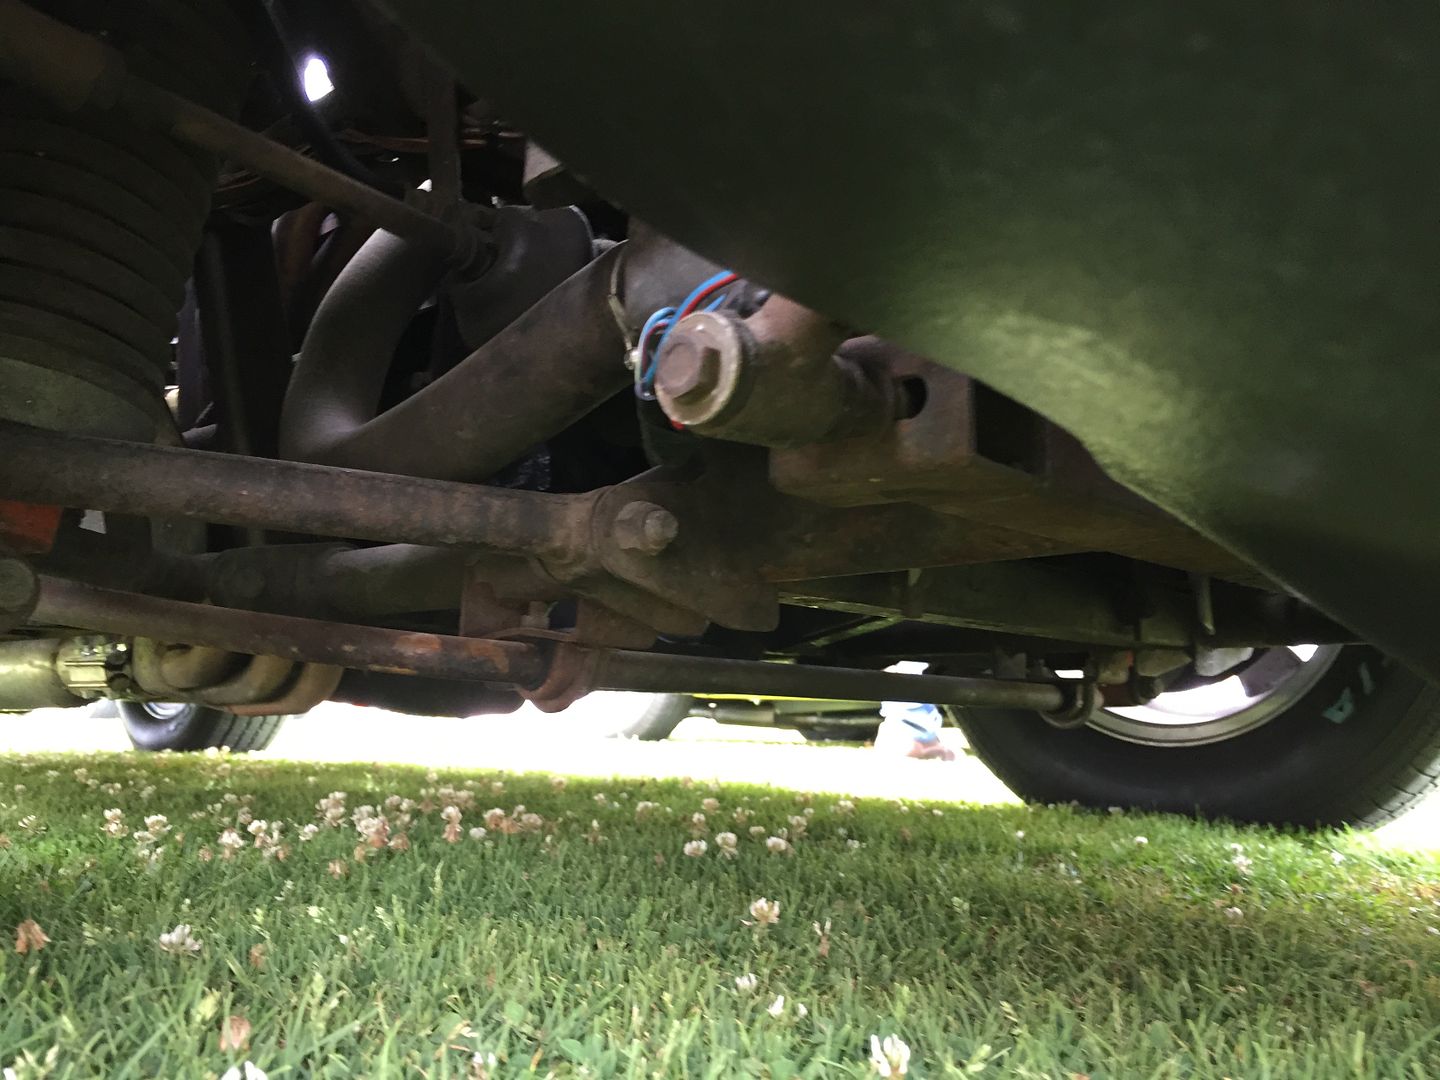
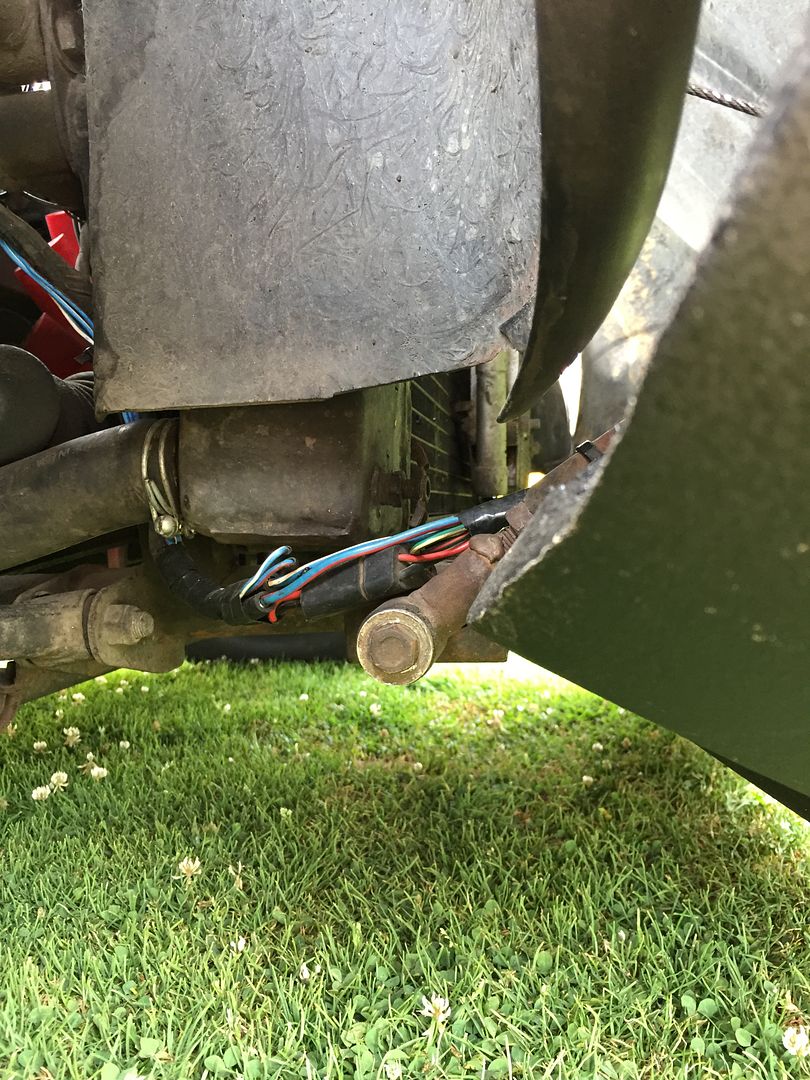
I spotted two TVRs in the show field! I took a chance to inspect their hood hinges. I had assumed the TVR I worked on was modified, but wasn't sure what the original hood hinge structure looked like.
It would be convenient if these opened a little further!
The convertible had been modified with a spherical bearing rod end at some point.
But the second car was all original. I thought the car I worked on was bad (unistrut and structural steel angle iron poorly welded in place). But this is even worse! A single-shear bolt loaded with all sorts of cantilevered bending loads held the bushing. It only went through one side of the tube... which was slotted! Good work, England!
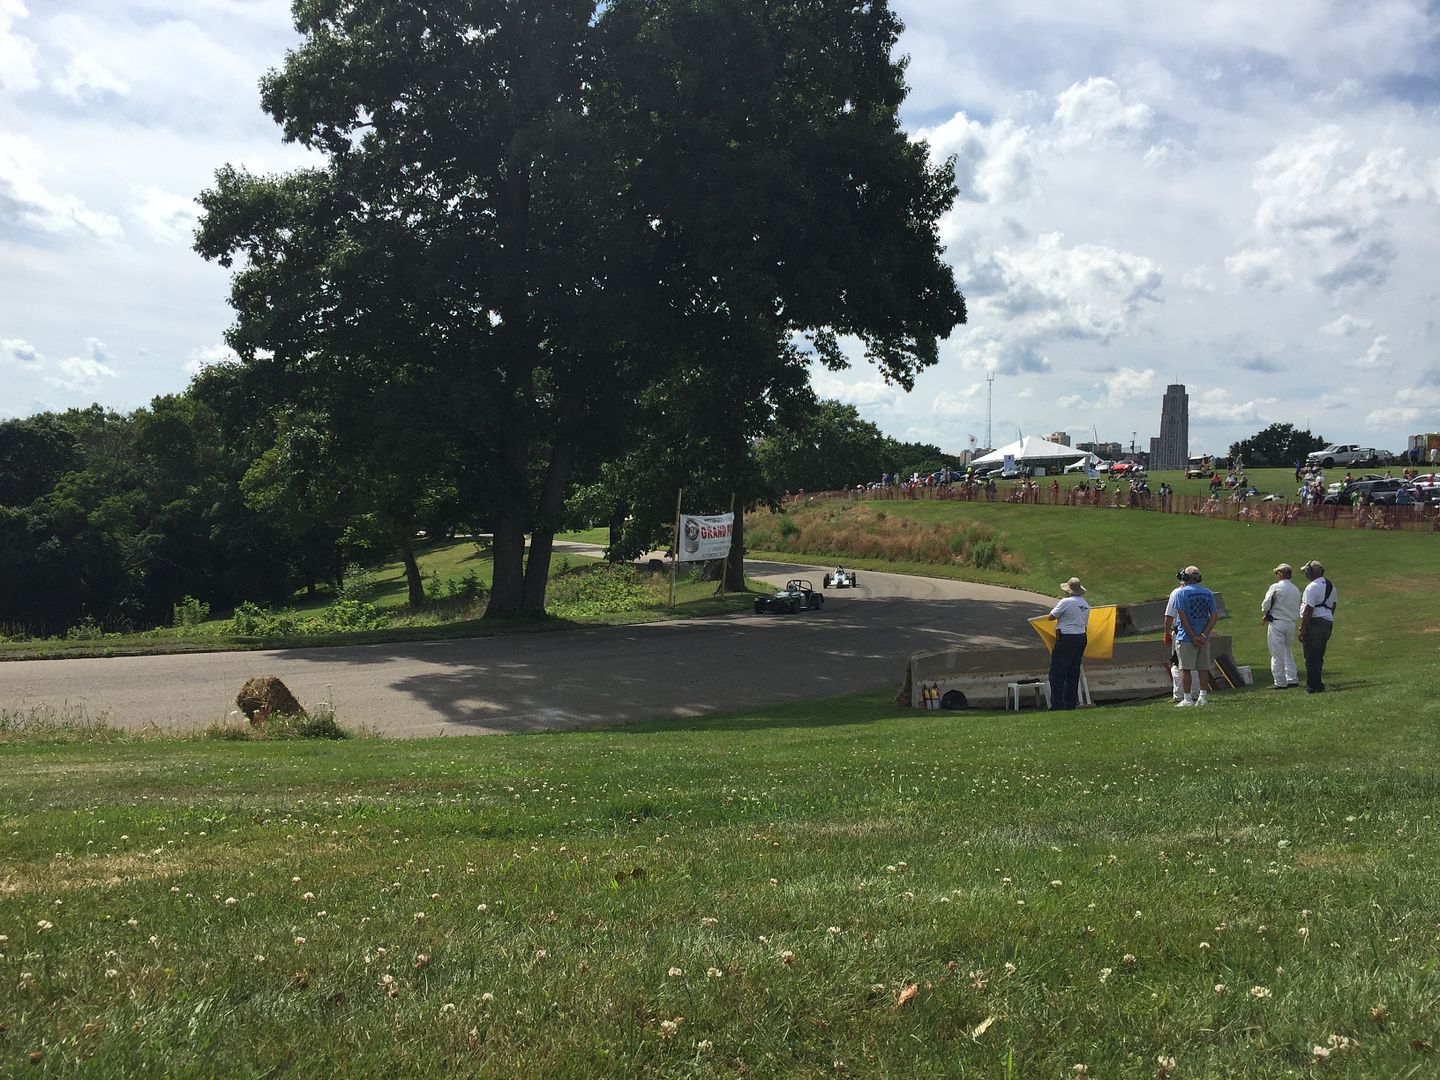
This year I moved around a lot and saw a few different spots on the race course. This is the tightest turn on the course, a hairpin leading into "Serpentine Road," which is itself a series of hairpins.
The picture doesn't look great, but this is a really cool spot to watch. It's surrounded by shade and you have a good view of a high-speed sweeping corner off as they brake to make the turn with a fountain in the foreground.
The University of Pittsburgh Cathedral of Learning in the background. What an awesome day of racing!
Sunday, July 17, 2016
Sunday, July 3, 2016
This morning I finished up the TVR hood hinge project with Fort Pitt Classic Cars.
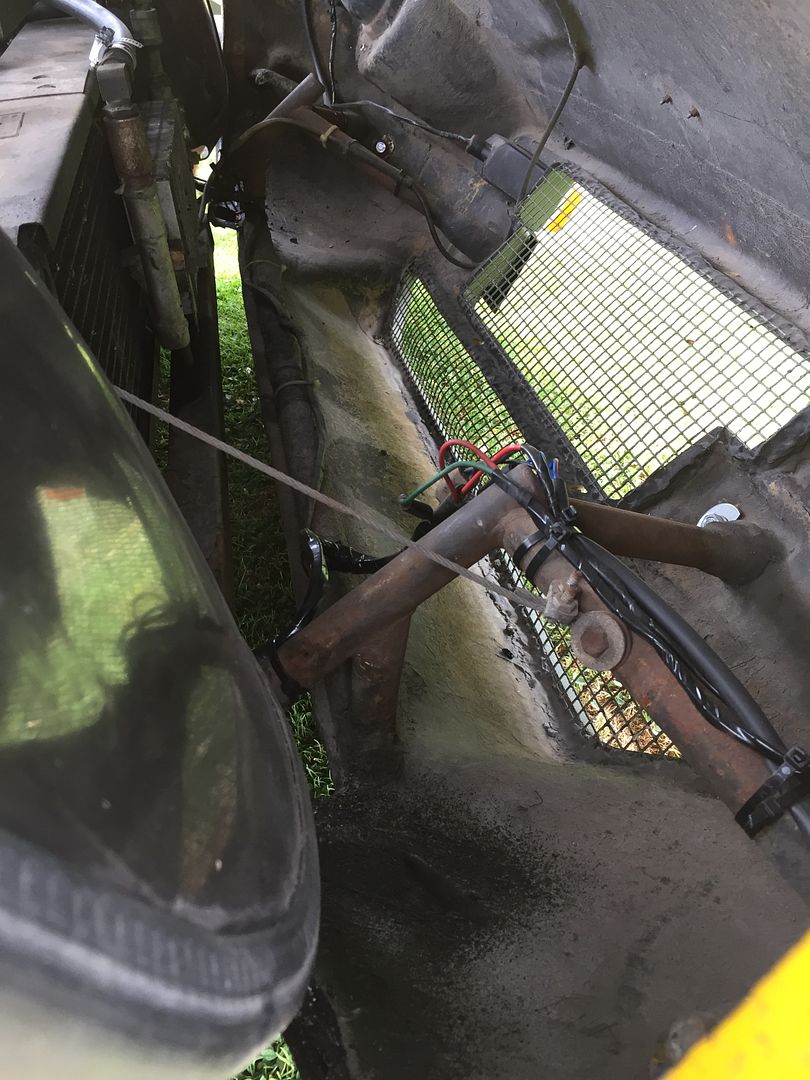
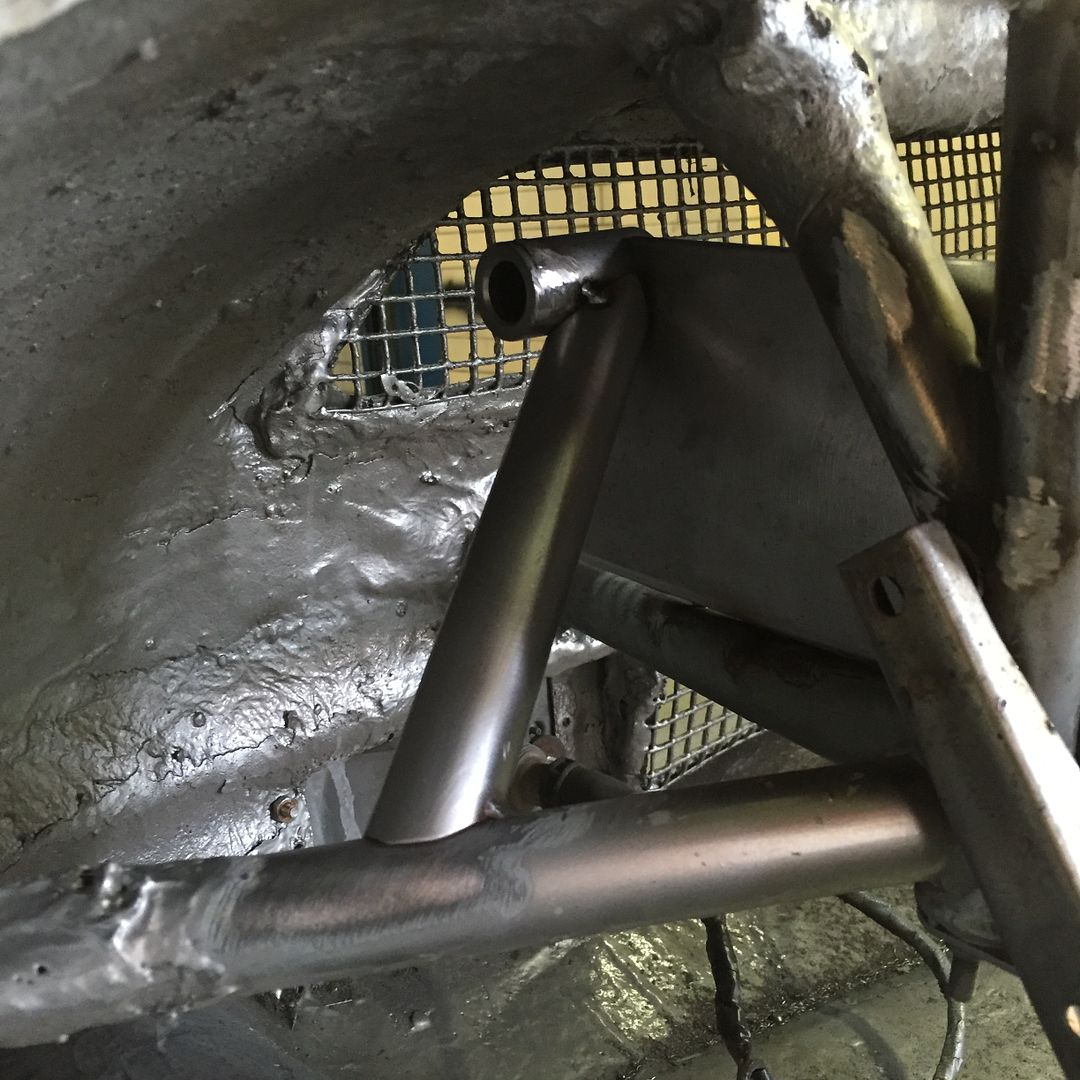
I added a new pivot point, along with two reinforcement plates and diagonal bars, into the original structure of the hood. Notches made on site with a grinder and file haha.
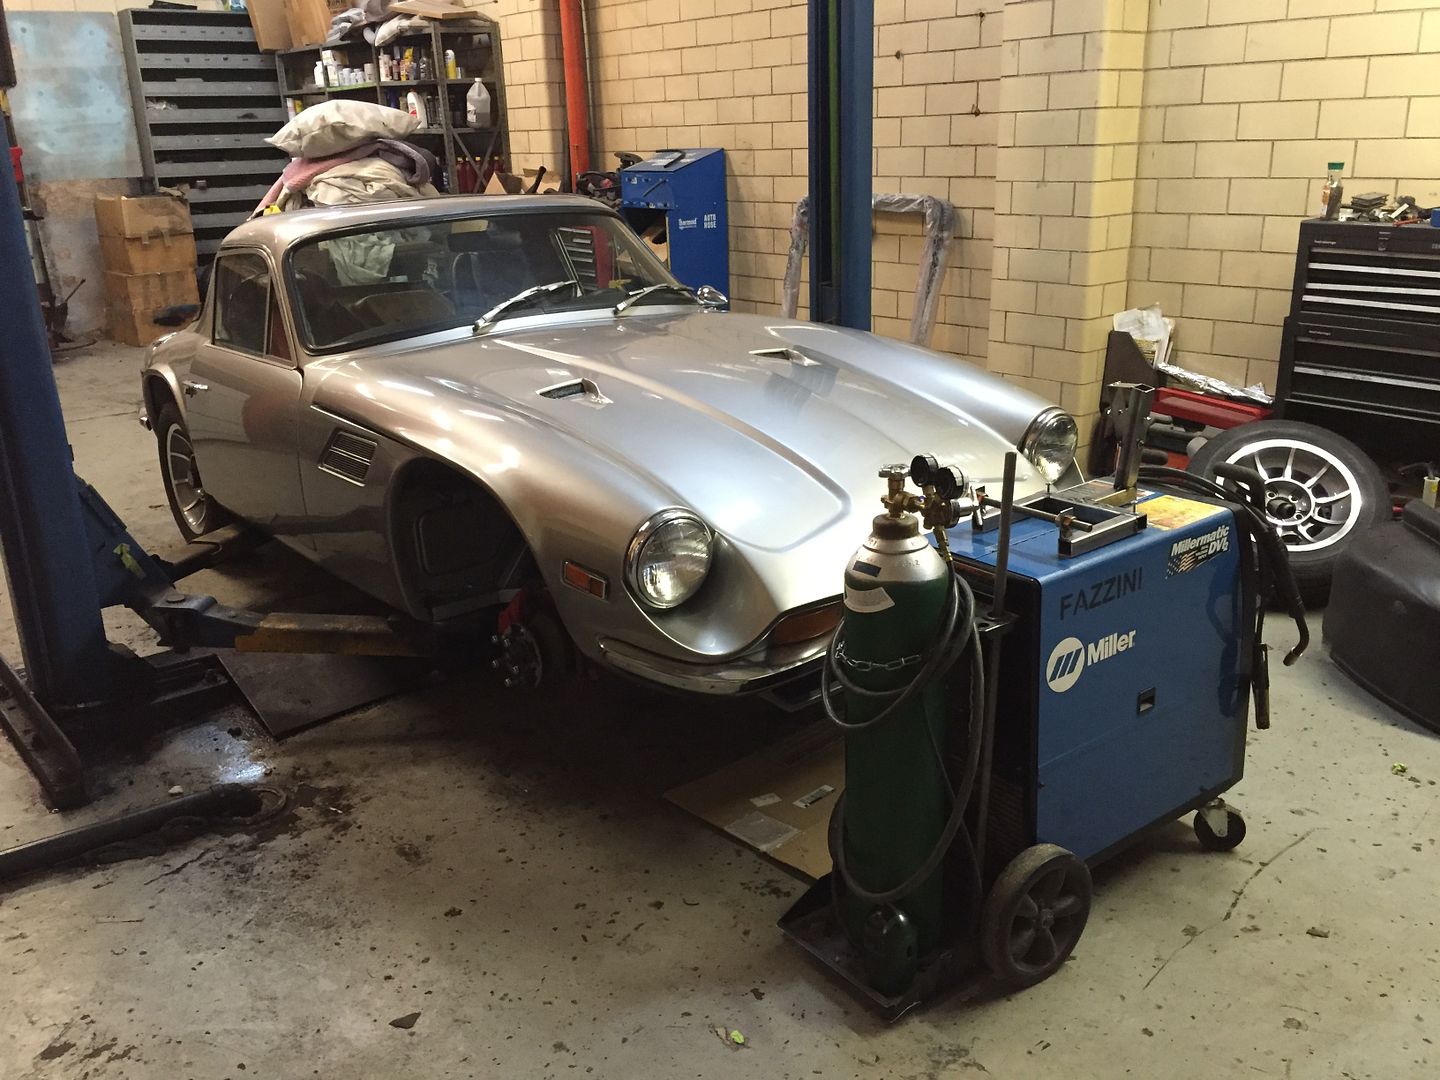
The next steps required a 220v welder, so I dragged my Miller to their shop.
It's not my proudest work, but it may be the 2nd best fabrication on the car. My worst welds are on par with the factory stuff haha.
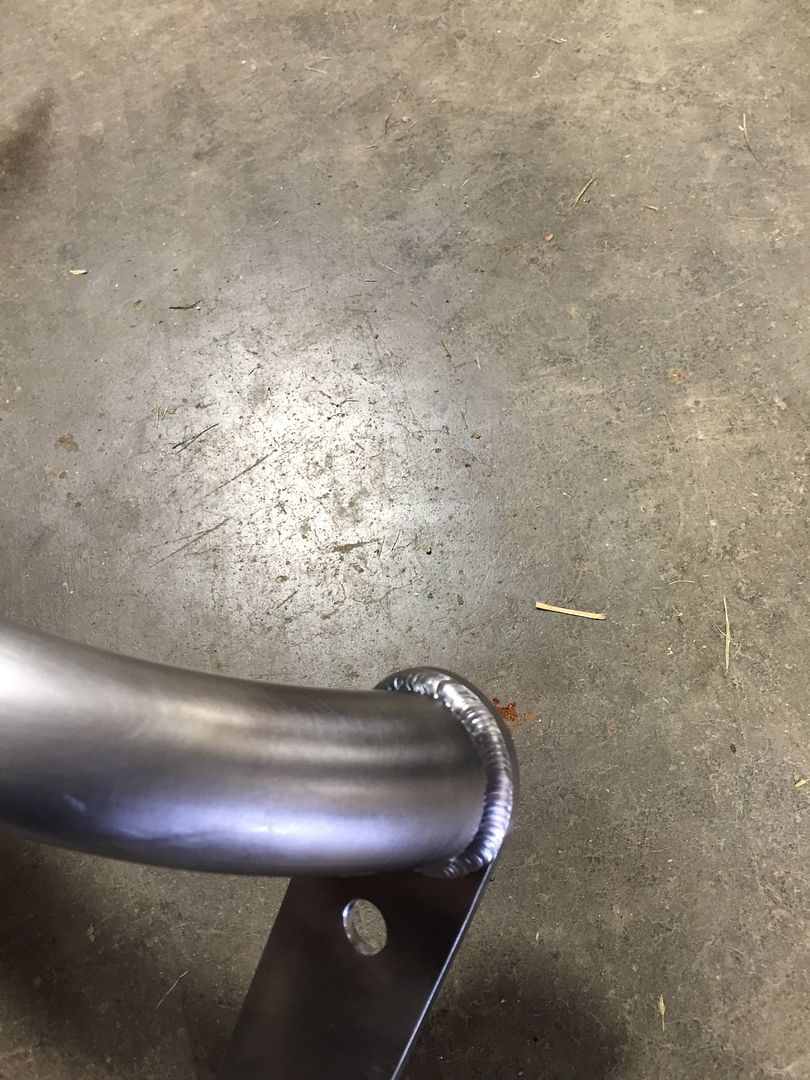
Here is a close-up of the finished clearance notch for the radiator.
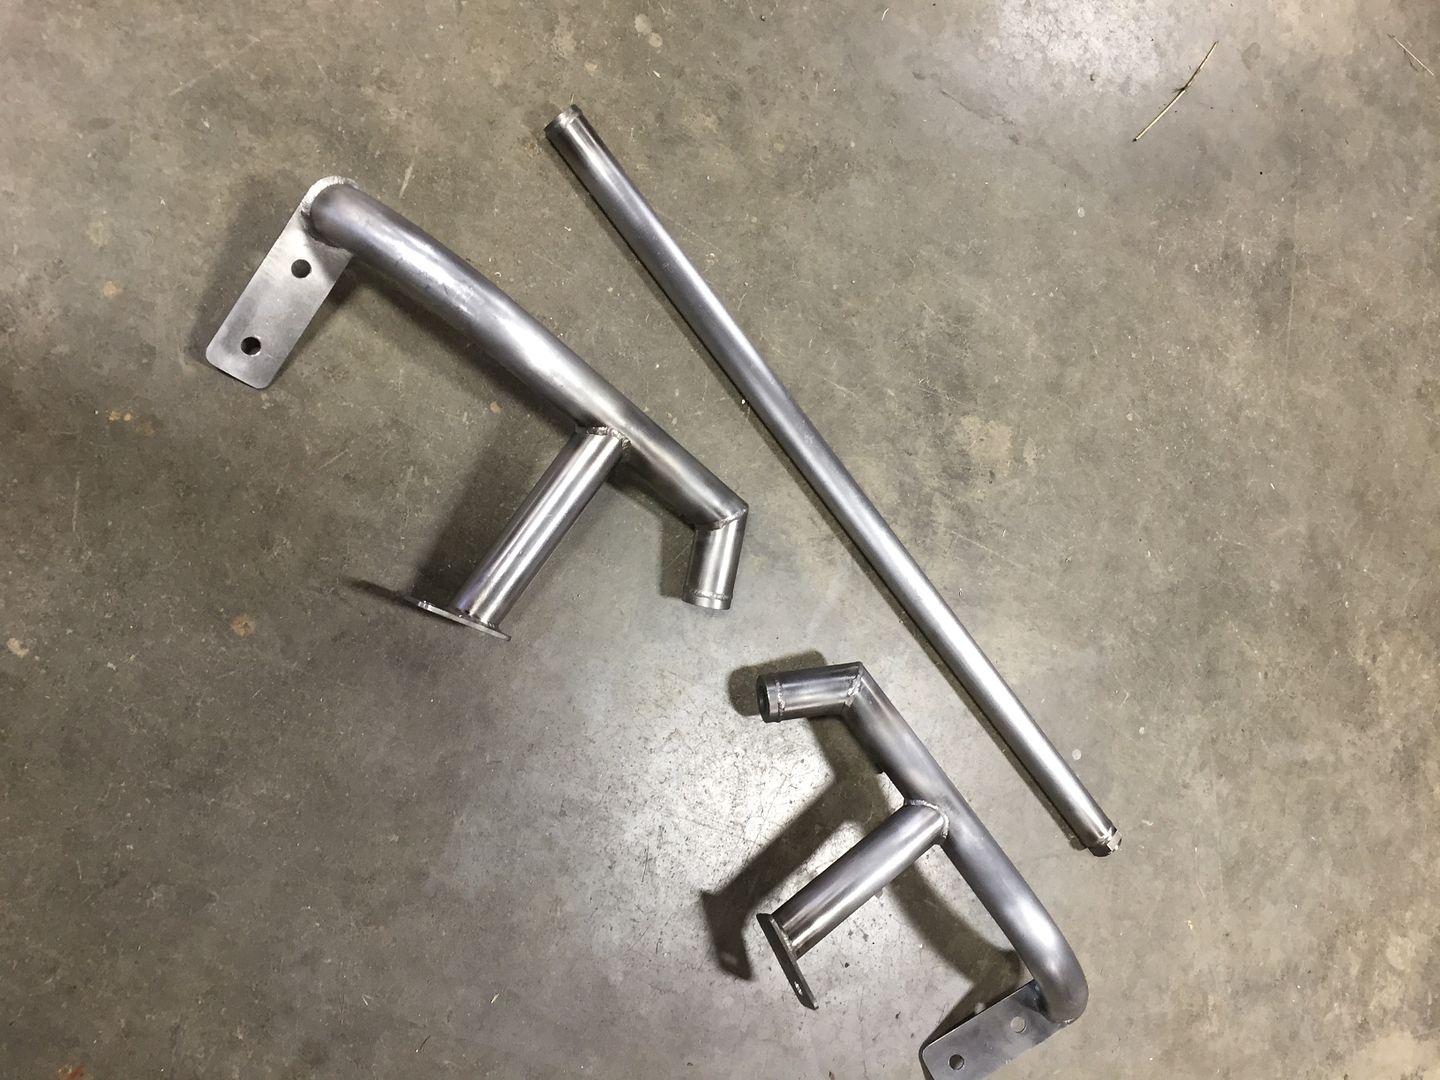
Paint is the next step. Unfortunately the budget for this project only allows rattle can paint, but I'm still prepping and masking properly. I made these tapered aluminum sleeves to get paint as close to the threads as possible, so there will be no racking marks.
Primer
Rattle can red!
I wish I could have used WRINKLE RED!
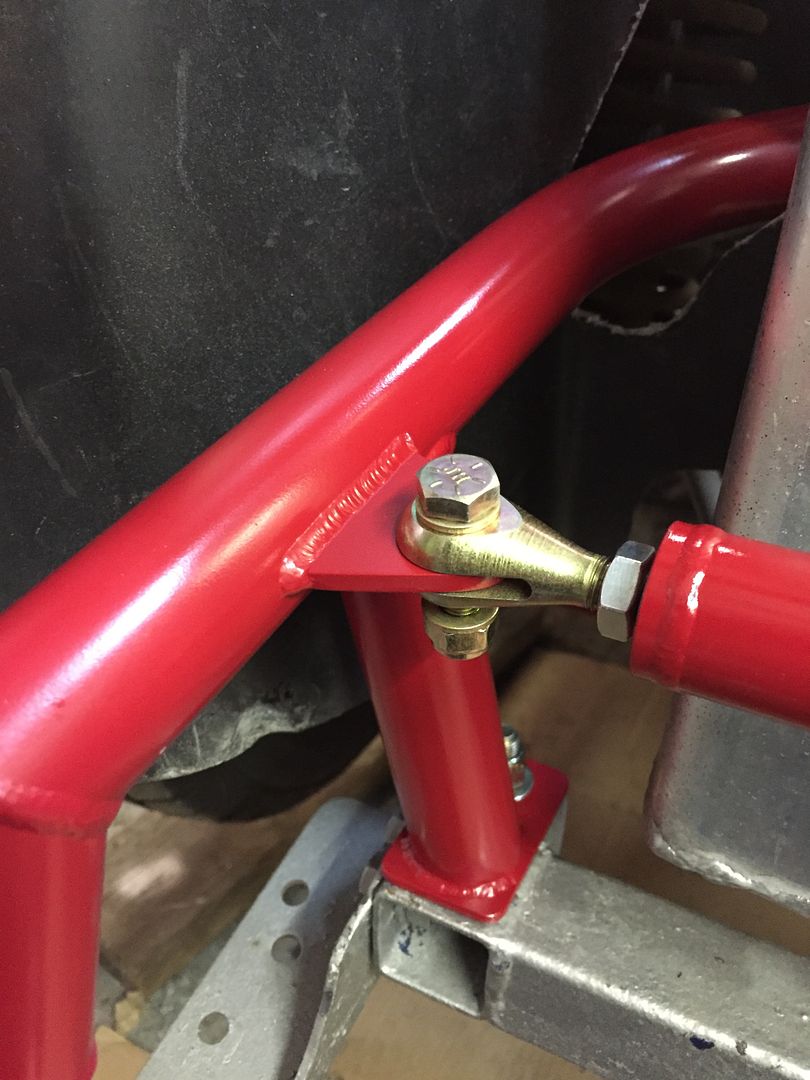
After everything cured...or rather, dried... I went to Fort Pitt Classic Cars to install everything. I'm using all SAE Grade 8 hardware with nylon insert nuts. The rod ends are FK high strength 5/8" bore x 5/8' stud.
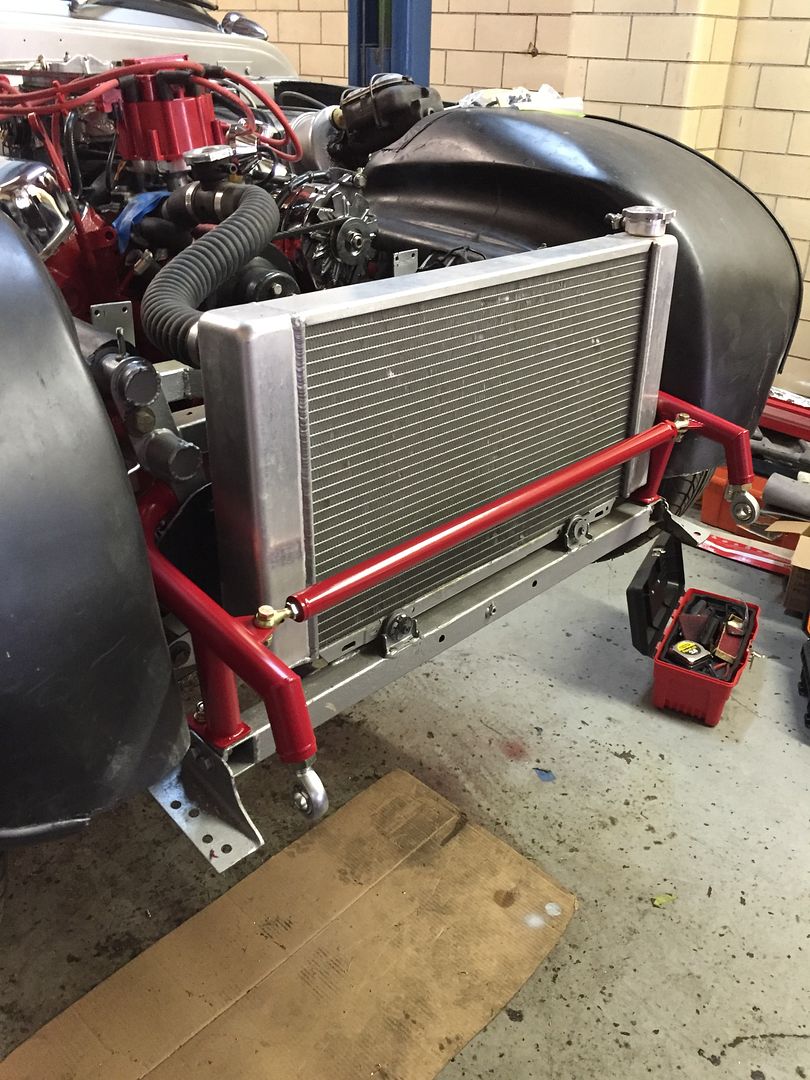
All bolted up! The red is intended to match the control arms, shocks, and engine block.
My clevis scheme worked exactly as planned. This turned out to be critical on this project because the rattle can paint falls off if you look at it wrong, so the trauma of installing a clevis would have made this tab look horrible without the raised boss.
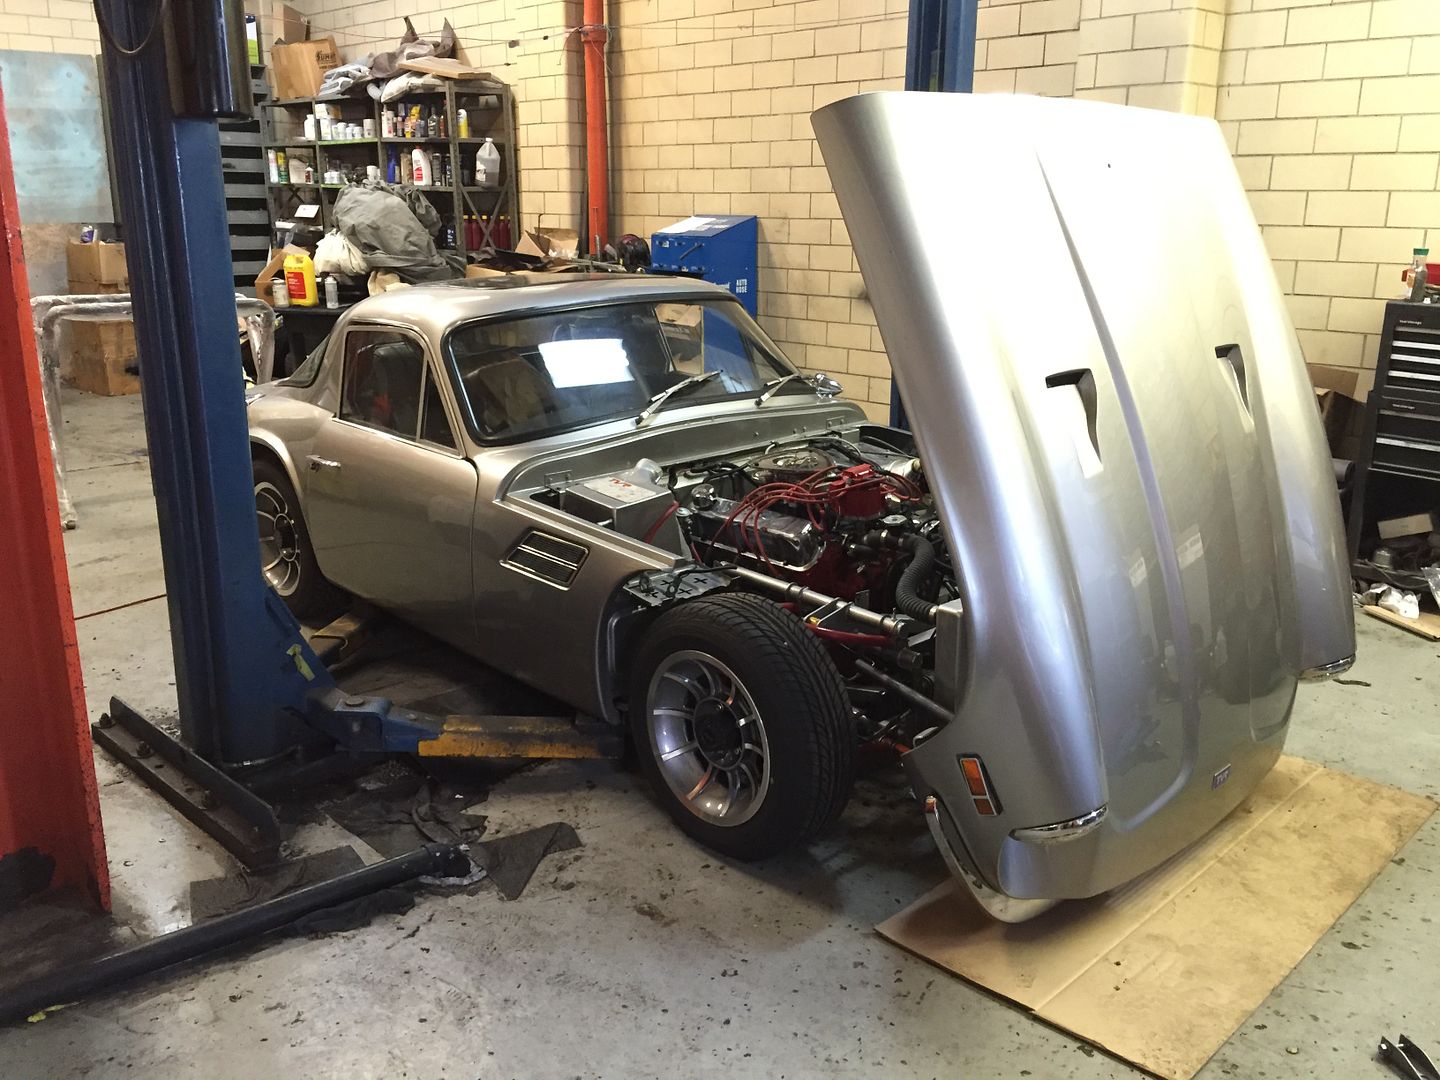
All finished up!
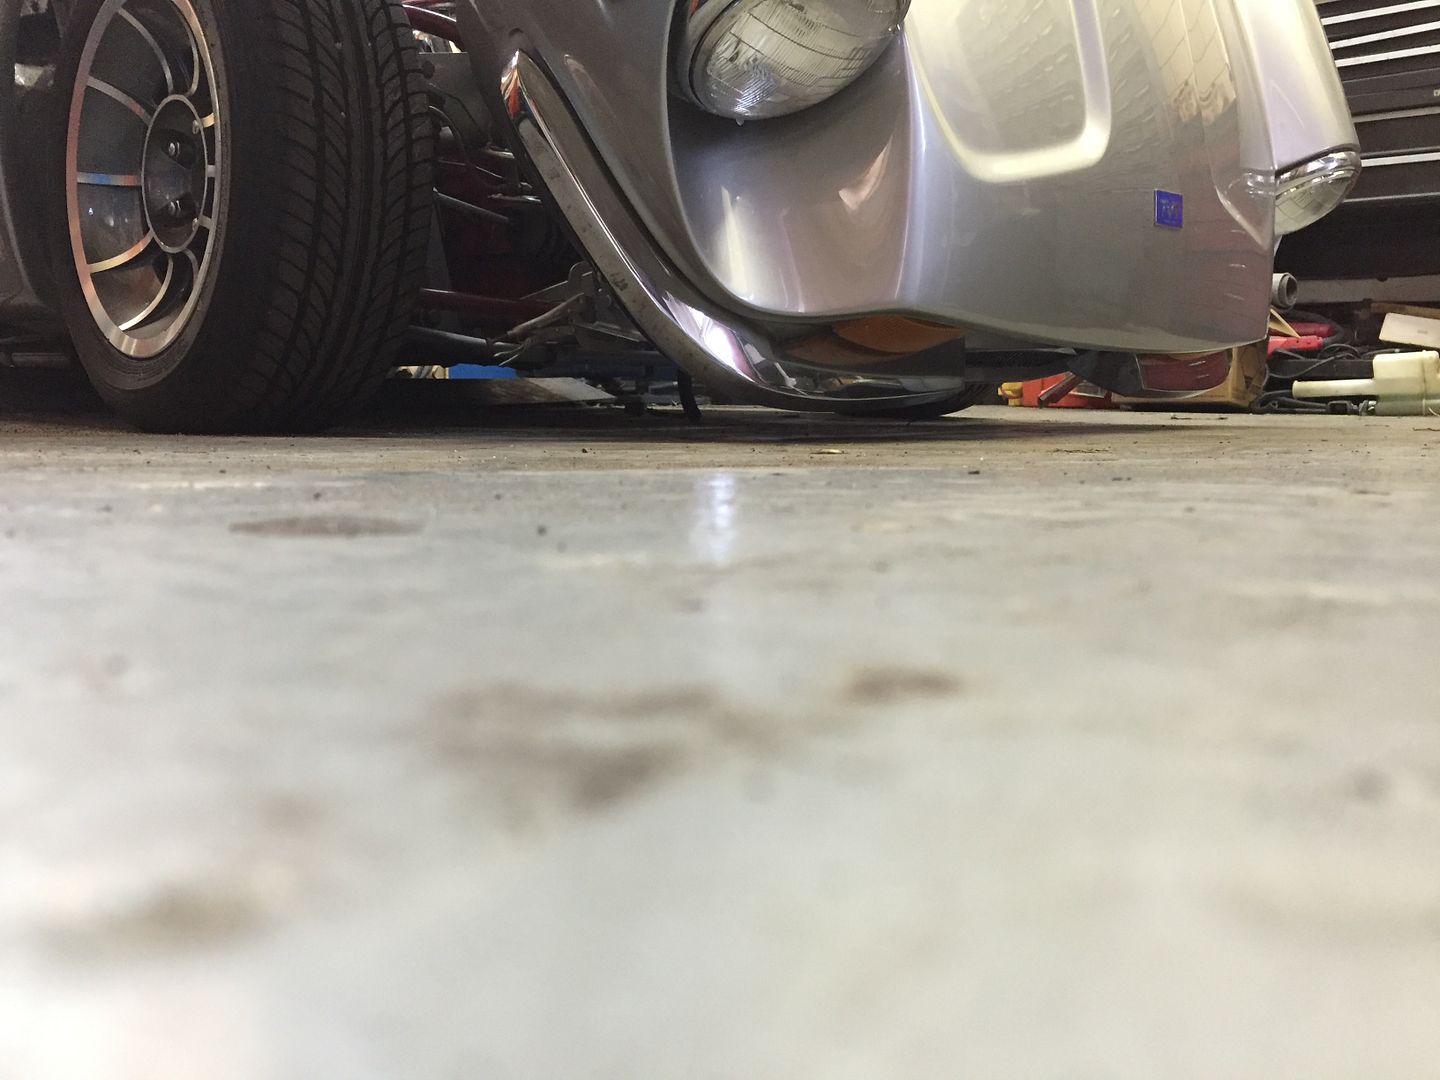
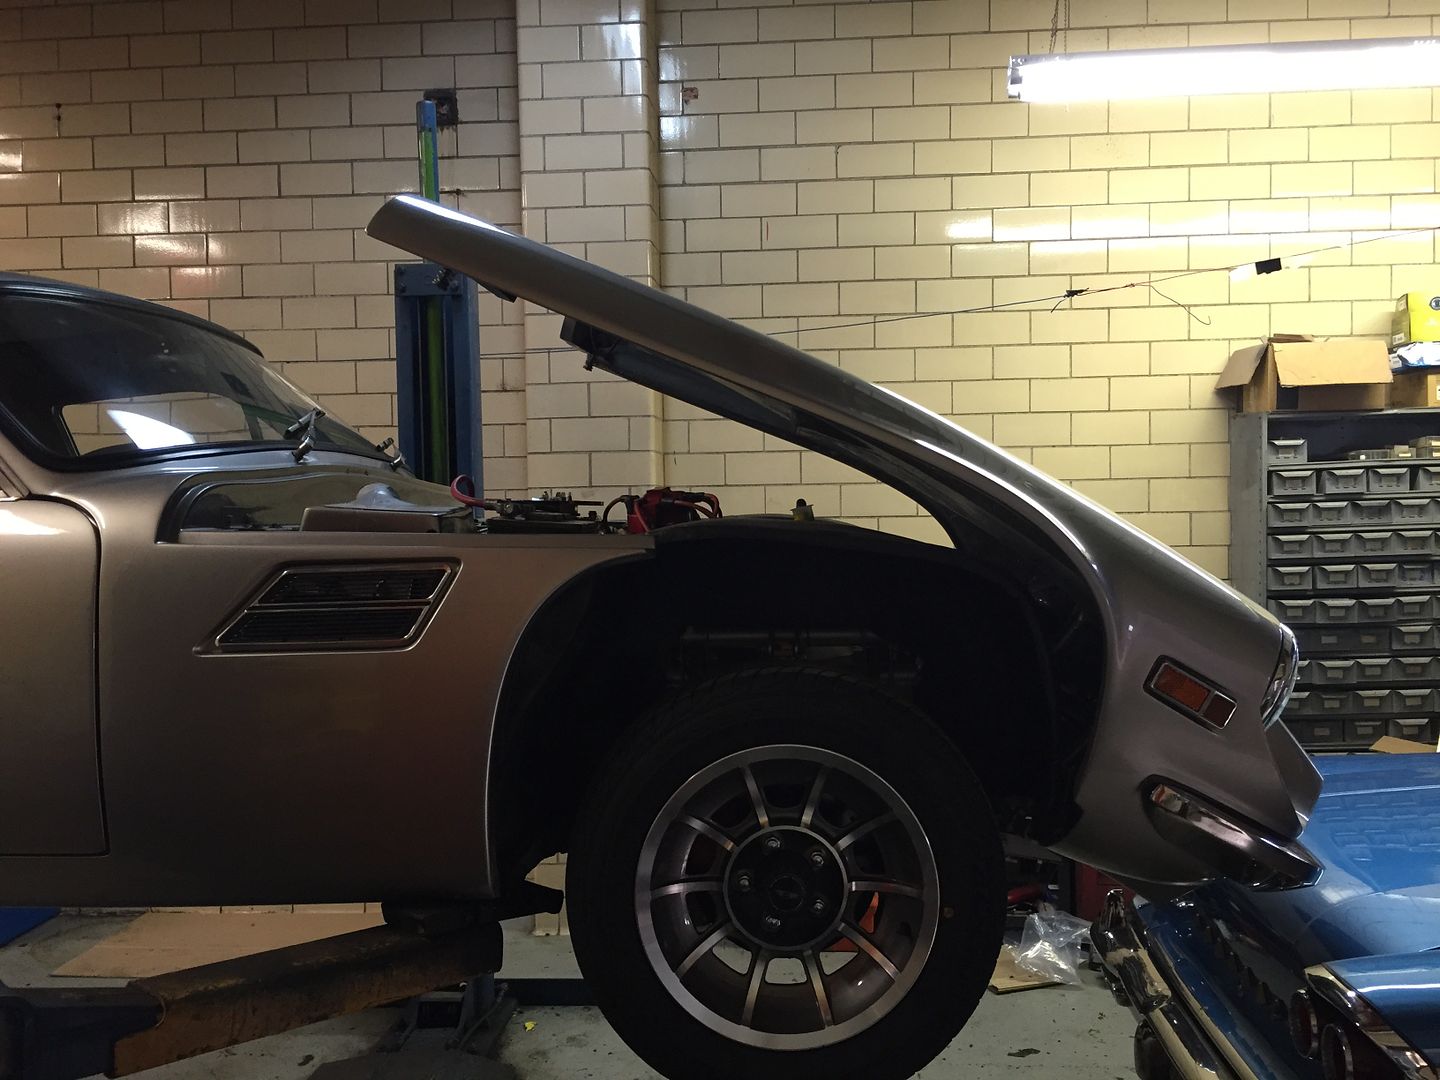
With the hood open, there is 1-1/2" clearance under the front bumper.
This picture also shows the trimmed fender liners, which I forgot to take detailed pictures of.
Here is a quick before and after. Before, the hood opened to 21"
And After. Full opening.
After finishing up, I had a lot of cleanup to do. I unpacked all of my tools, including my welder. Nobody was around to help me lift it out (this is a heavy fucker by the way), so I used the lift!
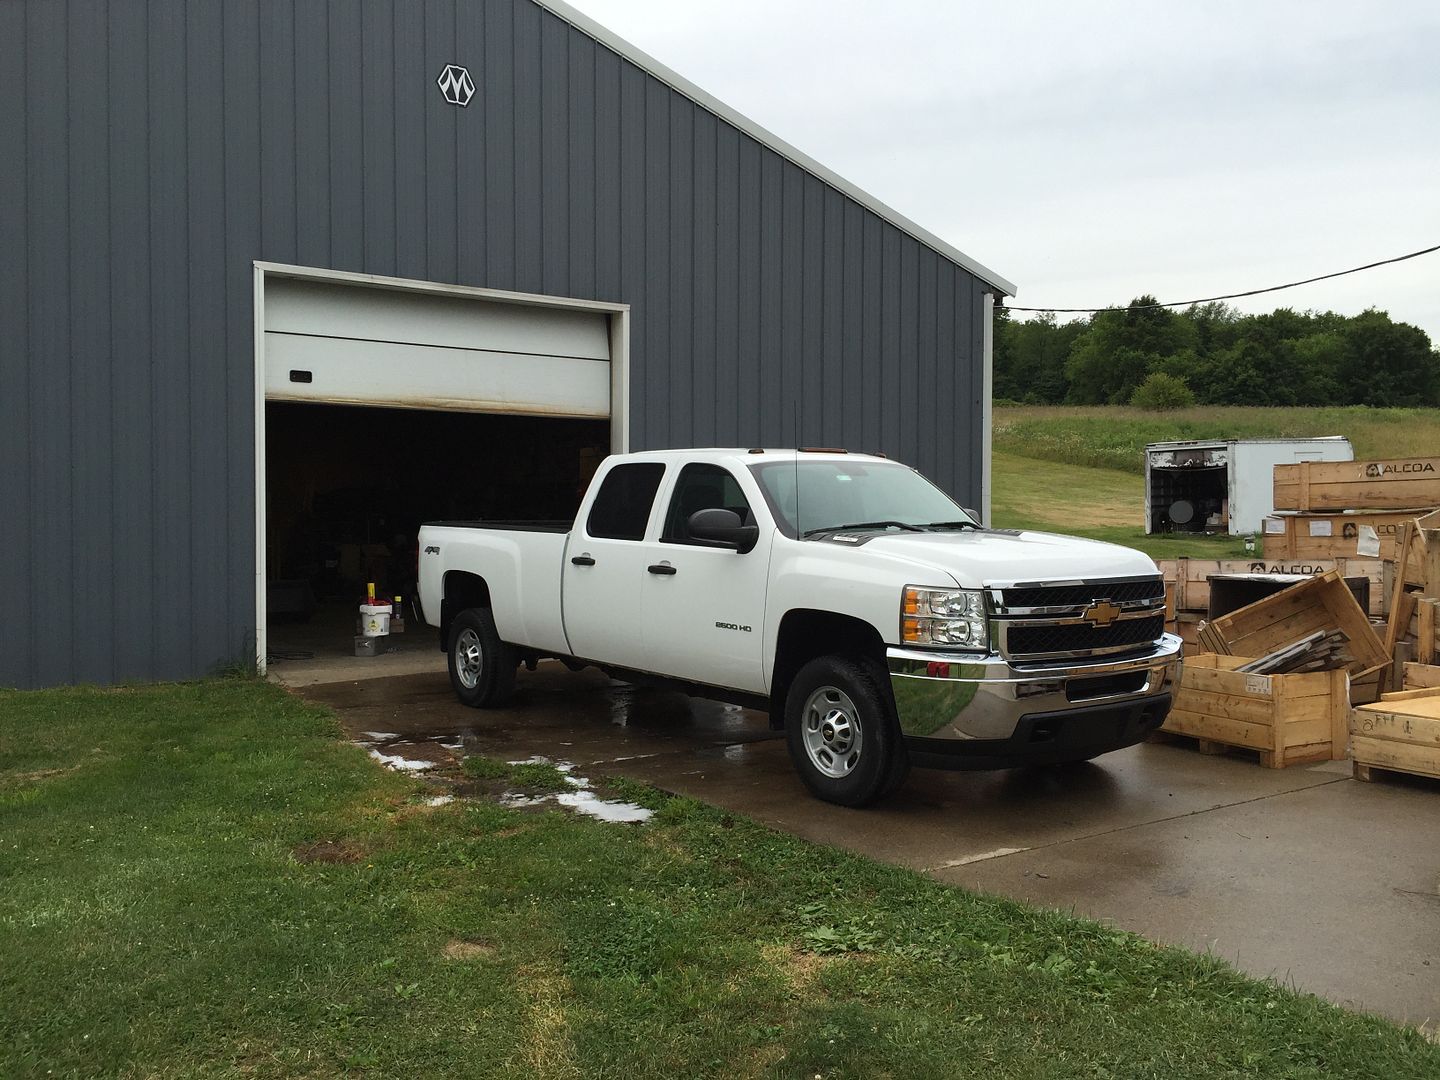
Then I spent 6 hours cleaning my truck inside and out. This may be the cleanest it has ever been.
I added a new pivot point, along with two reinforcement plates and diagonal bars, into the original structure of the hood. Notches made on site with a grinder and file haha.
The next steps required a 220v welder, so I dragged my Miller to their shop.
It's not my proudest work, but it may be the 2nd best fabrication on the car. My worst welds are on par with the factory stuff haha.
When I left off in my last post, I had just delivered the hinge structure to Bill Lewis for TIG welding.
Here is a close-up of the finished clearance notch for the radiator.
Paint is the next step. Unfortunately the budget for this project only allows rattle can paint, but I'm still prepping and masking properly. I made these tapered aluminum sleeves to get paint as close to the threads as possible, so there will be no racking marks.
Primer
Rattle can red!
I wish I could have used WRINKLE RED!
After everything cured...or rather, dried... I went to Fort Pitt Classic Cars to install everything. I'm using all SAE Grade 8 hardware with nylon insert nuts. The rod ends are FK high strength 5/8" bore x 5/8' stud.
All bolted up! The red is intended to match the control arms, shocks, and engine block.
My clevis scheme worked exactly as planned. This turned out to be critical on this project because the rattle can paint falls off if you look at it wrong, so the trauma of installing a clevis would have made this tab look horrible without the raised boss.
All finished up!
With the hood open, there is 1-1/2" clearance under the front bumper.
This picture also shows the trimmed fender liners, which I forgot to take detailed pictures of.
Here is a quick before and after. Before, the hood opened to 21"
And After. Full opening.
After finishing up, I had a lot of cleanup to do. I unpacked all of my tools, including my welder. Nobody was around to help me lift it out (this is a heavy fucker by the way), so I used the lift!
Then I spent 6 hours cleaning my truck inside and out. This may be the cleanest it has ever been.
Subscribe to:
Posts (Atom)