Wednesday, November 4, 2015

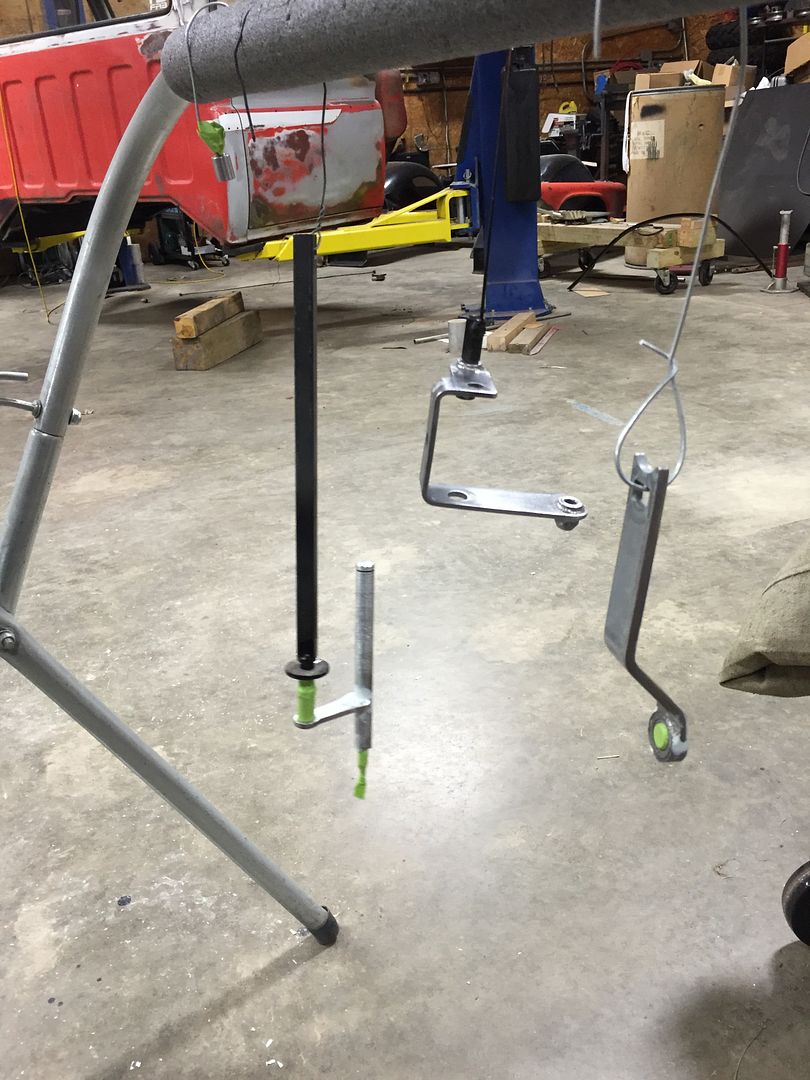
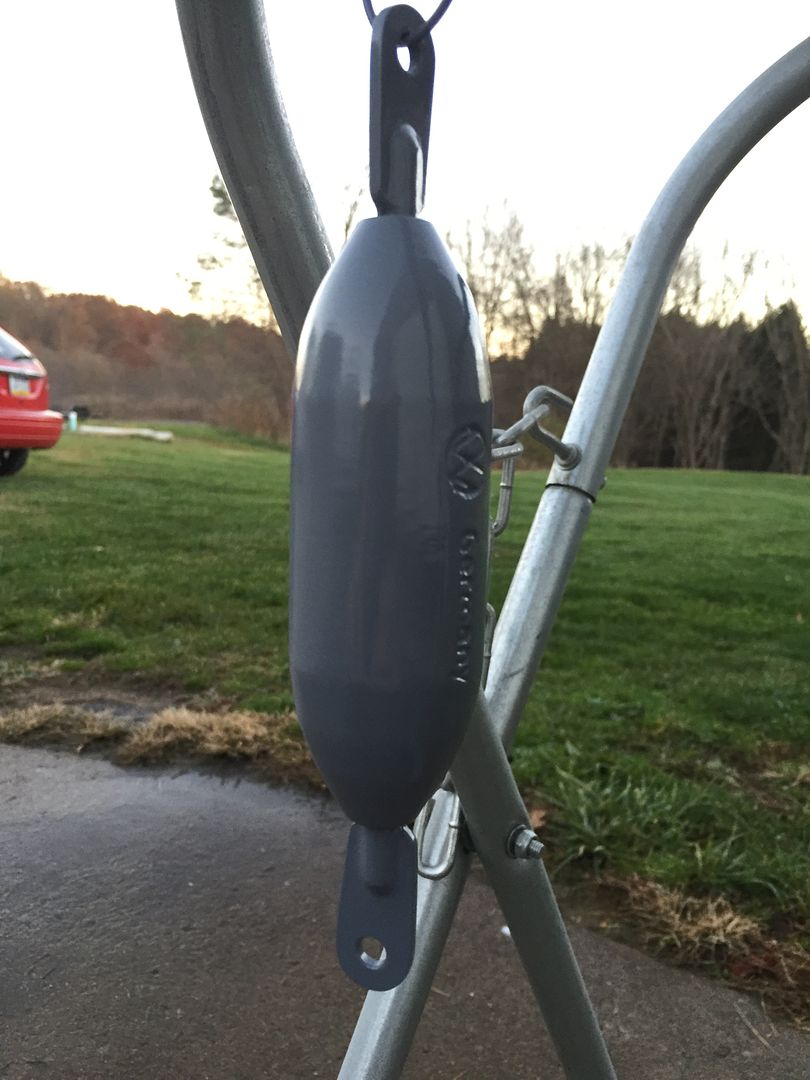
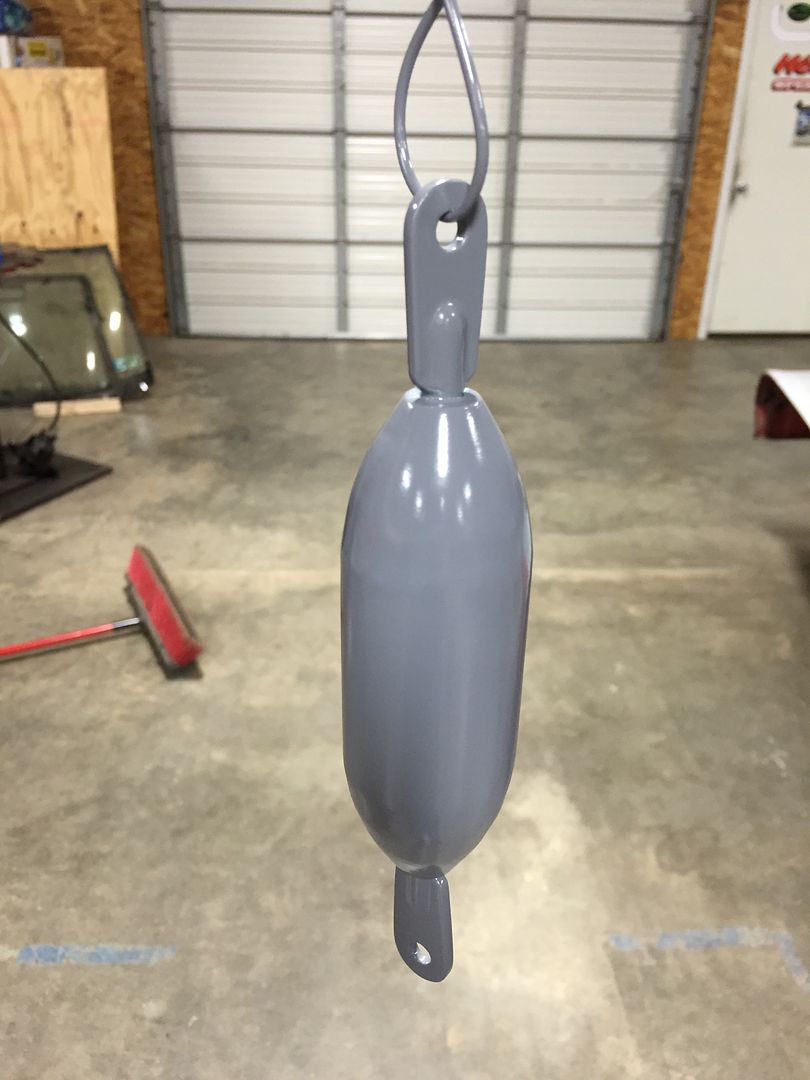
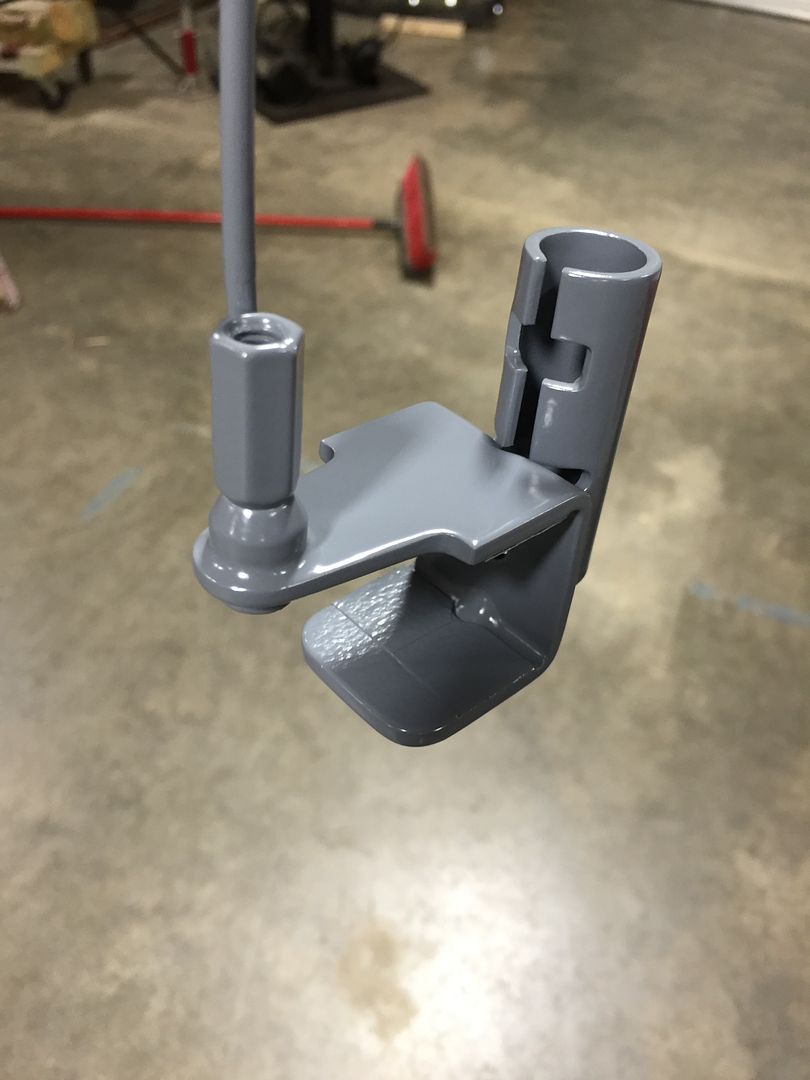
Tonight I finished spraying all of my shift linkage parts with DP50LF epoxy primer.

I finished all of the putty work, sanding, prep, and masking this weekend.


Here is everything after two coats of epoxy primer.


Sunday, October 25, 2015

New tools!  I bought a Snap-on TRLL72 extra long, quick-release ratchet.  This was a total impulse buy, I got off of the highway to avoid traffic and happened upon Snap-on Dan.  Oops!


Here is a comparison against a standard T72 ratchet and a TX72 locking flex ratchet, which I already had.


Now, will it fit...


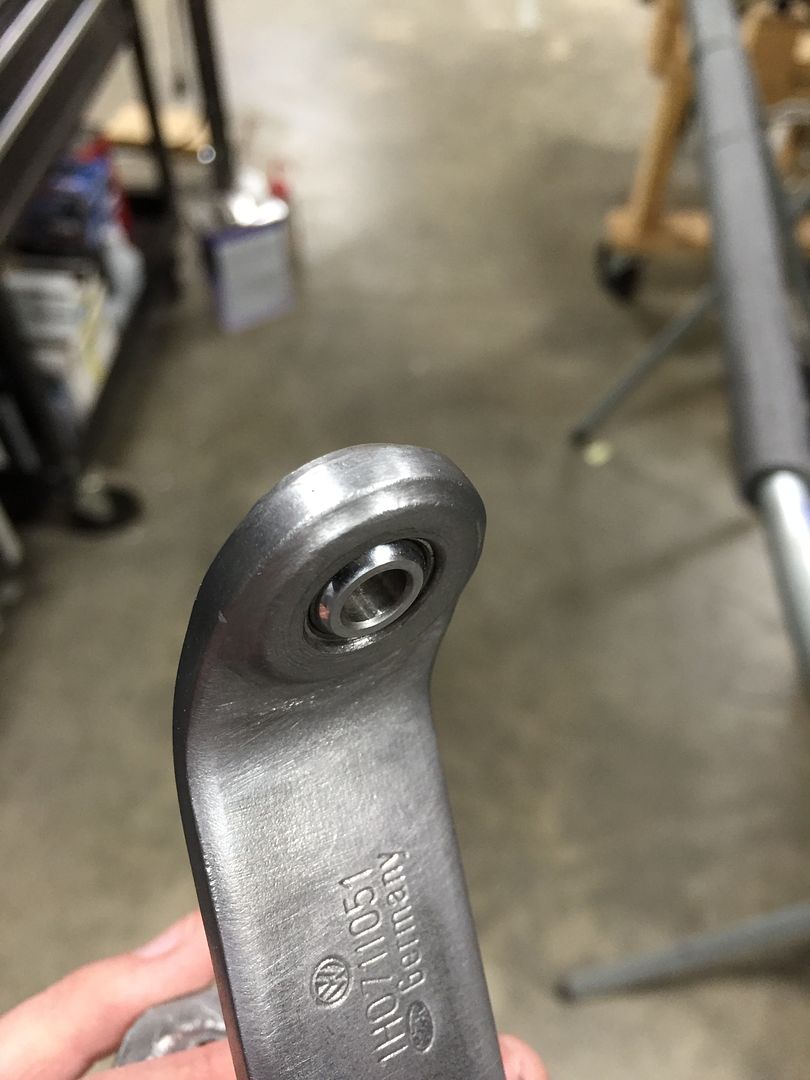
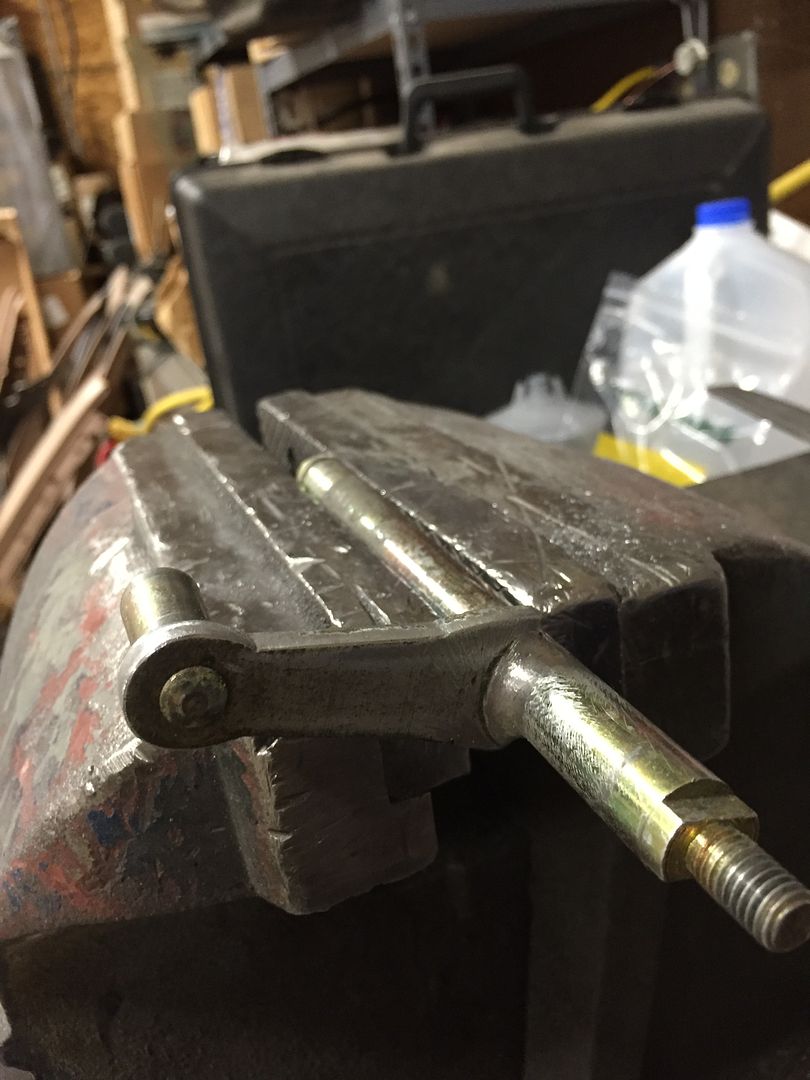
Back to work.  A few months ago, I spent some time reconstructing the shift linkage to remove all of the rubber bushings and replace them with spherical bearings.  I took a break to work on some other things, but now I'm back on the finish work in preparation for primer.

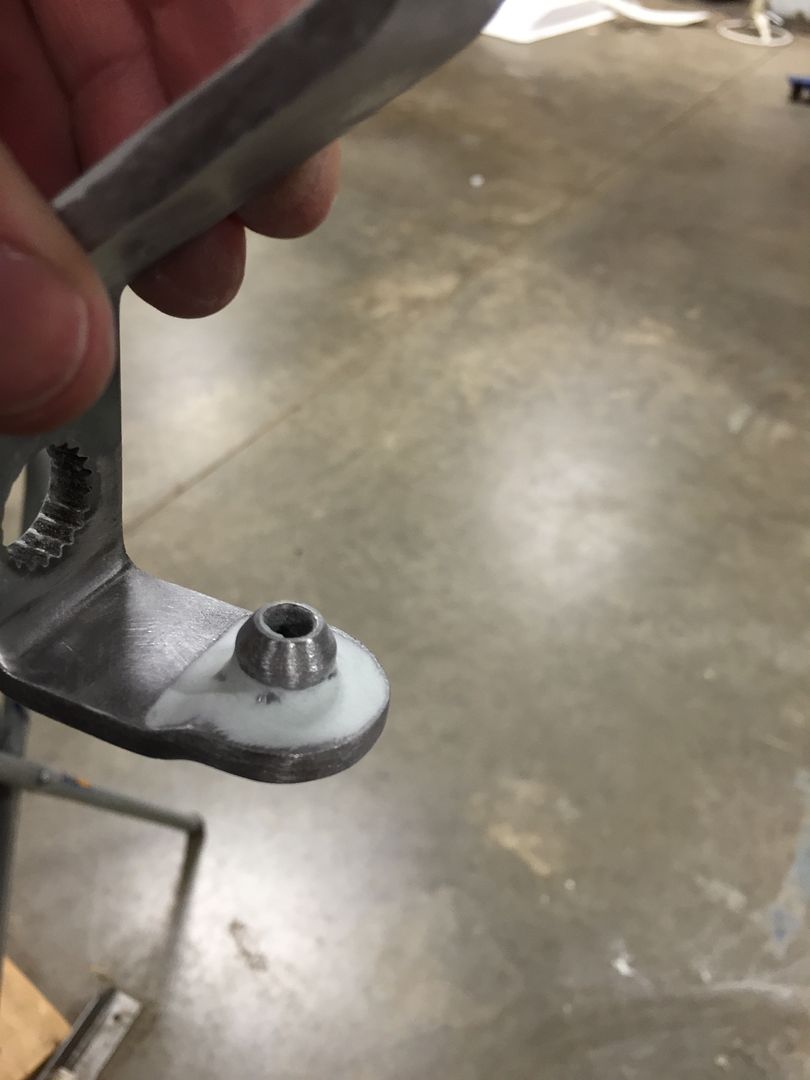
Here is the weighted link, I had new tabs welded in place and I have decided to clean it up.


After some grinding.  It's not perfect, but I'll add a bit of putty to get everything perfectly symmetric.

The tab itself was a bit asymmetric, so I blued it up and traced out a circle concentric with the hole.

After a bit of trimming I was happy with the radius.


After reworking the edges tangent to the new radius, I was happy with the look considering this tab was hand-cut.

Here was the input linkage just after welding by Bill Lewis.  Not too bad!  Since I'm smoothing all of the other welds, I decided to smooth this one too.


Almost good enough without putty.

This piece got a little more work as well.  The original stampings were really rough, so I smoothed them out.  I also ground out the stock weld, re-welded some portions, and smoothed it into a nice radius.


Mud.


Tuesday, October 13, 2015

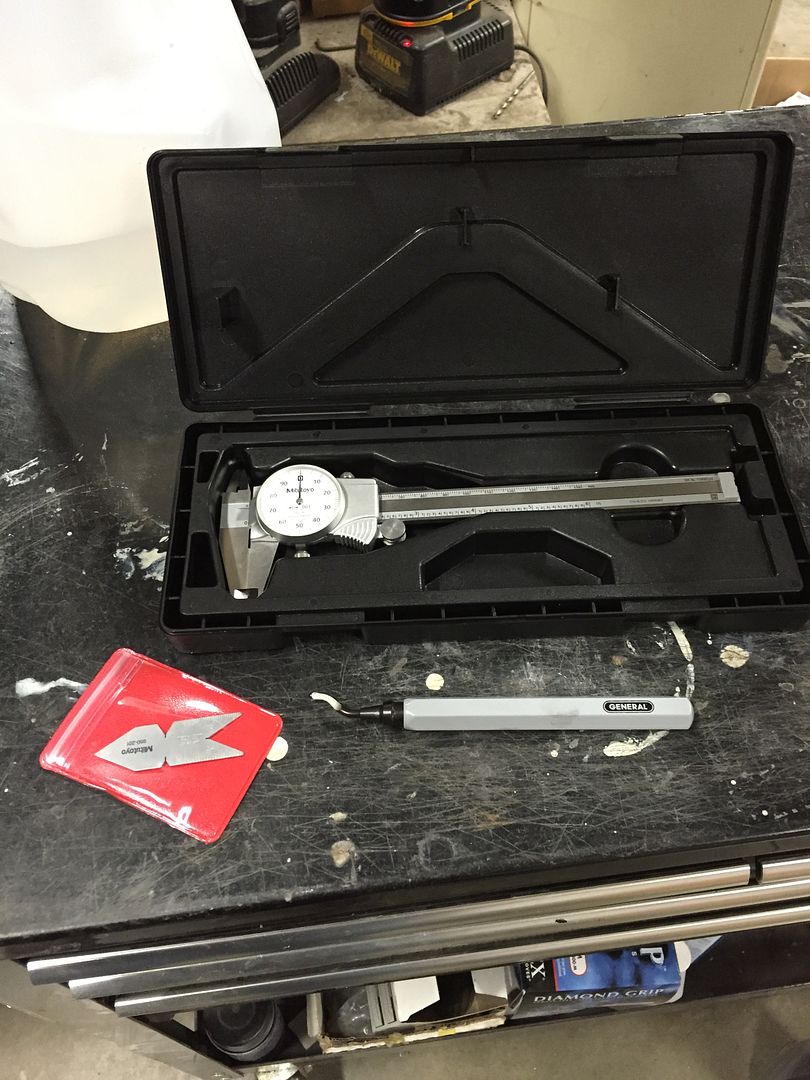
New tools!

I bought my first big-boy set of dial calipers after using junkers for many years.  These are Mitutoyo 6" dial calipers, I prefer dial calipers over the more popular digital option.  I also picked up a cheap deburring tool and a Mitutoyo center gauge.


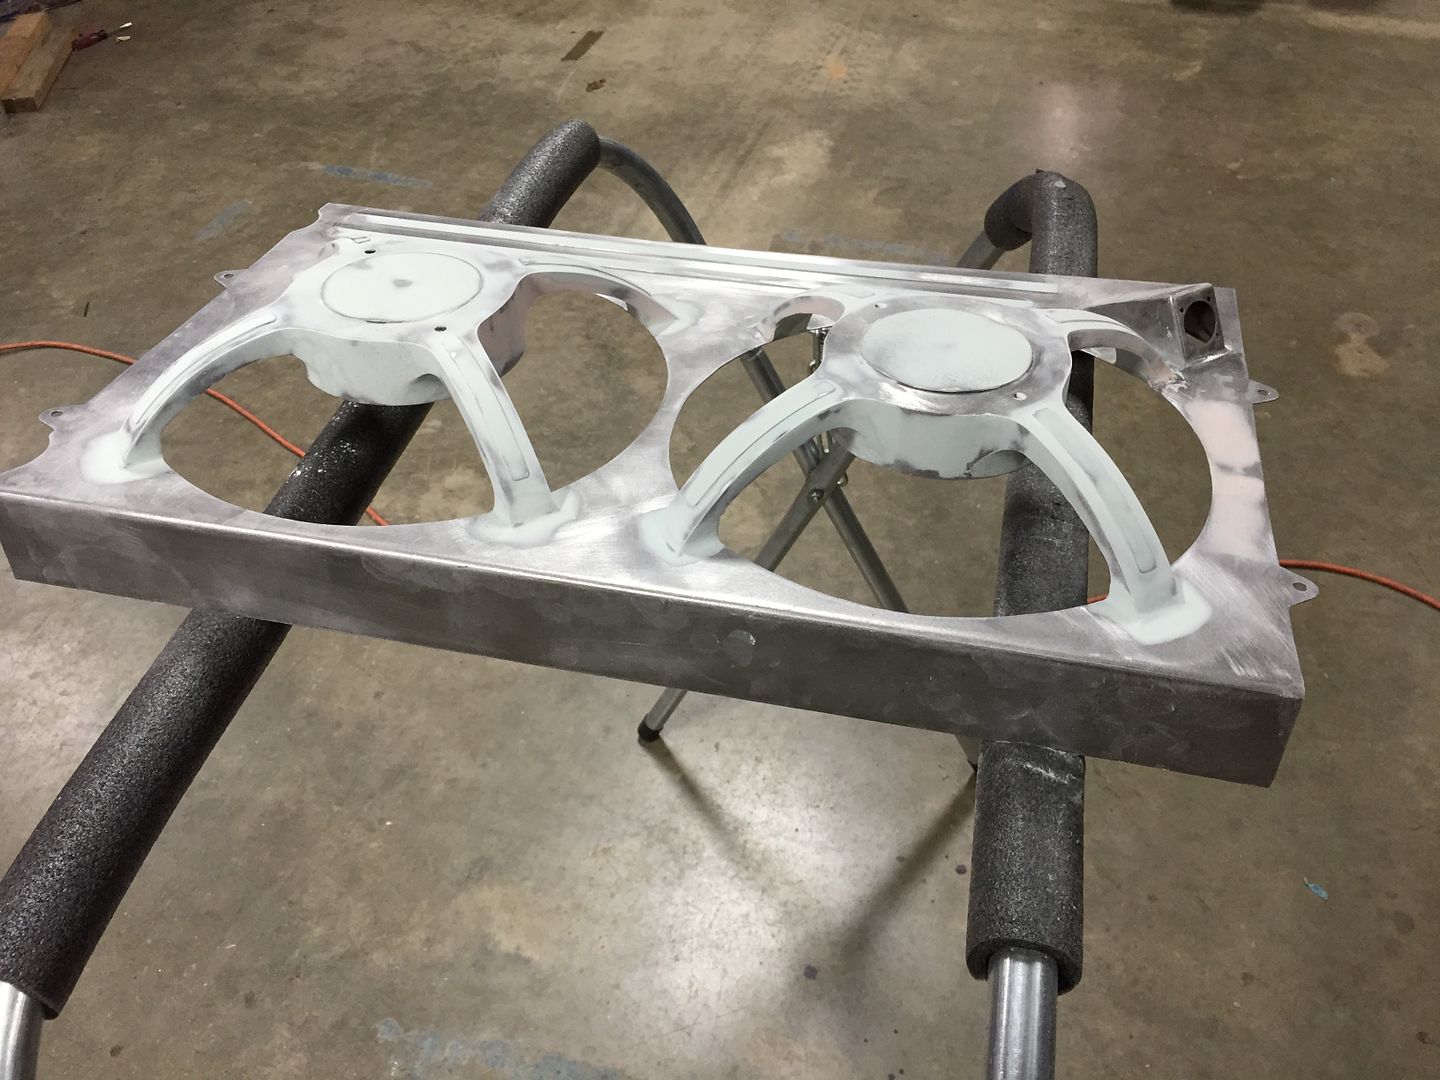
I finally got a chance to make progress on my fan shroud.  I finished the putty work and got it sprayed with epoxy primer tonight.


I normally try to do better than this, but sometimes you have to spray primer outside.  At night.

PPG DP40LF epoxy primer.  It's not perfect, but most of the imperfections are fine enough to sand out in the primer layer.


I have a break from school coming up, so hopefully I can make some decent progress on the Jetta.  Until then, back to less interesting things.

Monday, September 7, 2015

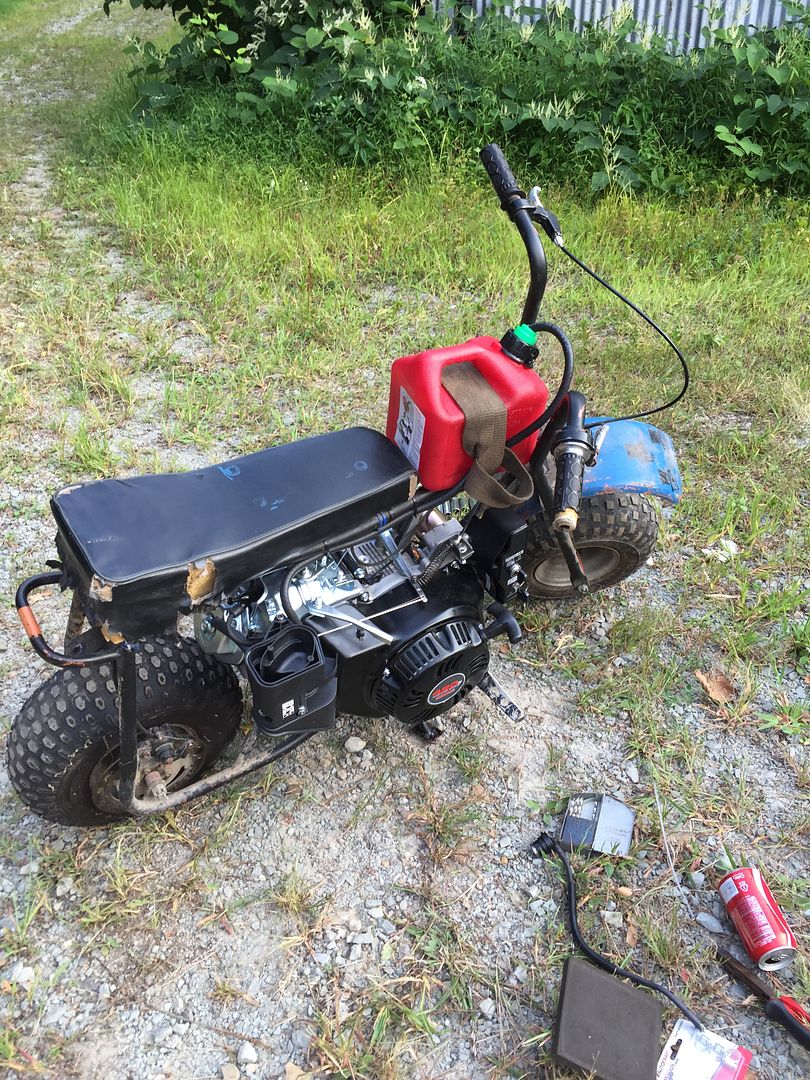
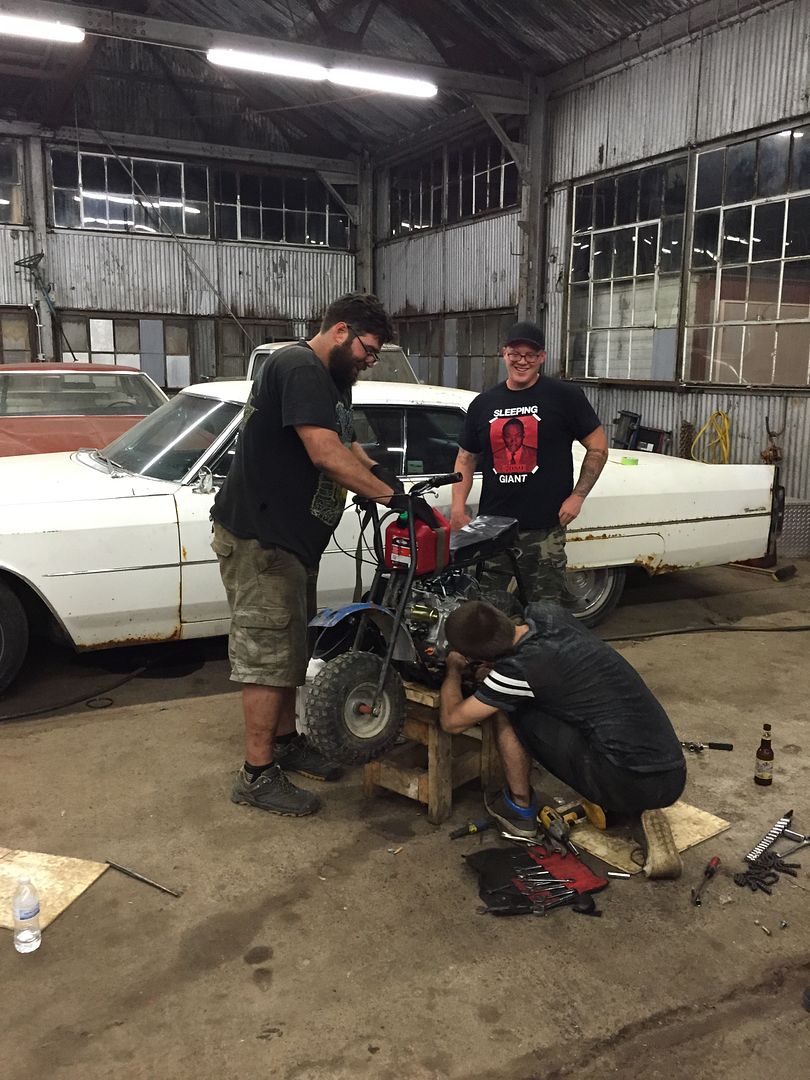
A few buddies had their annual shop party  at their garage.  As usual, the minibike racing was the highlight of the night!  This year it took longer than expected to get them running, and after the bloodshed last year I decided to leave before things got ugly.  


Johnny D's machine was probably the most complete, but it had a slight fuel leak.


Ingredients: Metal, Gasoline, Danger.

Tim's machine required the most work.  He had to mount the clutch and fabricate new engine mounts.

While hanging out, I couldn't help but notice how many V8s were just laying around.

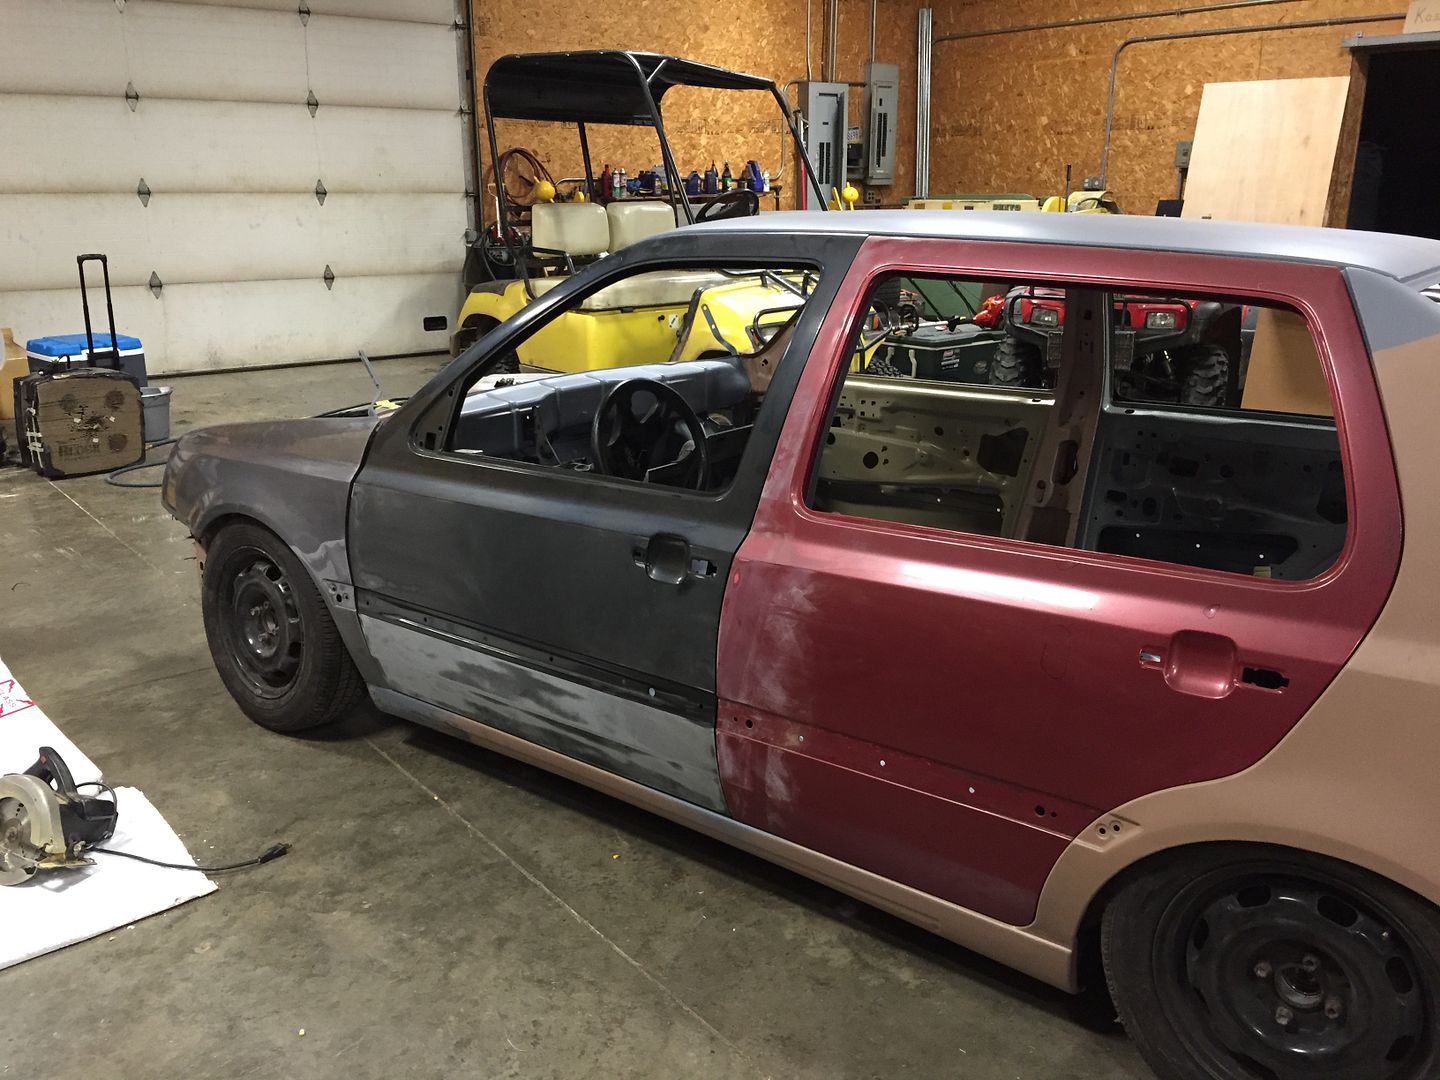
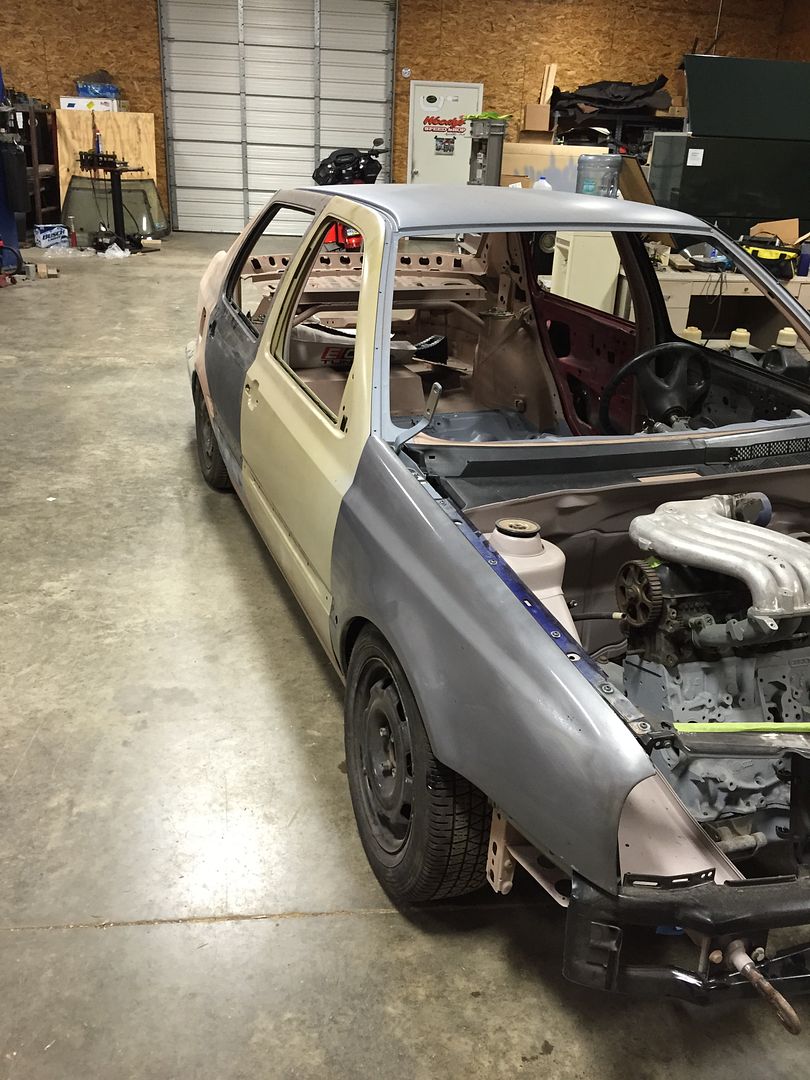
Back to reality!  I started mounting all of the body panels to the Jetta.  Now that the interior is coated in epoxy primer, I can focus on bodywork - first on some components, then on the main body itself.

First I turned down some bolts to mount the hood hinges.  These are 18-8 stainless steel bolts.

They look much better without the markings!


I mounted the steering column and dash brace back into the car so I can wheel it around a little more easily.

Doors and fenders


Isn't it beautiful!

I started to continue the putty work on my fan shroud.  I paused this a few months ago when I started ramping up my preparations for school to start, now I can get back to it.  Hopefully I can get it puttied and sealed in epoxy primer before it starts to rust!


Adding all of these ribs and details are going to look good, but it certainly isn't making my life easy at this point!