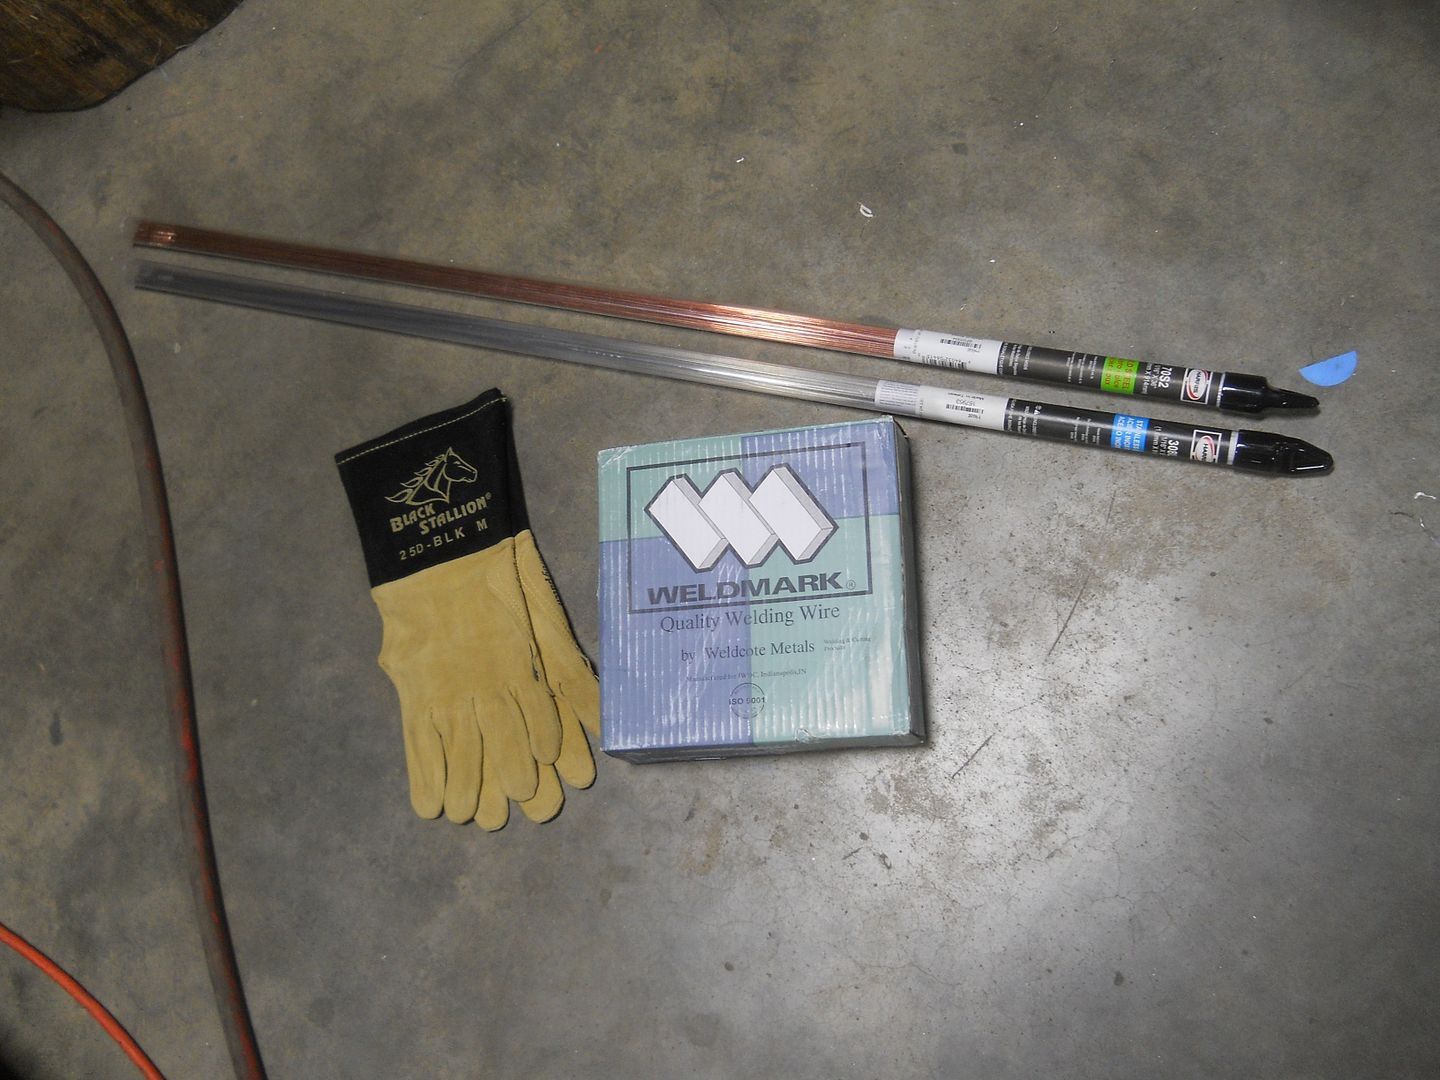
New tools! Fletcher glass cutter and Fourney carbide-tip scribe. Both made in USA.

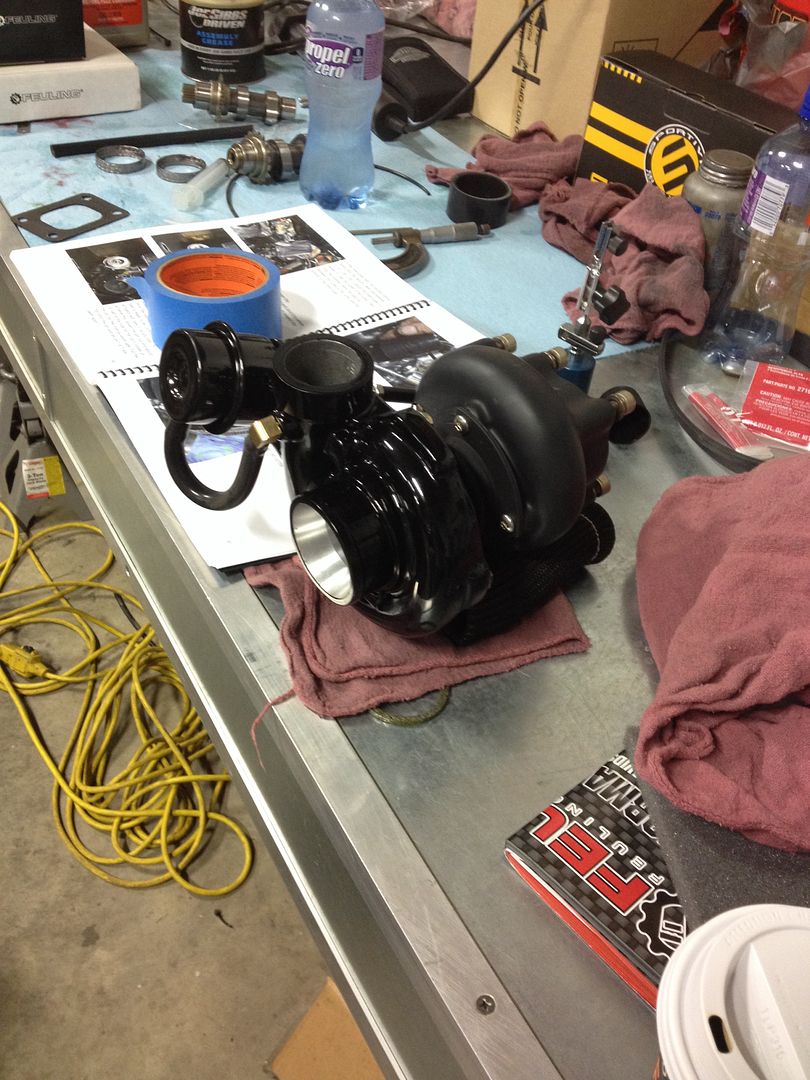
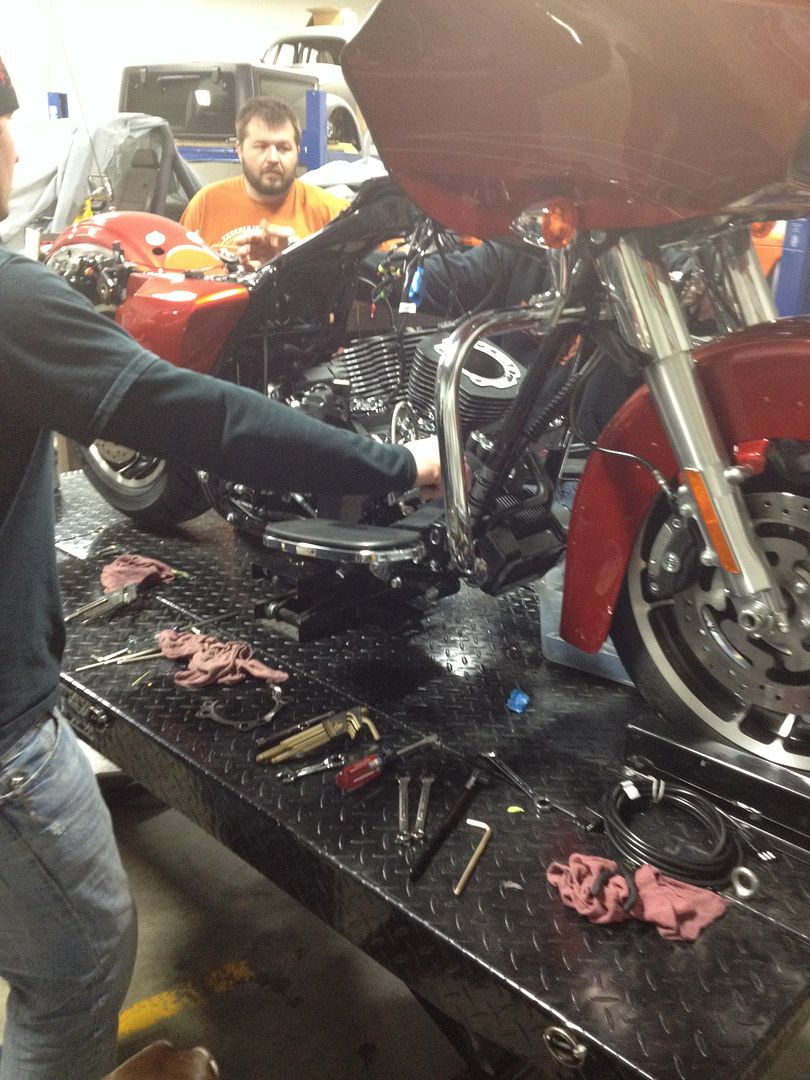
Woody Sr. has been building himself a turbo Harley over the last few weeks. It's been a fun project to watch!
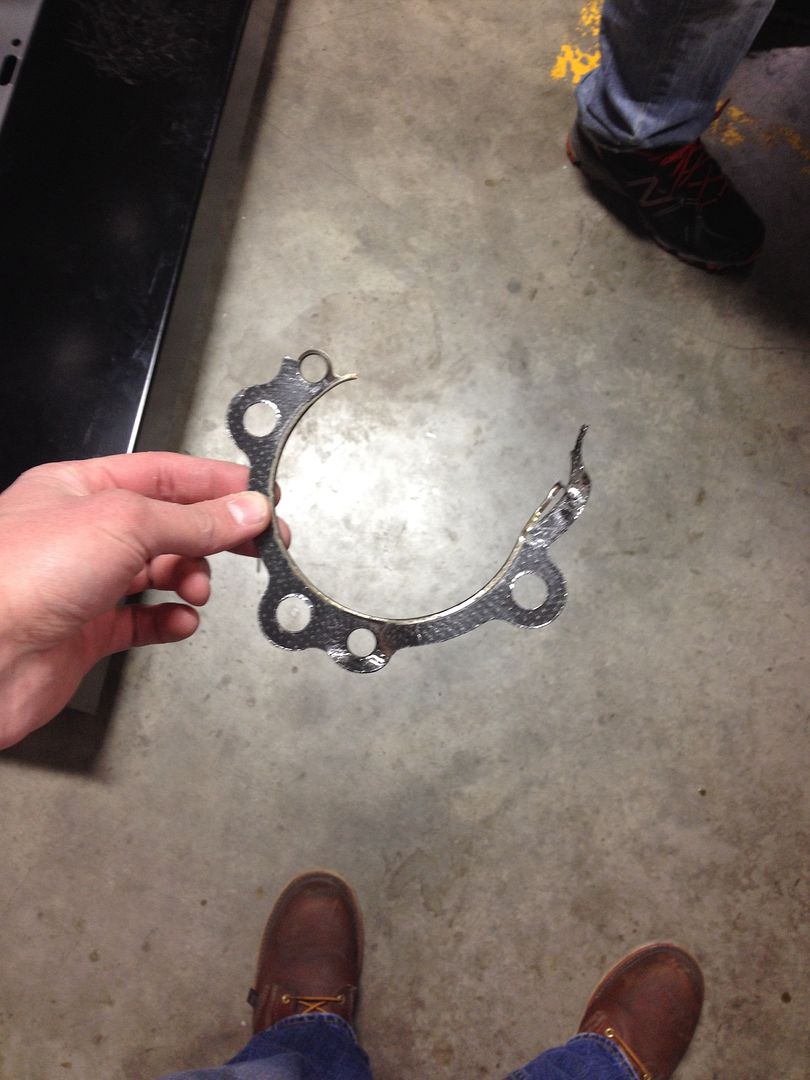
oops! Woody Jr. blew out the rear head gasket on the 2nd voyage. Hopefully this will only be a $30 fix, it could have been much worse! The missing piece blew out and hit his buddy's bike on the highway!
I was distracted this weekend with a little project at home. My roommate owns the place and wanted to install a tile backsplash. Neither of us had done ceramic tile before, but it turned out decent.


Not bad for a quick weekend project. The only thing left is the caulking around the edges after the grout cures.

Back to work.
A few months ago, I sawed the front tow hook out of a car at the junkyard. These cars only come with one front tow hook on the passenger side, and I decided it would be easier to have two. I welded the passenger side frame rail cap onto my driver side frame rail.


Symmetry!

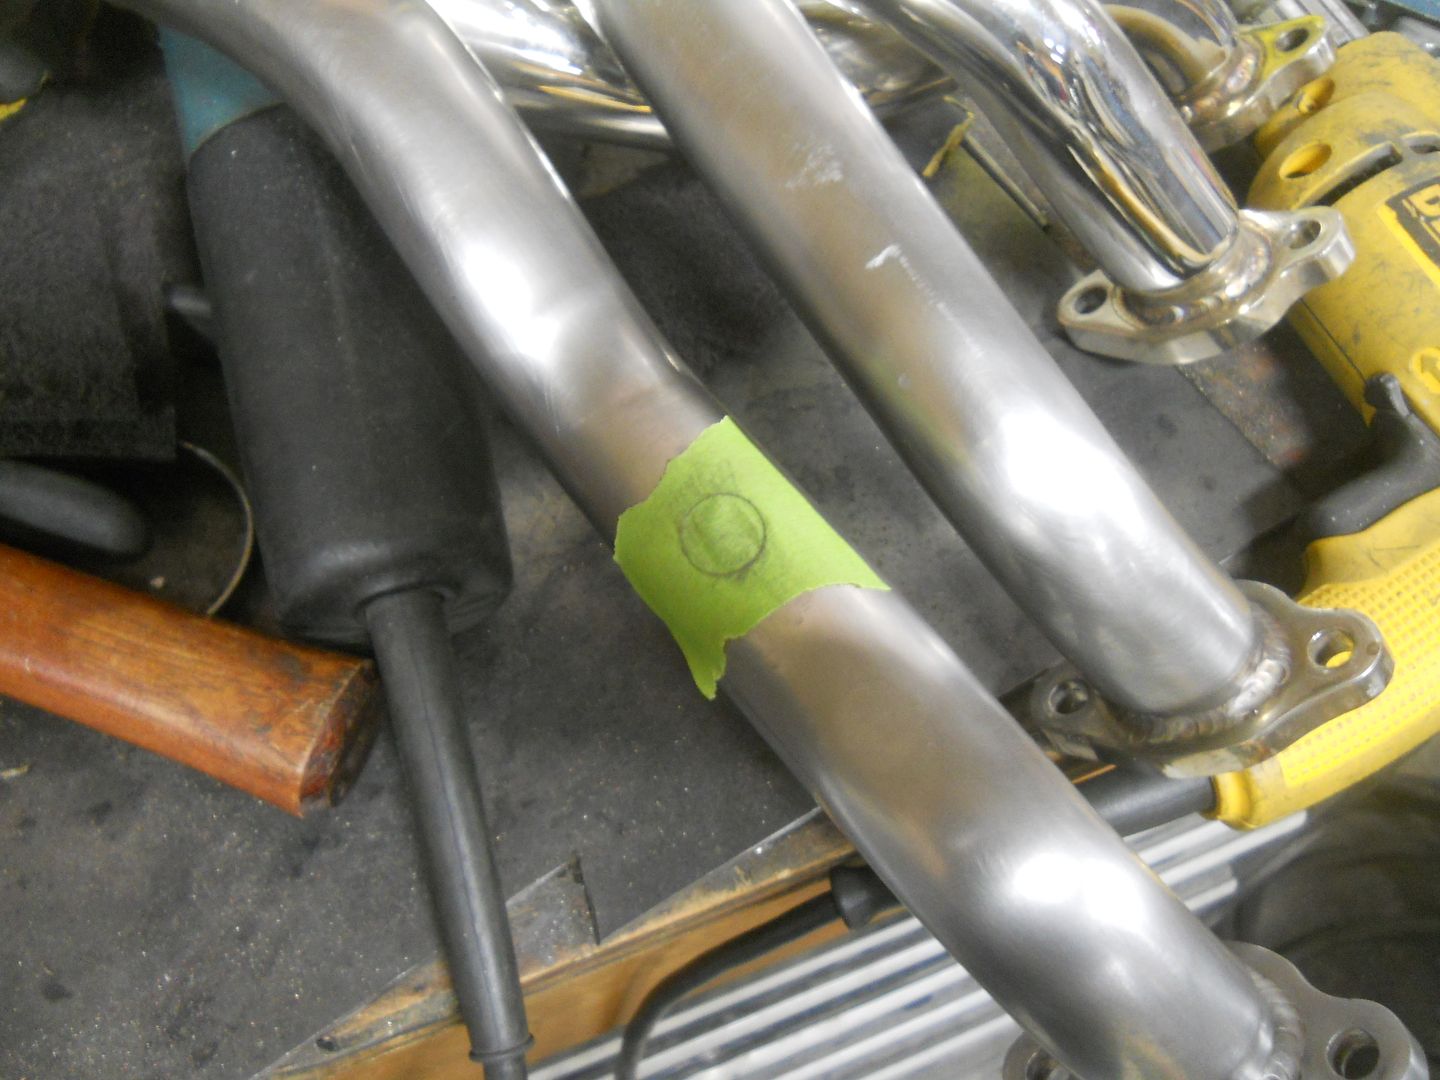
I took a break from the heat shield work to patch up some stuff on my Raceland header. I'm not using either of these two features, so I decided to remove them. I also sanded the polished finish off to match the satin/brushed look I'm going for on the exhaust system.
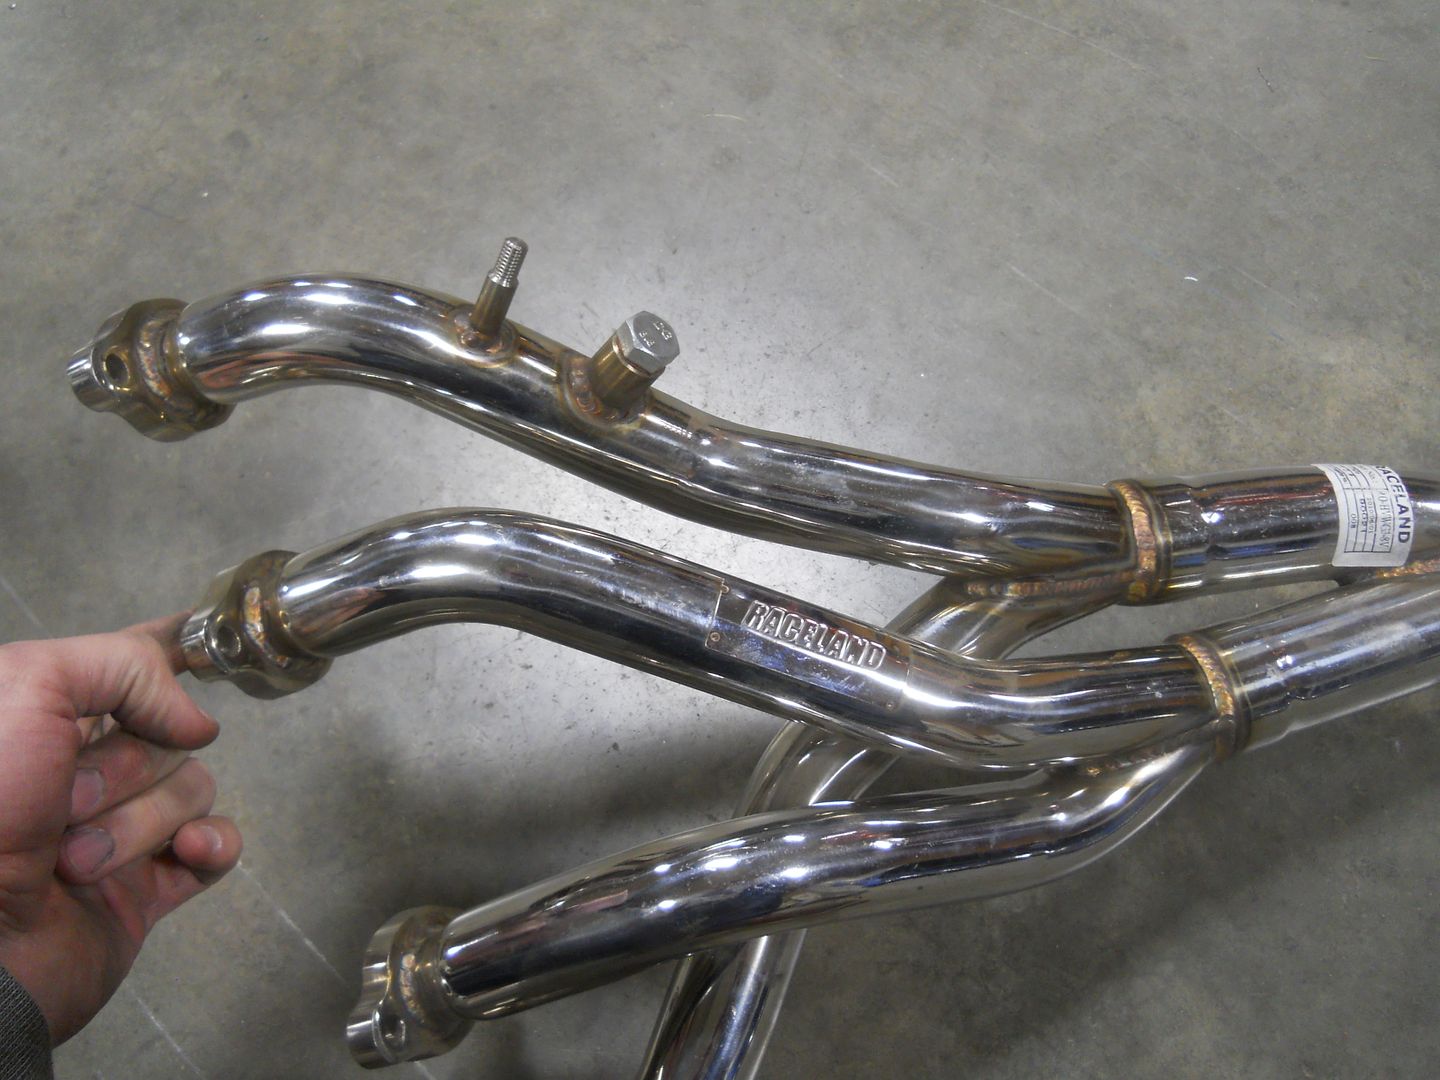
The bung had a hole through the tube wall, so I had to patch it. I didn't have any tubing of the correct diameter, so I made a template and formed a section from the exhaust pipe I was using.

Tacked. Also note the backpurge adapter I fabbed up to get a solid weld all the way through.


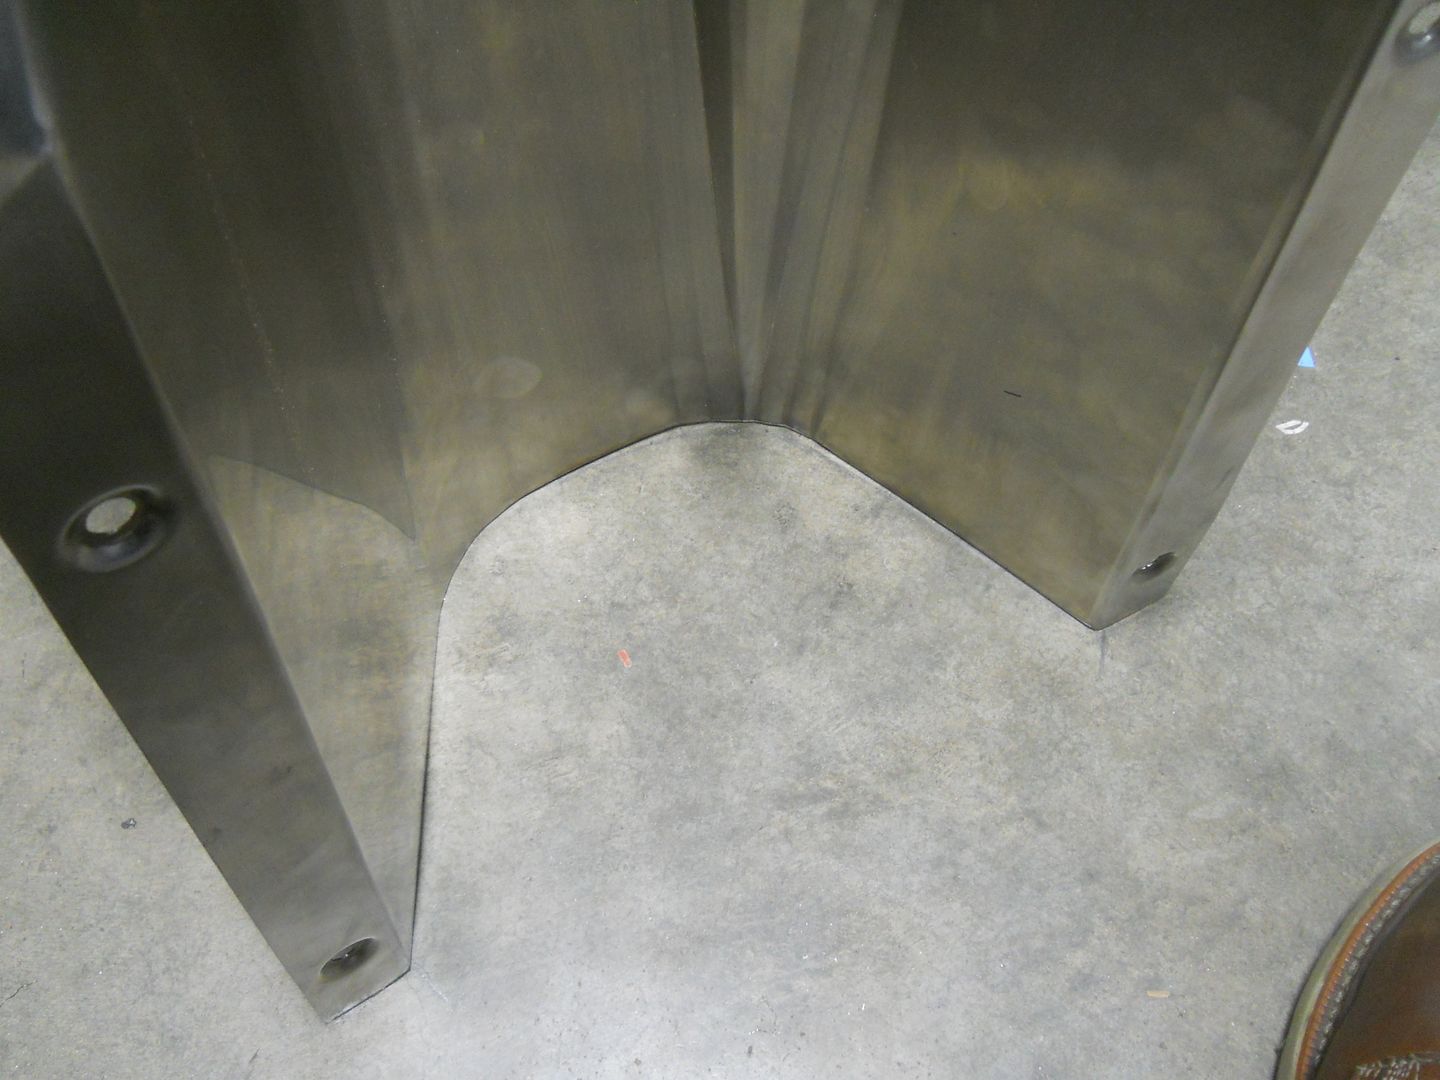
Now on to the heat shield. This thing has been kicking my ass for nearly 6 months, and I'm finally approaching a finished piece!
I adjusted the shape of the front section. It's difficult to see because I'm a terrible photographer, but I scribed a "before" line in pencil on the floor. This was to gain a bit more clearance on one side of the tunnel.
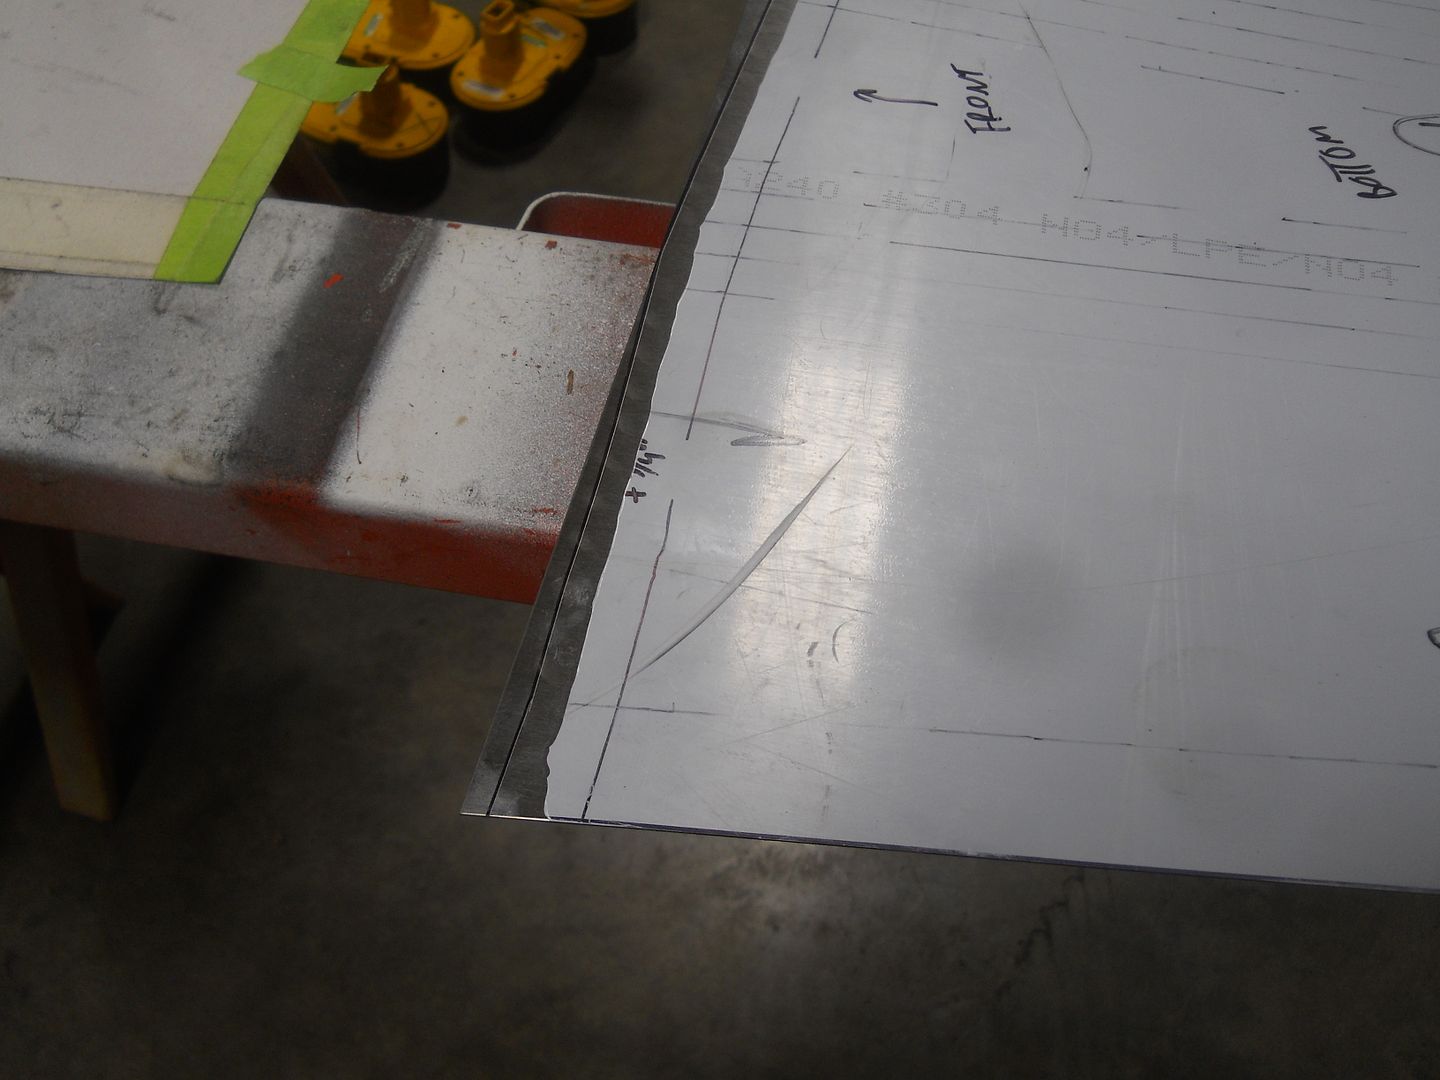
Patterns, layouts, patterns... measure 35 times, cut once, trim for 3 days.
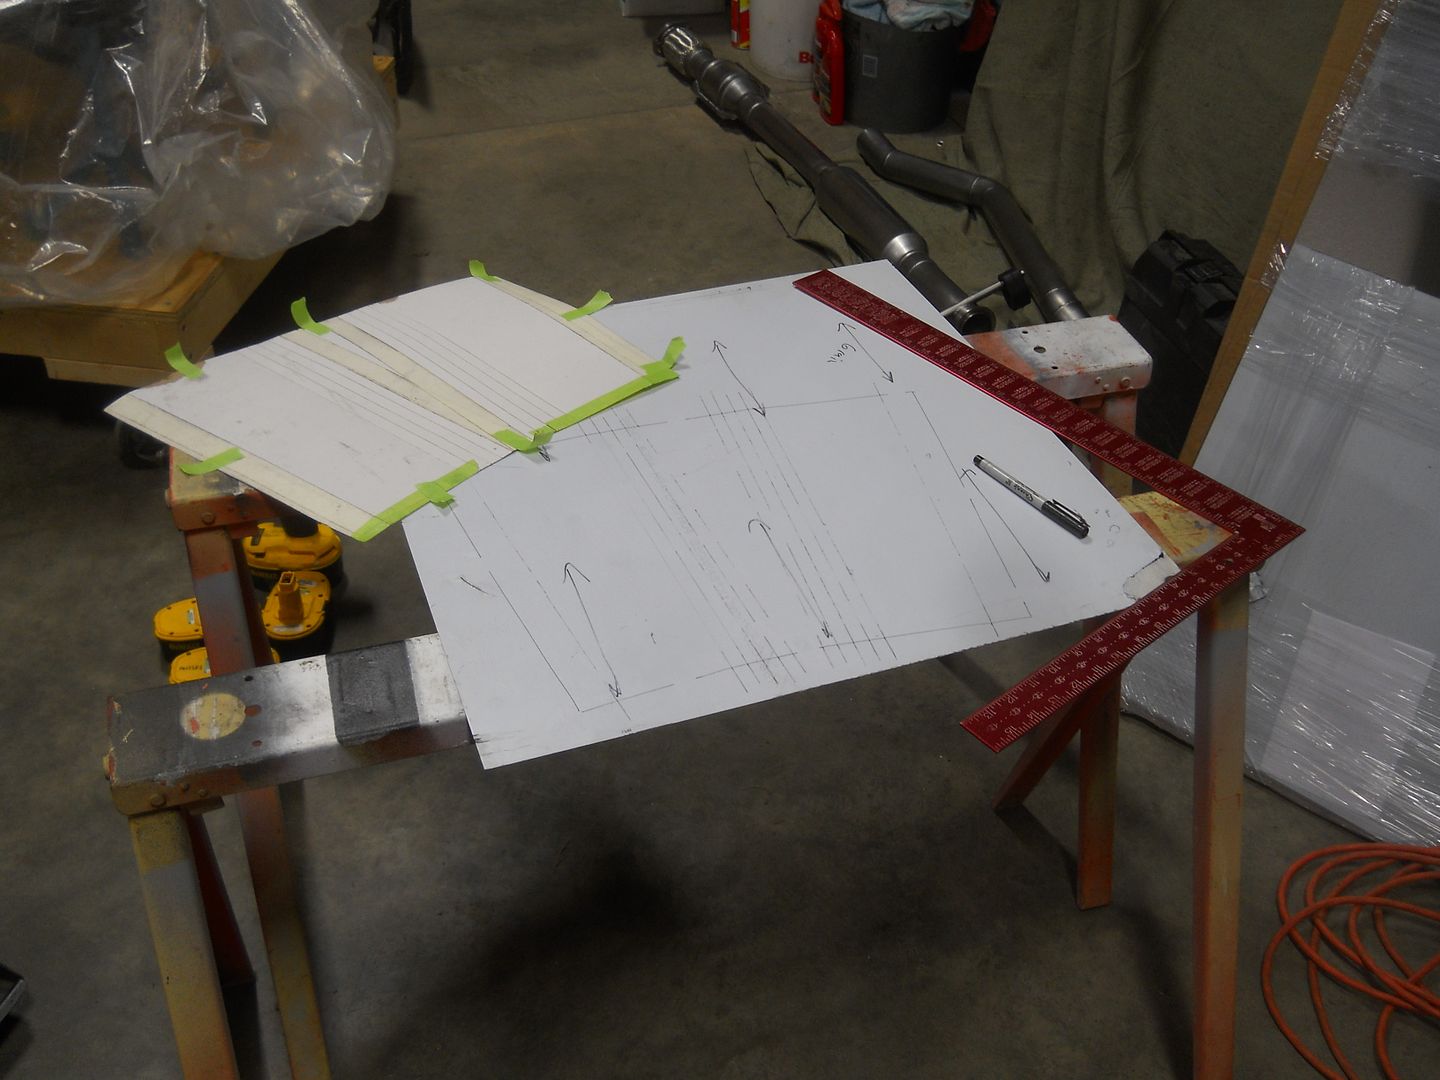
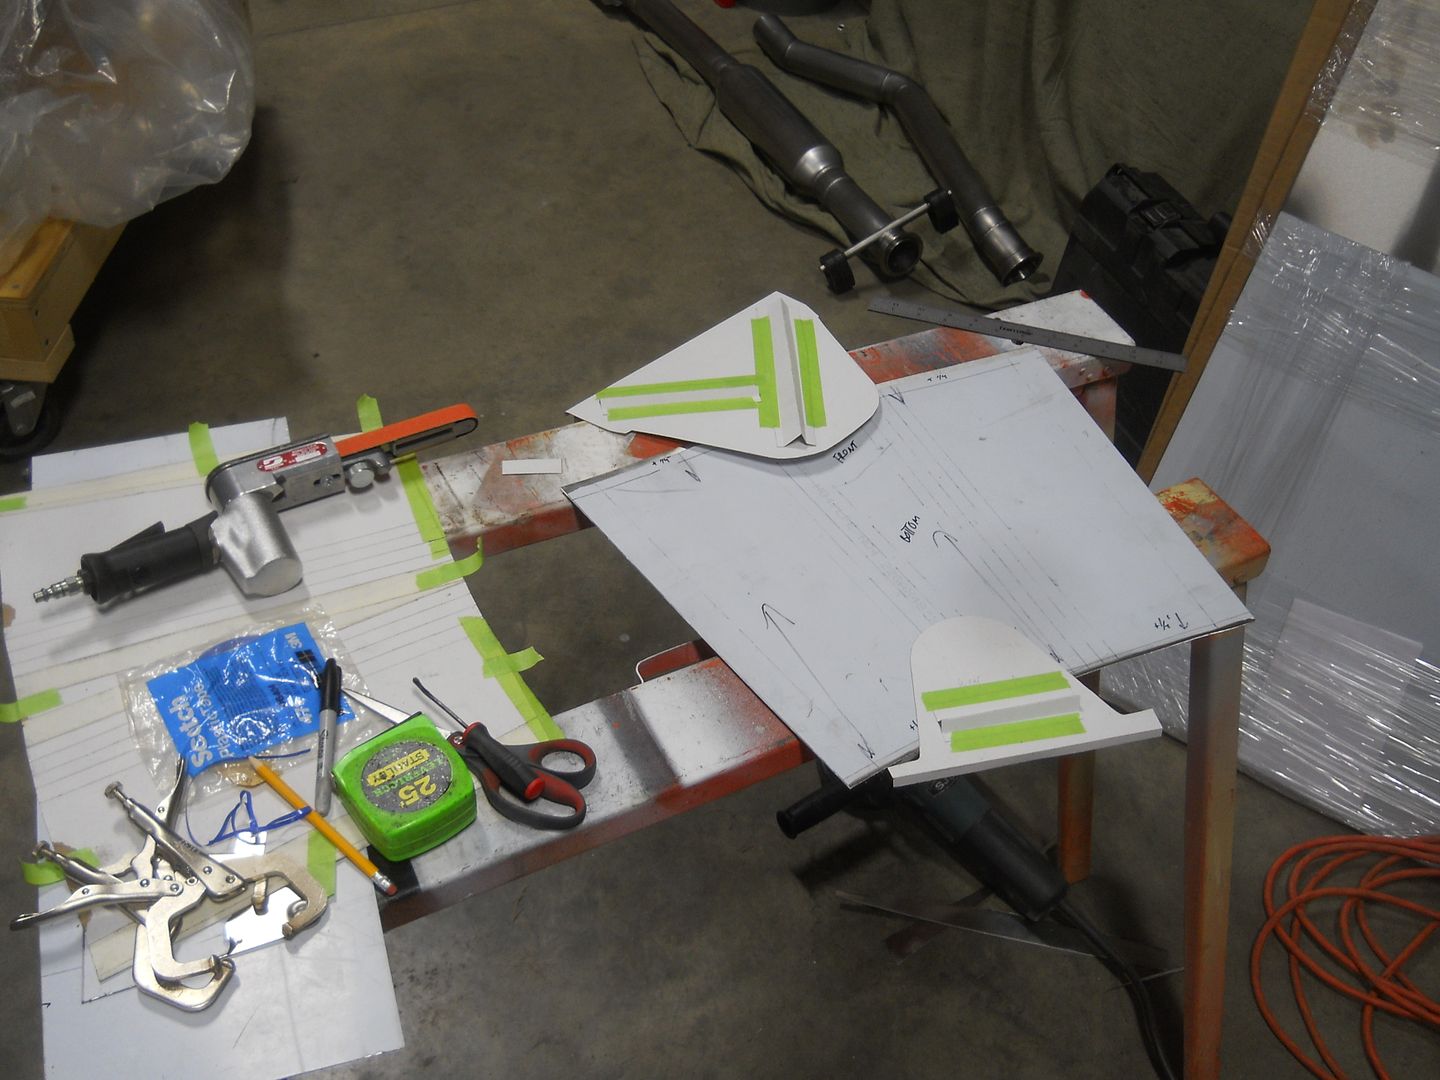

One of the problems with the first attempt was the difficulty in test-fitting. I was holding it up by hand while trying to mark it, and it wasn't working. This time I made some clamps to hold it in place, allowing me to take more accurate measurements for a better fit.

Bent and loosely held in place with my clamps:


The final trim: Front. Rear. Bottom. Hand. Parallel. +1/4". More. No. Star. Arrow. Stop. Blue. Black. Pencil.
Make perfect sense.

Tacked! I decided to tack it in place myself, since I had these fancy clamps now and I'm getting more confident with the TIG welder.

Then I just kept on going, welding it myself. It's certainly not perfect, but this piece never will be. The 22ga stainless is just too thin to work with, and getting it perfect is beyond my skill level.
This picture about sums up my work: One ground weld, one sloppy tack, one burned hole, and 3/4" of mediocre weld bead.

This time around, I welded it slowly, welded most of it in the car, test fit it often, and took some measurements to monitor continuously. I left my fancy fixture on the shelf this time, since it didn't work as well as I had hoped.

I was crazy watching some of these numbers move as much as 3/16"! I was able to keep it straight with some hammer adjustments.

Finished! I still need to do some finishing work, but all the bolts line up and it's fully welded. It's not my best work, but this thing turned into a pretty serious project.


Afazz here is a good trick for tacking with your TIG machine http://www.youtube.com/watch?v=ny-glWjl9pk
ReplyDeleteI've seen a lot of that guy's videos, they are all pretty good! I was able to successfully use this method for tacking, but most of my problems are with the fit. It's tough to keep the gaps tight across 12 bends!
ReplyDeleteQuality. First Order Quality.
ReplyDelete