When I left off, I had just spread the first layer of putty on the hood.
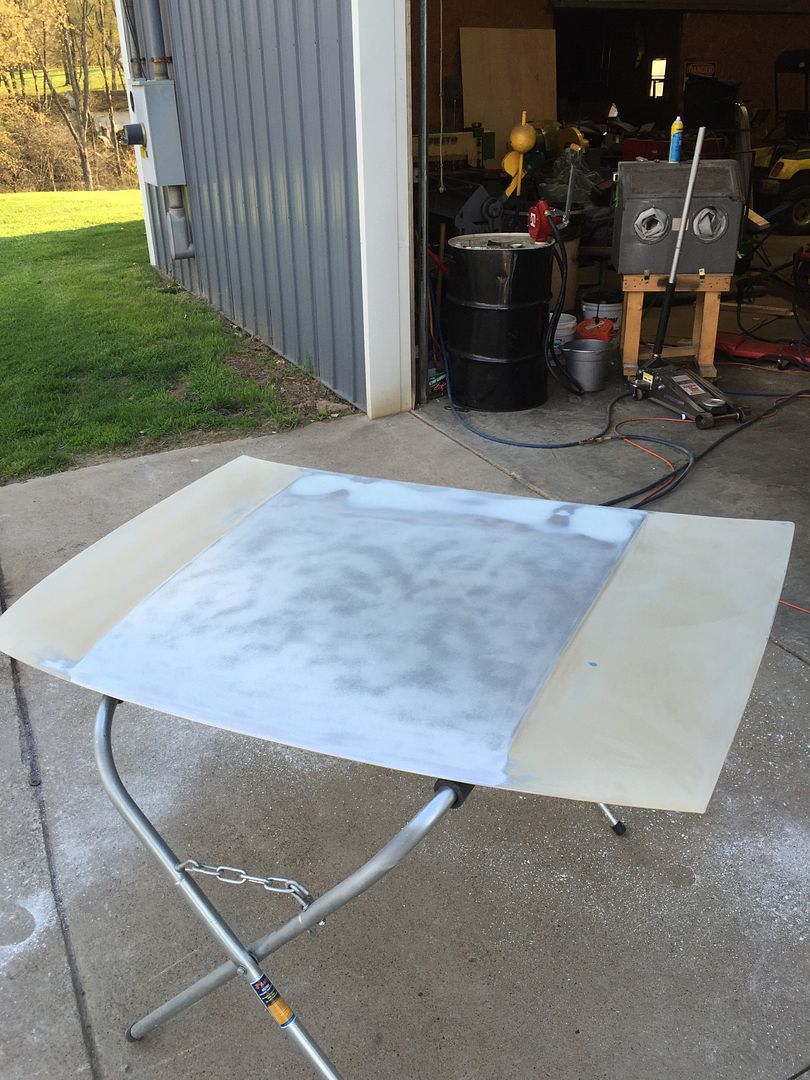
I wasn't quite happy with it, so I took it back down to metal. I tapped around a little more with the hammers and got it pretty close in metal before going back to putty again.


Then after another round of putty, I was happy with it.


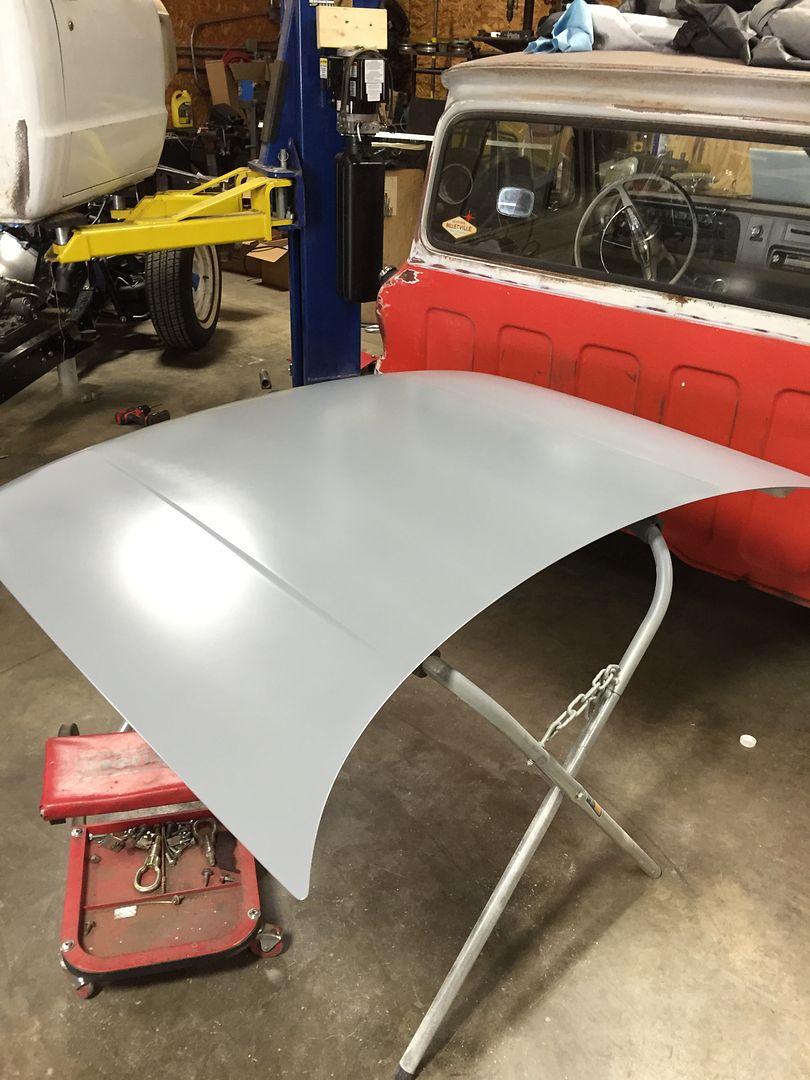
I block sanded the entire hood and sprayed it with epoxy primer.
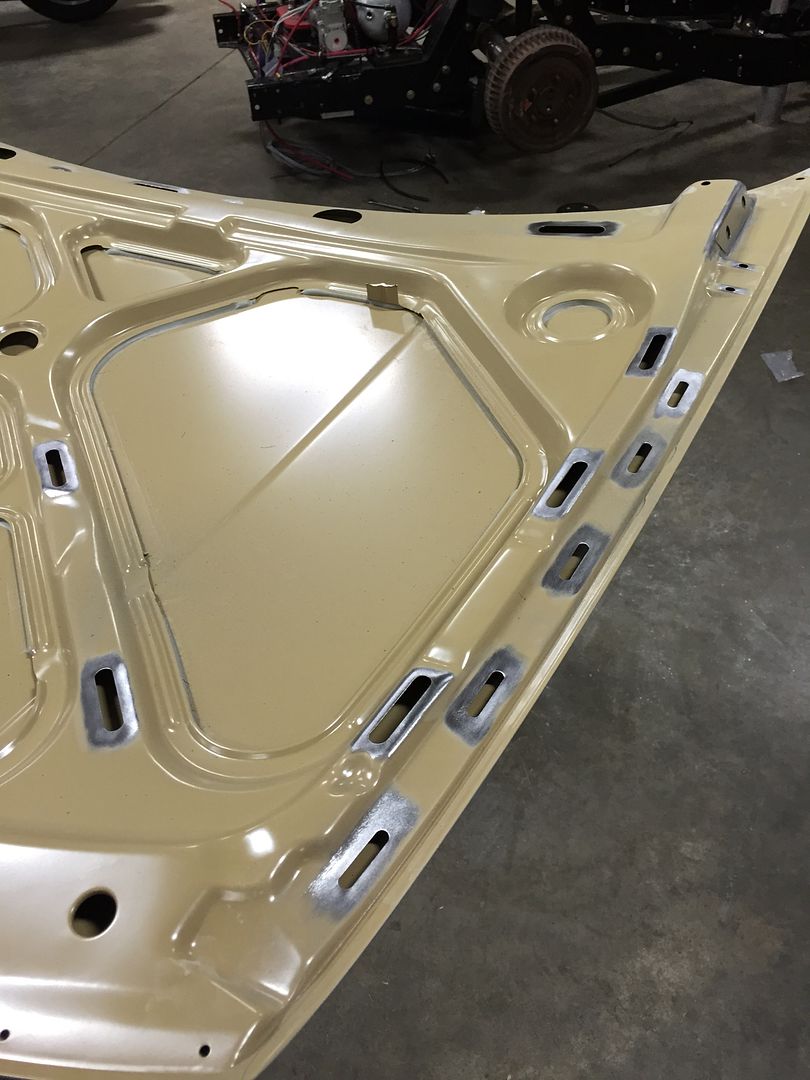
A few weeks ago, when I unpacked the new old stock OEM hood, I decided to shave all of the unused holes on the bottom side. Only two of these are used - the hood latch and the hood prop rod hole.
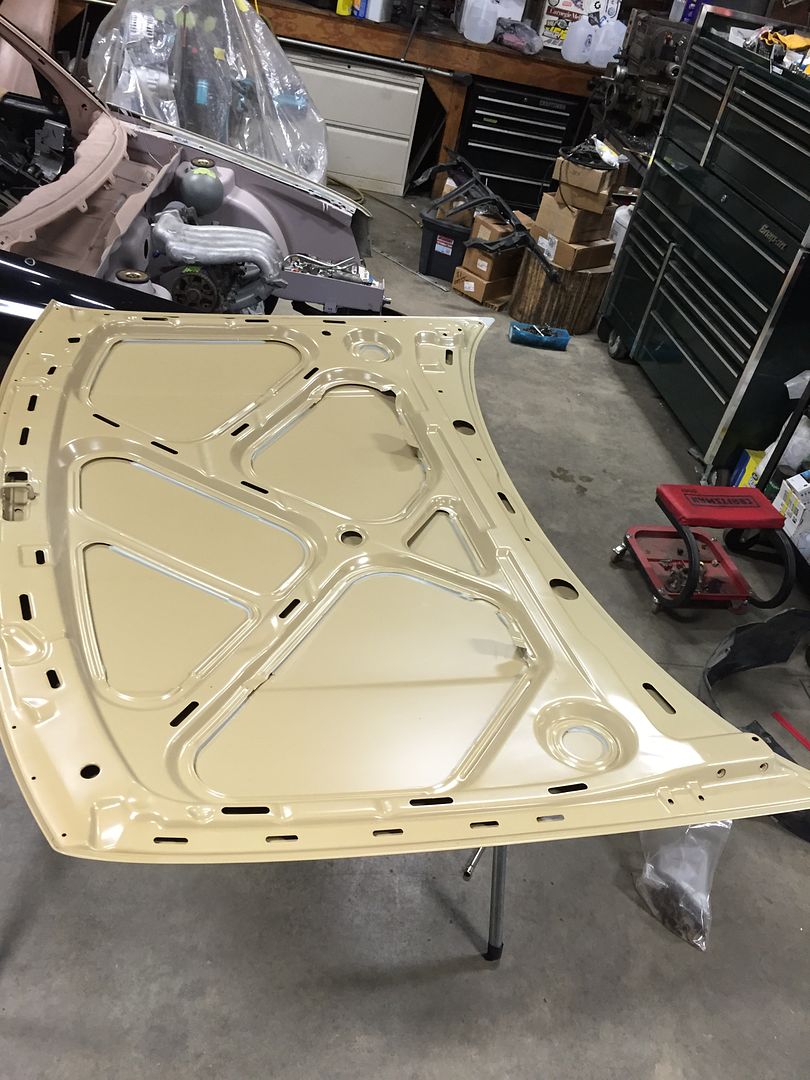
So I took a few measurements...
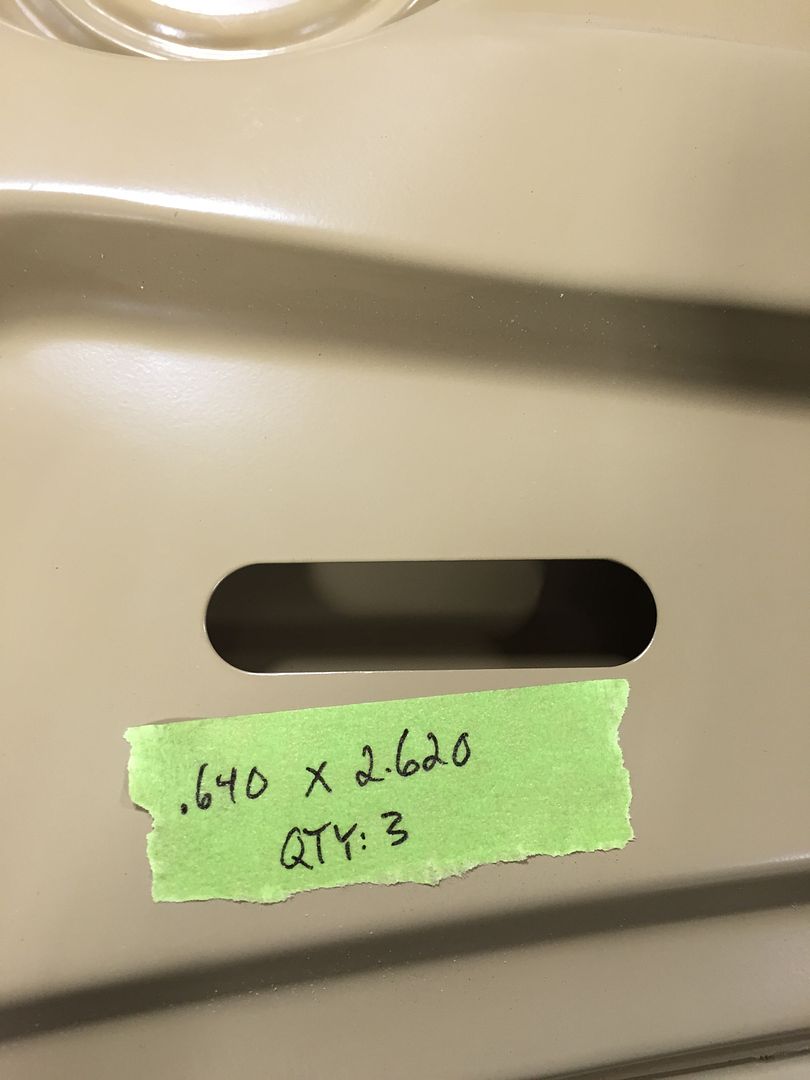

I had all of these filler pieces laser cut from 22ga steel. It was a lot easier than fitting them all by hand! And they fit perfect every time.


After painting the back side with weld-thru primer, I MIG welded them in place. I stitched these together with MIG tacks. I've been using TIG more recently, but I can't get to the back side of these so I had to keep it cool. They still warped, which was unavoidable in such thin material with no back side access.


Tack, tack, tack, tack... forever!

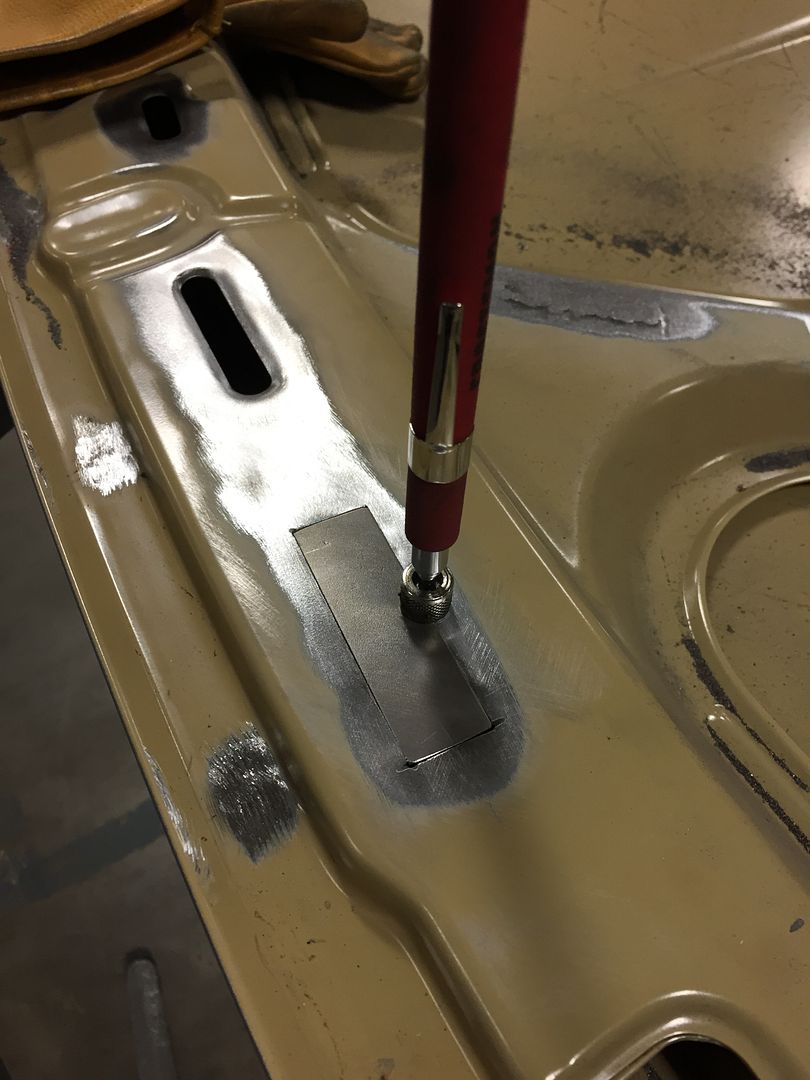
I didn't have filler pieces cut for these small rectangular holes, so I cut and fit them myself. They were slightly not square - about .345" x .360", and I fit each one to its hole for a perfect fit.

The center hole was a little more difficult. I made a tape template, bent the piece to fit, then trimmed it until it was nice and tight.


I cut larger filler panels for the hood squirter access holes. These are the holes I used to hammer out the welds on the hood squirter holes, now they're gitting filled as well.

Along the front edge of the hood, the slots were flanged around the edges so I had to cut out a larger area. I didn't get these laser cut since they are simple rectangles, and the hard part is cutting the hood to fit. My gaps weren't perfect, but they were close enough.

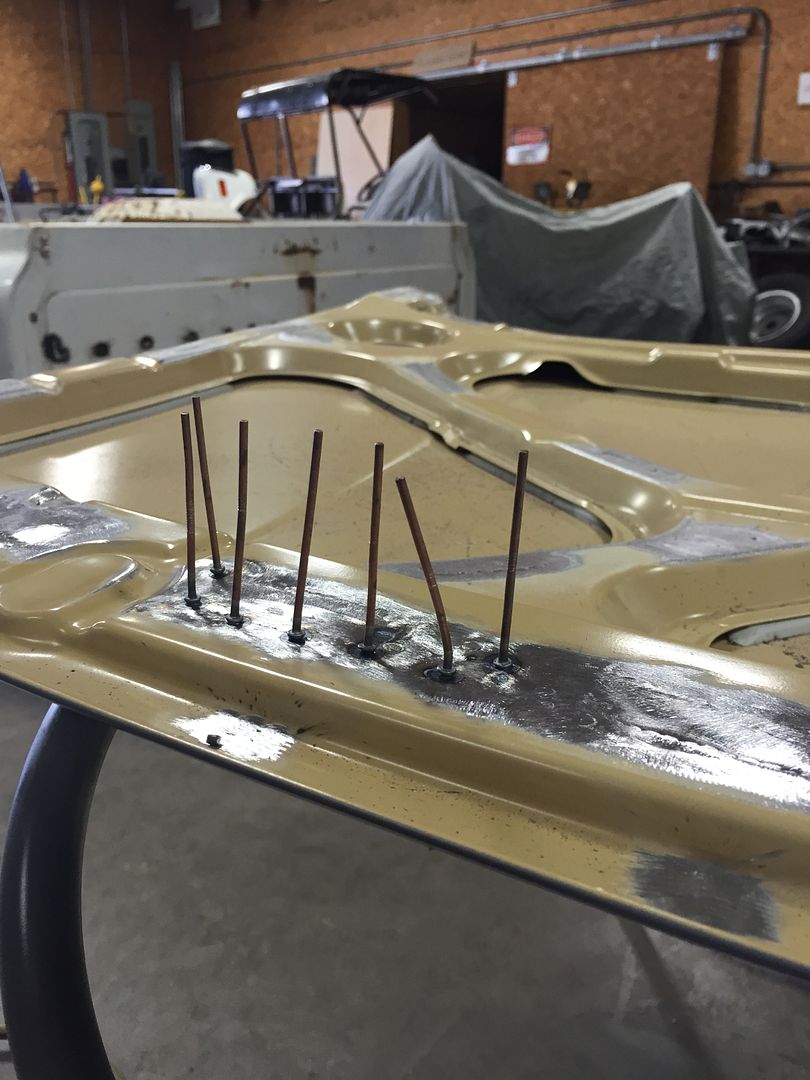
This forward area warped pretty bad because of the geometry of the panel. I had to break out the stud welder and pull it back a little closer to straight. This 22ga is difficult to keep from warping!
And out comes the putty! It needs a few more rounds before it is ready for primer, but it's getting closer. I made some more progress tonight after the picture was taken, but it was dark by the time I finished up.

No comments:
Post a Comment