Here is the plan. I ended up making it 18" overall, but the look should be similar.

To make the mold for the concrete top, I used a sheet of melamine. I am pouring it upside down, so the smooth mold surface will become the table top.


I backed up the melamine walls with 2x4s so they remain perpendicular under the outward pressure of the concrete.
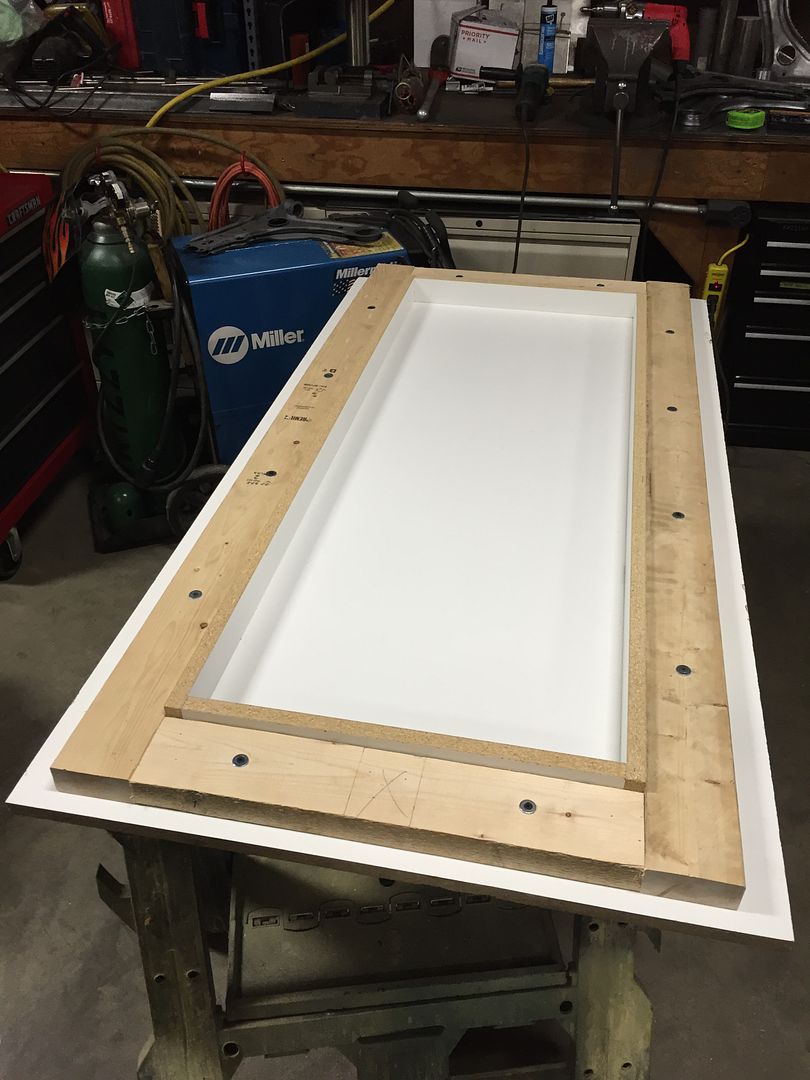
In order to seal the mold and add a radius to the top corners of the table, I ran a bead of silicone caulk around the perimeter. In order to get a crisp consistent edge, I masked it first. I also made a steel tool, shown here in the foreground, to get a consistent 1/8" radius in the caulking.


Next I prepared to pour the concrete. I am using Quickrete Countertop Mix, specially formulated for this type of thing.

What a damn mess. This part of the process reminded me of why I prefer working with metal!

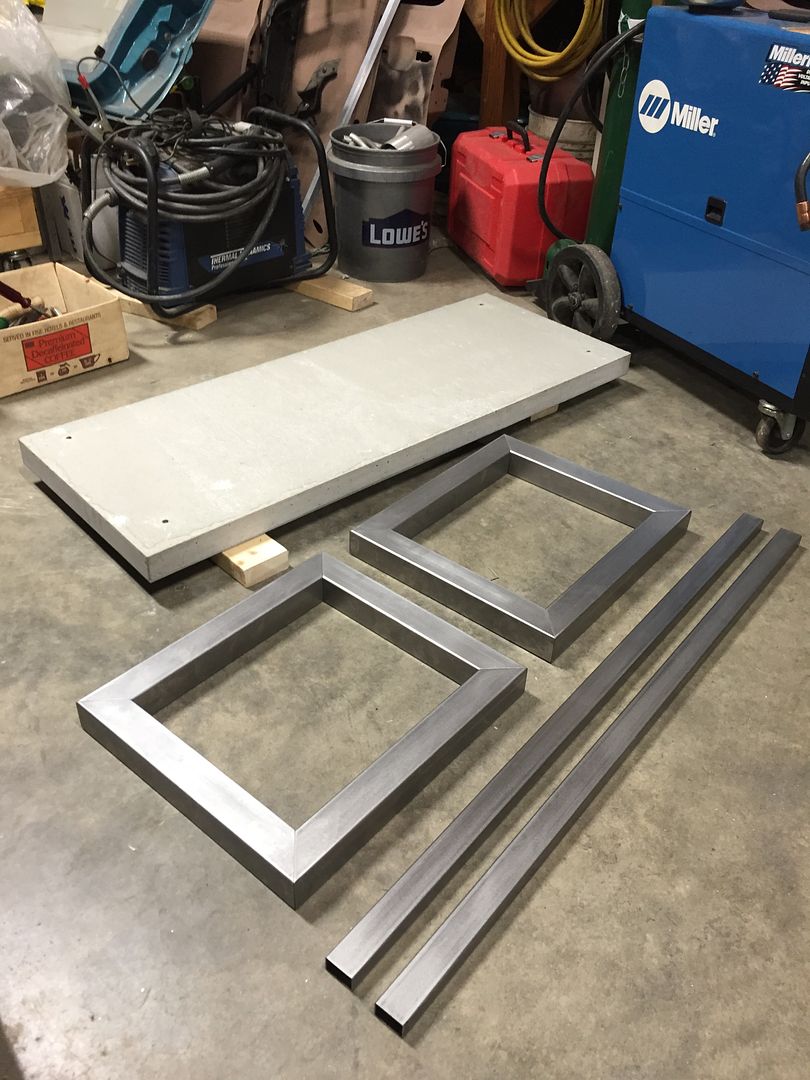
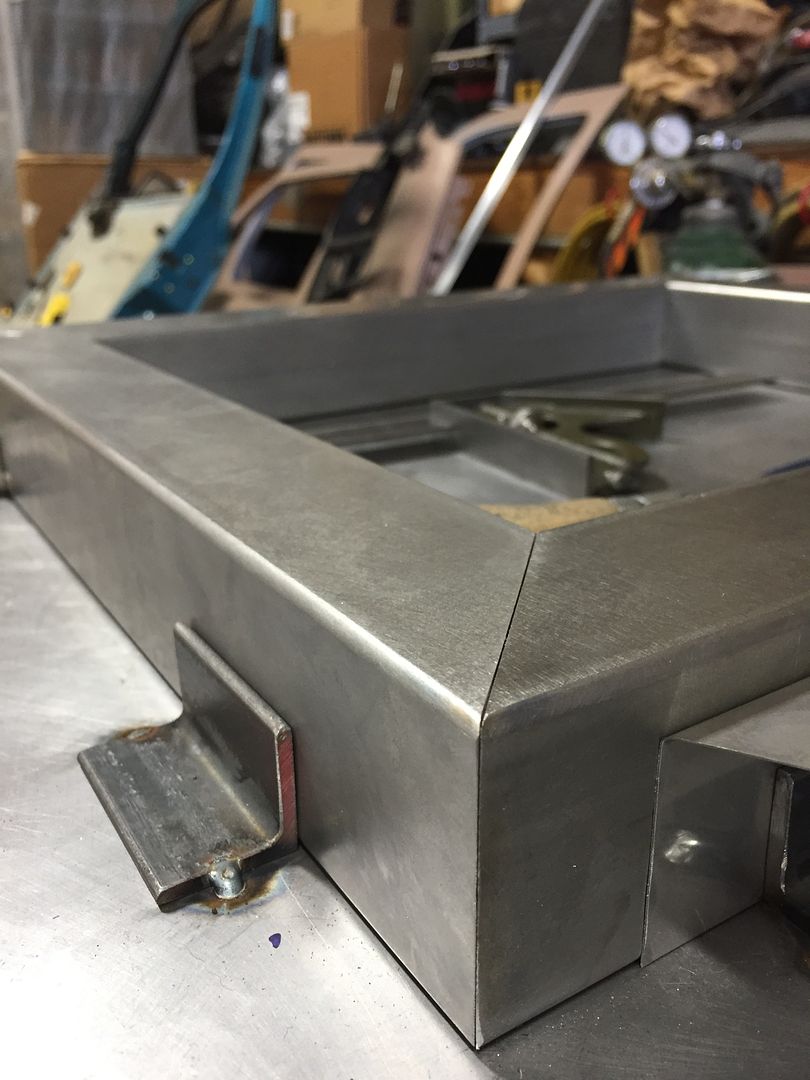
I also added some wire rebar, not shown, and tack welded some 3/8-16 weld-nuts into the structure. This will allow me to bolt the tabletop to the stainless steel legs.

Speaking of stainless steel, I'm now at the fun part! I bought a bunch of 18ga 304 stainless steel tubing to use for the legs.

After marking the tubes, I cut everything with a grinder and 4-1/2" cutting disc, then did the final trim to my scribe lines using a belt sander with a ceramic 80 grit belt.

Everything is cut!
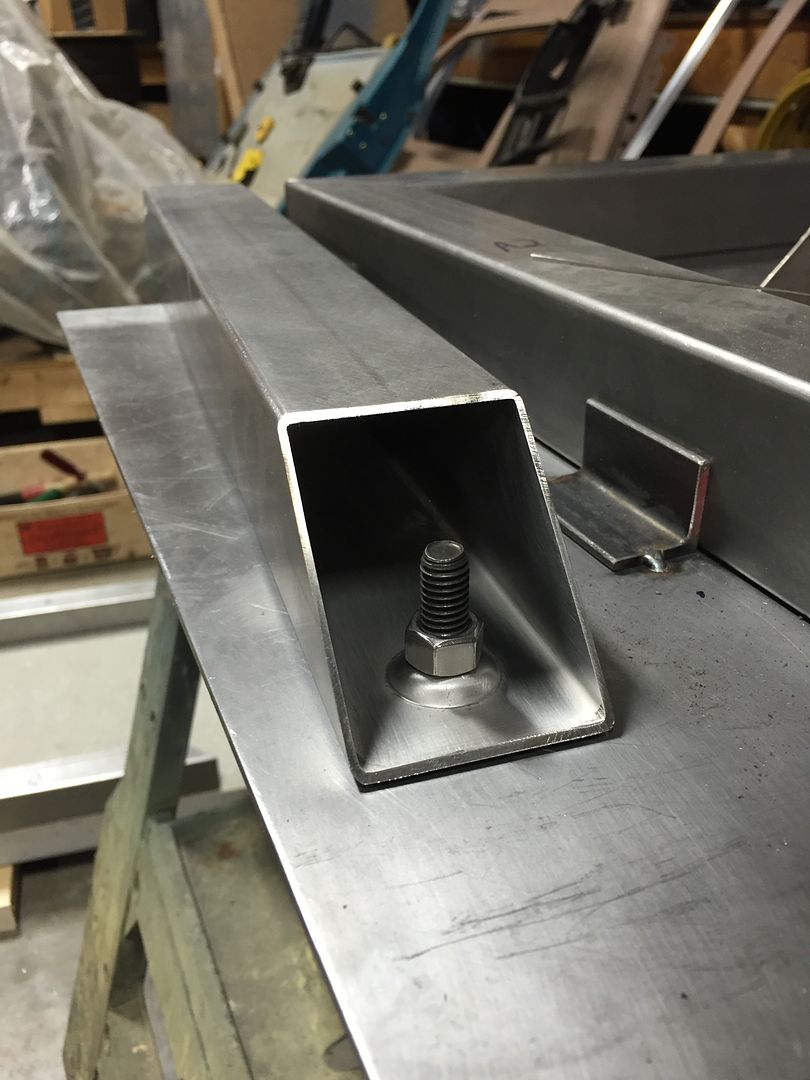
I wanted to add threaded inserts to the bottom of the table so I could use it on hard floors. Right now my apartment is carpeted, so I decided to recess the inserts so the threads don't get caught in the carpeting if I want to slide it around. I made a dimple die and formed them in a 20-ton press.


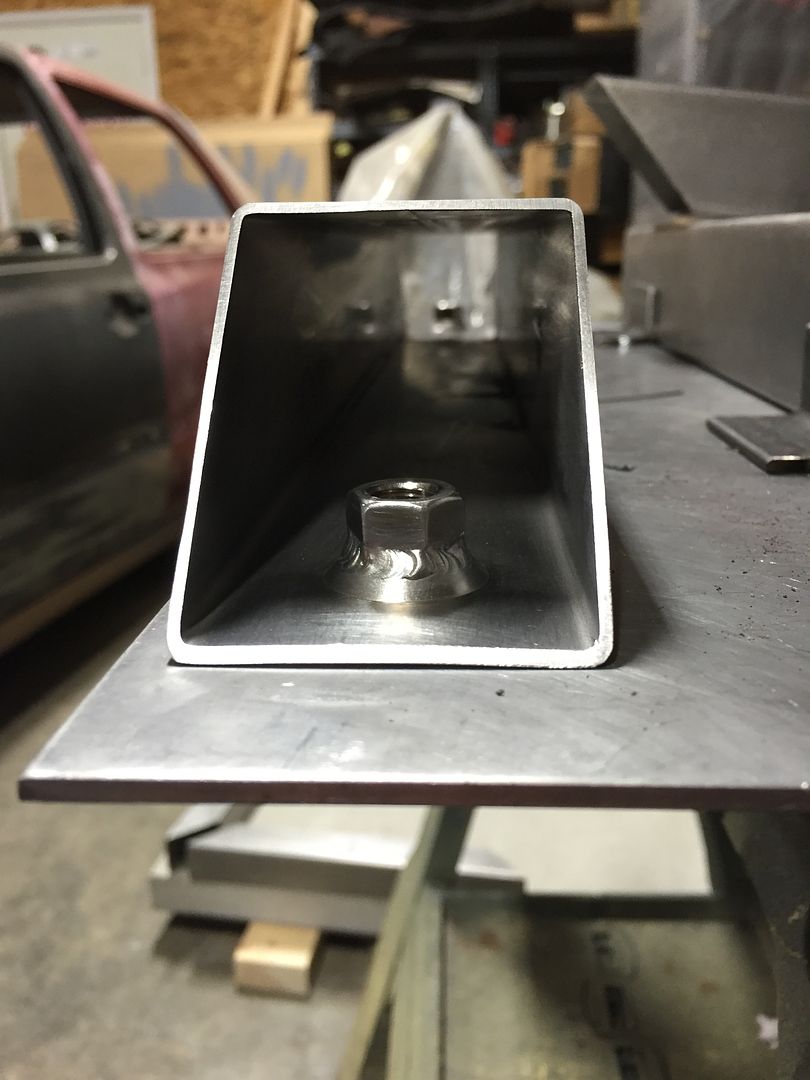
After dimpling, I welded a stainless steel nut to the inside.
In order to get both legs exactly the same, I tacked up a steel fixture to keep everything square. I added some 0.020" stainless steel shims to one side so I can pull the parts out since it's captured on all four sides.

Next steps: welding and finishing!
No comments:
Post a Comment