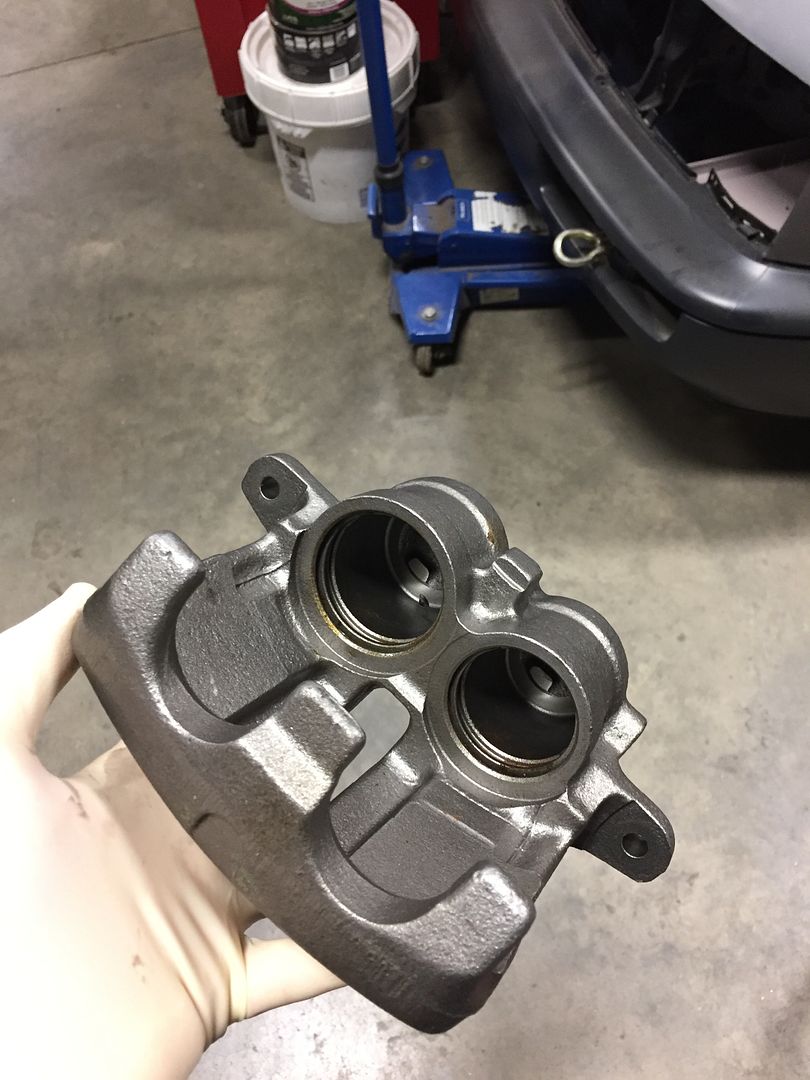
In the front I'm running an 11" rotor upgrade with Girling 60 calipers, and in the rear I'm using 10.1" vented MK3 front rotors (on a MK3 front spindle) with VW MK4 GLI/20th/337 rear calipers and a modified carrier.

The fronts came apart easily, I just blew out the pistons with compressed air. They were brand new, so nothing was worn or rusted.
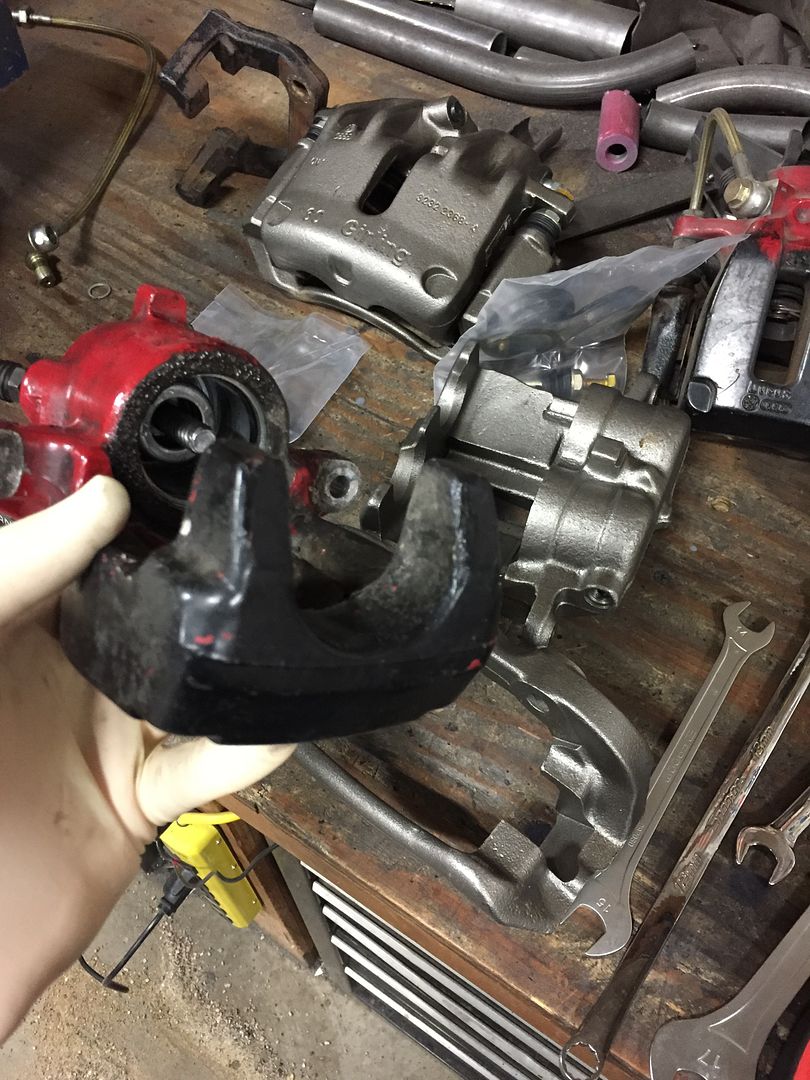
The rears were a bit more difficult. After twisting the piston out, I had to remove the internal parking brake mechanism.
This required a new tool! Not many companies make these, and I couldn't find the Hazet version in stock, so I settled for these Motion Pro extra long retaining ring pliers to remove the retaining ring down at the bottom of the parking brake mechanism.


Unfortunately I didn't get any pictures of the disassembly, my hands were covered in brake fluid and it required my full attention to get them apart without ruining anything.
I also had to remove the seals at the rear of the caliper, thankfully they came out without tearing because I'm not sure these are easy to get.

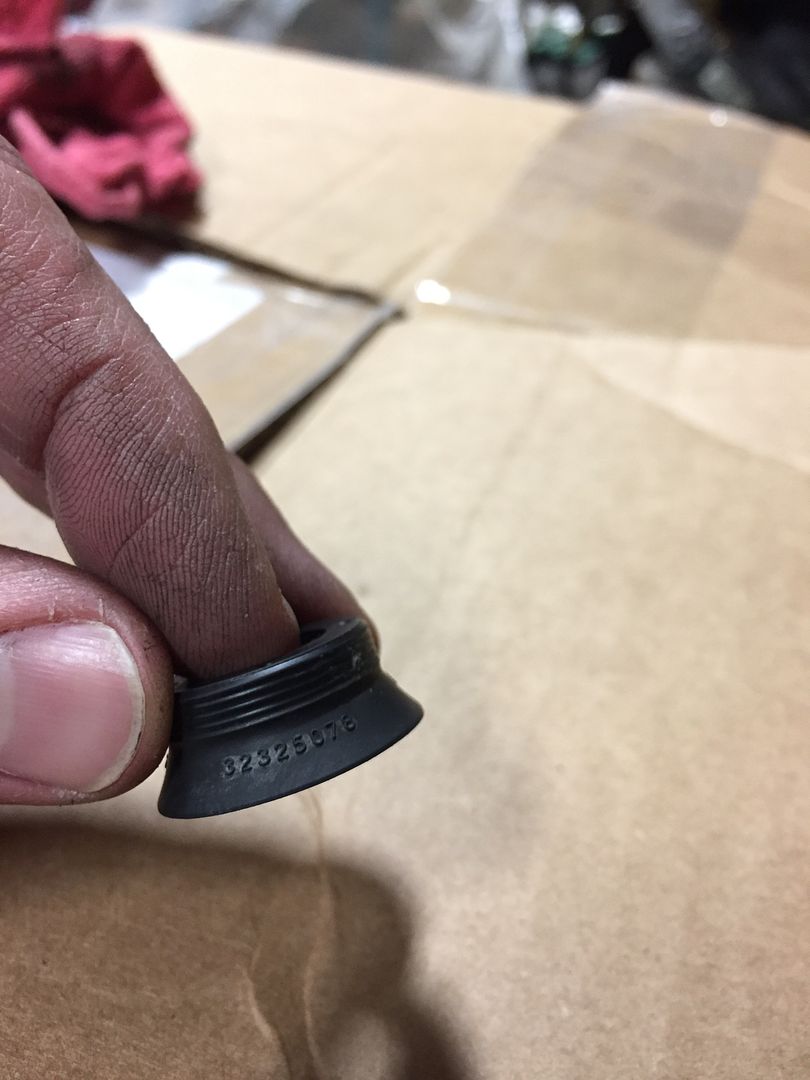
Next I had to remove this bronze bushing that guides the parking brake actuator rod.

I fired up the lathe and made this removal tool.

I set it up in the press...

... and it popped right out!

Now the caliper are completely stripped to bare metal so I don't have to worry about ruining anything inside during the next steps.


Next step: remove all the original paint. I think these were powder coated red, it didn't come off very easily even with multiple rounds of Aircraft Remover.


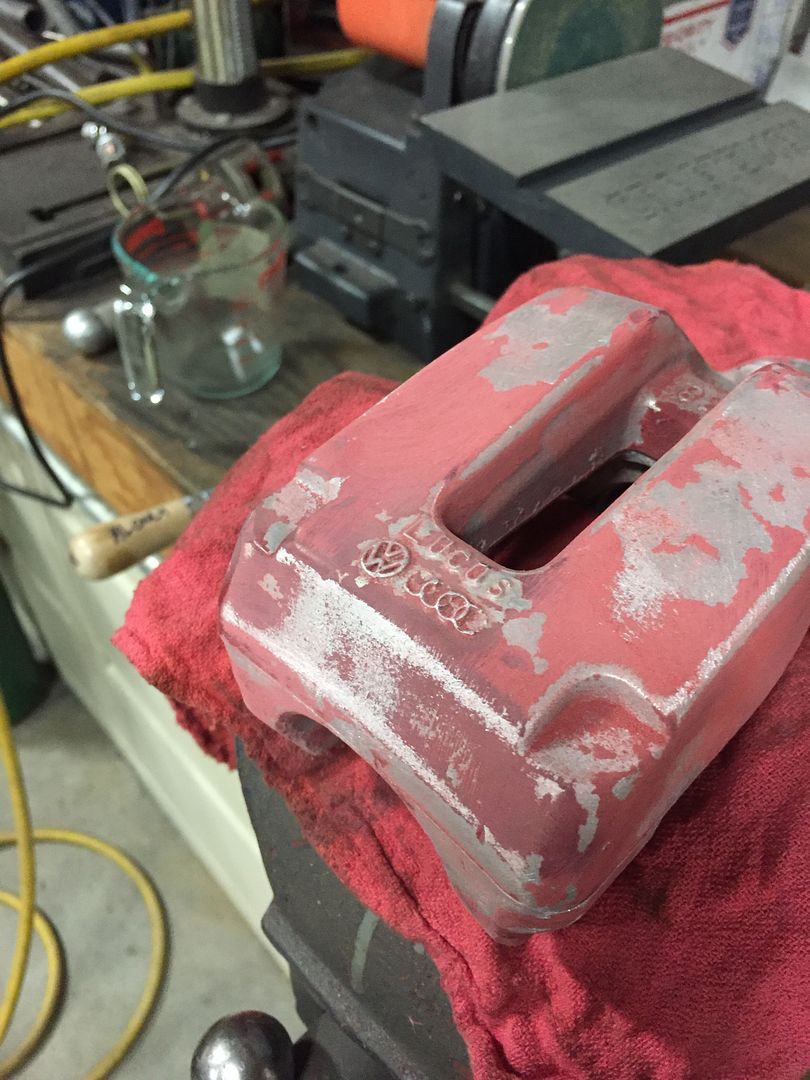
I started by removing some of the raised casting marks, including the "Lucas" and "VW / Audi" symbols.

I'm using bluing to see where each curve ends, there are a lot of complex shapes in these caliper castings and I'm trying to make everything as smooth, uniform, and symmetric as possible before powdercoat.

I still have a lot of work left, but I've made good progress recently!

In other garage news, I stopped to check out my Uncle Rich's garage over the holidays. He's just about ready to start laying tubing for the floor heat, then it's time to pour the slab!
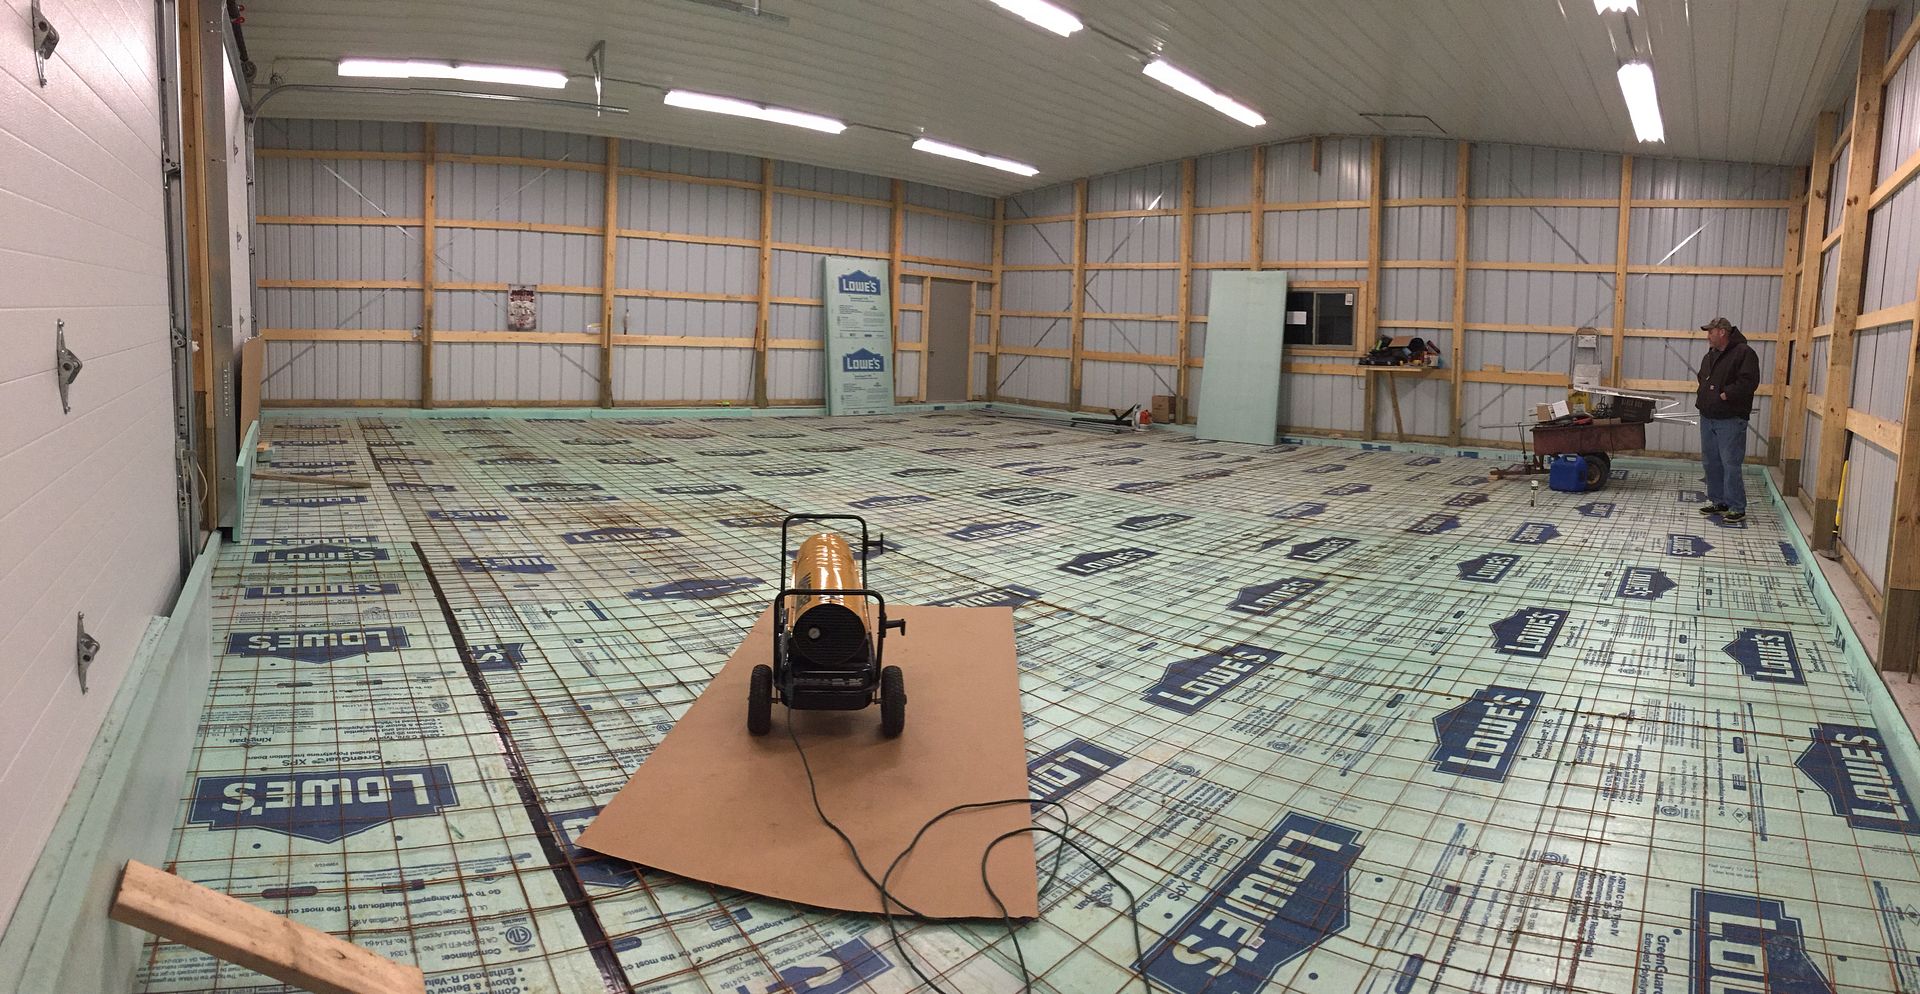
I helped him choose a spot and make a sketch for the location of his 2-post lift.

This comment has been removed by a blog administrator.
ReplyDeleteThis comment has been removed by a blog administrator.
ReplyDelete