A quick note: This is my first post using images directly uploaded to Blogger. Photobucket has changed their 3rd party image hosting permissions, so I'm going to give this a shot until I figure out a long-term solution.
New Tools! I picked up a small bearing separator to complete my set, and also picked up an 11/32" combination wrench to complete my wrench set.

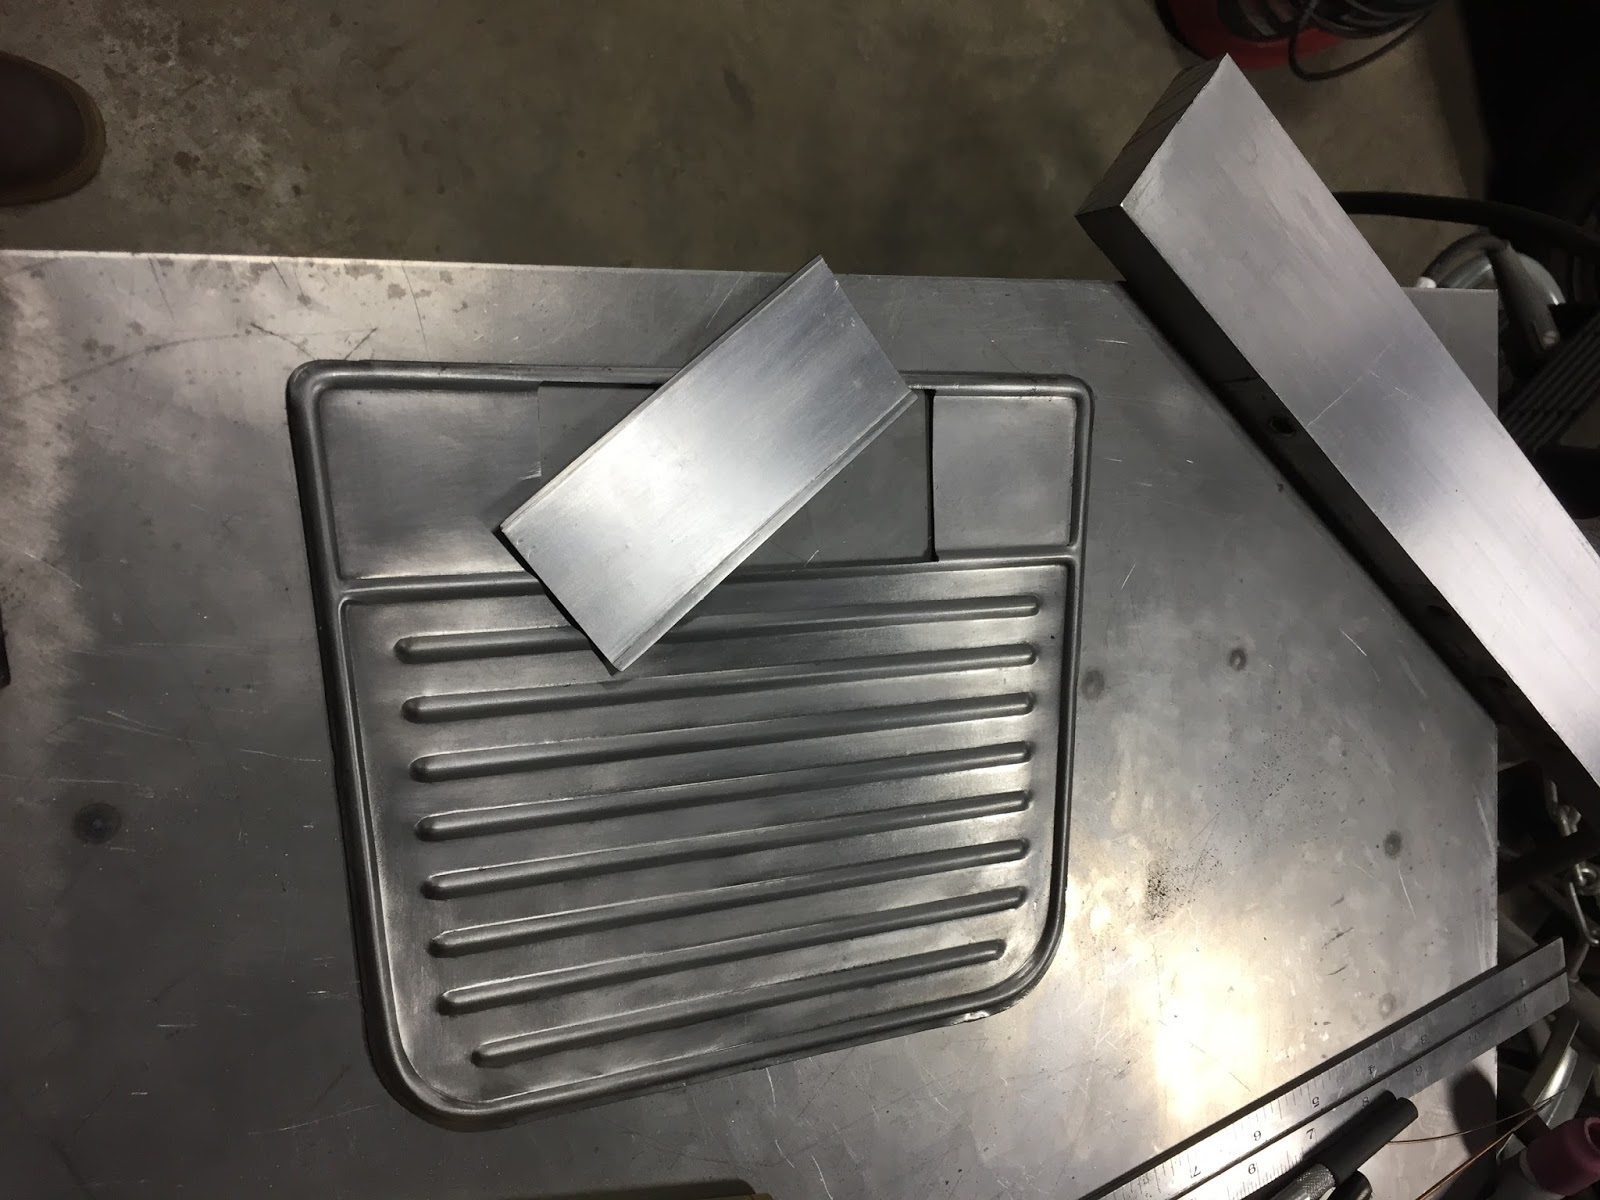
I picked up another project for Fort Pitt Classic Cars. This one is a dashboard panel for a '55 Studebaker pickup they're working on. The owner wanted these holes filled in, which were previously used for a radio.


I started by tapping it flat and cutting filler pieces for the round holes. I tried to get a really tight fit to reduce warping after welding.


After a bit of sanding, hammering, and filing, this was the result!

Hole #2


And now the hard part. I had to blend the beads, but didn't have a form to exactly match. Rather than cut out a larger area and blend in the flat sections, I just decided to match half of the bead and blend right at the peak where the existing hole was.

This was the first attempt, I was not happy with it. I wanted the lines to match perfectly, and this wasn't it.

I also had to re-think my bead rolling. I wanted to get laser straight lines, so I clamped a guide to the workpiece. I could have used a fence, but with this small of a workpiece it could still wobble.

The 9th piece was perfect!!

Success.

Before tack welding it in place, I clamped up a bunch of chill plates to keep it as straight as possible.


All of the welding was done with the part thoroughly clamped as well.


After many hours of sanding, hammering, and filing... it started to take shape! You can still see a ghost of the seams because the welds have a slightly different harness and don't polish the same as the base metal, but it's pretty damn flat and straight.


Imgur.com ?
ReplyDelete