When I'm sick I can't work on my car. When I can't work on my car, I think about my car. And my tools. And how I can't use them... but I CAN use the internet. So I buy new tools!
I bought two pairs (6" and 9") of Milbar reversible safety wire pliers, two spools of stainless safety wire, another 25-pack of 1/8" Cleco pins, and another $4 cheapo Cleco tool from Aircraft Spruce. I ordered a set of SK 1/2" drive fractional sockets from 7/16" through 1-1/4", I took my Craftsman set to work so I had to replace my main set. I also paid a visit to Snap-on Dan, I ended up with a 24" flex head 1/2" drive ratchet and a set of their high-performance 0º offset box end wrenches.

The box end wrenches are significantly longer than the regular combination wrenches, this is the 17/19mm size compared to the regular length Snap-on combination wrenches.

Here you can see the 0º offset compared to the standard ~15º offset. This is handy sometimes in confined spaces. Sometimes you need an offset and sometimes flat is better, so it helps to have both options!

Back to work! After months of planning, most of which was sourcing a good quality donor roof, I finally glued the sunroof-free roof skin in place.
I forgot to take an as-welded picture, but I clamped and welded the forward support in place. I decided to use the forward support from the first donor roof and the rearward support from the original car (I had to cut off the sunroof mounting brackets, but it was otherwise the same).

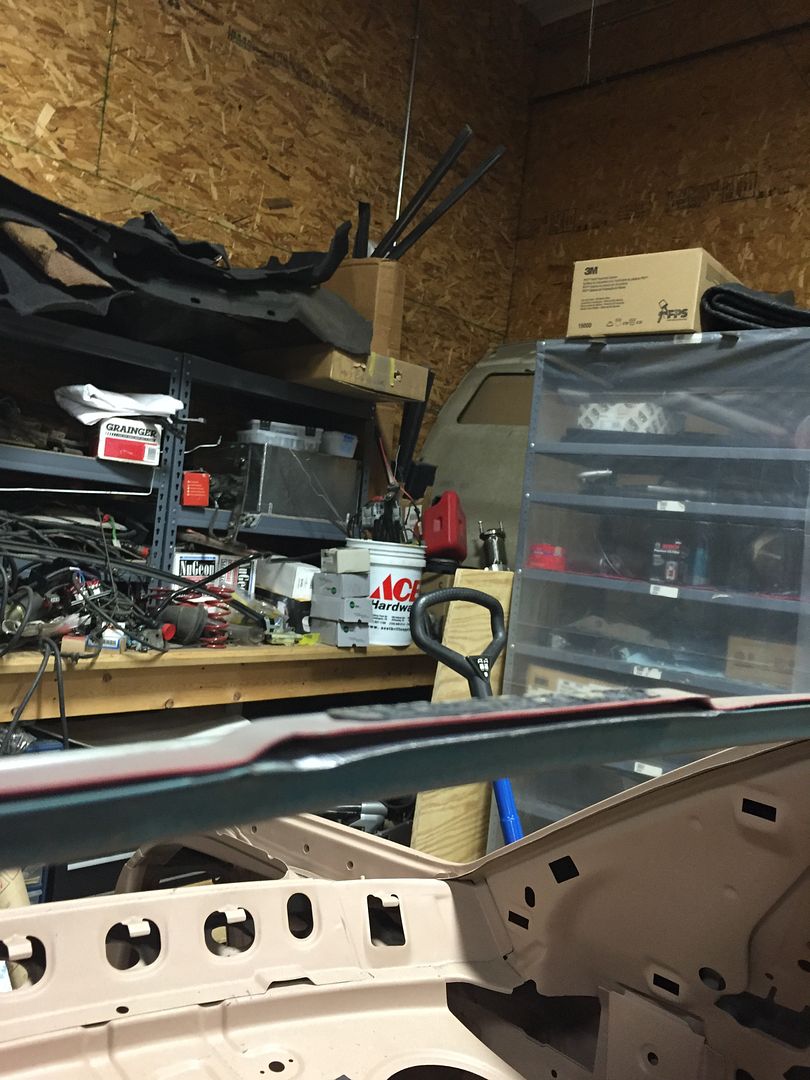
After a few test fits, I noticed that the C-pillar connector was slightly different between my donor roof (shown here in red) and the original car. I'm not sure if this was a 1994 vs 1997 difference or a sunroof vs. non-sunroof difference, but it was preventing the roof from sitting properly.
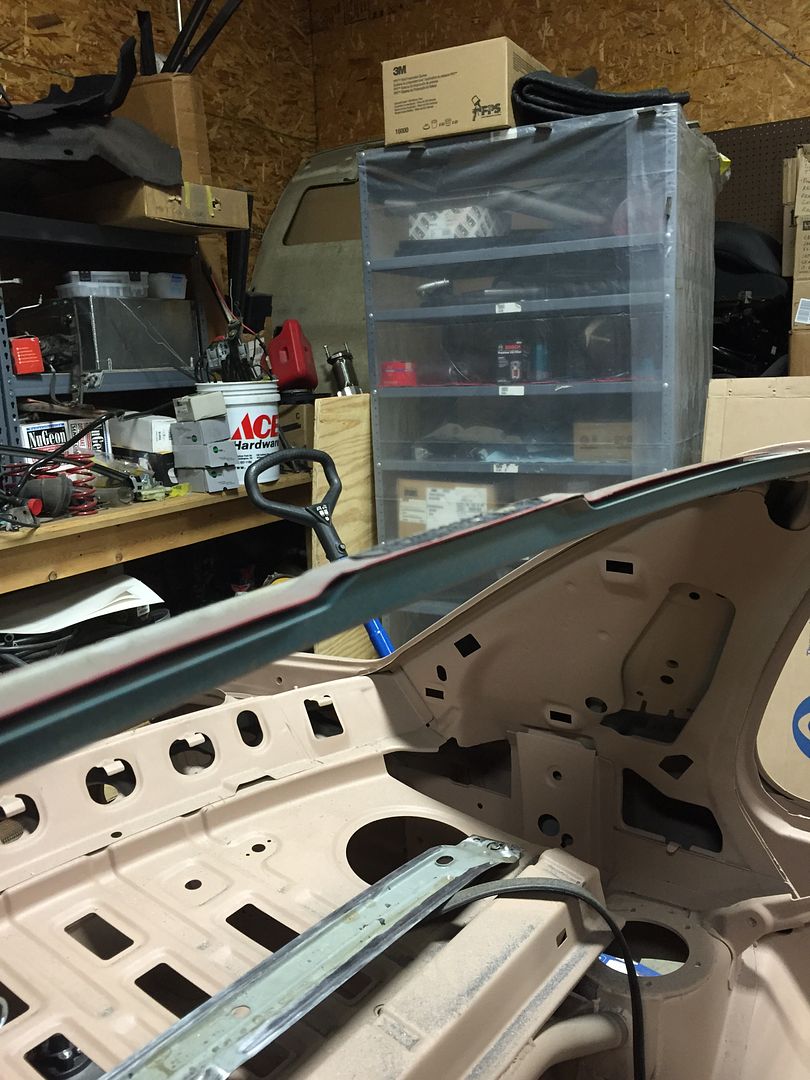
I didn't want to cut out the entire crossmember, so I made a few cuts and tapped down the original piece.

I welded and ground the cuts lines, and the modified crossmember ended up a little lower than the donor roof crossmember.
Two caulks at once! Fusor 112B for the bond surfaces, Fusor 800DTM for the seam sealed surfaces (crossmembers)
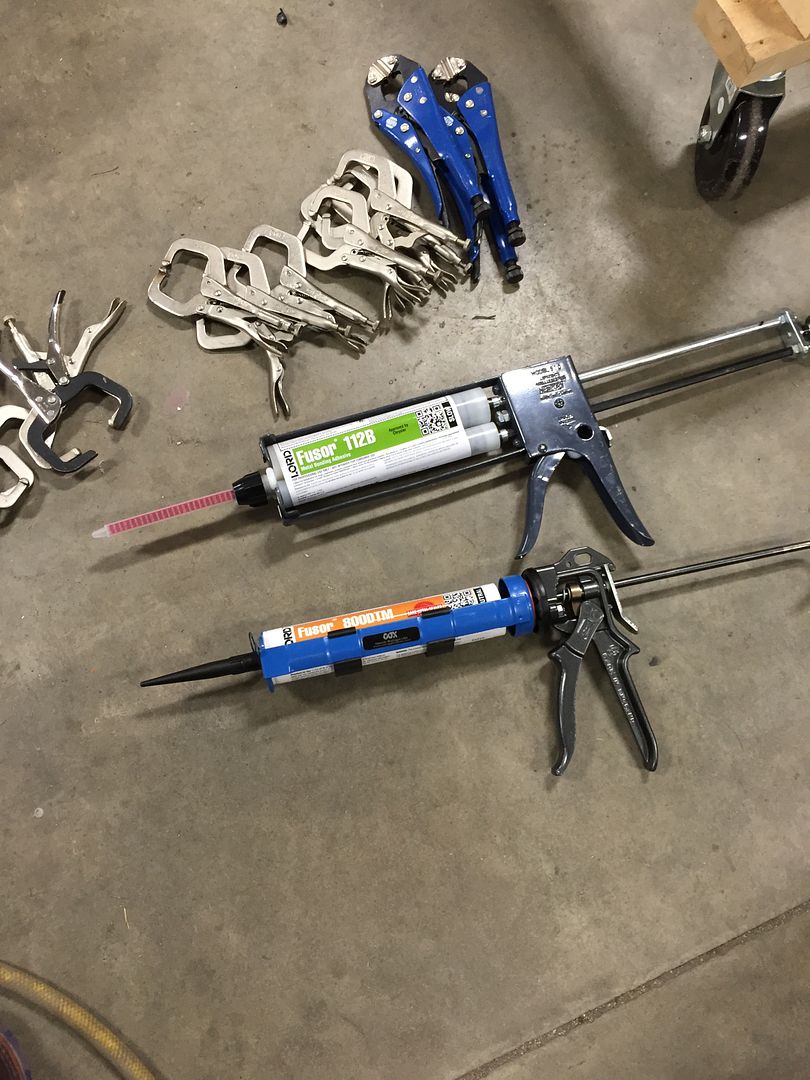
I laid down the 112B along the perimeter of the roof, and laid a tall bead of 800DTM (direct-to-metal) seam sealer on the crossmembers.

I left a few gaps in the bead, these are the areas I'm going to weld after the glue cures.

I also removed the crossmembers from the donor roof and laid another heavy bead of seam sealer where the crossmembers will land.

Then the moment of truth! Fro came out to help me handle the skin into position. It turned out great, I'm really happy with the result! I think I bought my first 10-pack of clamps almost a year ago, I finally used them all! I used 47 of my own clamps and had to borrow two.


After the glue cures, I'm going to weld in the corners and a few spots along the front and rear windshields, then the roof swap is complete. It seems like it took forever, but I really only have about 10-12 hours into the swap itself including the construction of my wooden support frame. I spent more time ordering clamps and sourcing a proper roof skin!
No comments:
Post a Comment