
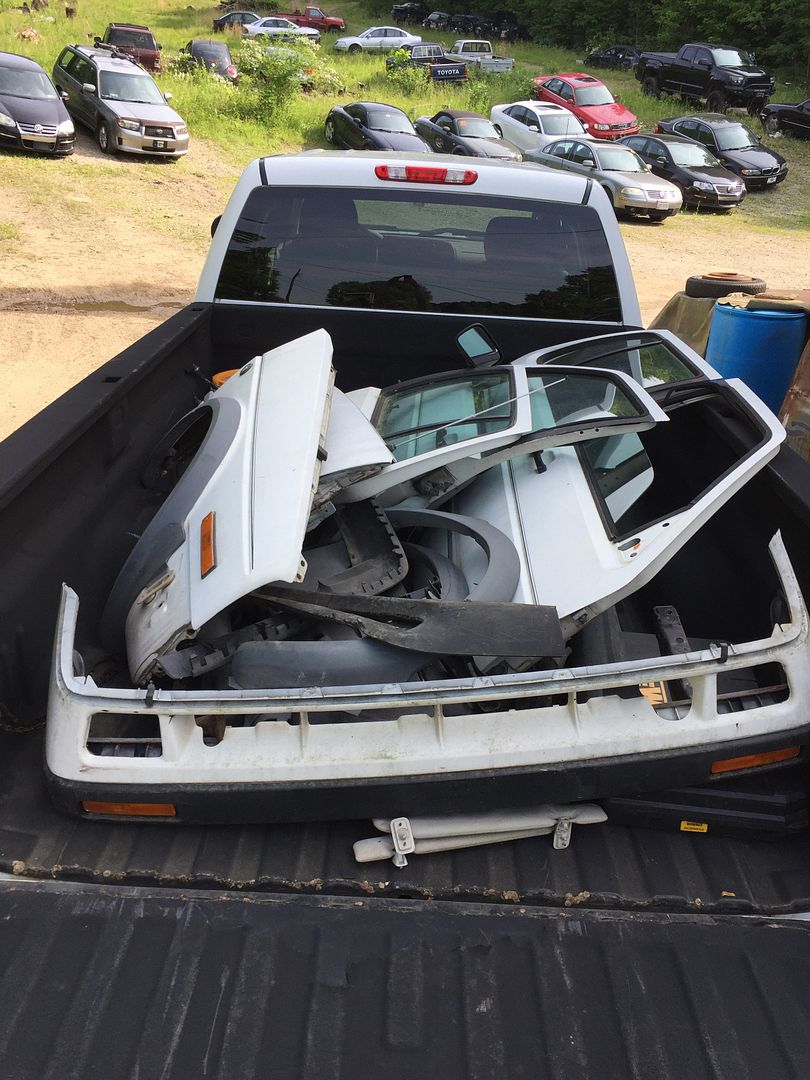
So of course I bought everything except the shell!
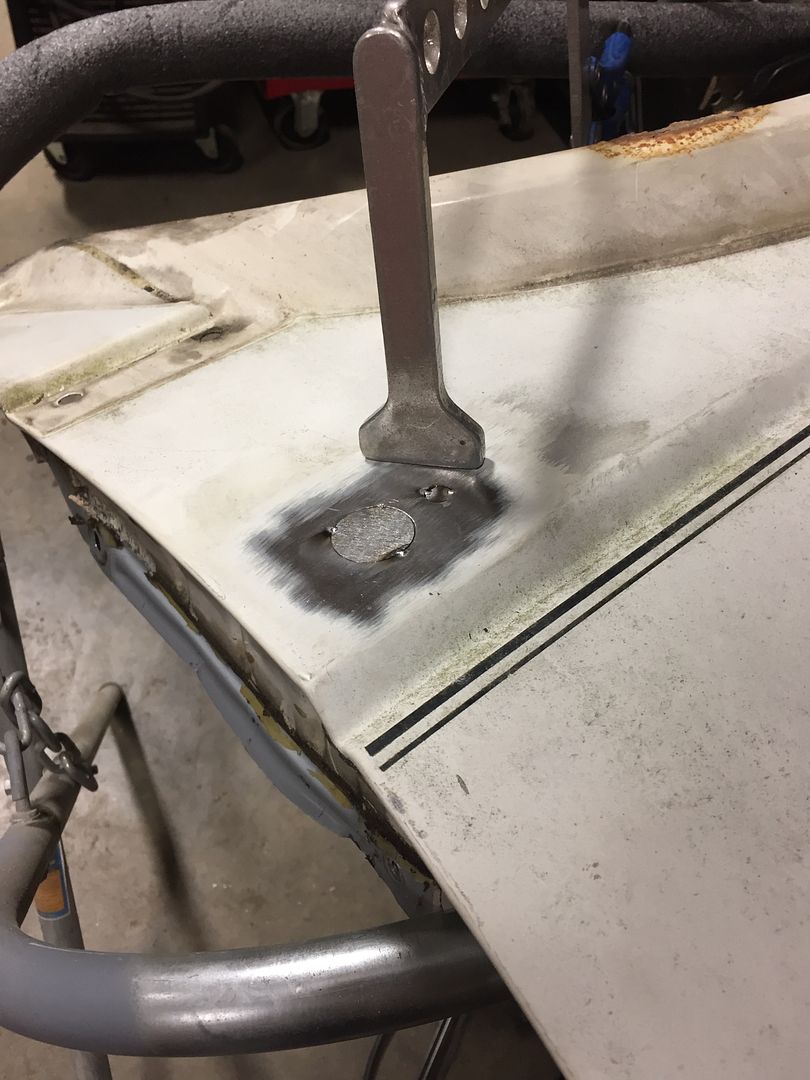
The first step was to shave the side markers, antenna, and badge holes in the fenders.

I cut some patch panels out of the original hood so they were the same gauge and type of steel


I TIG welded everything, hammered the welds smooth, and ground it flush. It's not perfect, but good enough for this car.
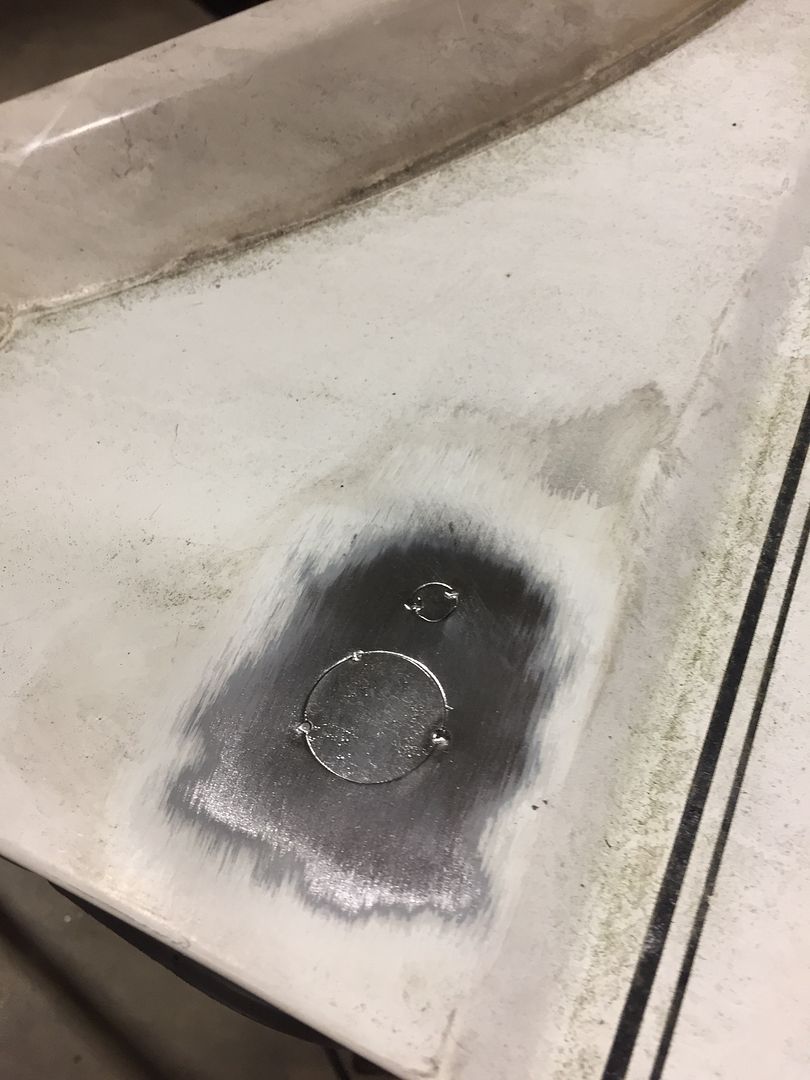

Decent penetration on the back side with my tack welds.

All welded up. With this whole build, I was working at a pace much faster than usual and forgot to take a lot of in-process pictures. Also, related to the same pace and aggressive timeline, I wasn't producing much picture-quality work!

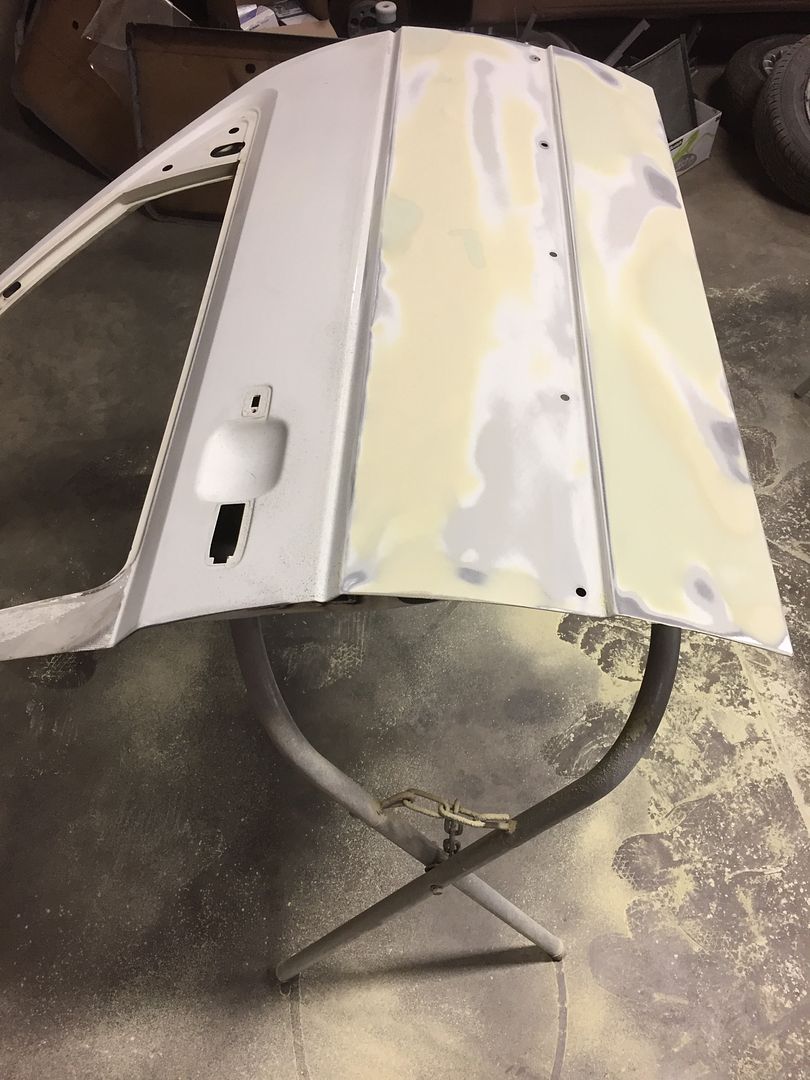
Here's another common theme on this build: putty!


Epoxy primer

I also spent some time straightening the roof. I didn't get any true "before" pictures, but it was caved in 3-4" and holding a puddle of water. The first step was just to get it tight, I will fine-tune the dents eventually.

Still not good, but MUCH better.


This door was actually buckled in the center. The latch was broken and it looks like someone used extreme force to attempt opening it. I was able to get it pretty straight, it took a lot of work.

Urethane primer! I used PPG Omni products on this car.

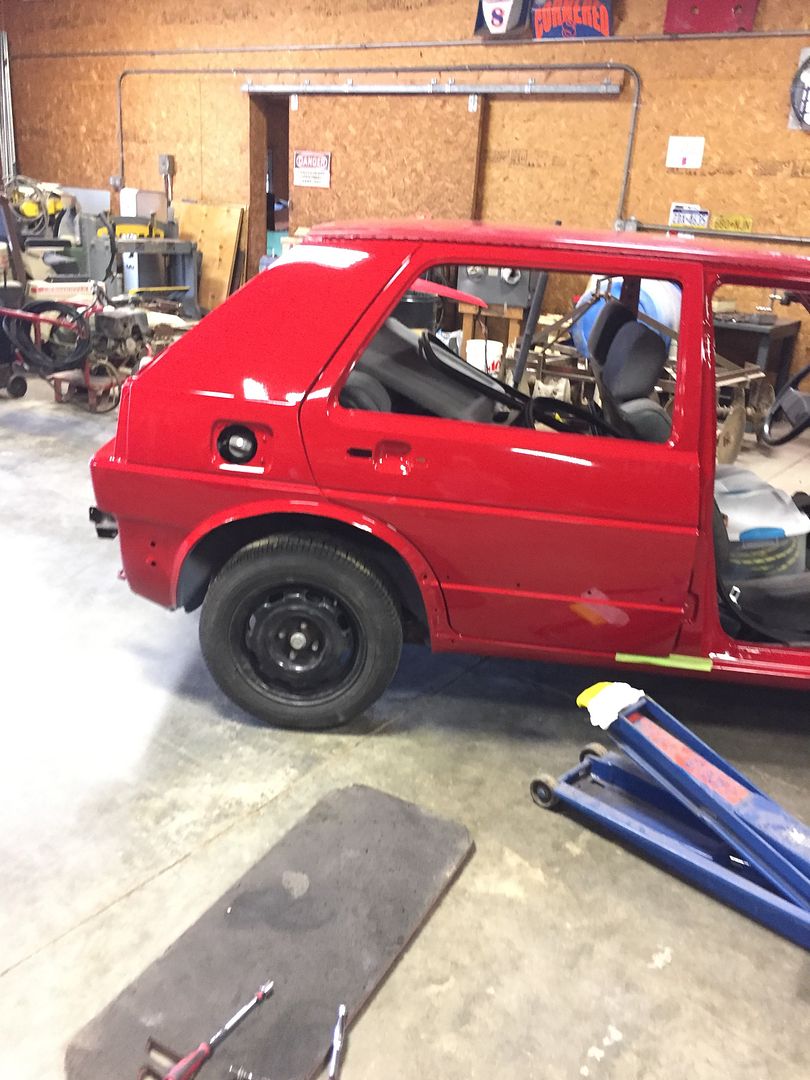
Next up were the front doors, which were also pretty hammered with dents and scrapes.

Straight enough for this project!

Next up was some rust on the rear arches.

The first step was to remove the fuel tank so I didn't explode

Once it was out, I decided to tackle this big crease next to the fuel door.


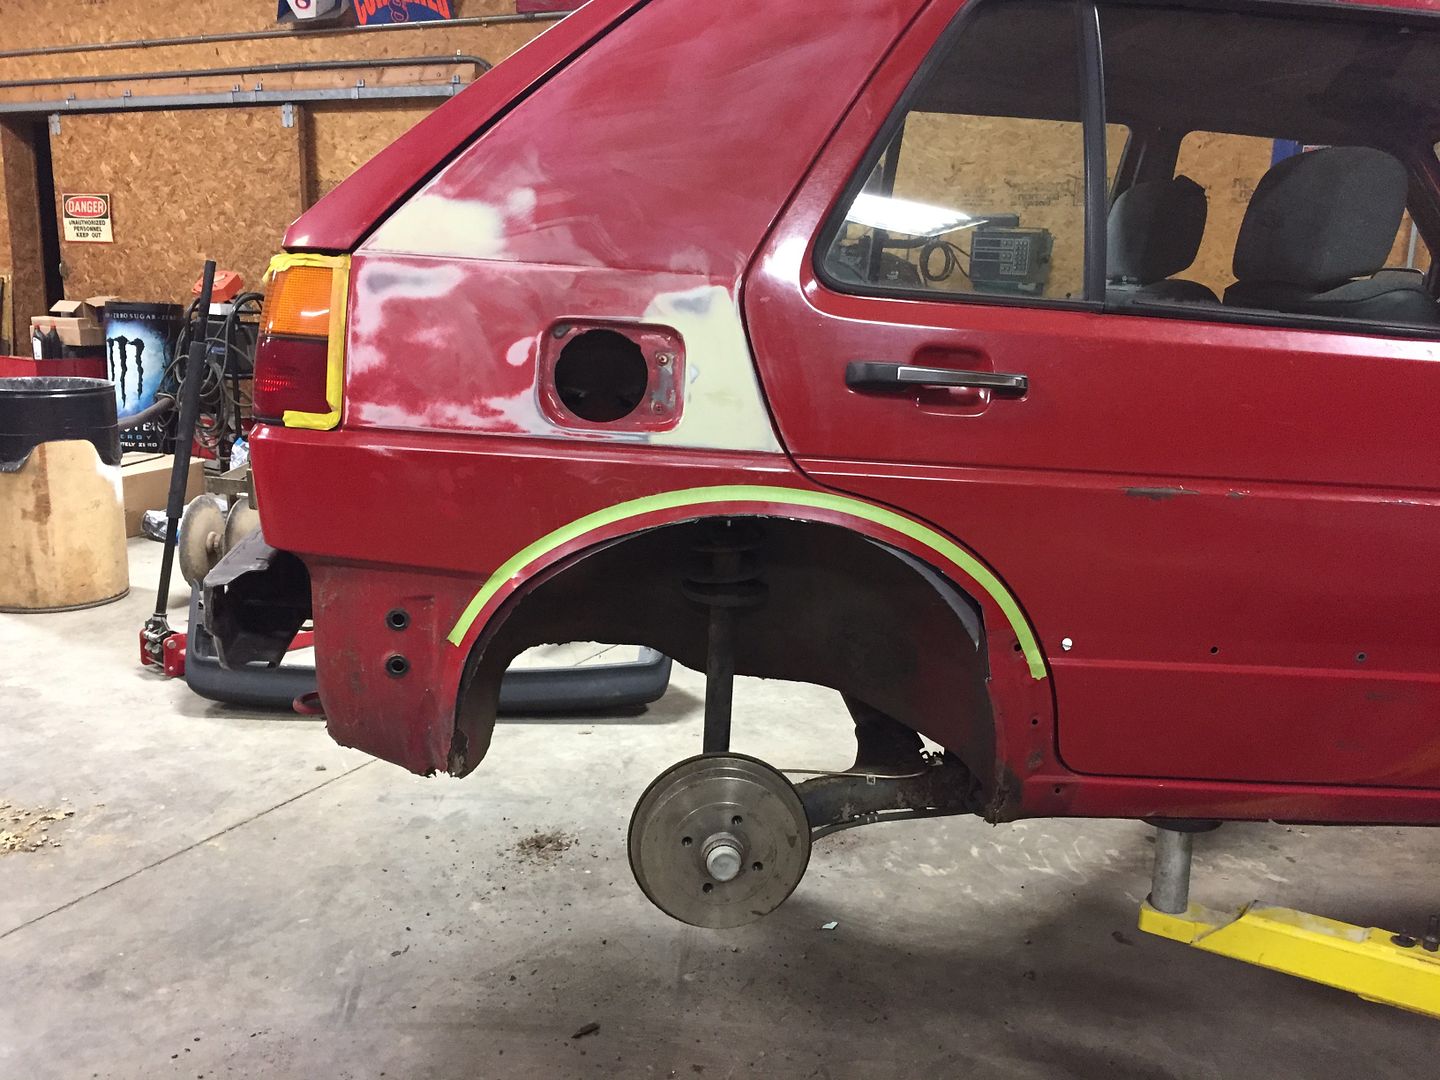
This represents the work I did on both rear fenders. Basically I cut away the rust and welded the inner and outer skins together. This made room for the wheels and also saved me a lot of work completely patching them back together.

While the fuel system was out, I cut and welded a big notch through the passenger side frame rail for axle clearance when this thing gets low.

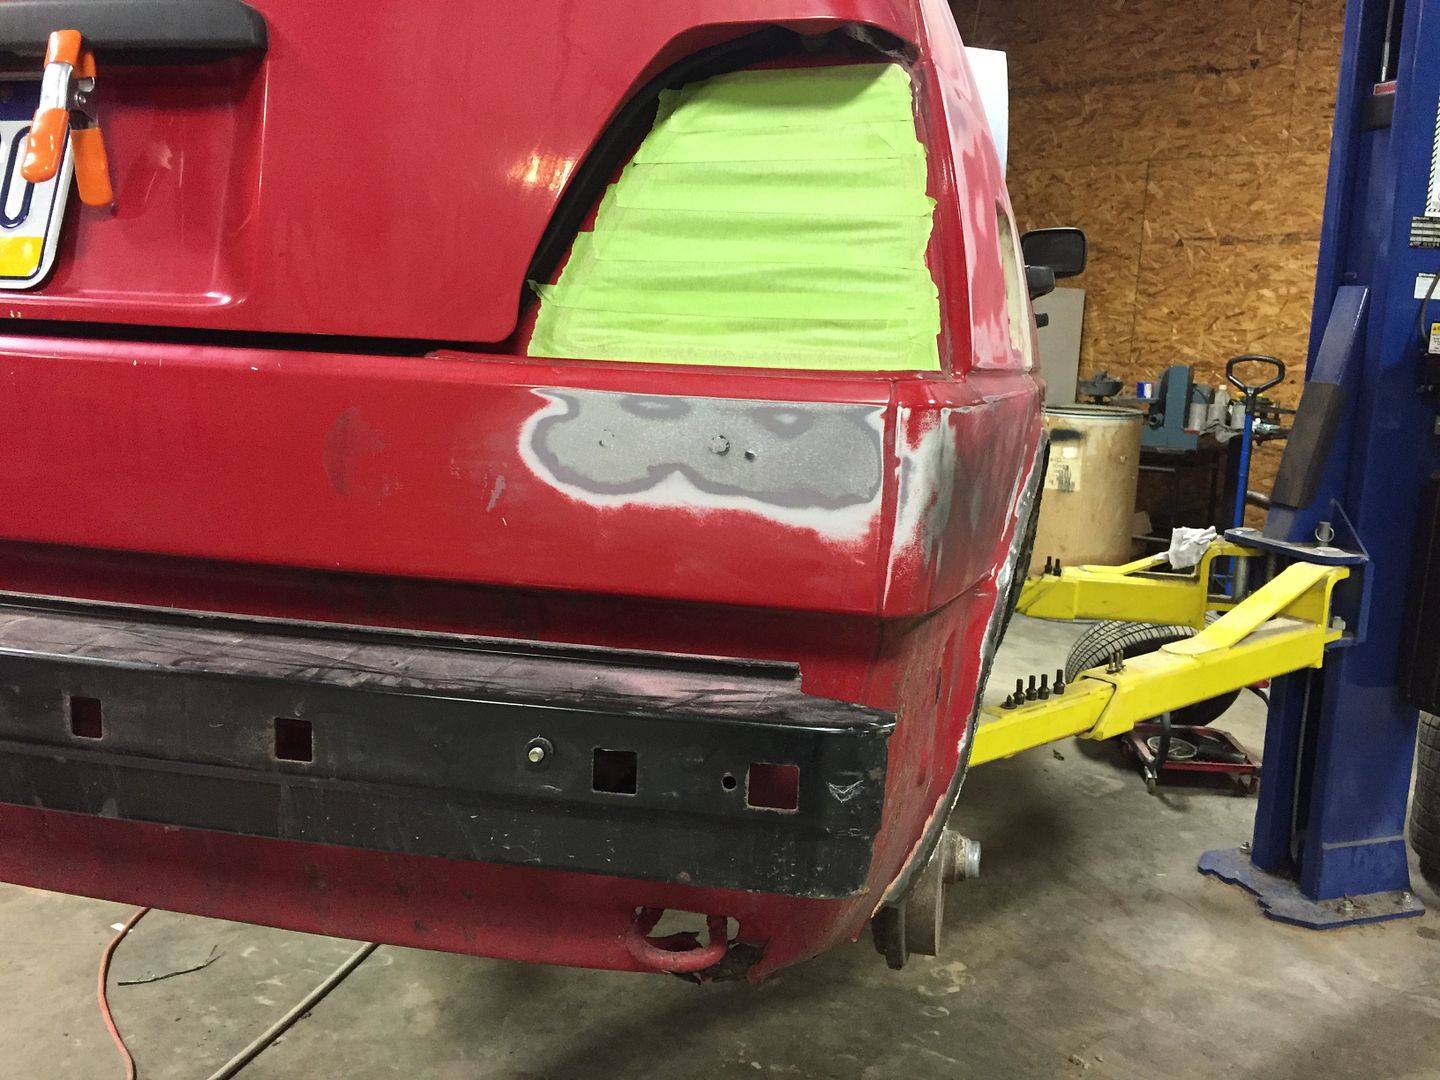
More bodywork and primer
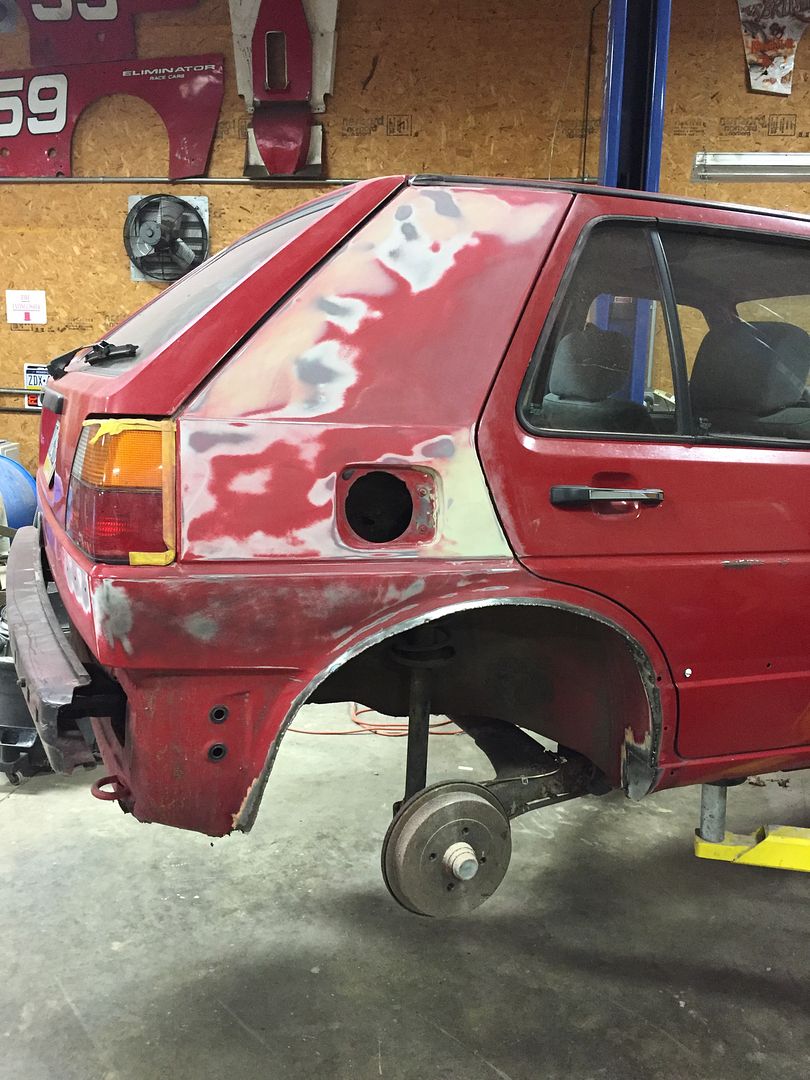
Shaved up the rear emblem holes


After a shitload more unphotographed work, I removed all of the doors and coated the front and rear fenders in urethane primer.

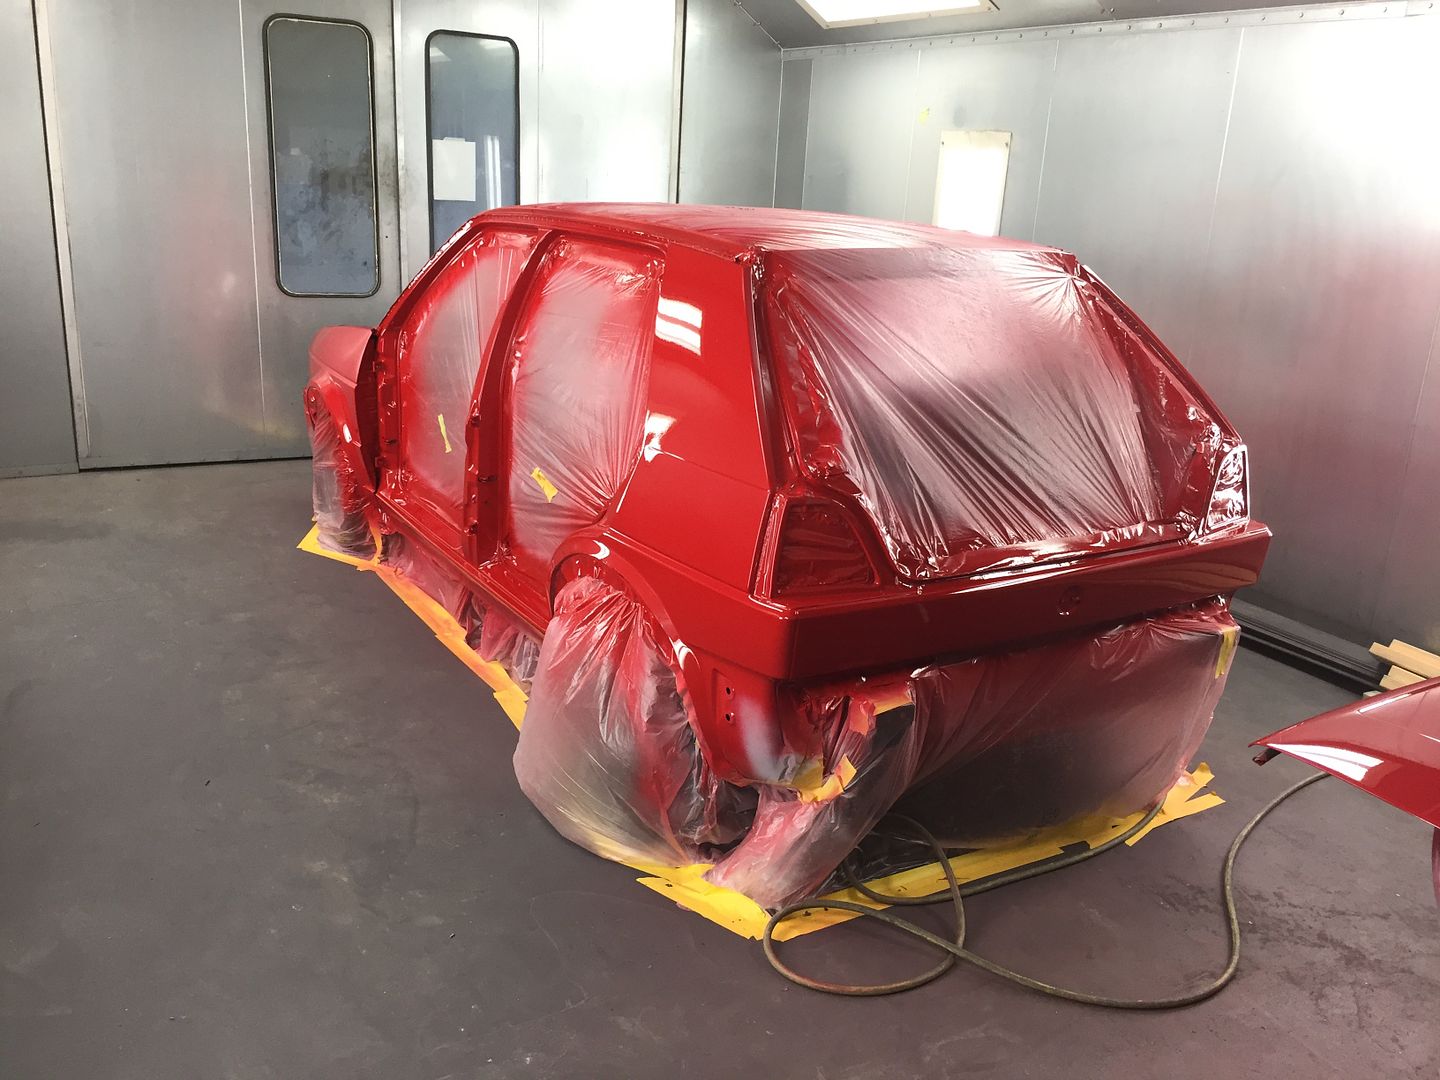
into the booth!

Taped. I used all 3M stuff which makes the job super easy and fast. No more newspaper and Wal-mart tape.

PPG Omni MP235 sealer

Paint!! I sprayed this car with PPG Omni MTK single stage urethane in the original LY3D Tornado Red.


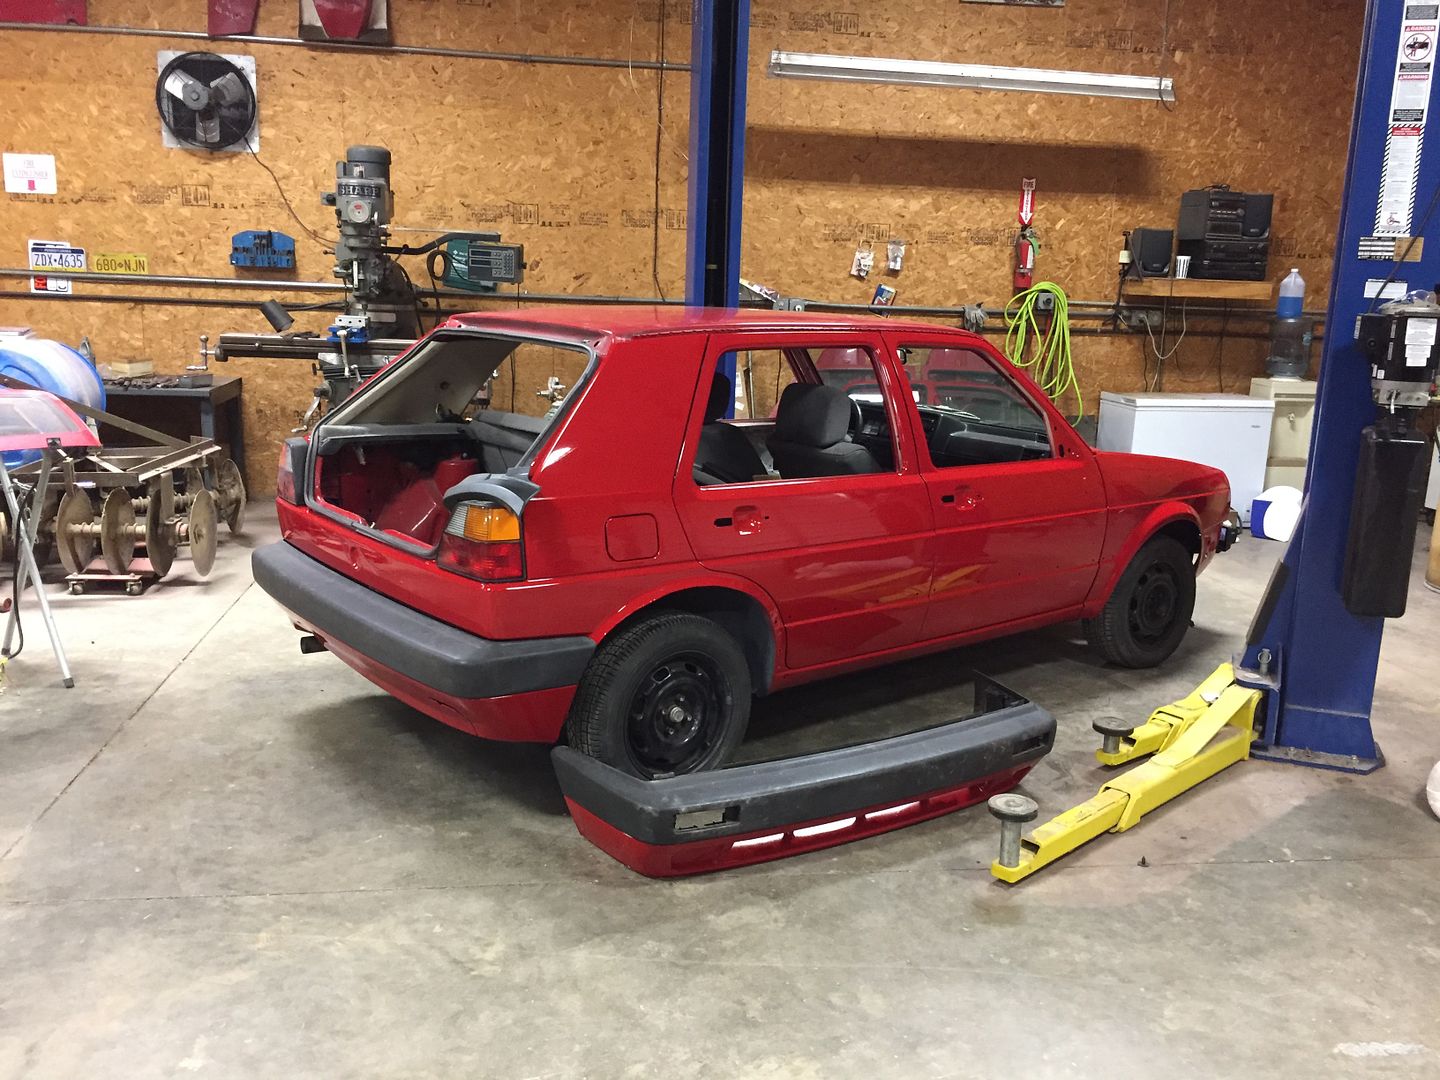
After the car was out of the booth, I prepped and loaded the bumpers and doors.


The next day I started to reassemble.
I also started to prep and paint the flares and trim. I'm using SEM products to freshen it up.


Next I unearthed some antique airride from Woody's beetle!

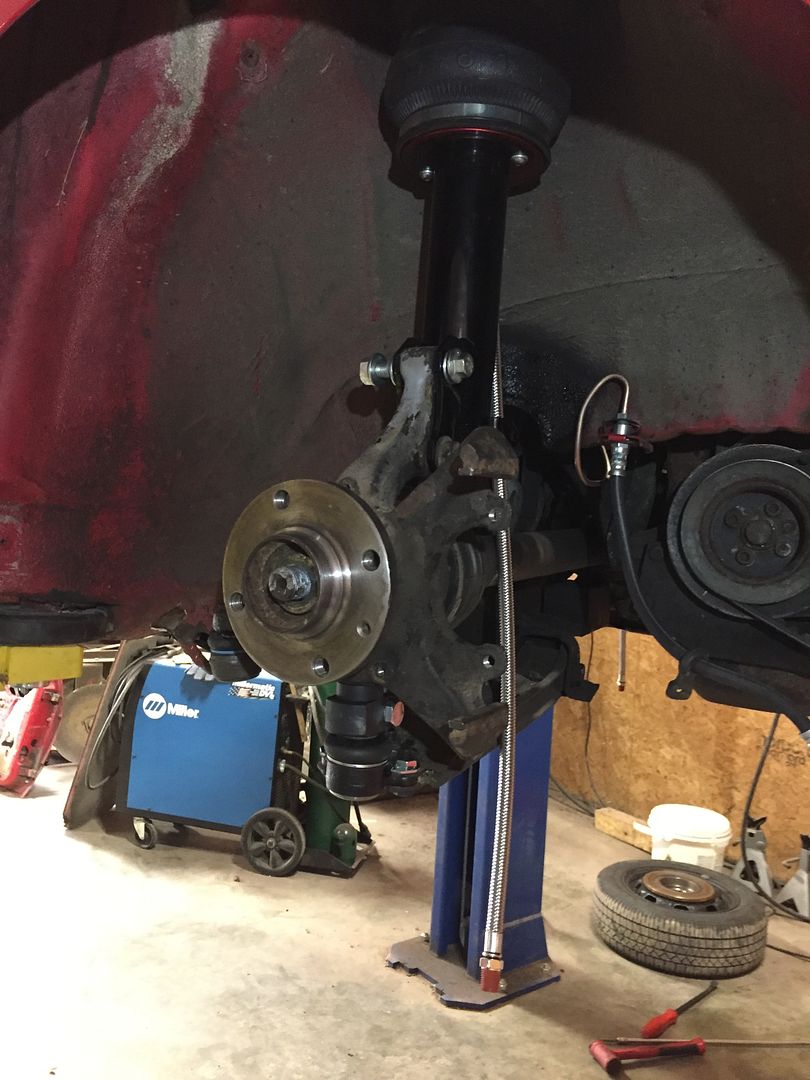
In order to get this thing low, I had to flip the tie rods and extend the balljoints. I started by boring out the steering arms.
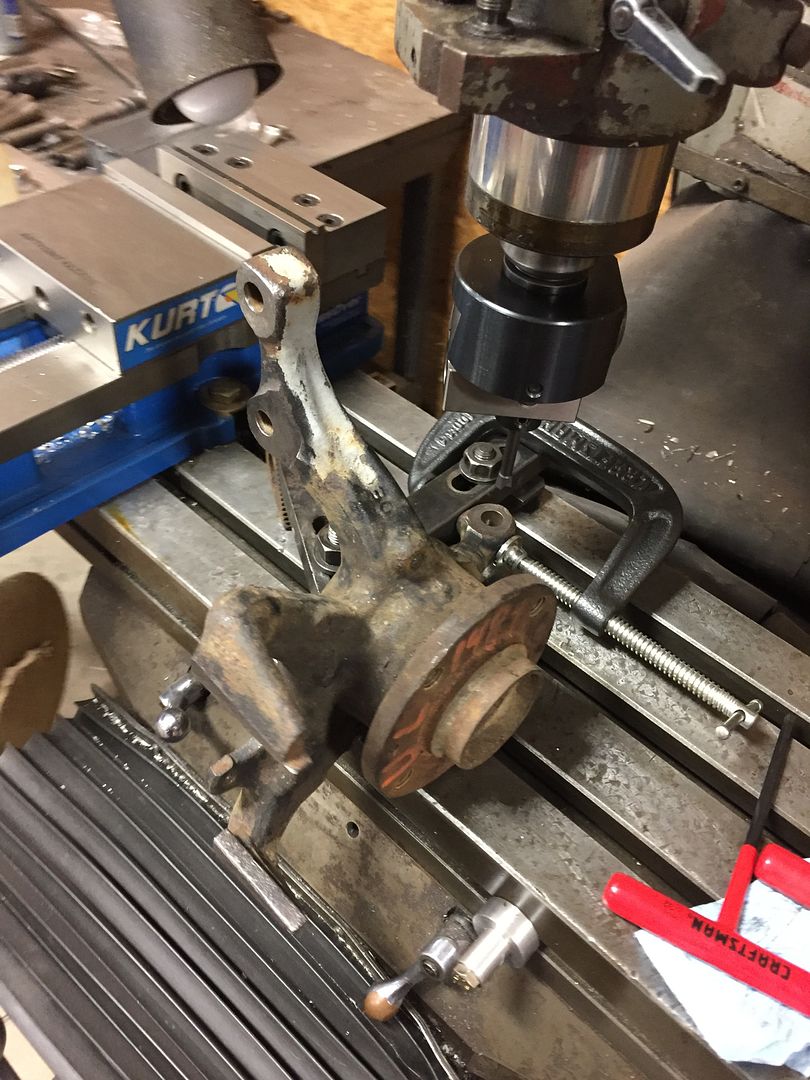

Next I made inserts to flip the taper the opposite direction in the spindle. I started by setting the angle by indicating on an old tie rod stud. I didn't have a great way to measure the angle, but decided that I didn't need to measure it, just match it.


Skipping a couple steps, the spindles were all prepped! Moving the tie rods from the top of the steer arm to the bottom, along with lowering the balljoint, gives me another 1-1/2" of drop before the suspension starts to bind up.

Fresh Airlift struts installed! I used a lot of junkyard and used parts, but I did buy these brand new for the project.
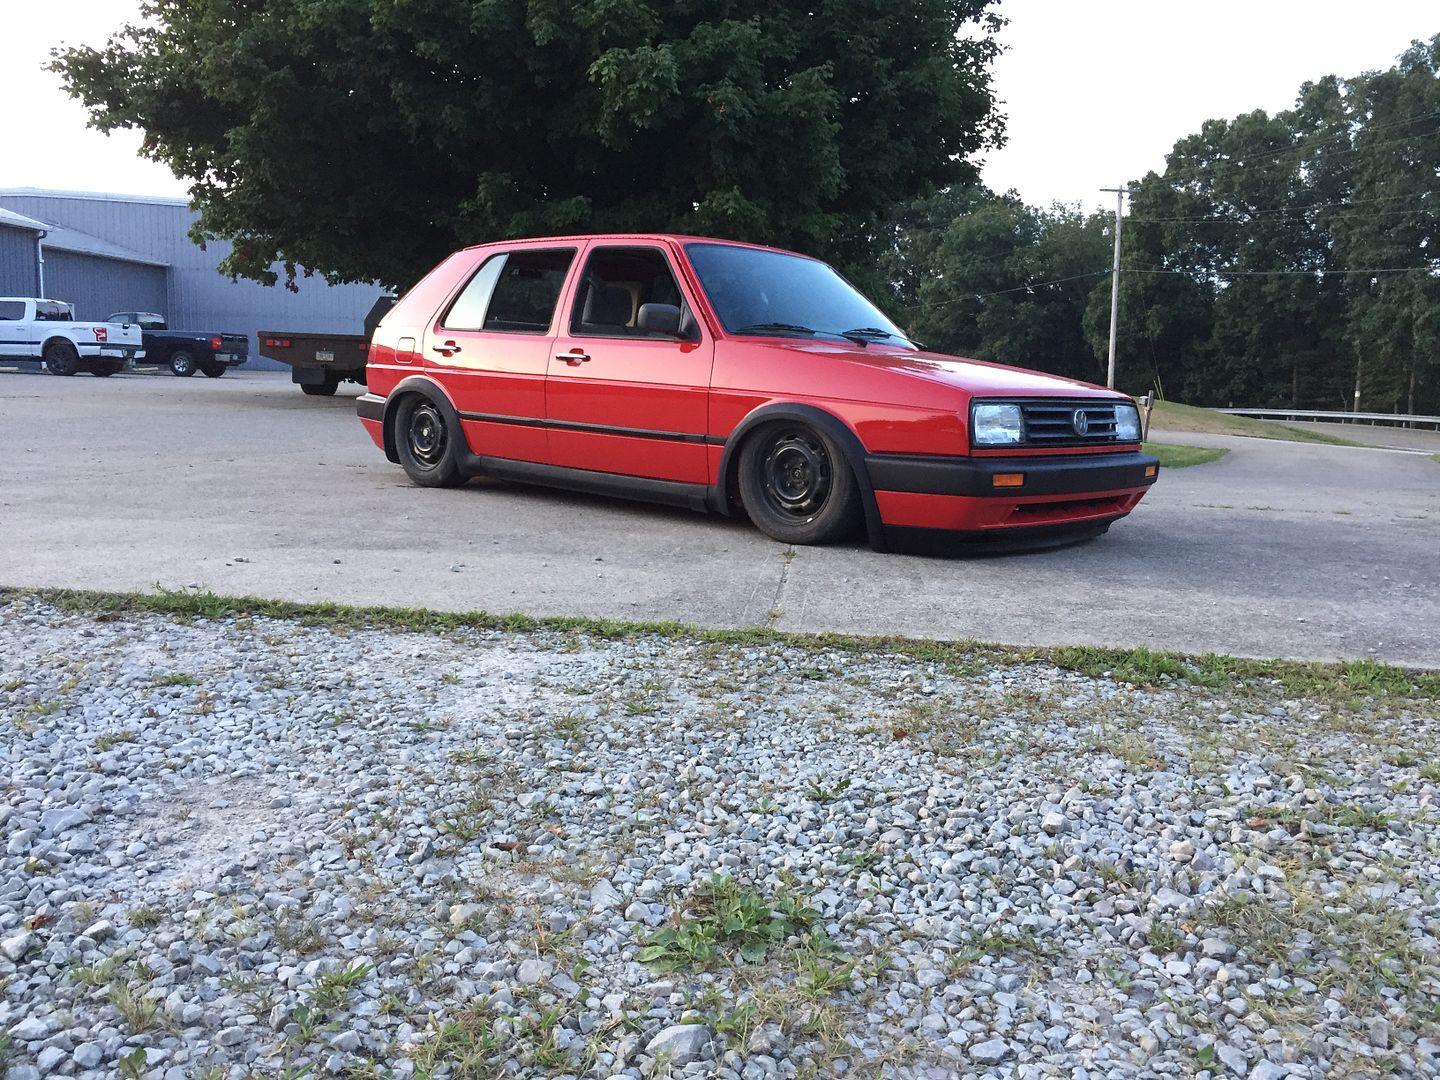
Low.
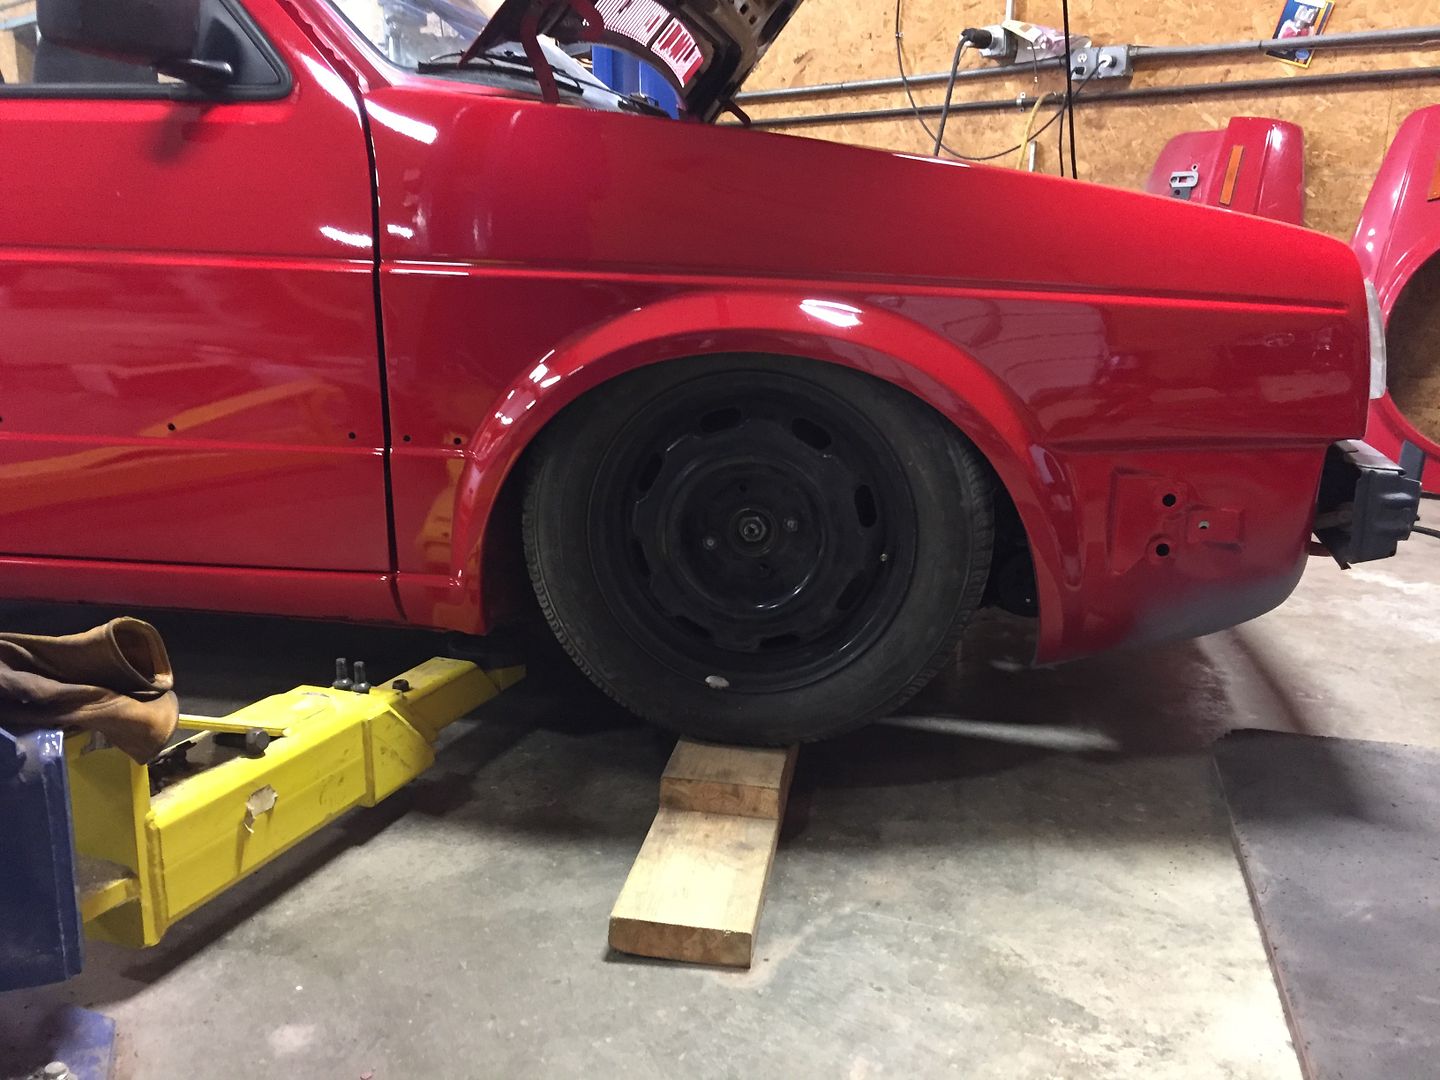
I checked for tire clearance, and I might be able to get even lower if I modify the struts!

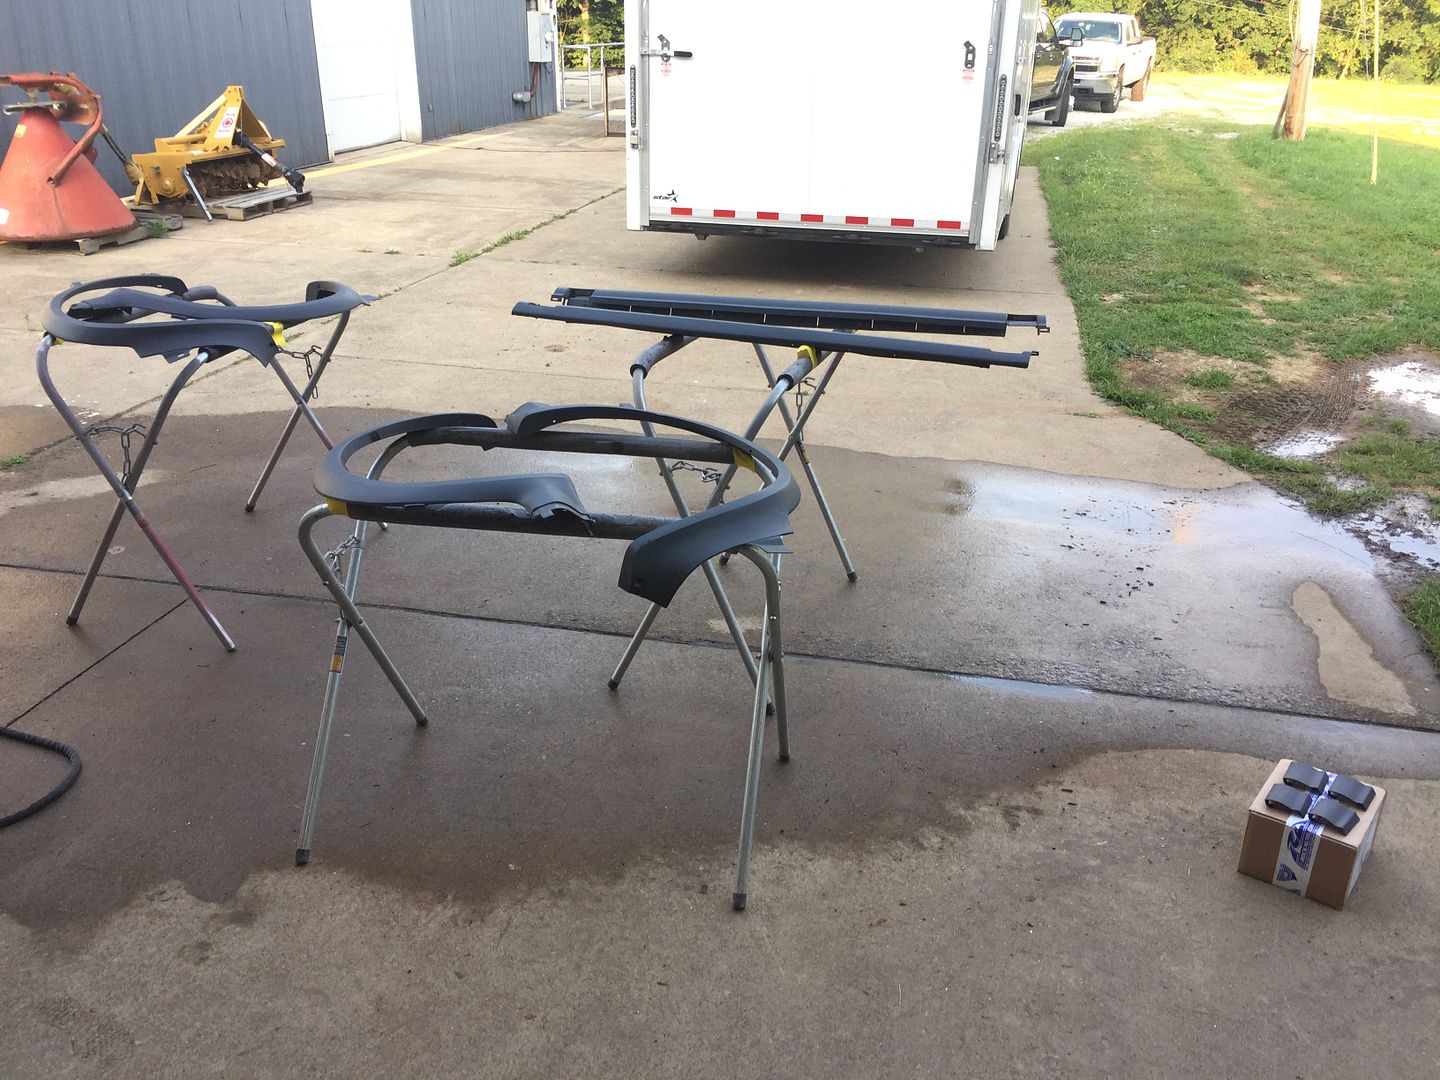
Test fitting the trim:

Fast forward, the rear was done!

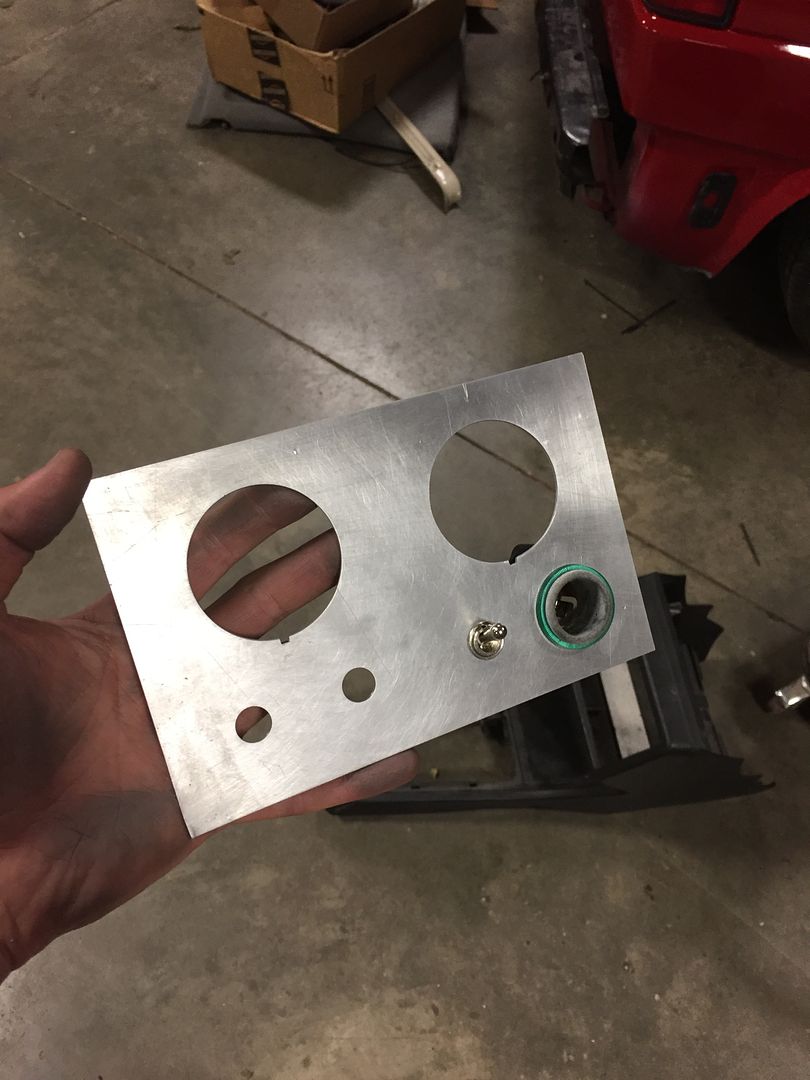
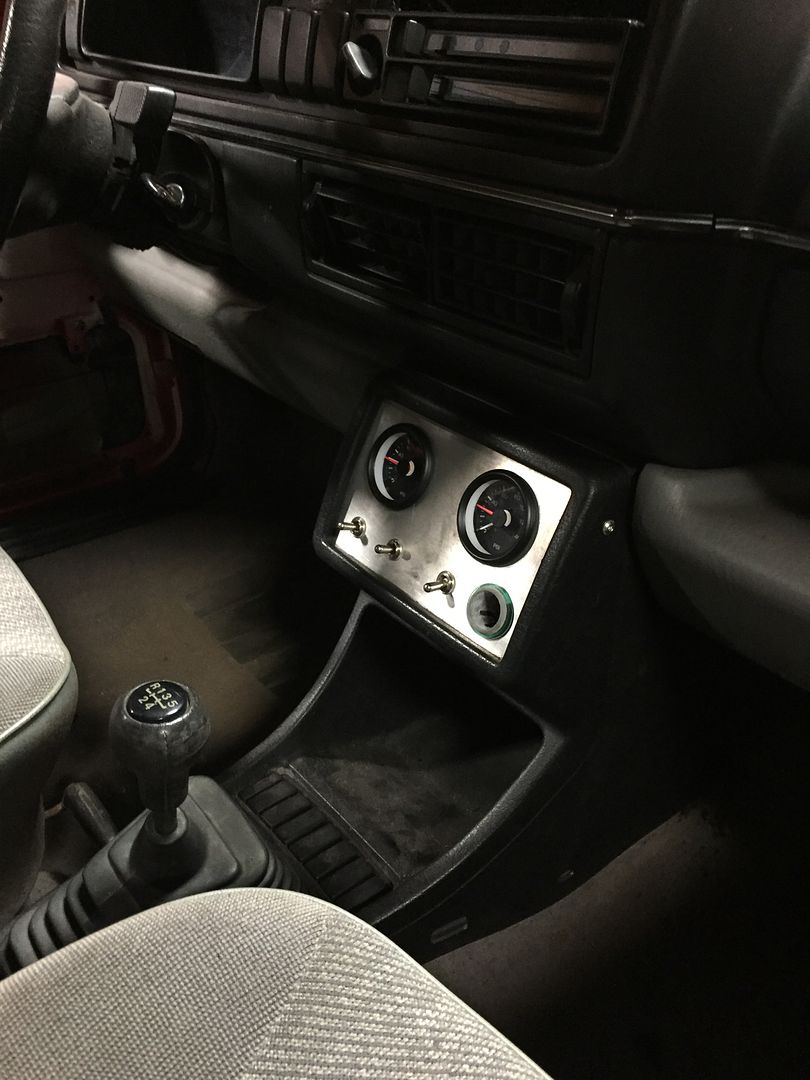
Whipped up this switch and gauge panel for the center console, keeping the original cigarette lighter.
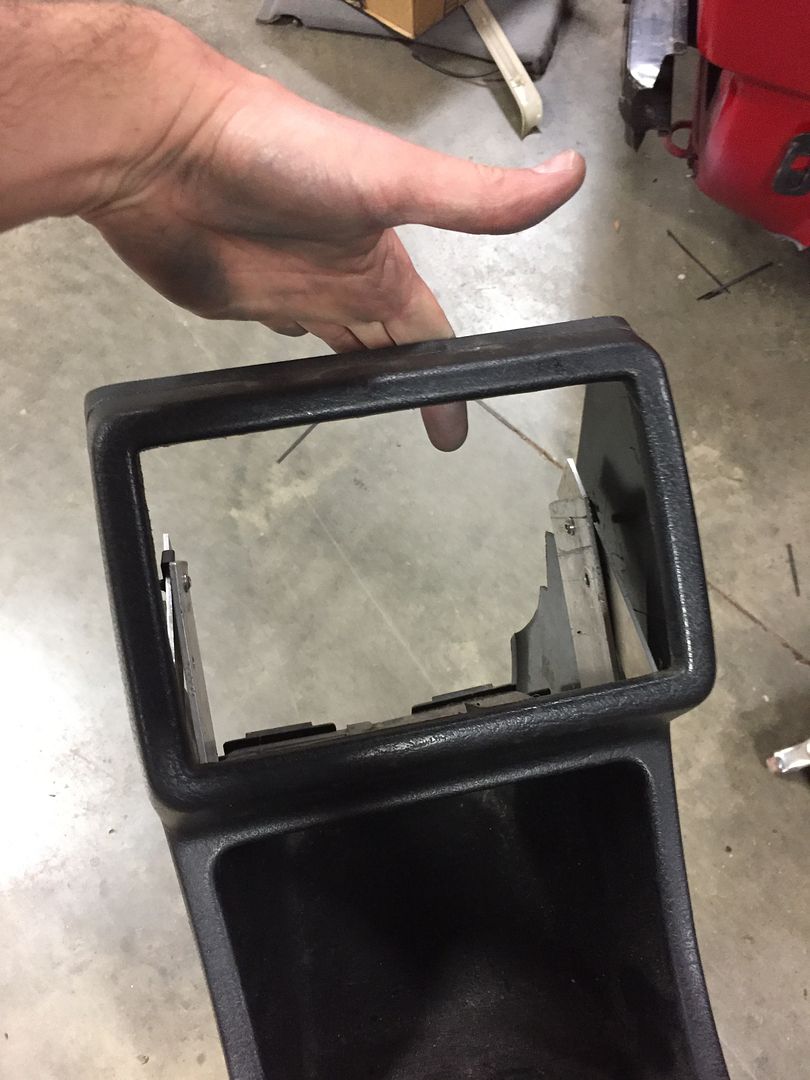
I picked up this center console for $10 that was already cut up for a Double-DIN radio install, which I will use for switches and gauges.
Arch and rocker trim

First drive!


No comments:
Post a Comment