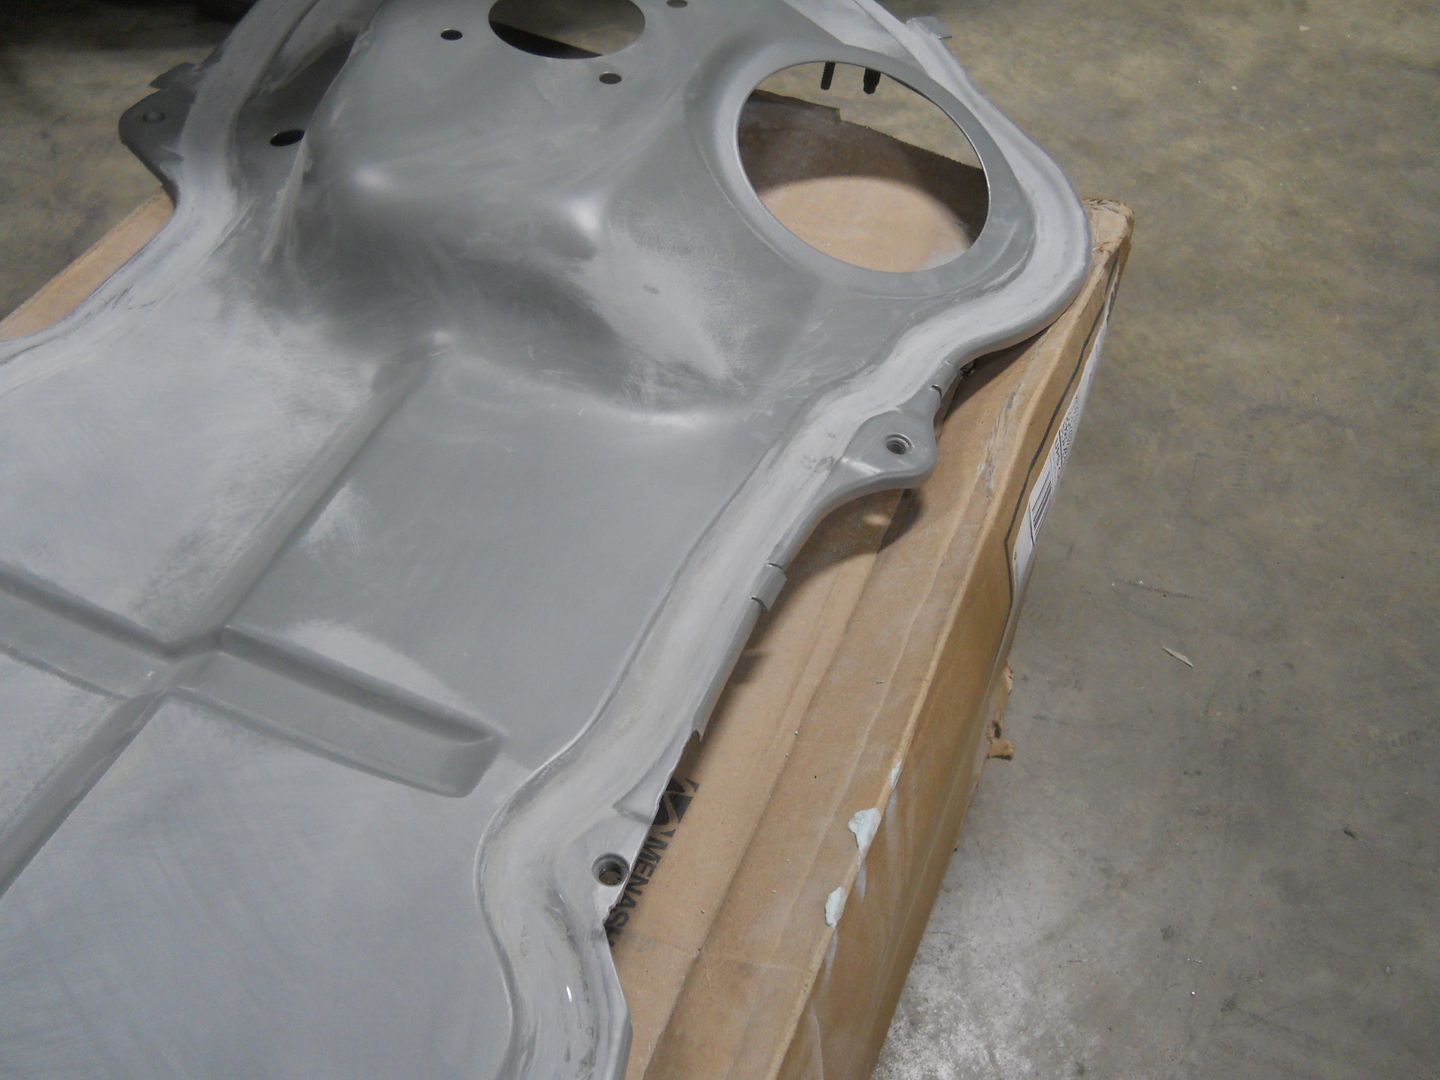
Back to work. I got the edges of the firewall insert all scuffed (220 grit) and ready to bond in.
3M 08682 primer for urethane adhesives.


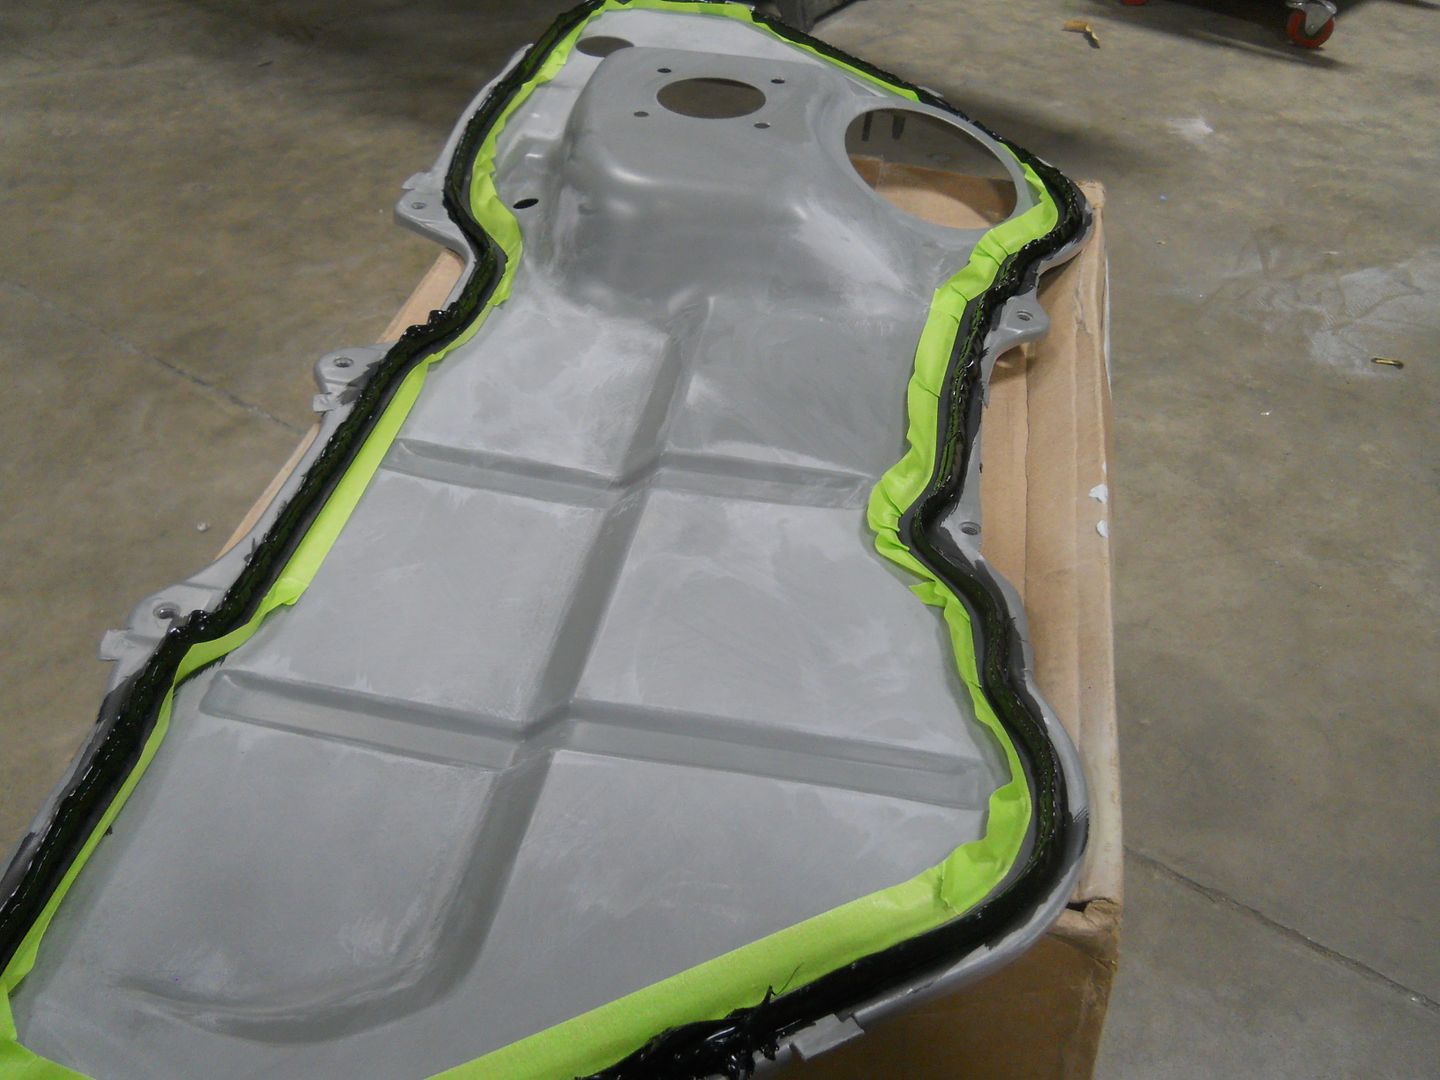
I taped up the edges to prevent the glue from oozing where I didn't want it.

1/4" wide x 5/8" tall V-shaped bead.
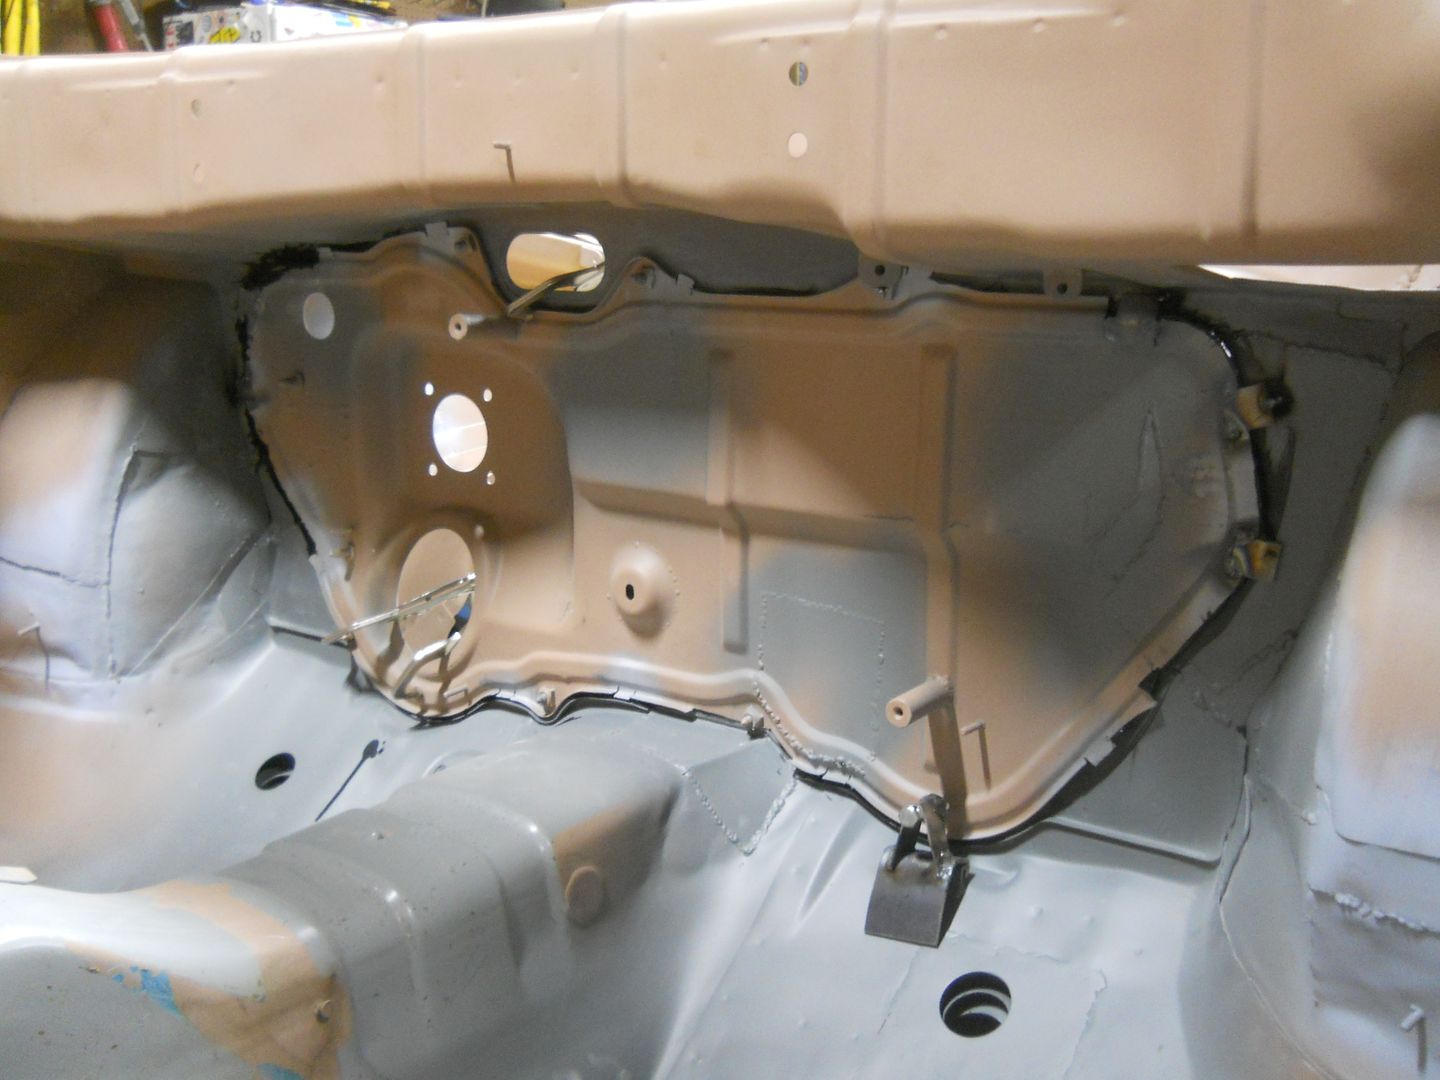
Glued in! Once the adhesive cures, I will remove the bolts and weld the holes shut.

All of these tabs around the edge will also get welded after the glue cures.
I started doing the bondo work on the rest of the engine compartment, starting with the raintray area.

The weather was beautiful this weekend, so I washed, clay barred, and waxed my Rabbit.


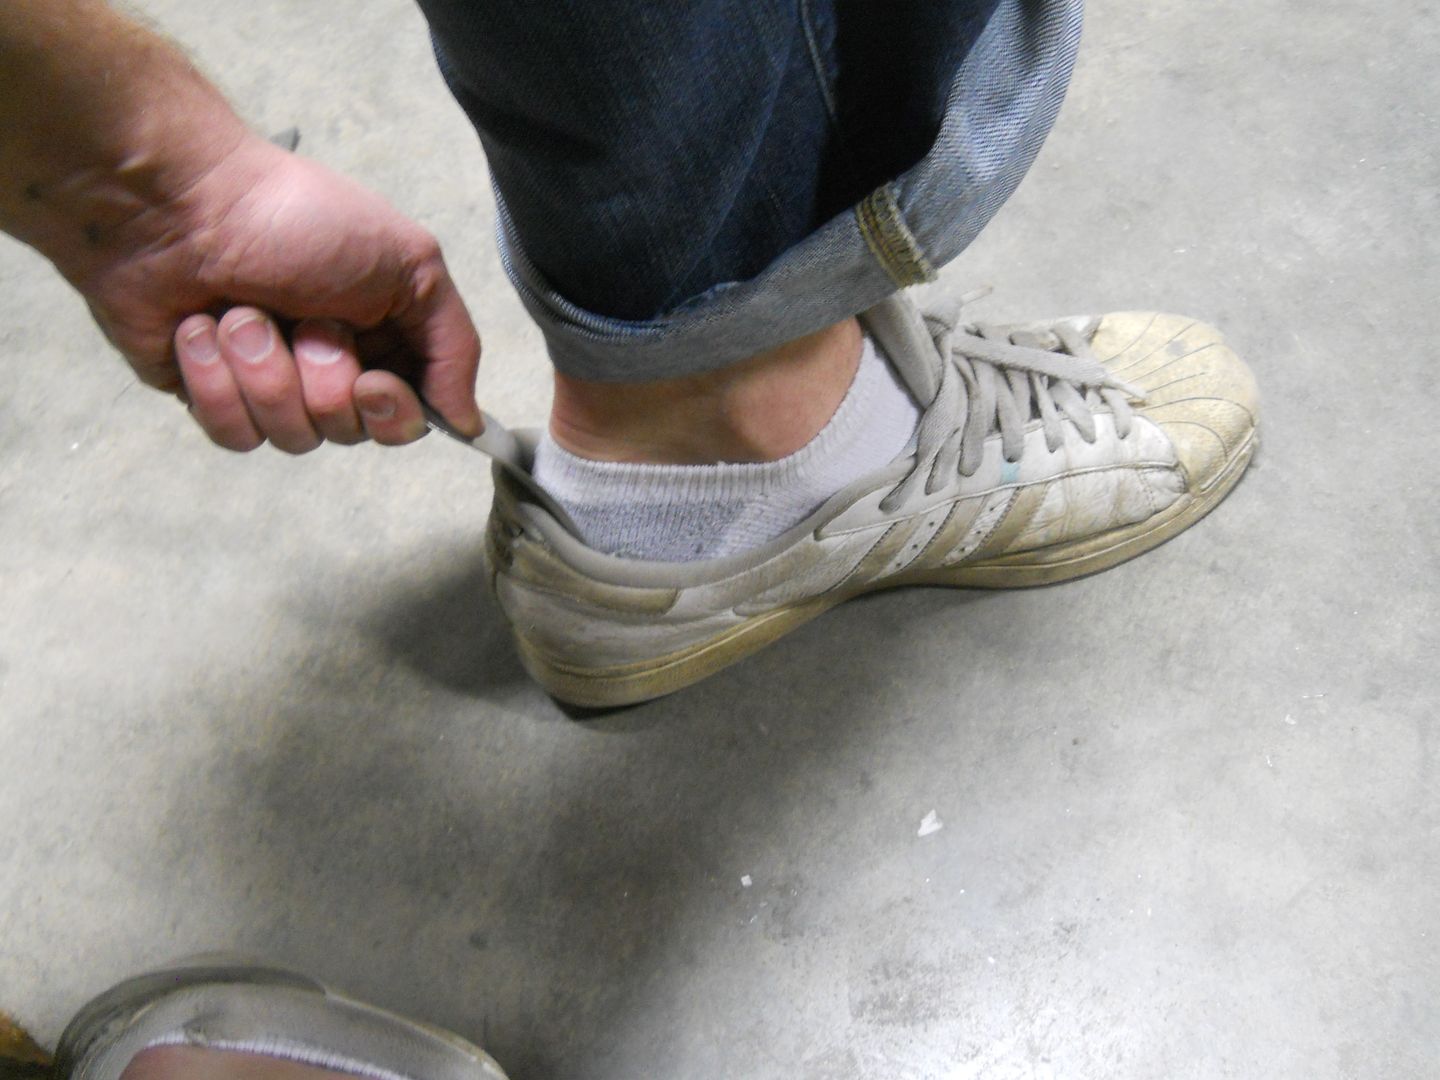
So here is a totally random little project I tackled. I had to dress like an adult a few times recently, and had the need for a shoe horn to aid in dress shoe installation. If I'm using a shoehorn I hammered from a piece of stainless steel, does that make it less lame that I'm using a shoehorn? I think so.
Template and cut 16ga 304 stainless sheet.
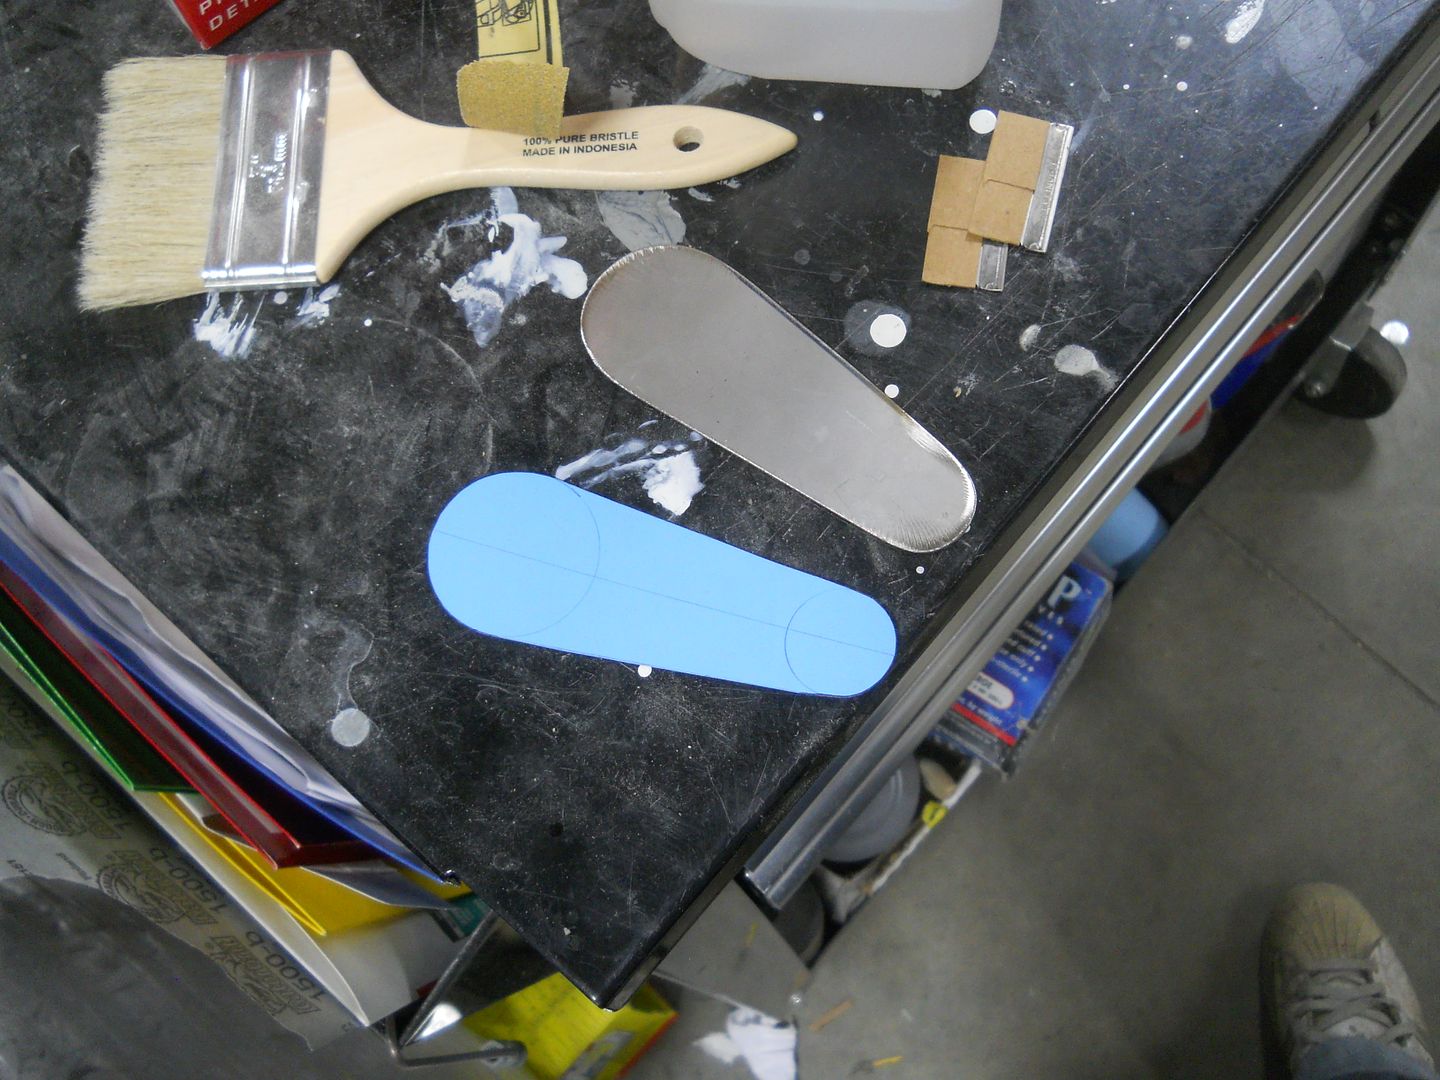
The first curve hammered in

This is a classic reverse curve - similar to a Pringles chip, and the exact reason the Snap-on BF615 hammer was created.
I found the area on my Harbor Freight football dolly that matched the radius of the first curve, then held up the piece while stretching the edges with the curved hammer.
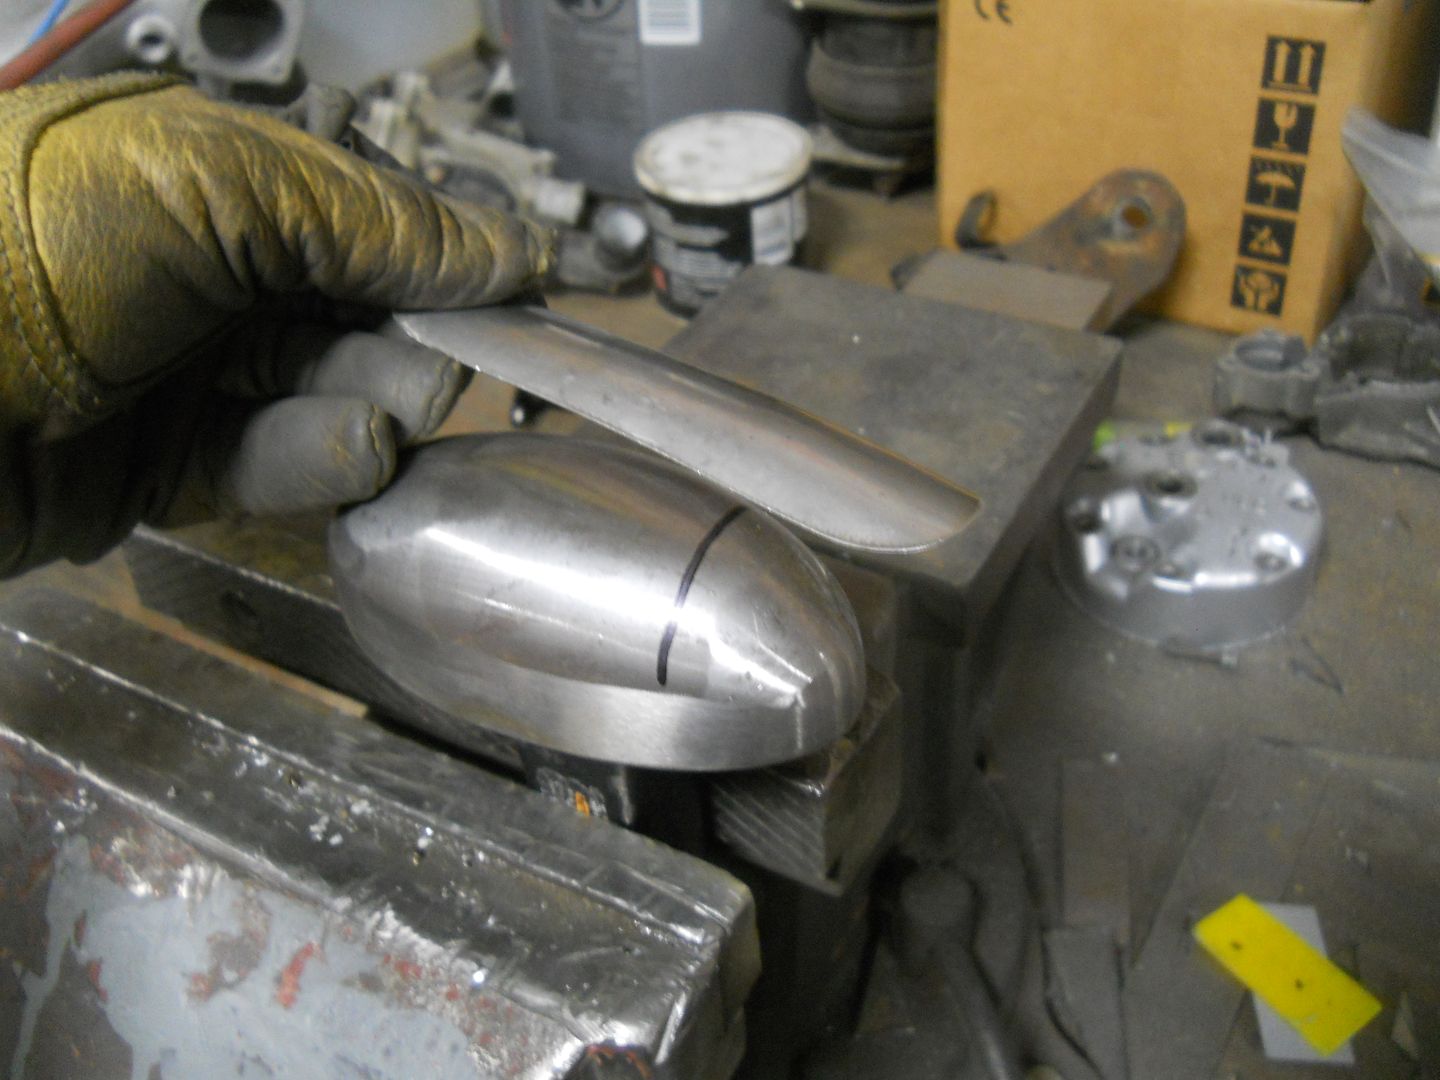
(hammer shown in the background)
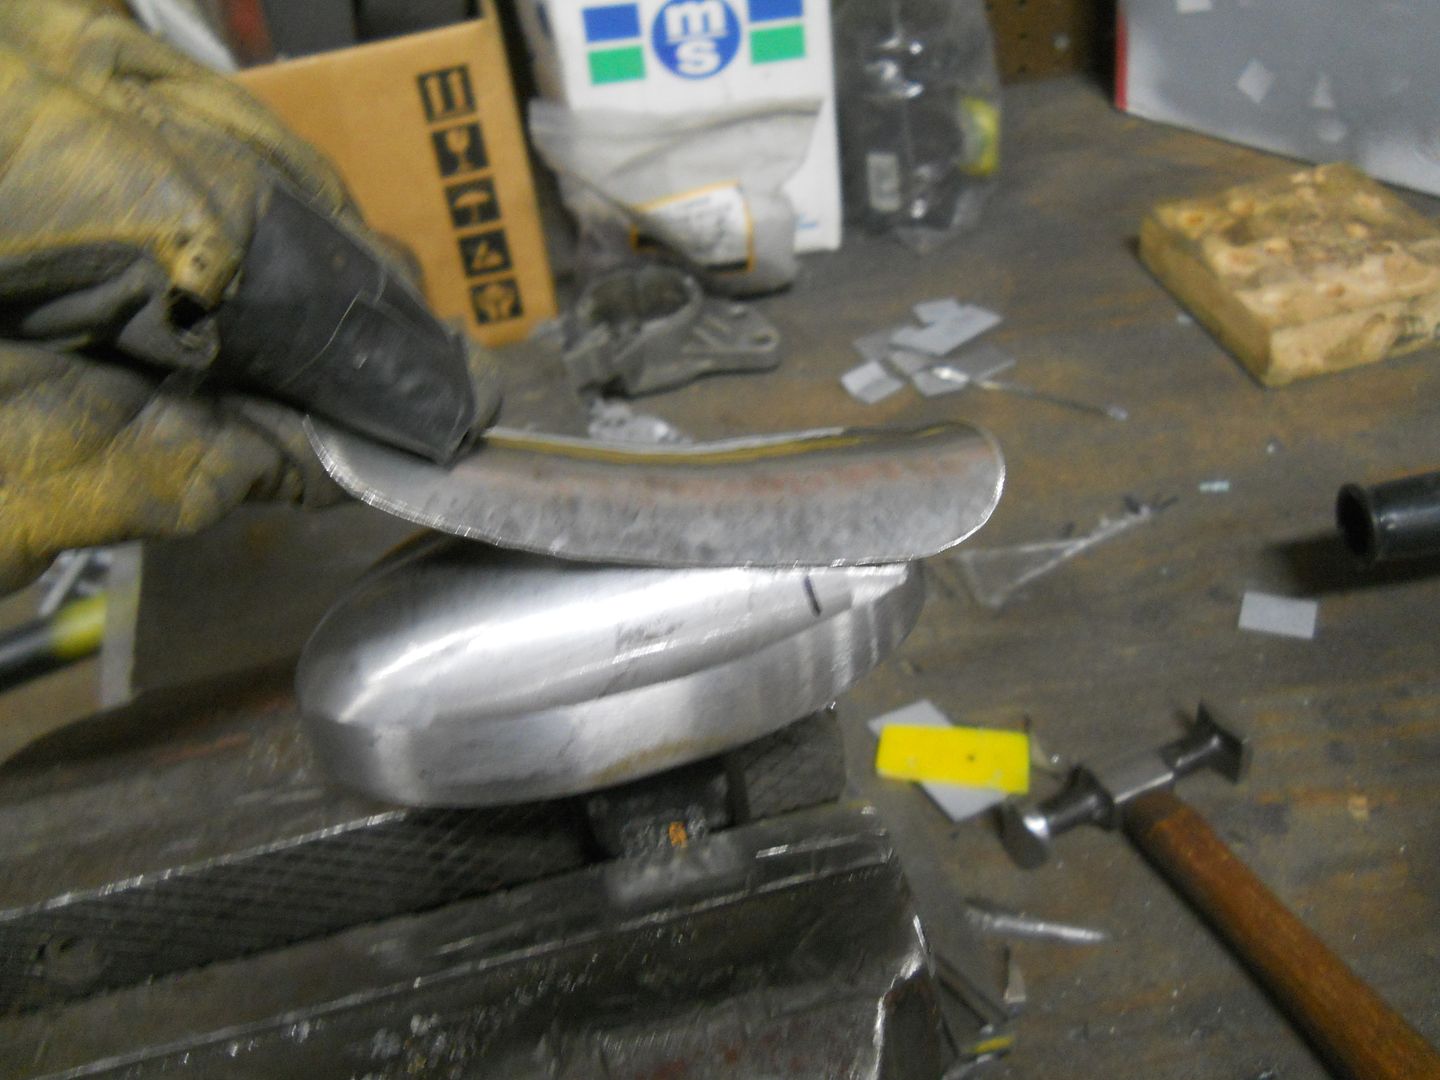
Now I just need an English Wheel to get all the hammer marks out!

Success.
No comments:
Post a Comment