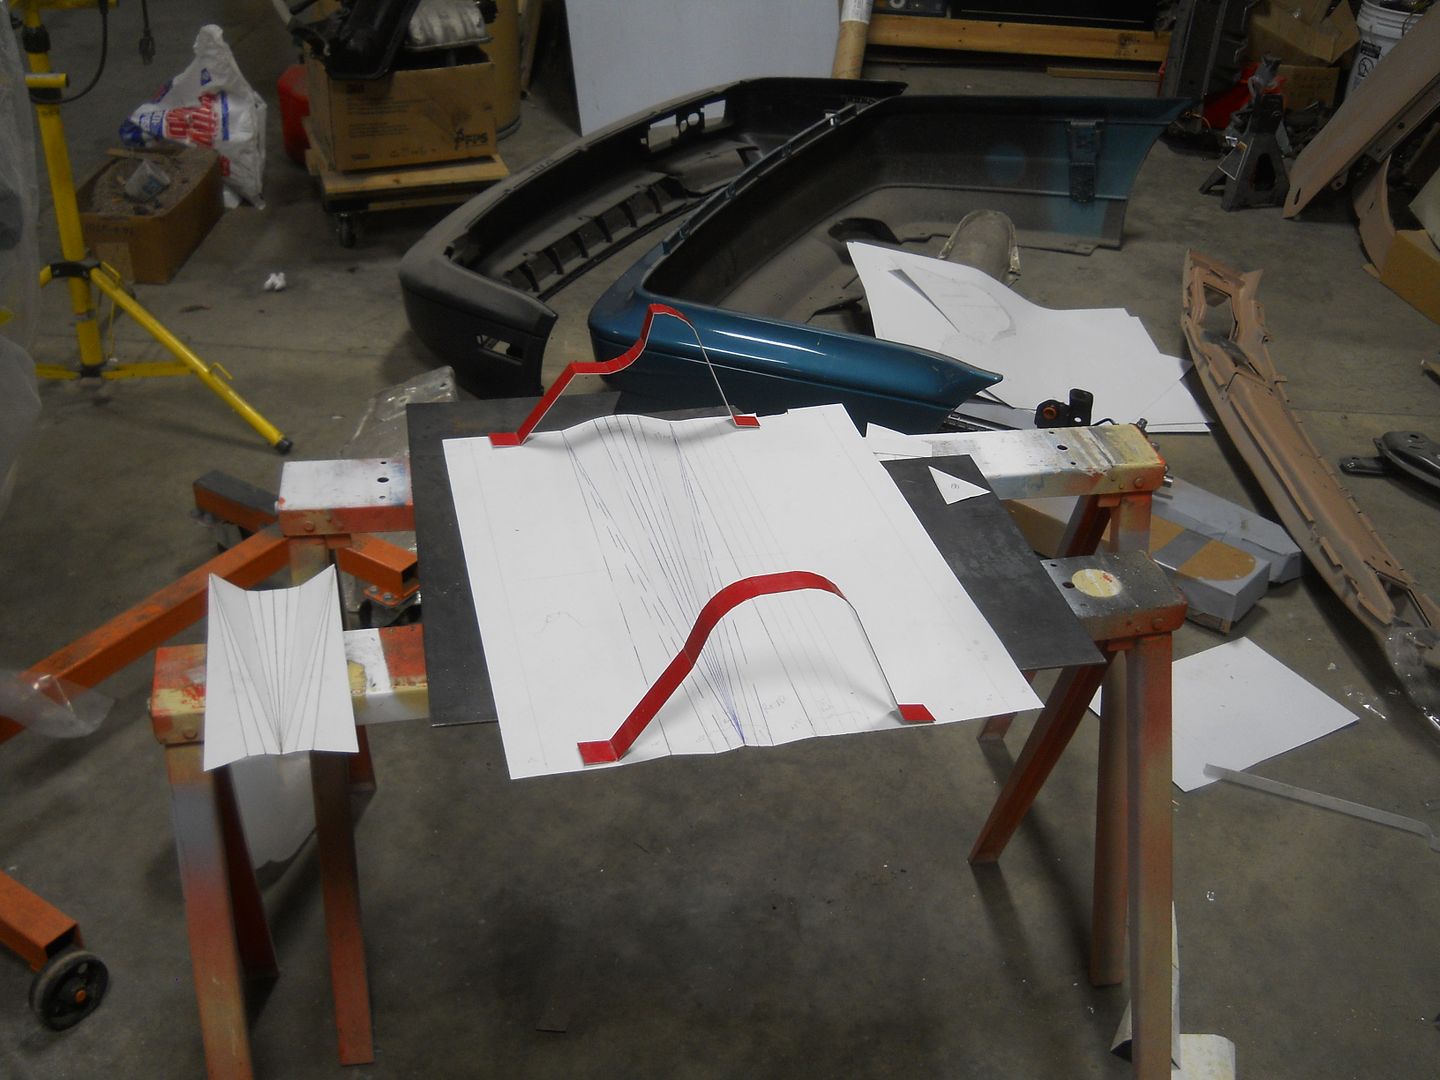
This is the area I'm shaping a heat shield for. Notice that the exhaust is offset toward the passenger side of the car, and the shift linkage passes down the driver side of the car. I will need to add a clearance section for the shift linkage while allowing the maximum size for a catalytic converter.

I started with a template. The red shape in the foreground will be the shape near the rear of the car, and the red shape in the background will be the shape near the front of the car. The relieved section will taper toward the front for clearance around the shift linkage.
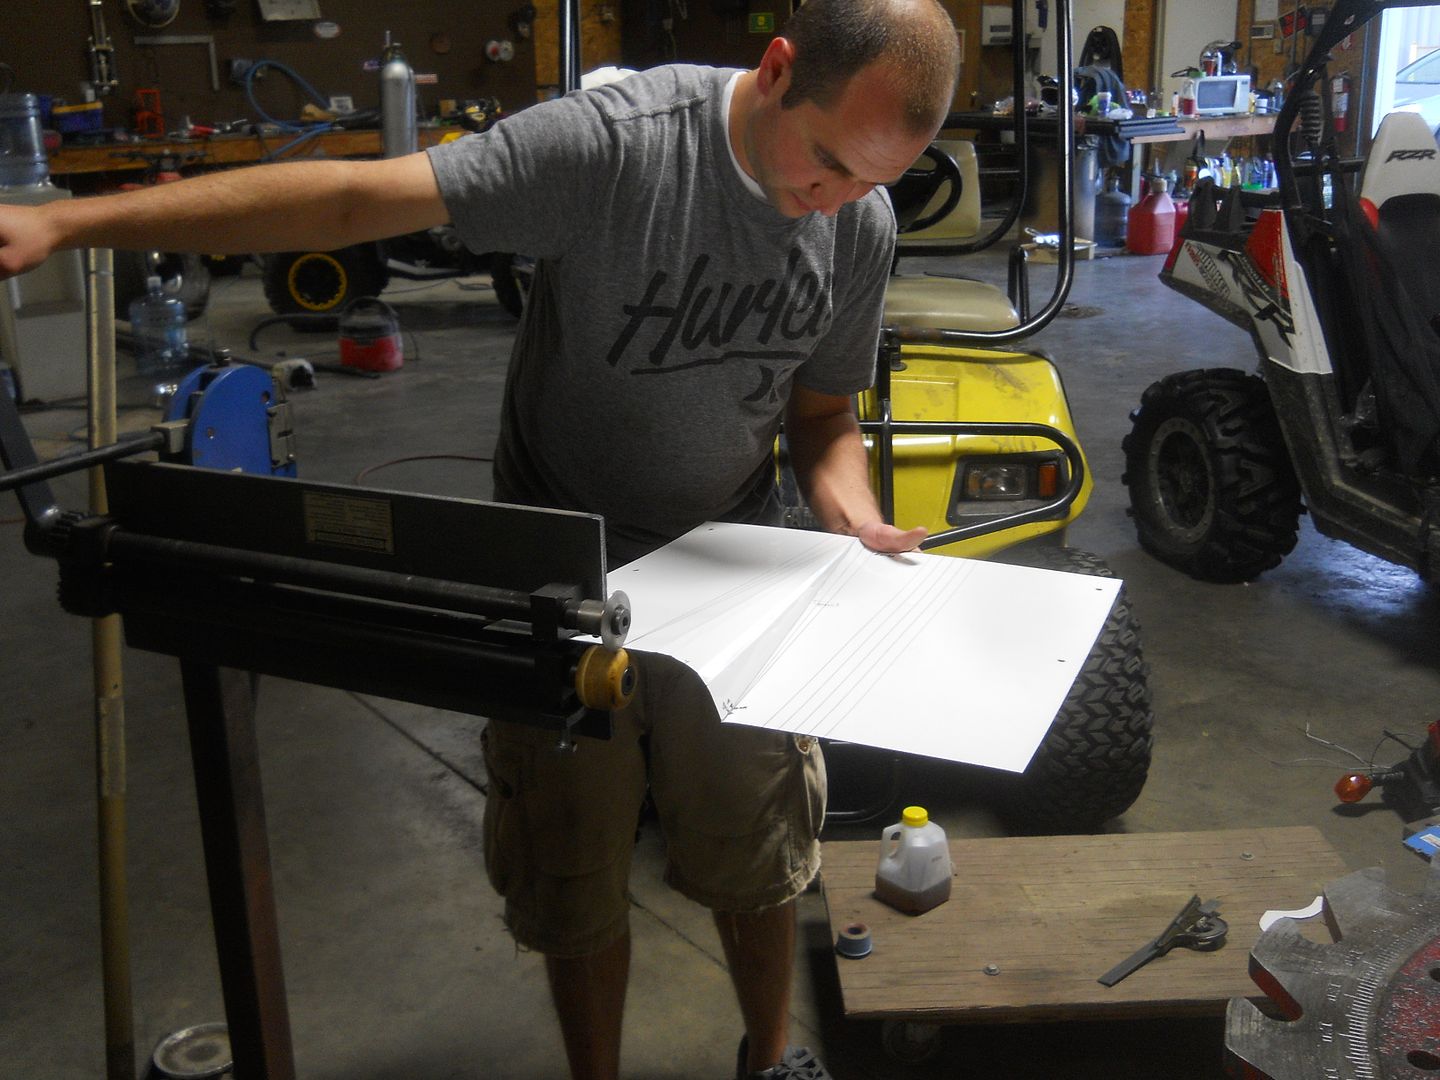
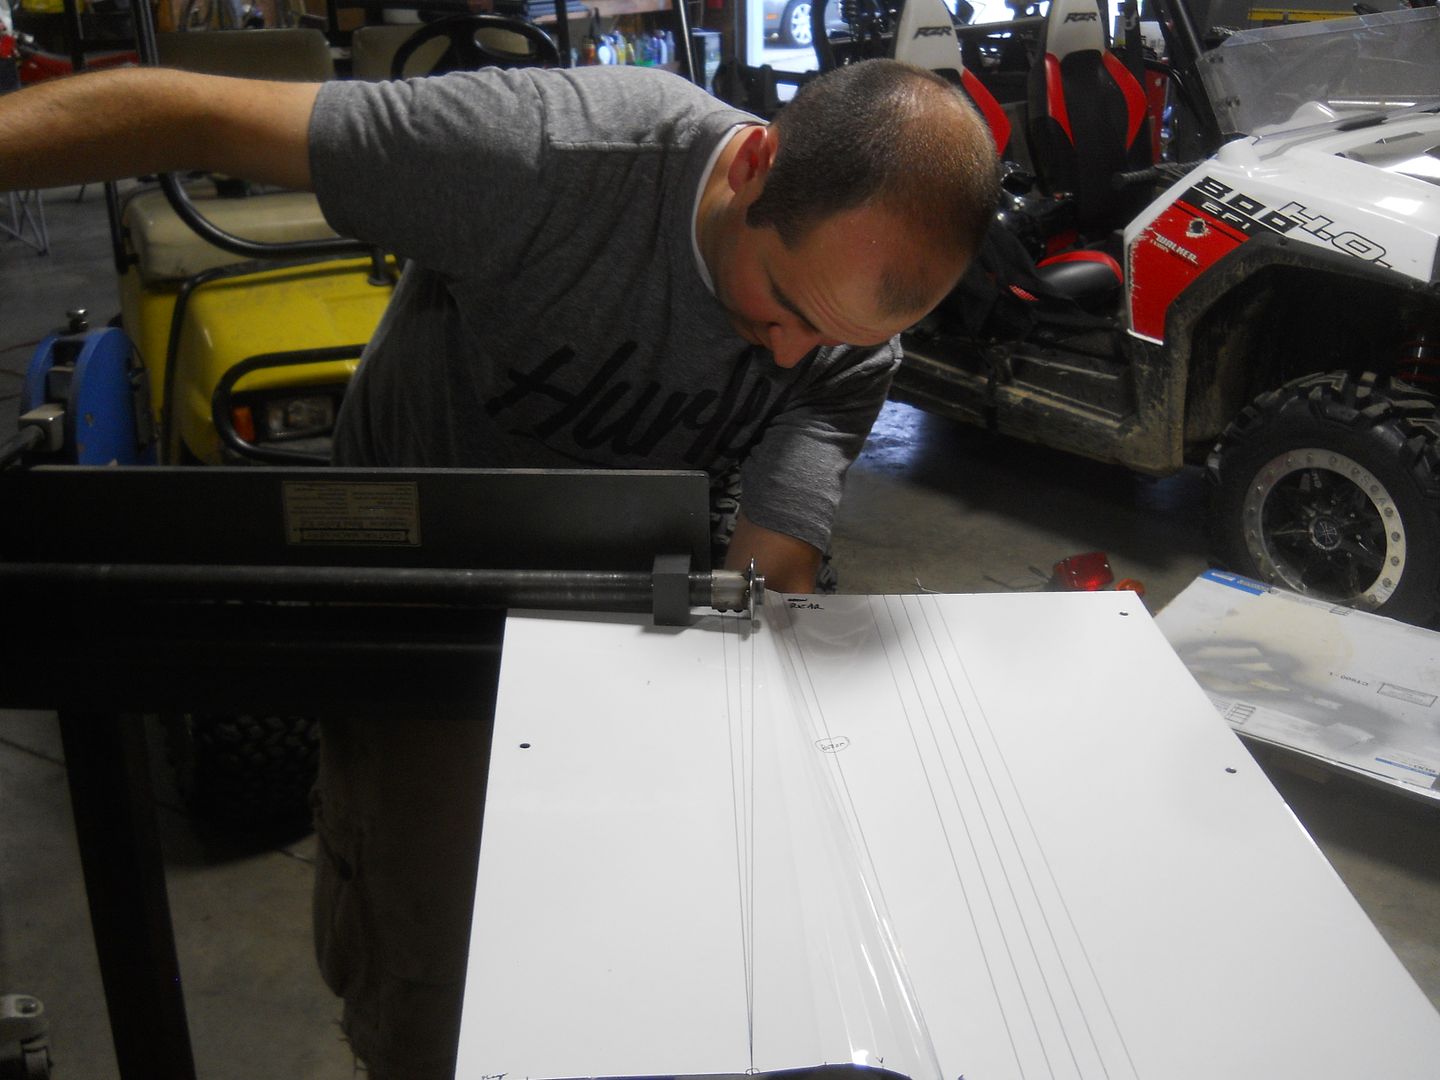
Bend lines laid out - bottom side:

Top side:

In the areas where up-bends and down-bends converge at a point, I won't be able to use a brake as I normally would. To make these bends, I had to make a tipping wheel for the bead roller. This puts a slight kink in the metal as it passes through, and you can make larger angles with more passes.
I welded some steel tubing and a $1 steel washer together, then trued it up on my lathe.

I raided my parents' basement for some old skateboard wheels, I found a few different hardness wheels for the lower drum.

Bending!


Simple as that! Not shown: 12 hours of paper templates, practice pieces, test bends, and advanced geometry.


Plenty of clearance for the shift linkage, and plenty of clearance for the exhaust. I will plan out the front piece (which will be visible in the engine bay) and the connecting piece before making the final brushed stainless section.

No comments:
Post a Comment