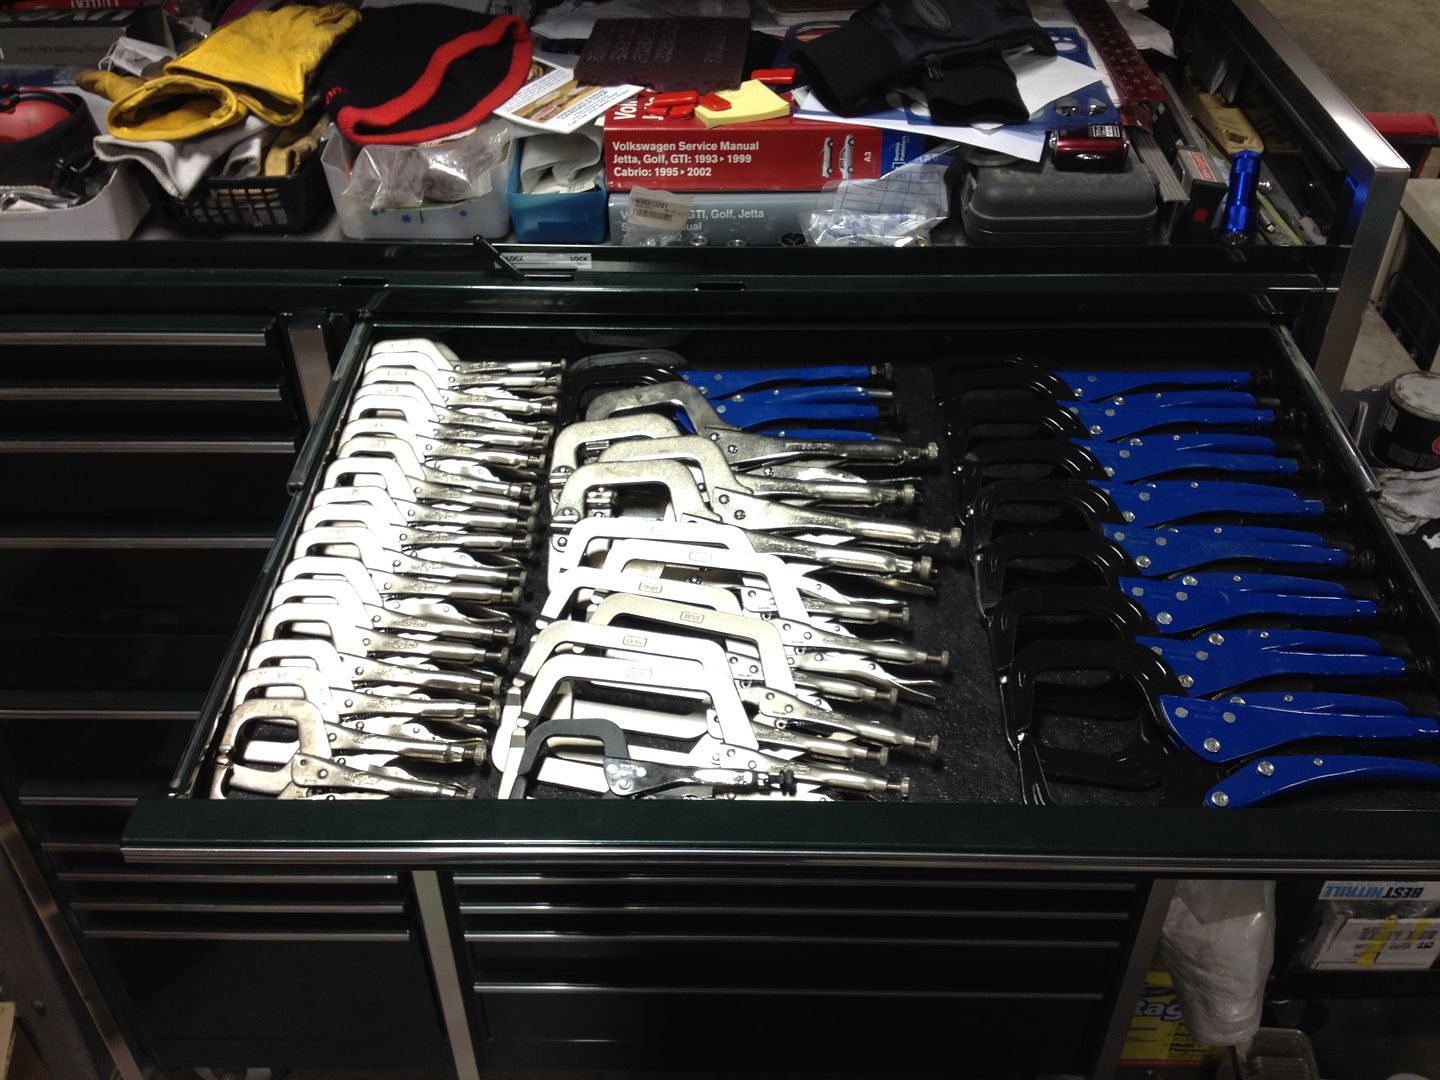
First of all... new tools! I haven't been on the Snap-on truck in over 6 months... but I'm off the wagon. I got a good deal on a whole pile of VGP12412 locking clamps.
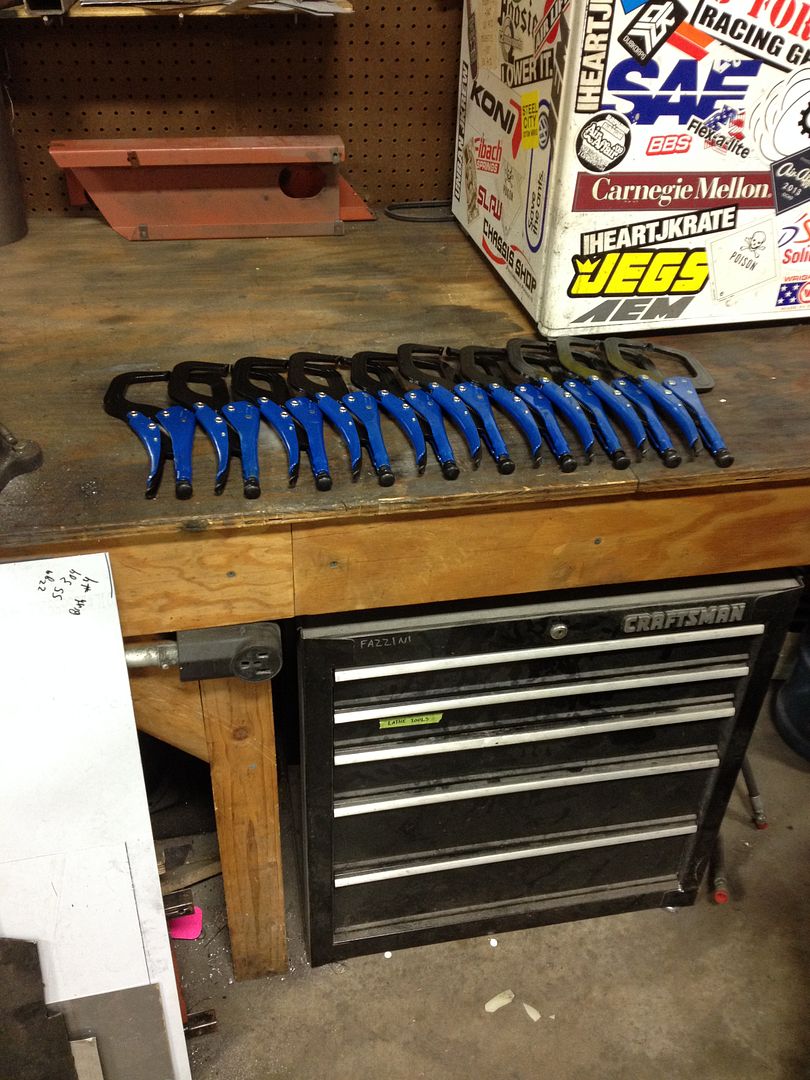
I also bought some Vise Grip 9DR and 6R clamps, an Imperial 3/16" OD tubing bender (for my upcoming brake line bending), and a 6 pack of Great Lakes Edmund Fitzberald.

.... and I bought a few more Vise Grip 6R clamps with a gift card from Lowes

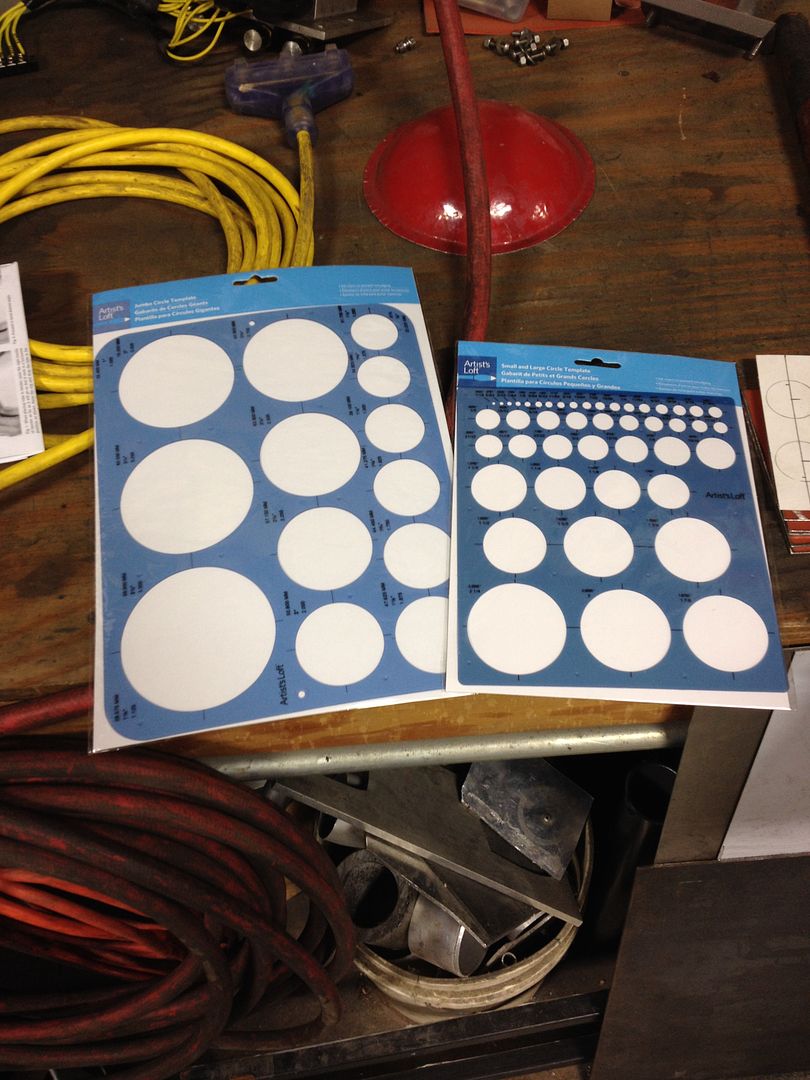
I also picked up some circle templates, I have had my eye on these for years and always forget to pick them up. They were only $5 from Michael's.
So why the hell do I need so many Vise Grips? I have decided to replace the roof in my Jetta with a non-sunroof model.
I started shopping for a clean donor car, and I haven't had much luck so far. I battled the snow to inspect his junker at Millerstown Pic-A-Part, but it's not very clean.

There were a few dents, the most visible was the fist-sized dent above the rear glass.

Then I drove an hour to another junkyard, with my snow brush and microfiber towel handy, to inspect another pile of scrap metal. This one was twice as expensive and twice as dented. It looks like someone played a wicked drum solo on this one.

So the hunt continues. If anyone reading knows of a non-sunroof, non-antenna MK3 Jetta roof available, please let me know.
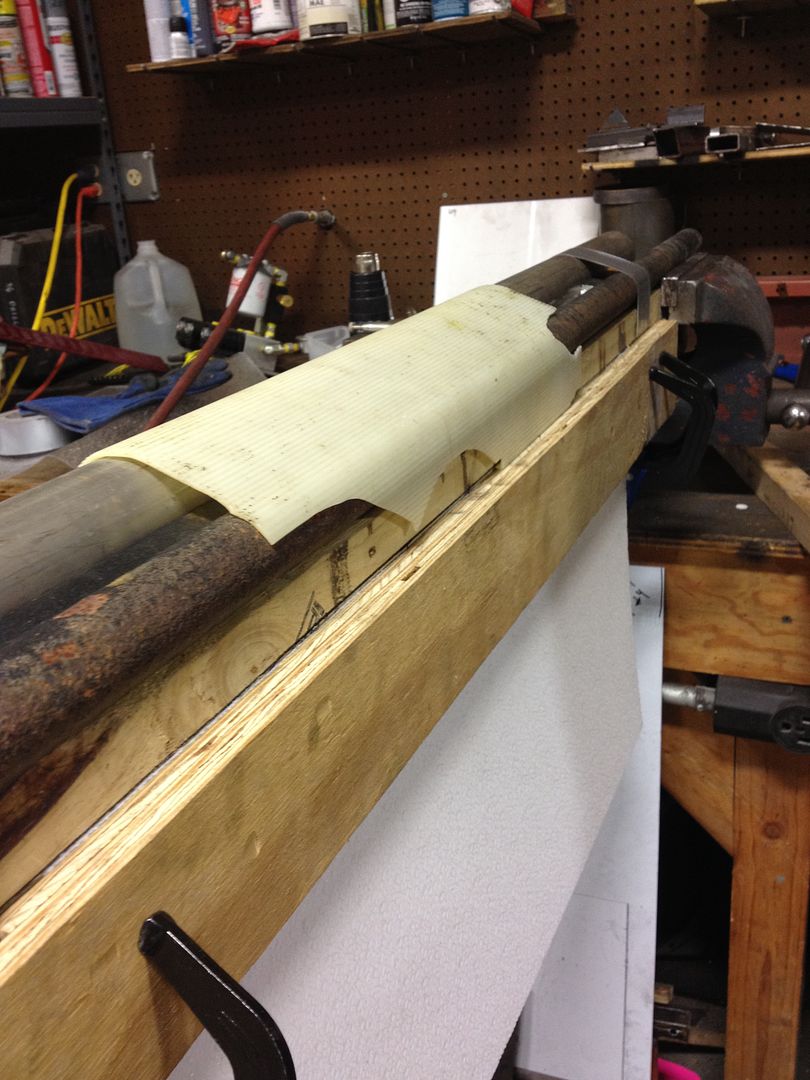
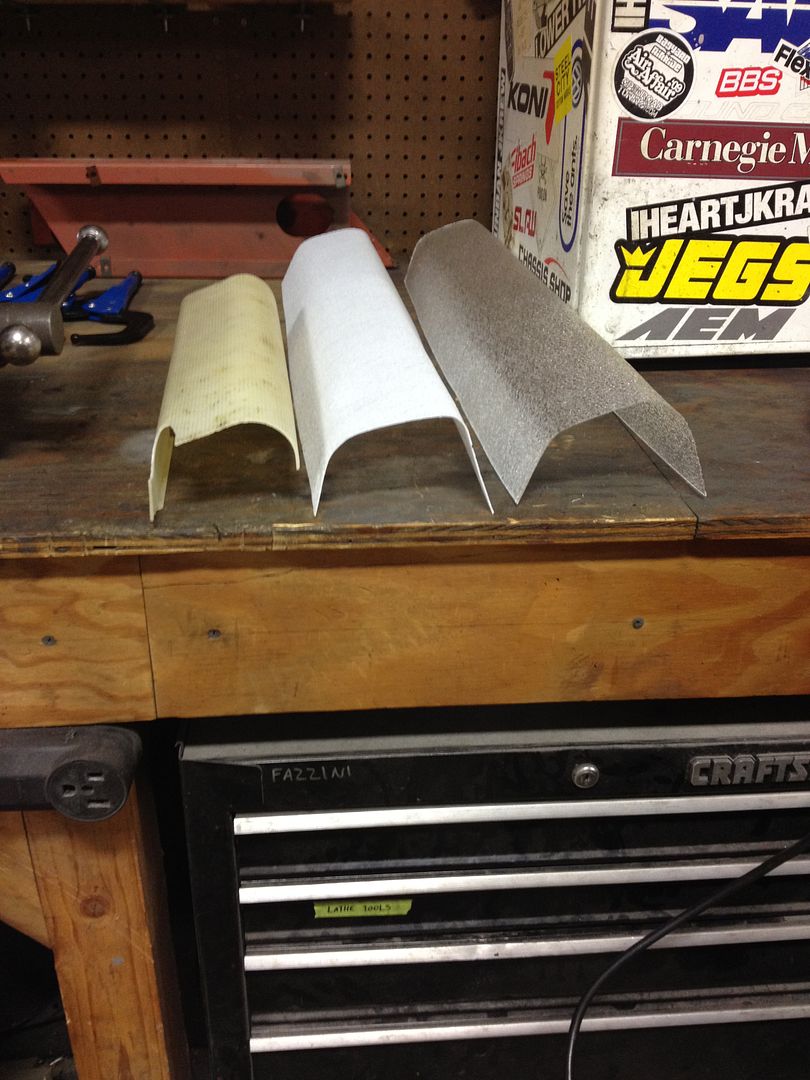
Here is an interesting little side project I tackled last week before Christmas. My grandparents broke the diffuser on their bathroom vanity, and of course the part is no longer available. My dad came out to my shop to bend a new one from clear and frosted flat acrylic.
We built a form from a 4x4 and some tubing that fit the original piece.

We marked the cut lines on the form using the remains of the original piece.

After a few hours with the heat gun, we had two decent pieces. They weren't perfect, but they worked. I might redo these so it fits perfectly.
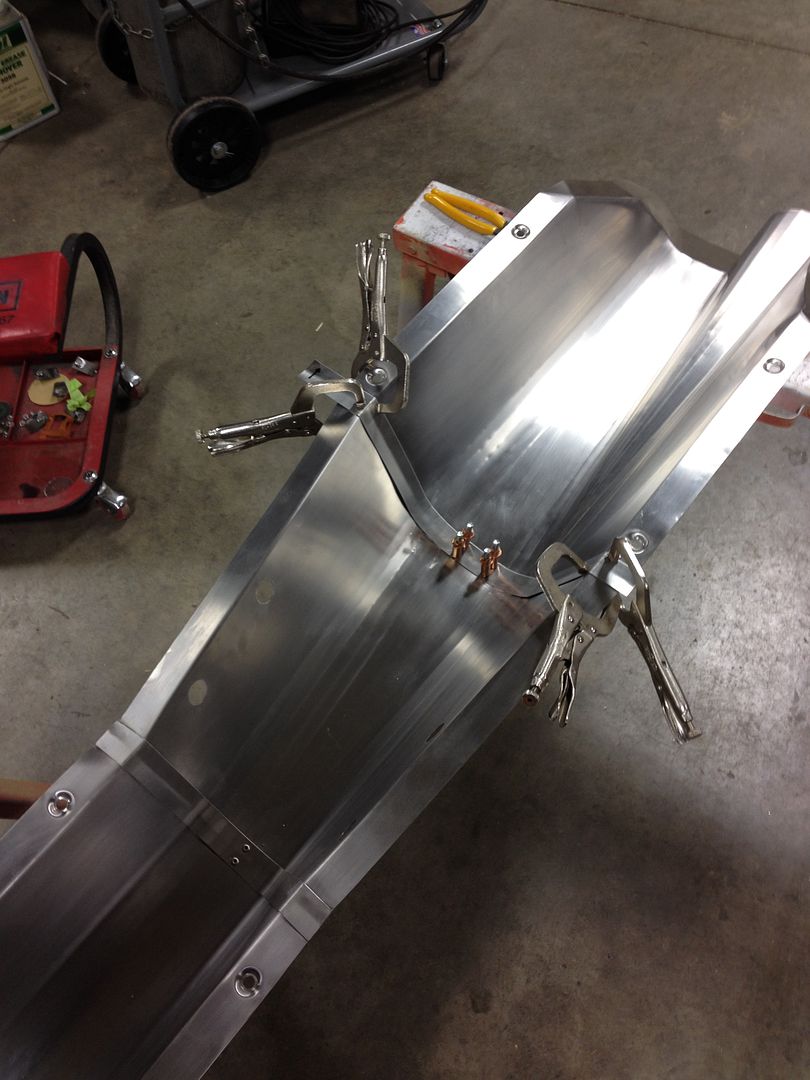
I also tackled a little project for the company I work for. I would rather not say what this is, what it's for, or why I decided to do it myself, but it's a piece of 304 Stainless sheet.
The layout:

Some cuts

Some bends. These were done with the brake, tipping wheel, and hammer/dolly.

The corners are notched and welded for clearance and sealing (this is a drip pan).

Fits!

Merry Christmas! We enjoyed the feast of seven fishes at my parents' house on Christmas Eve.

I spotted this old Pontiac cruising on the highway. I love the "Survivor" patina!

Another totally random task I completed was straightening out this hose fitting. I went to wash my car, and discovered that somebody had smooshed the hose. I tapped it back into shape using a hammer and dolly.
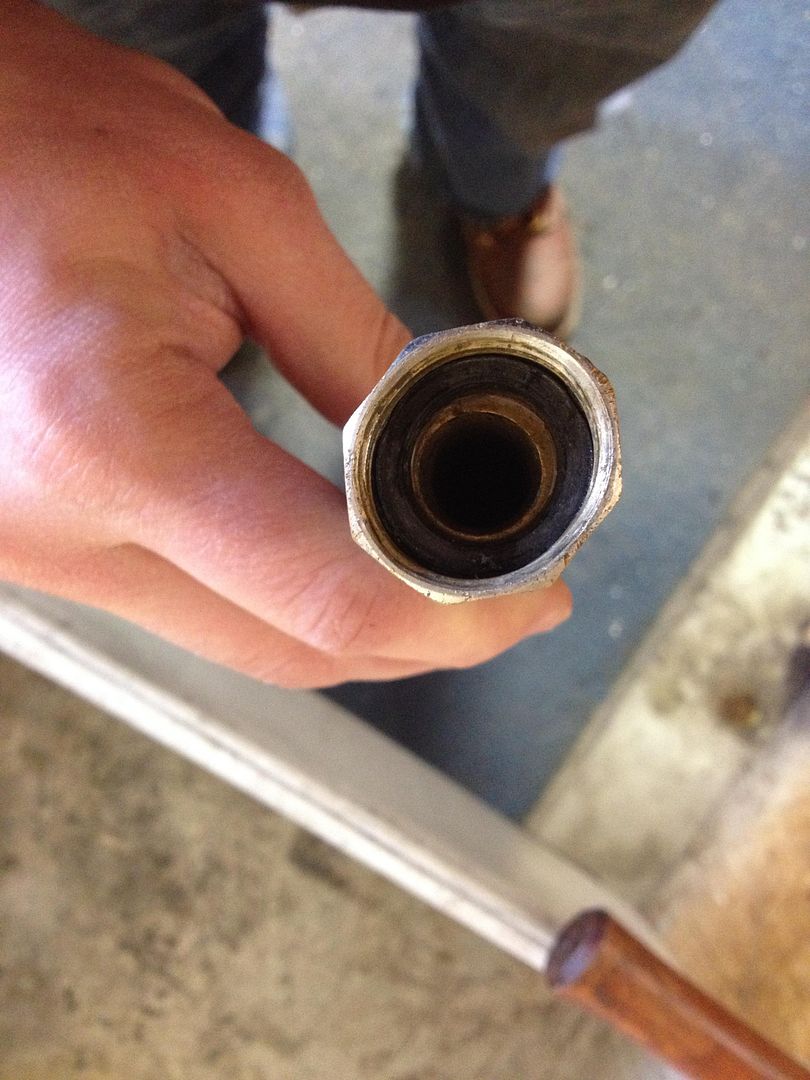
Perfect fit and leak-free!

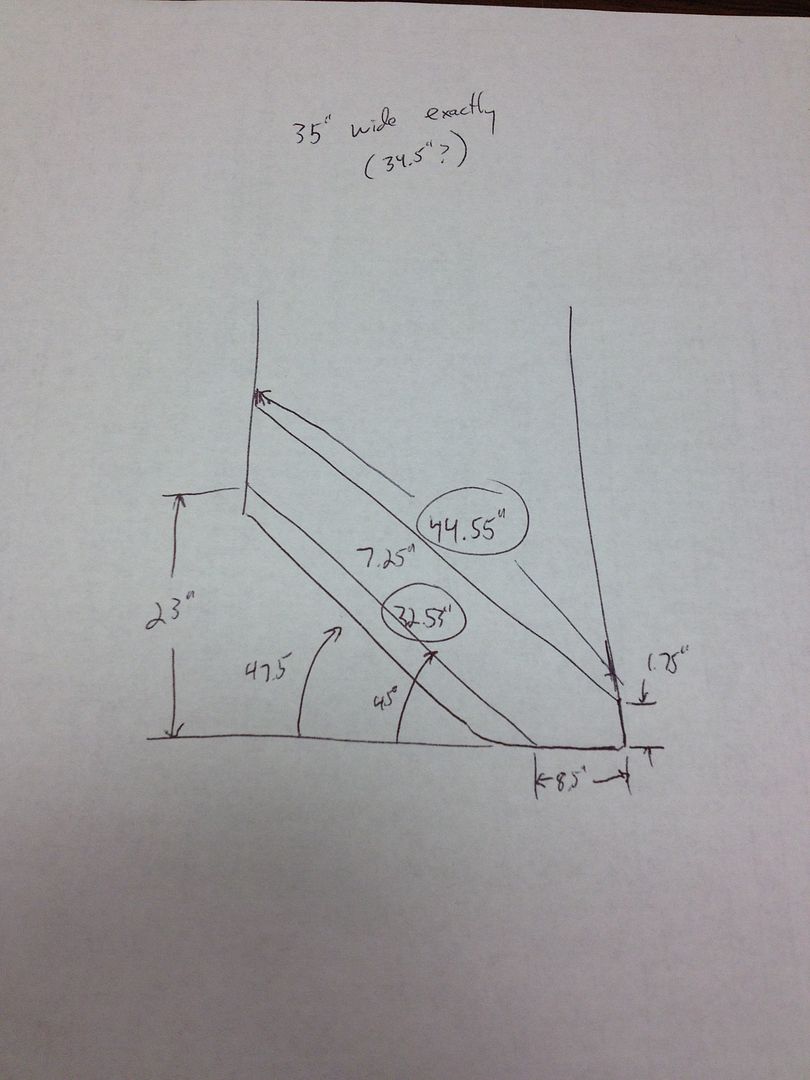
For my Christmas gift to my grandparents on my Mom's side, I made them a set of attic access steps. They have used various sketchy methods over the years to gain access to their attic, but this set of steps will help them get up a little easier.
I took some measurements at Thanksgiving and did a little bit of math to layout the stringers.

The four people who will be using these the most - my Grandma's husband, my Uncle Rich, my cousin Mike, and the Orkin man - are all big heavy dudes, so I decided that wood wasn't going to work. I scavenged some steel tubing from the scrap bin to use for the rungs.

If it's worth doing, it's worth doing right! I lathe turned all of them to the same length. I don't have 36" dial calipers, so I had to settle for tape measure accuracy. 31.25000.

I found some expanded metal laying around that was leftover from a previous project, so I bent it around some tubing to use for traction on the rungs.

I clamped up a welding jig so all three stairs would be identical.

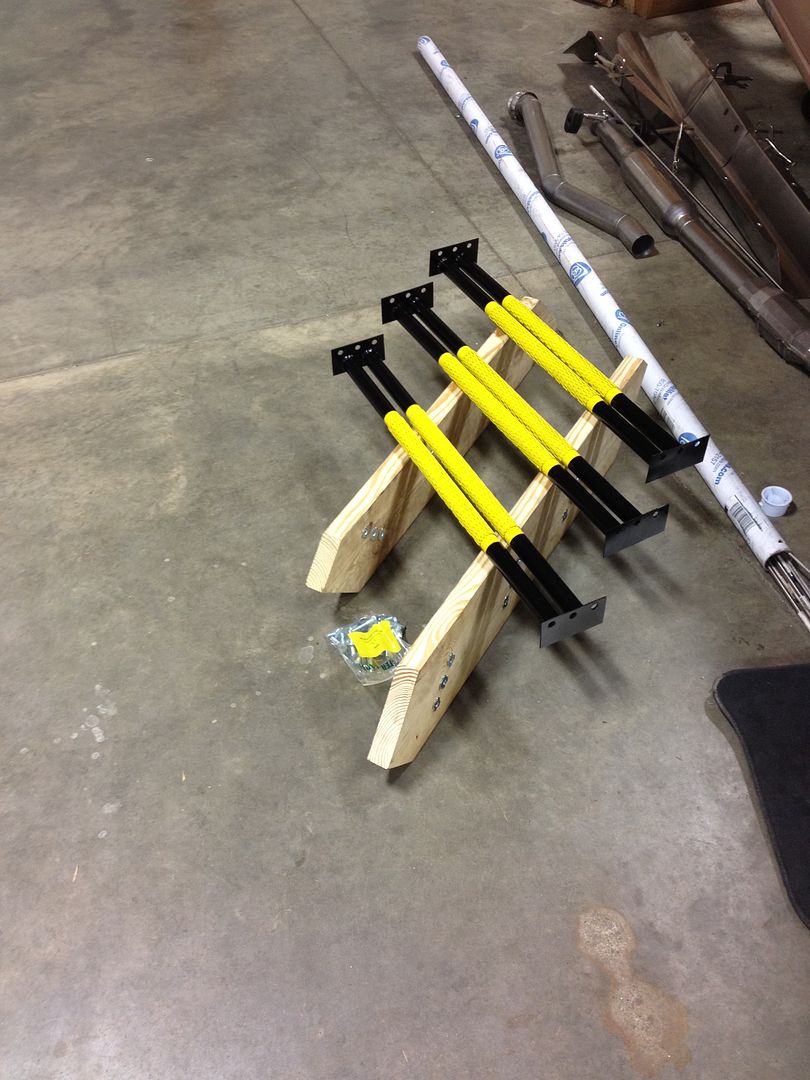
I used 3/8-16 tee nuts into the wood and Grade 5 bolts to hold everything together. Before finish welding and paint, I assembled this mockup.

Safety yellow!

My paint scheme turned out a little louder than I had planned, but I didn't want to buy more paint! All ready for installation:
I assembled them into the closet where they live. The stringers are a tight fit against the walls on all 4 sides, so these are just wedged in place with gravity and brace against the inside of the closet door jamb. These should be pretty sturdy now!
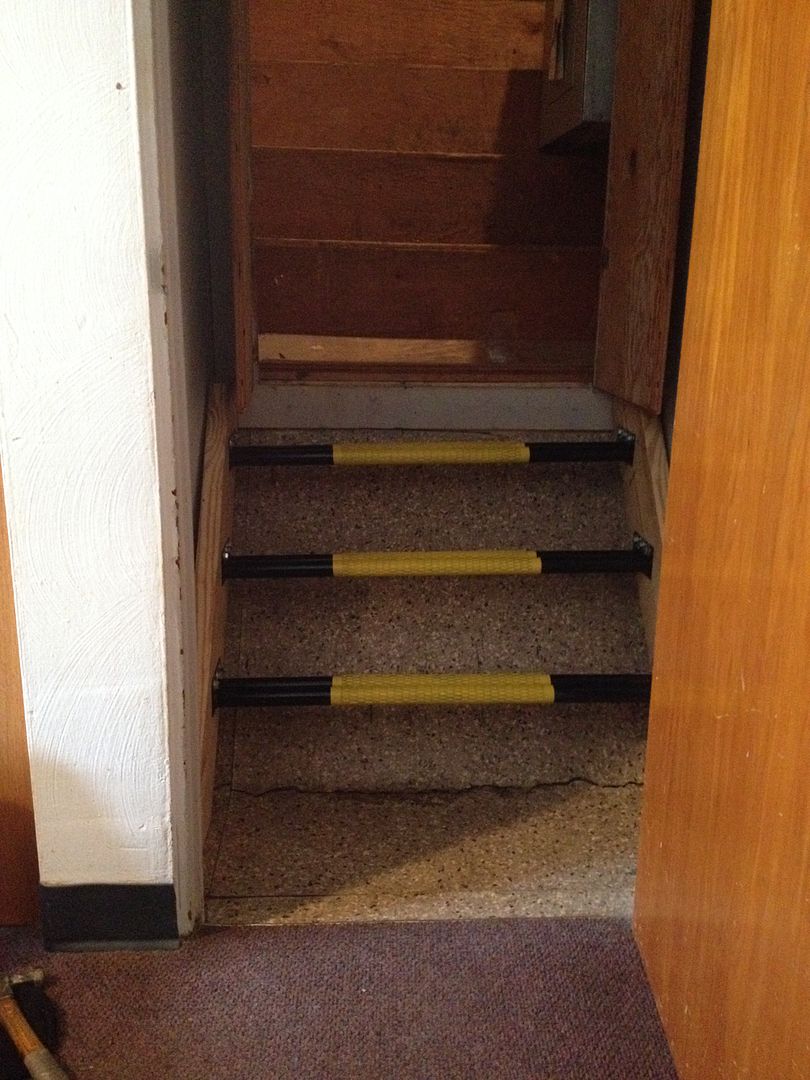
6 Grade 5 bolts per step!

I received some new floor mats for Christmas, I would say it was time to replace these!

So after a couple weeks of these random projects, I got to work on the Jetta again!
I drilled the mounting holes in my catalytic converter heat shield. I forgot to snap a pic of the hardware, but this will bolt in place. I decided not to weld it directly to the cat, since this piece is ~1/2" from the ground I don't expect it to last forever.

I decided that the weld joints on my main heat shield were just too ugly to leave alone, so I bent up some trip pieces to cover the seam. These are riveted in the center (which are hidden above the exhaust pipes), and TIG welded along the ends.

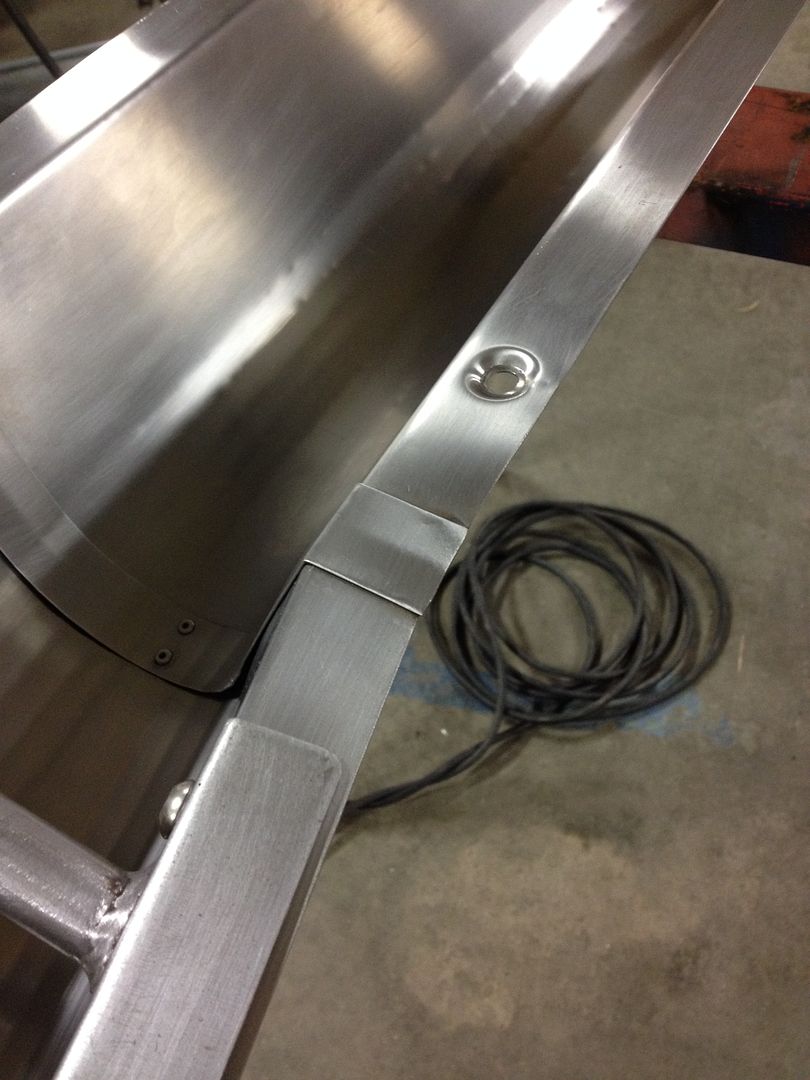

All done!

My next project will be plumbing: brake lines, fuel lines, power steering lines, and hydraulic lines. Almost everything will be 304 stainless steel seamless, annealed tubing with 37º AN/JIC single flares.

I ordered fittings and a fuel filter from Summit.

I started with the power steering return line in 3/8" OD .035 wall stainless. It comes out of the rack and into the frame rail through a bracket that Chris D'Eramo and I made a few years ago. I feel silly typing that, but it really was a few years ago!

Next is the power steering feed line. This will come from the power steering pump into the rack, but I'm starting at the rack side.
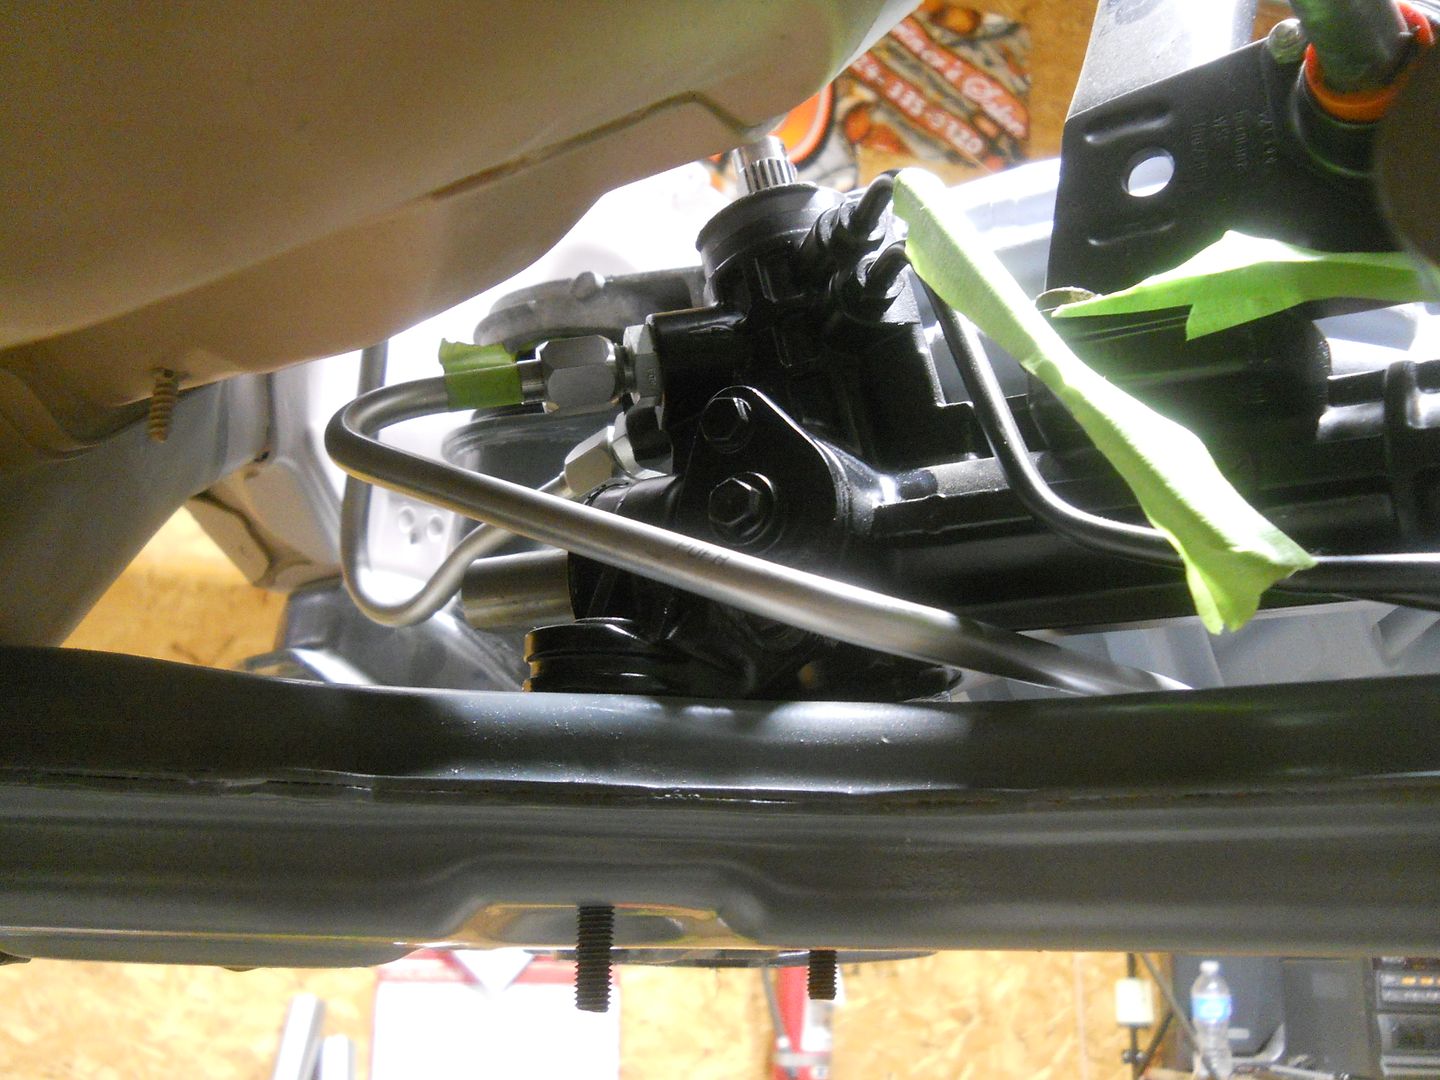

This is where the hardline will mate with a soft line, so that the engine can vibrate without cracking the solid stainless tubing. I will need to make a bracket for support.

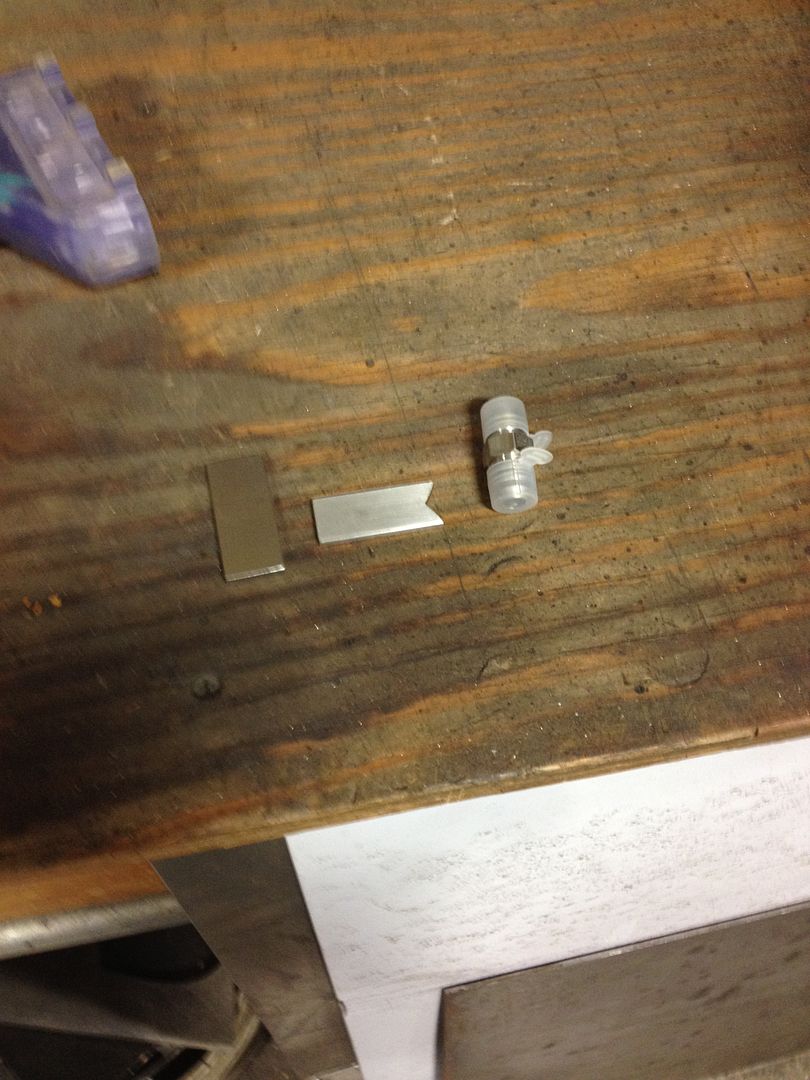
I marked up some 1/8" thick 304 stainless plate.

This will make a bit more sense once it's welded, but this bracket will weld directly to the 3/8 stainless M-M -6 JIC union and bolt to the subframe.
That's all for now! Back at it tomorrow.
No comments:
Post a Comment