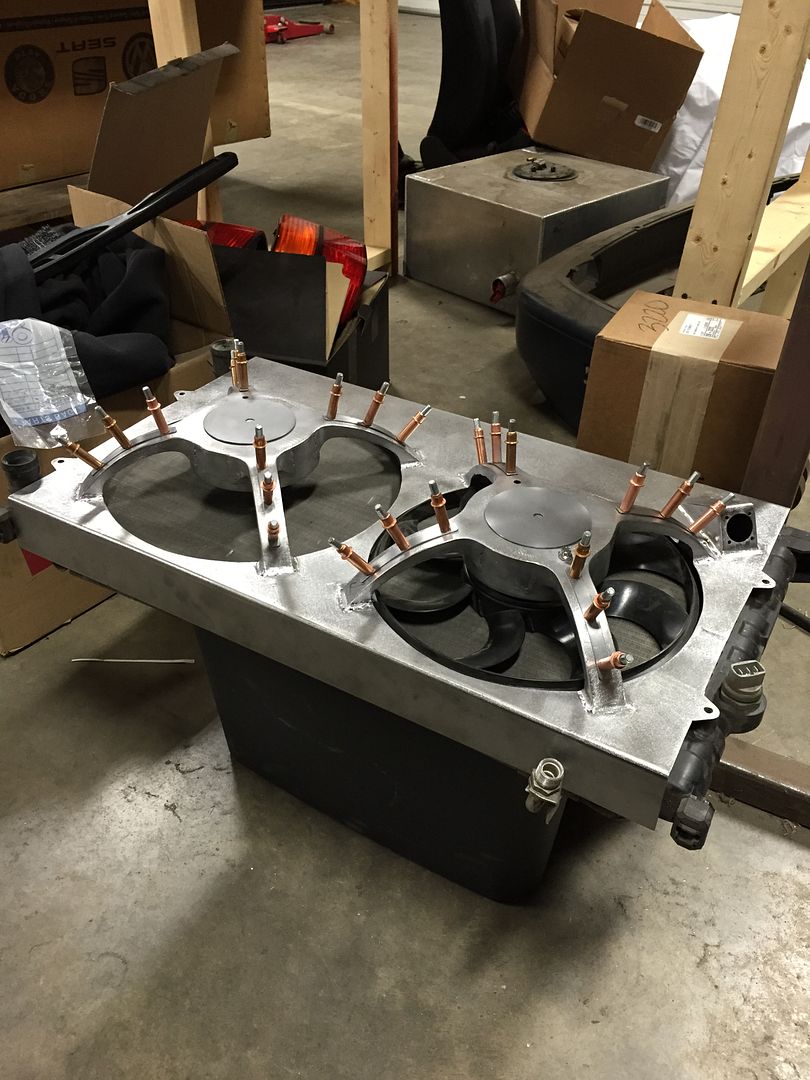
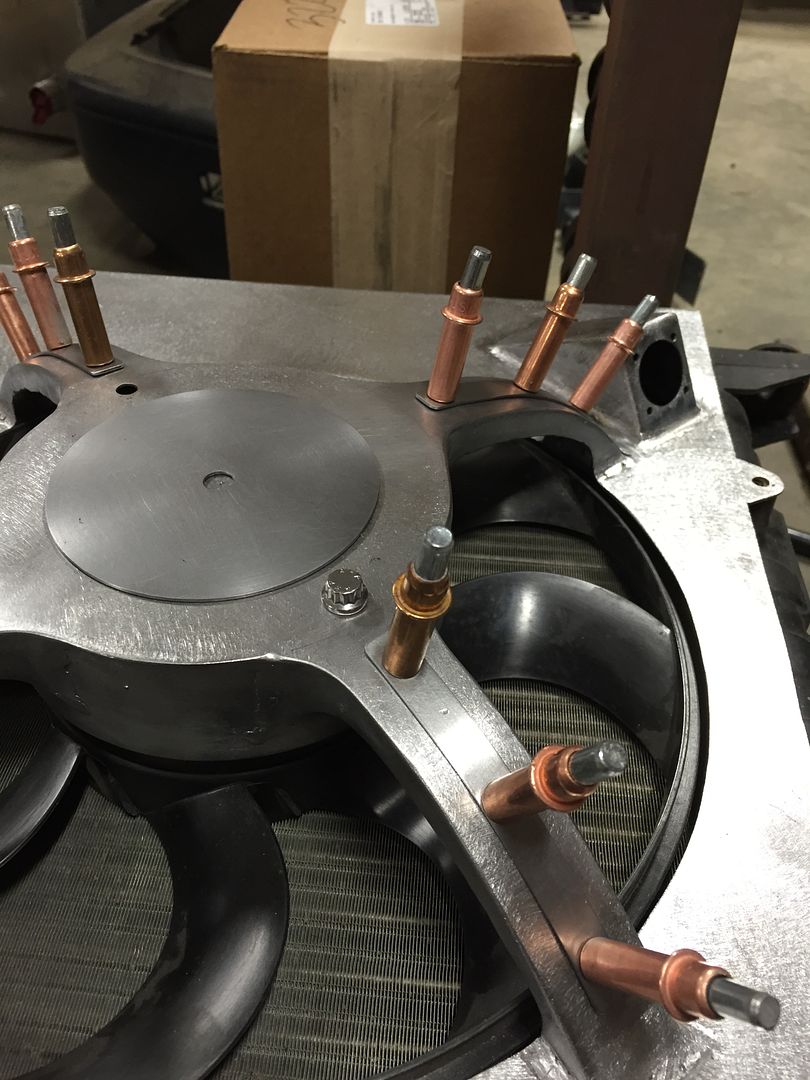
I did a little more work on my fan shroud this weekend. I started thinking about it, and couldn't remember exactly when I started building this thing. I knew it had been a while, but I started digging to find some actual dates. It started on April 29, 2010 as a few emails with my friend Chris D'Eramo debating the design details, then I uploaded this picture on May 1! I started this piece 4-1/2 years ago. My sheet metal skills have definitely improved since then, so I've revisited some of the construction.
When I left off, I had finished the fan mounts, but they were still not welded to the plate.
They closed up a little bit during my last welding operations, so I had to straighten them out a little bit!
Fast forward a few steps - the fan mounts are welded into the plate and all of the welds are ground. To minimize distortion, I laid a bunch of ugly, cold MIG tacks and ground them smooth. I originally wanted to have Bill Lewis TIG it up, but I wouldn't be able to manage the distortion on such a thin, flat plate.
The big wide open areas looked a little too plain, so I decided to add some ribs to break it up. The plan is partially shown here in white paper.
I'm getting greedy now, shearing sheet metal to 3 decimal places! Each piece is tailored to the width and taper in each leg of the fan blades. If I cut all 8 the same, the proportions would be off on the legs that are slightly wider or slightly narrower than the average.
I also made some round plates for the center of the fan mounts, just to add something to break up the big flat surface. I needed two 3" diameter 18ga steel plates, so I cut them into octagons in the shear and rounded them off in my lathe.
To bend the ribs to their shape, I cut a wood fixture. Every once in a while I get to use my first real hammer - this Stanley steel-reinforced claw hammer was a gift for my 9th birthday!
I pressed each of the 8 ribs to match the curvature of the fan mount legs. I guessed pretty close on the amount of over-bending required, they all fit pretty well. You can see the desired radius marked on the lower wooden plate, it's slightly wider than the radius cut into the fixture.
Fast foward a few steps, I mounted each of them in their spot and drilled for Cleco clamps. I'm going to plug weld these in place to preserve the edges.


No comments:
Post a Comment