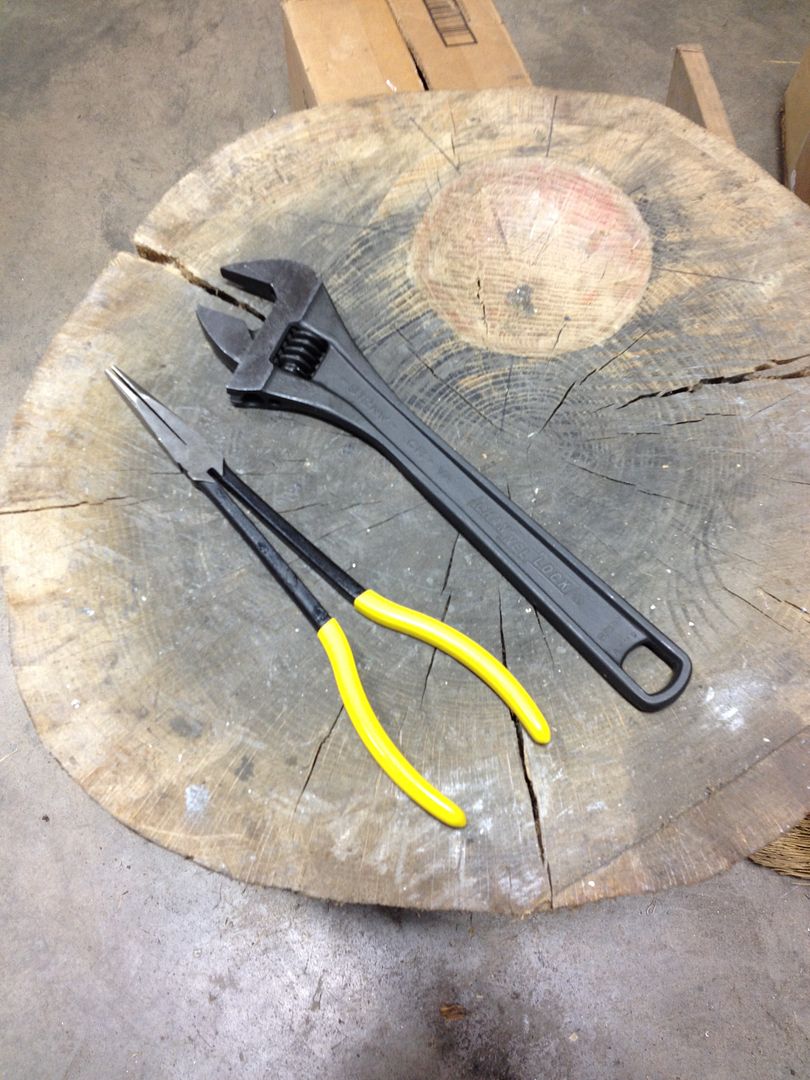
New tools! Klein 11" straight needle nose pliers and Channellock 12" adjustable wrench. The adjustable wrench is made in Spain, I believe by Irega, and it's a really nice piece. The Western Forge adjustable wrenches (Craftsman and most others) aren't really nice anymore, Crescent is made overseas, and the Snap-ons are overpriced rebrands. I'm really happy with these, and the price wasn't bad either.
Supplies! Walgreens had all of the weird color sharpies and white posterboard marked down, so I stocked up. These Metabo cutting discs are the best I have ever used. The extra cost is well worth it because they last and cut so much better than most other brands.
Back to work. I had to weld up a hole in the bedside, which was really easy since the door jamb was all cut out. The bedsides on this truck are 16ga, which is like welding structural steel compared to the VWs I'm used to working on!
All welded and ground. It's not as well done as I hoped considering how easy this patch panel was, but it will do.
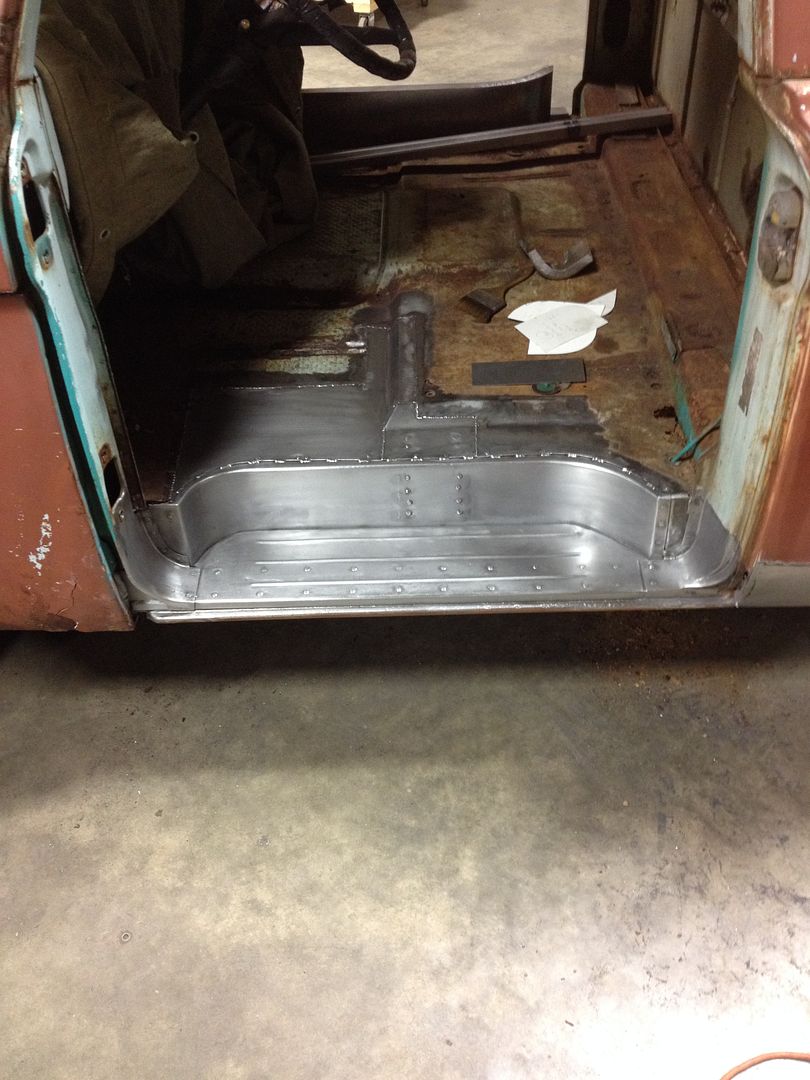
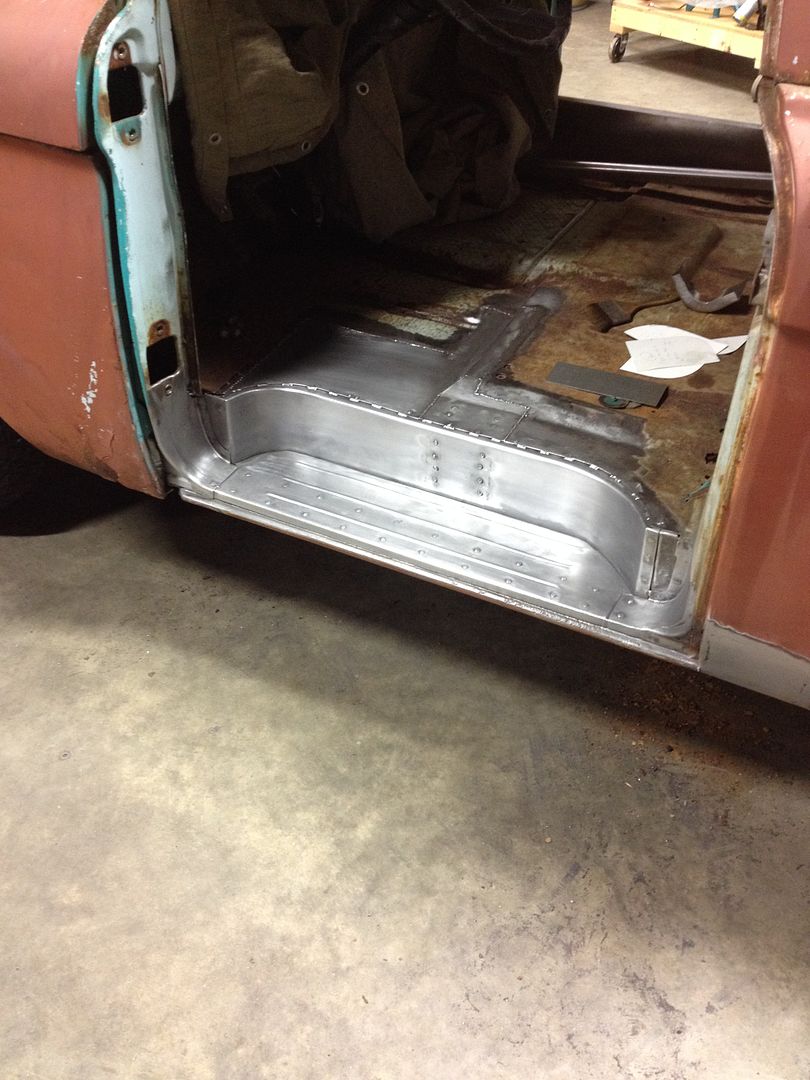
I finished welding up the floor patches and step plates, so now I just have to make the curved transitions into the A- and B-pillars.
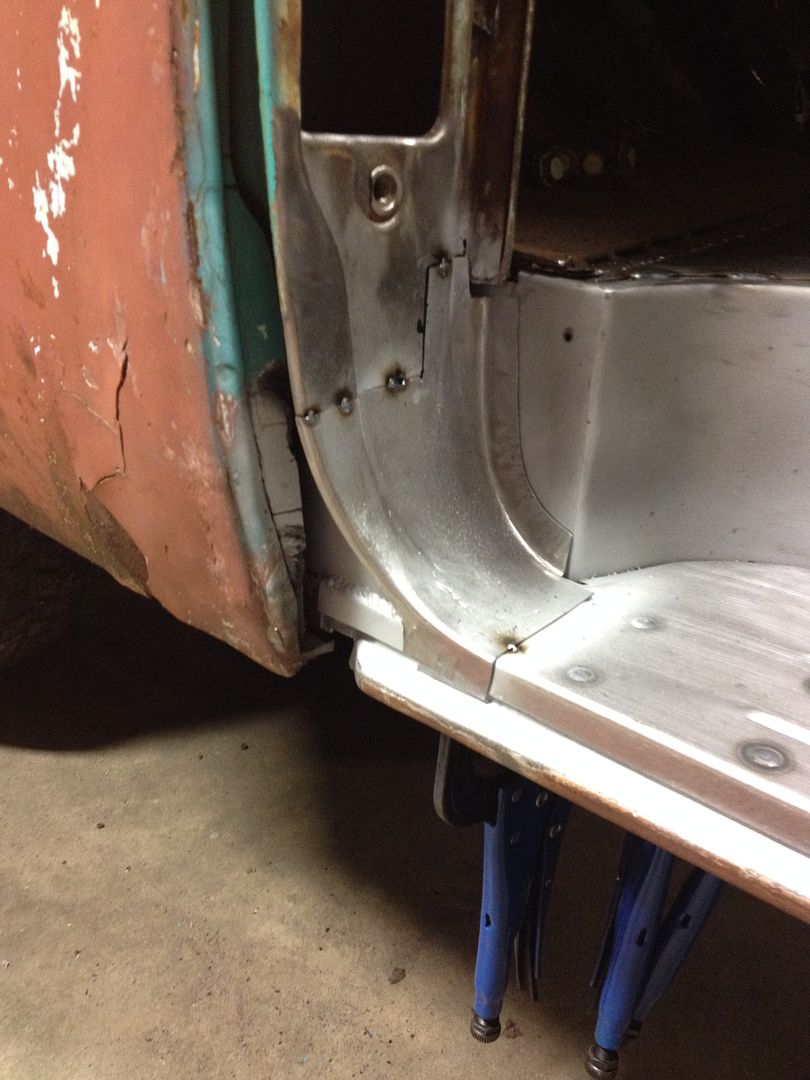
I made the forward piece in two pieces, you can see the seam down one of the steps.
Tacked
I made the rearward curve in two pieces as well. This is the first piece. It took me two attempts to get this one right, it's cone shaped so I had to stretch the outboard edge quite a bit.
I skipped a few steps because I was into it and forgot to take pictures, but I made the second piece with the shrinker and some hammers. The seam runs along the convex edge, it has been welded and ground to match the factory bend radius.
After welding in these pieces, the drivers side is complete.
Now onto the passenger side. This should go a bit faster since I already have the panels made, plus the floor doesn't require any patches on this side.
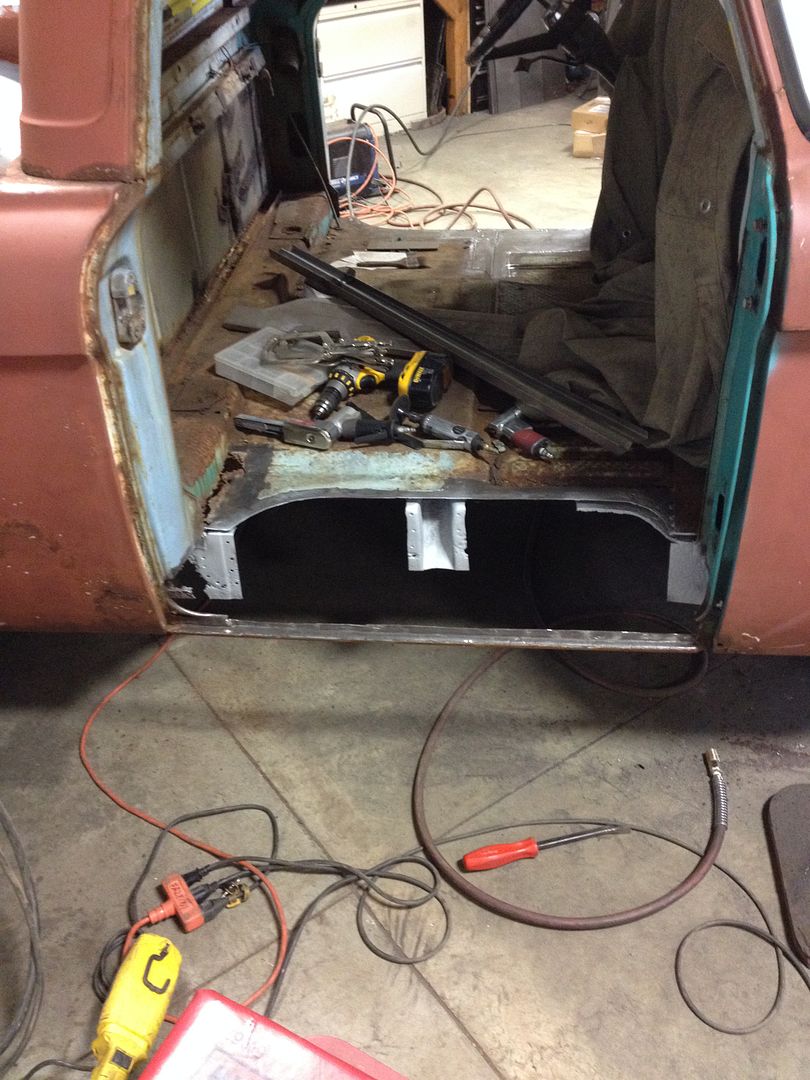
All cut out
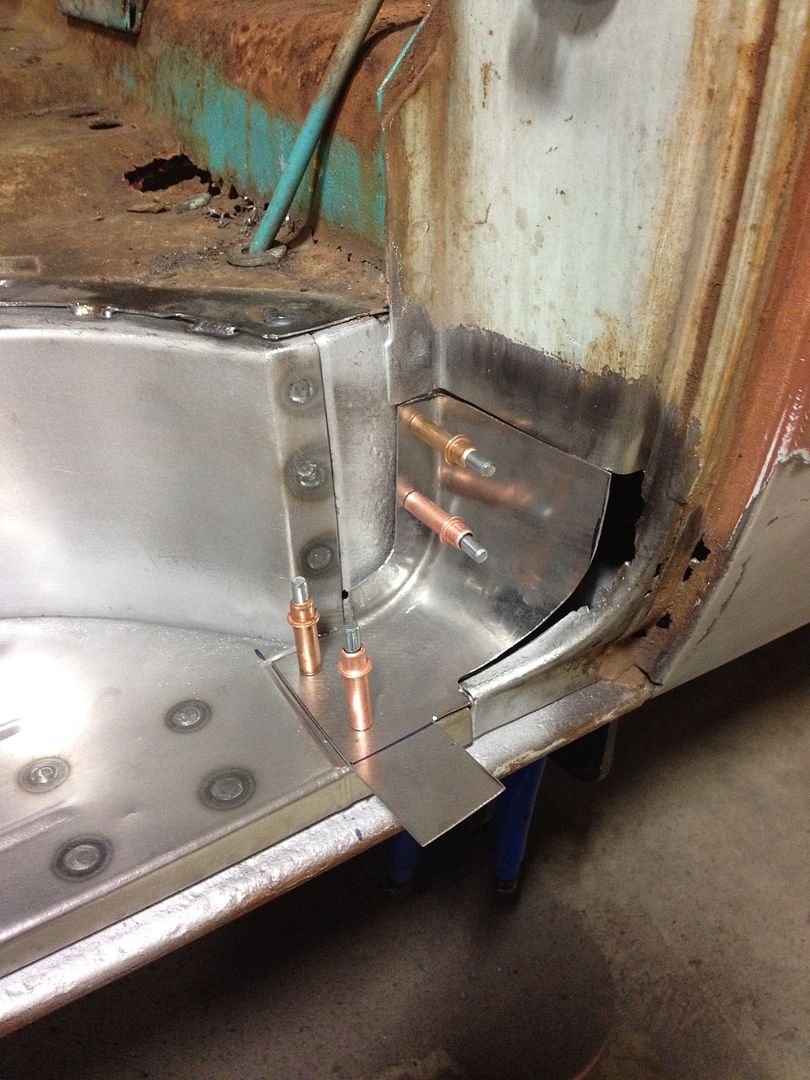
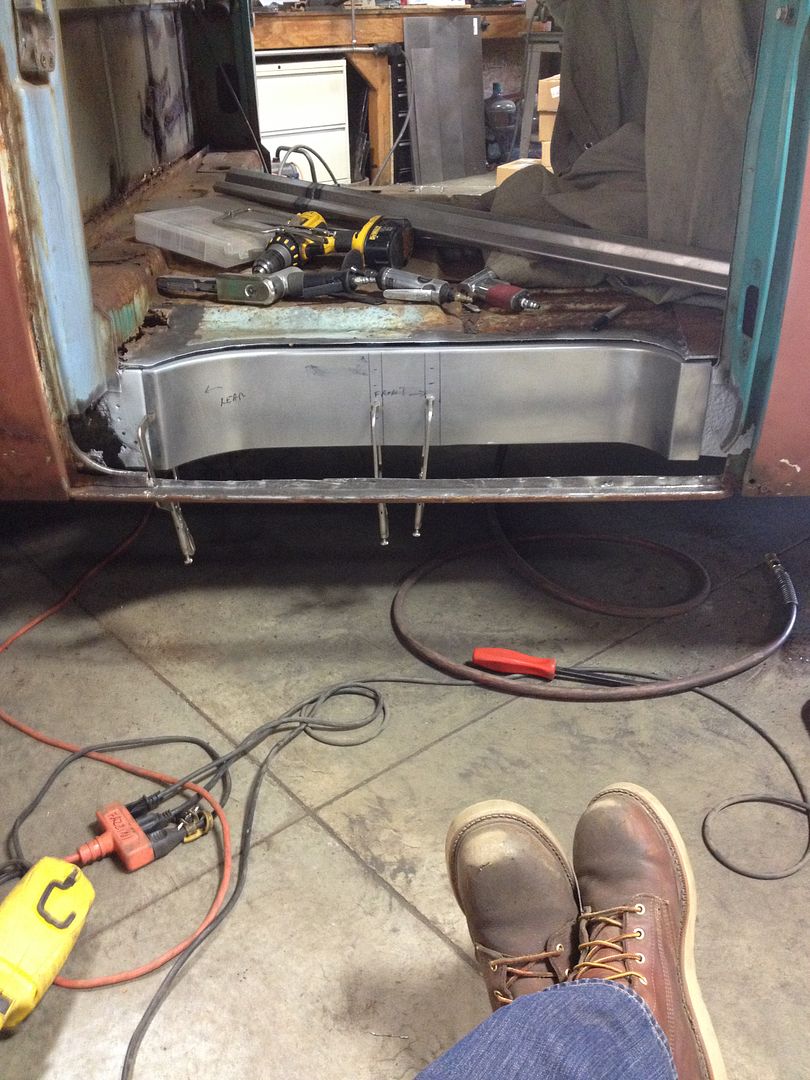
Here is where I left off tonight. The rocker is welded in and ground smooth, the step plate and kick plate are just cleco'ed in place. I'm going to double check my measurements, test-fit the door, and then weld it up.
This project is eating a lot of consumables! This photo doesn't include MIG welder tips, Turner's tea, or coffee. To be fair, some of these discs weren't quite new, I cleaned out my supply drawer and used up all the half-used discs.






No comments:
Post a Comment