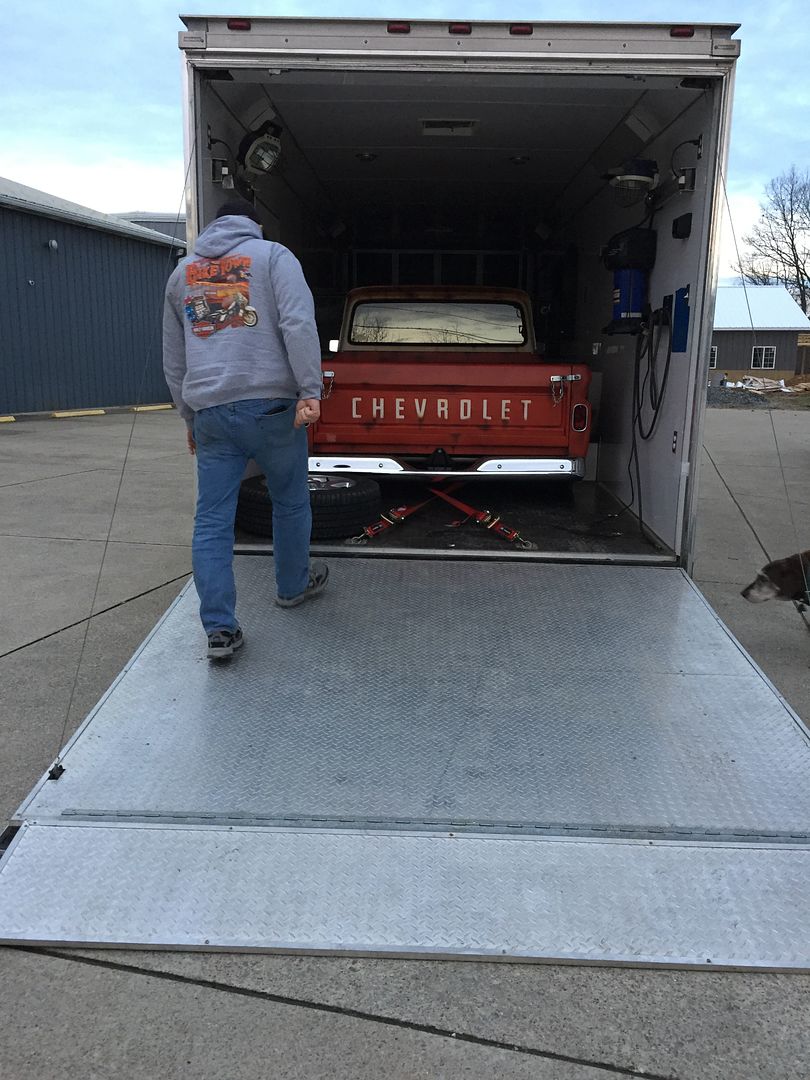
I just finished up another project with Fort Pitt Classic Cars. They're working on a 1931 Cadillac LaSalle, the waterpump and/or generator had failed. They called and handed me a broken nut and mangled spring-steel coupling that connects everything.
Here are the parts. The coupling, in the foreground, had broken half of the spring-steel plates that are used to transmit rotation from the generator to the waterpump... or something like that. I never saw the entire assembly, but this was all I needed to get it fixed up.
After taking a bunch of measurements, I determined that it was a 7/8-20 UNEF left hand thread. The male threads also had a reduced major diameter, and it may have been tapered slightly - it was difficult to tell since everything was so mangled; the original nut was split!
The first order of business was to create a plug gauge for the threads. Since the male threads weren't in great shape, I decided to make a gauge so I could check the nut. This is my first time running single-point threads on my old Jet lathe, but it turned out alright!
The surface finish isn't great, but I think it's still better than the 1931 originals!
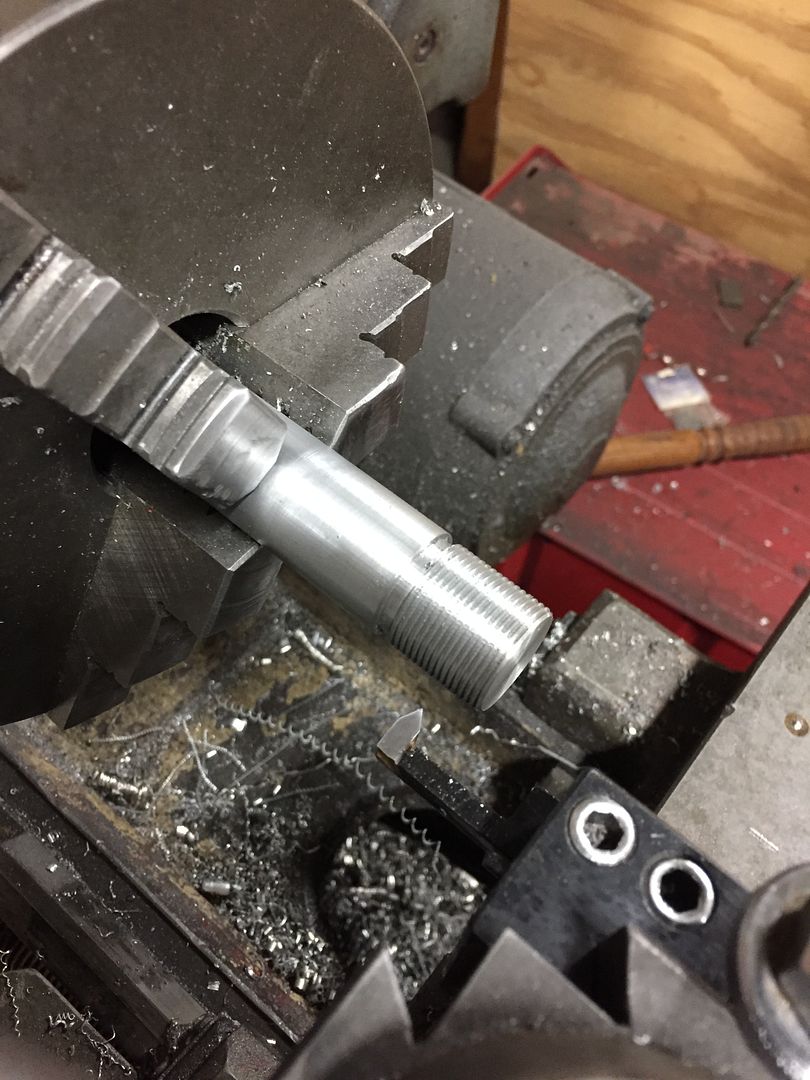
Perfect fit.
Next up was the nut itself. I bought a piece of 4140 alloy steel 27mm hex stock, which is very close to 1-1/16" hex, and prepped it with a bore and undercut. Again not the most beautiful surface finish, but I was happy with the results.
And here is the finished nut! This face clamps the gear, so it's nice and flat and concentric to the threads.
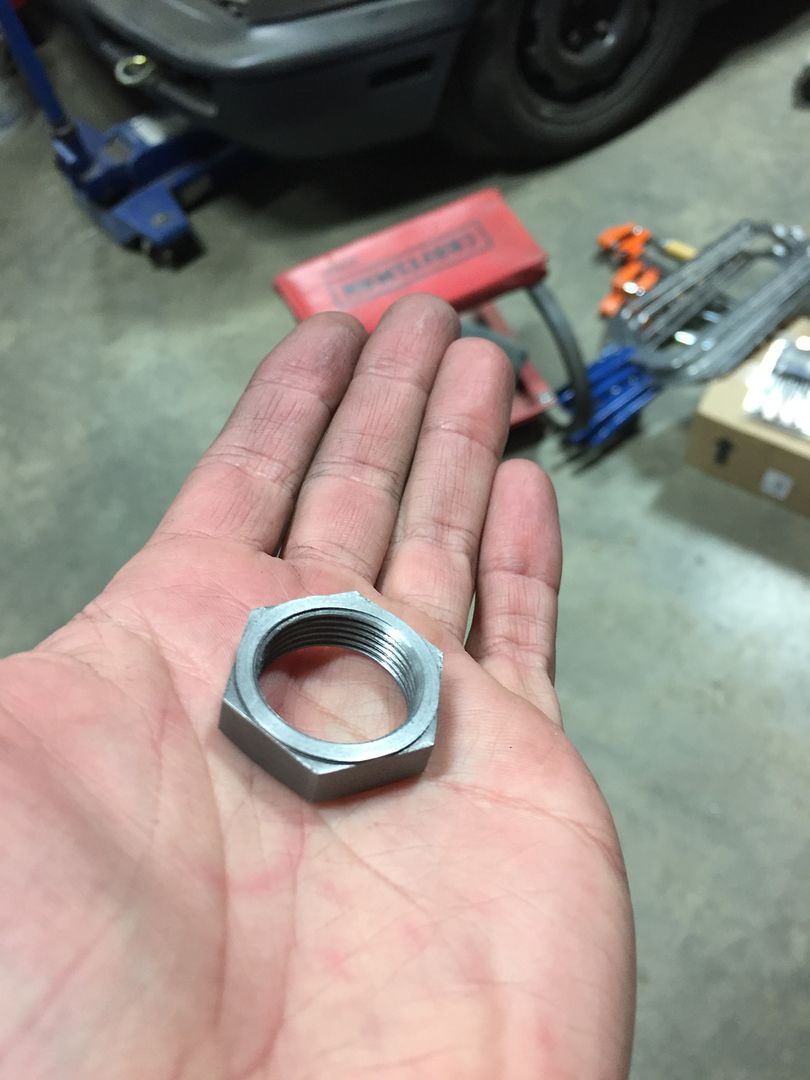
I added a chamfer on the front side, which isn't critical, and re-cut the face since it wasn't great from the part off tool.
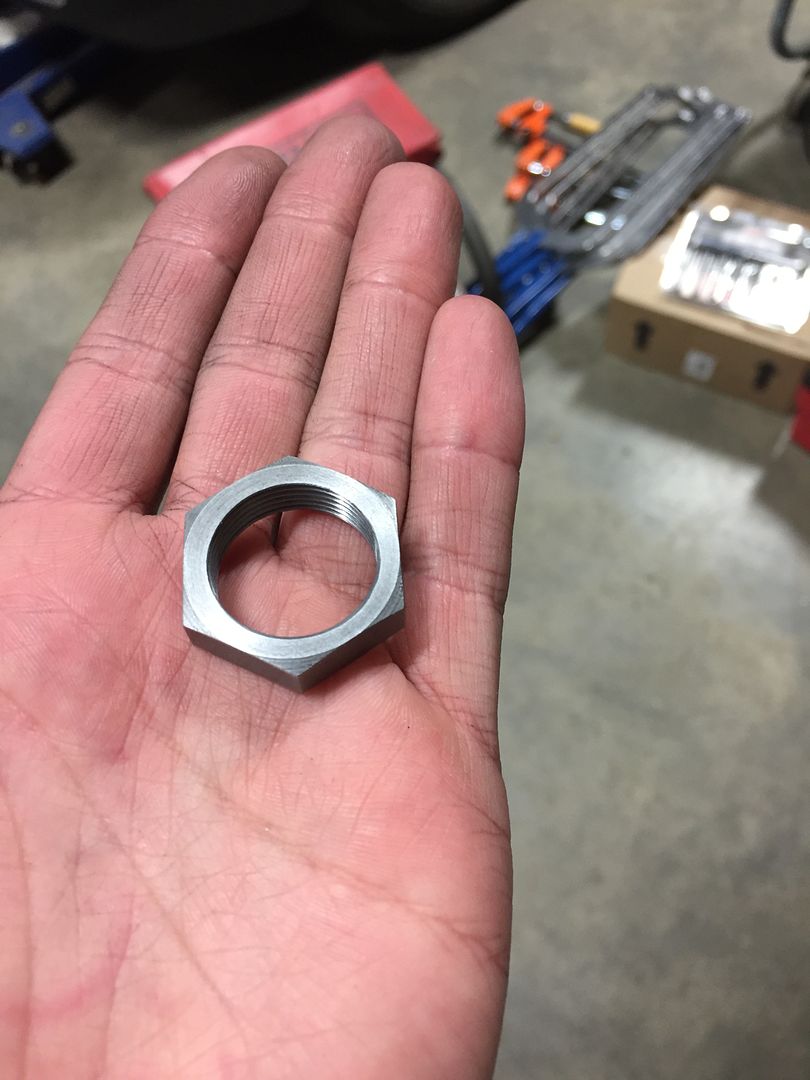
Perfect fit!
After cleaning everything up and replacing the spring-steel blades, here is the aftermath. I'll deliver it tomorrow!
I reminded myself of the last few times cutting threads on a manual lathe. The most recent time was a pivot screw for my power steering pump bracket. The original bolt is an M11 shoulder screw with M10 threads, which certainly does not exist in stainless. I made my own using an M12 bolt as a donor. I turned the shoulder down to 11mm, re-cut the underhead area perpendicular, then I cut the M10x1.5 threads. This was on one of Woody's lathes, which is an English threaded machine, so I couldn't disengage the half-nut the entire time. I also had to get it started, feed in once the tool passed the live center, cut the thread, and feed out before it crashed into the shoulder! It was pretty crazy, but I got it done. This was around 2014ish.
Here is the finished product in the foreground, the donor screw in the center, and the original boring plated steel OEM bolt that I copied.
The time prior to that was an M12x1.5 thread on the Koni strut inserts I shortened for my hydraulic suspension setup, way back in 2007. Again I was cutting a metric thread on an English machine and couldn't disengage the half-nut, plus I had the added complexity of matching the lead of the existing thread! Again it turned out alright, but it was certainly terrifying at the time!
I need to come up with some easier lathe-threading projects next time!
Sunday, March 26, 2017
Sunday, February 19, 2017
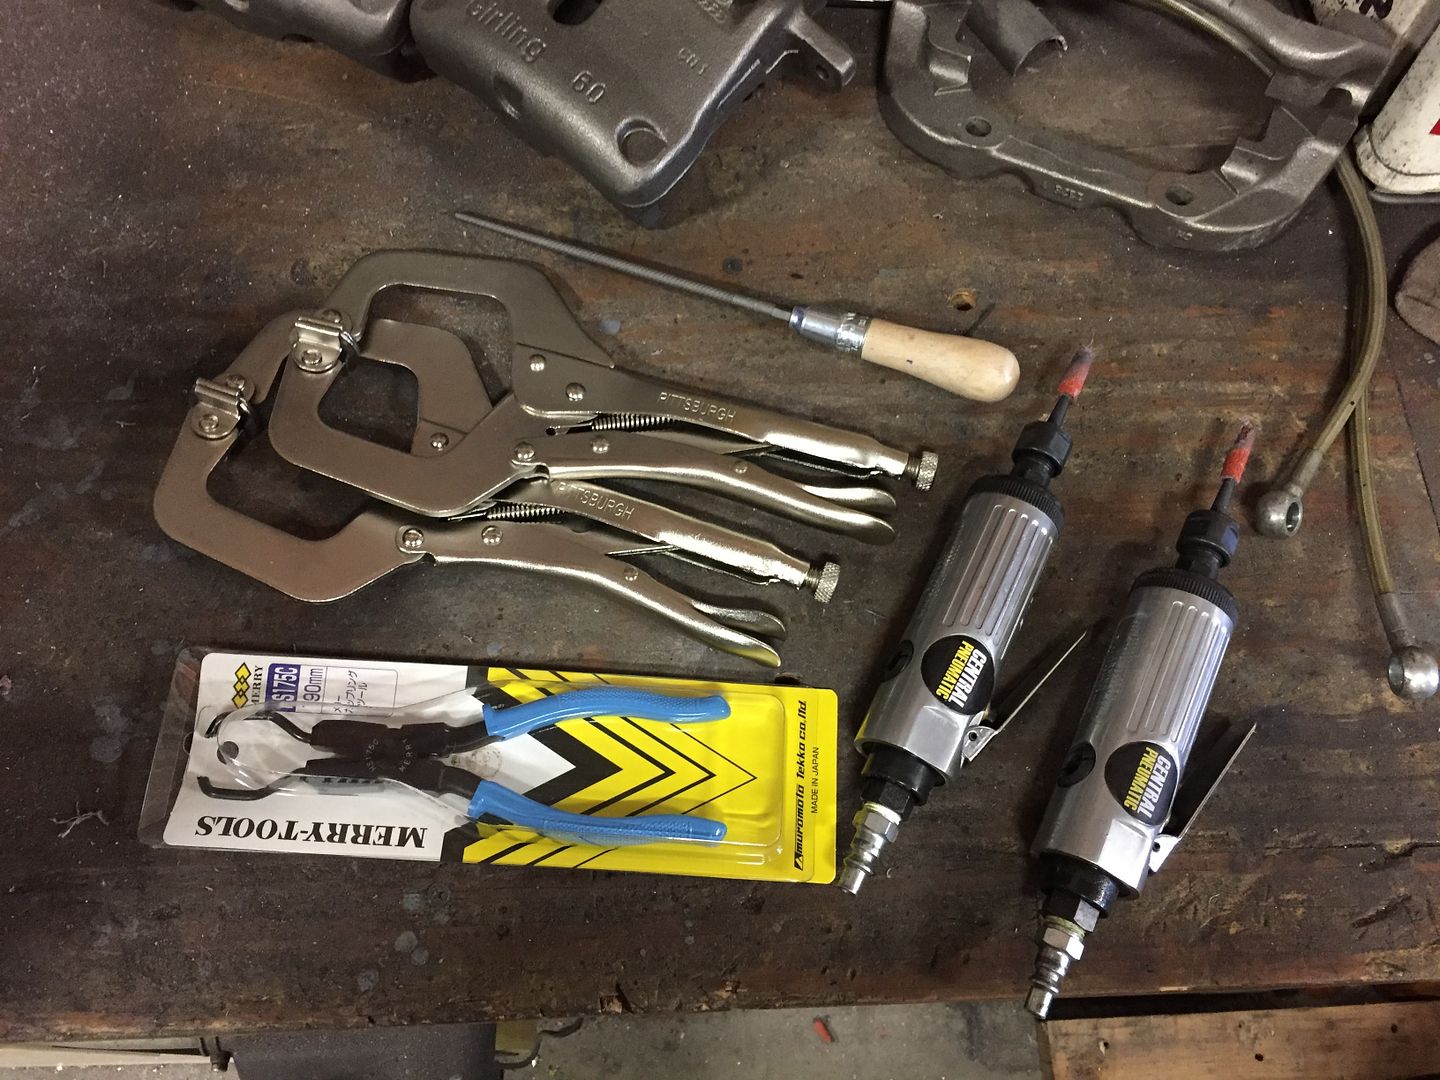
Before I continue, new tools! Jimmy bought me a pair of Merry connector pliers, I picked up a 6" fine cut round file, and I bought a few more cheapo die grinders from Harbor Freight. I also bought two more clamps, because you can never have enough clamps.
When I left off, I had been smoothing my rear brake caliper carriers.
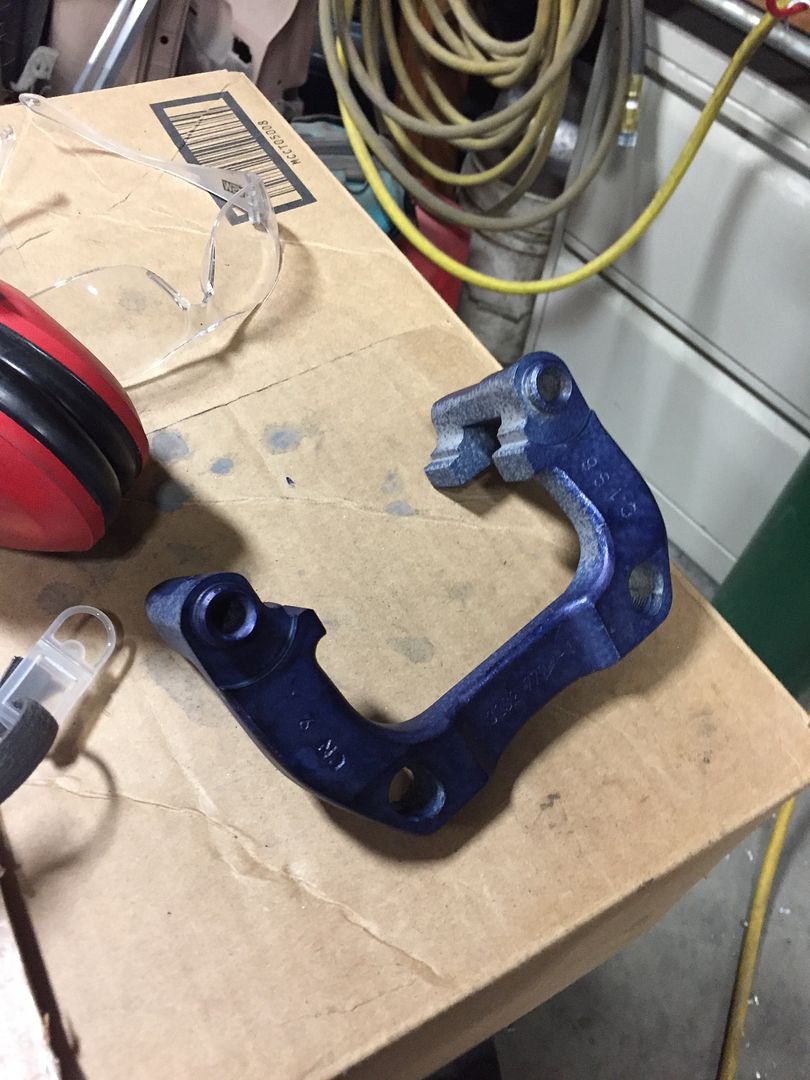
After sanding all of the faces to 80 grit, I marked it up with bluing to file consistent fillets all around the part.
After the edges were filed, I sand blasted the calipers to get a consistent finish before moving to higher grits. This was also my chance to remove any rust I had discovered, especially on the surfaces that won't be powdercoated (contact surfaces).
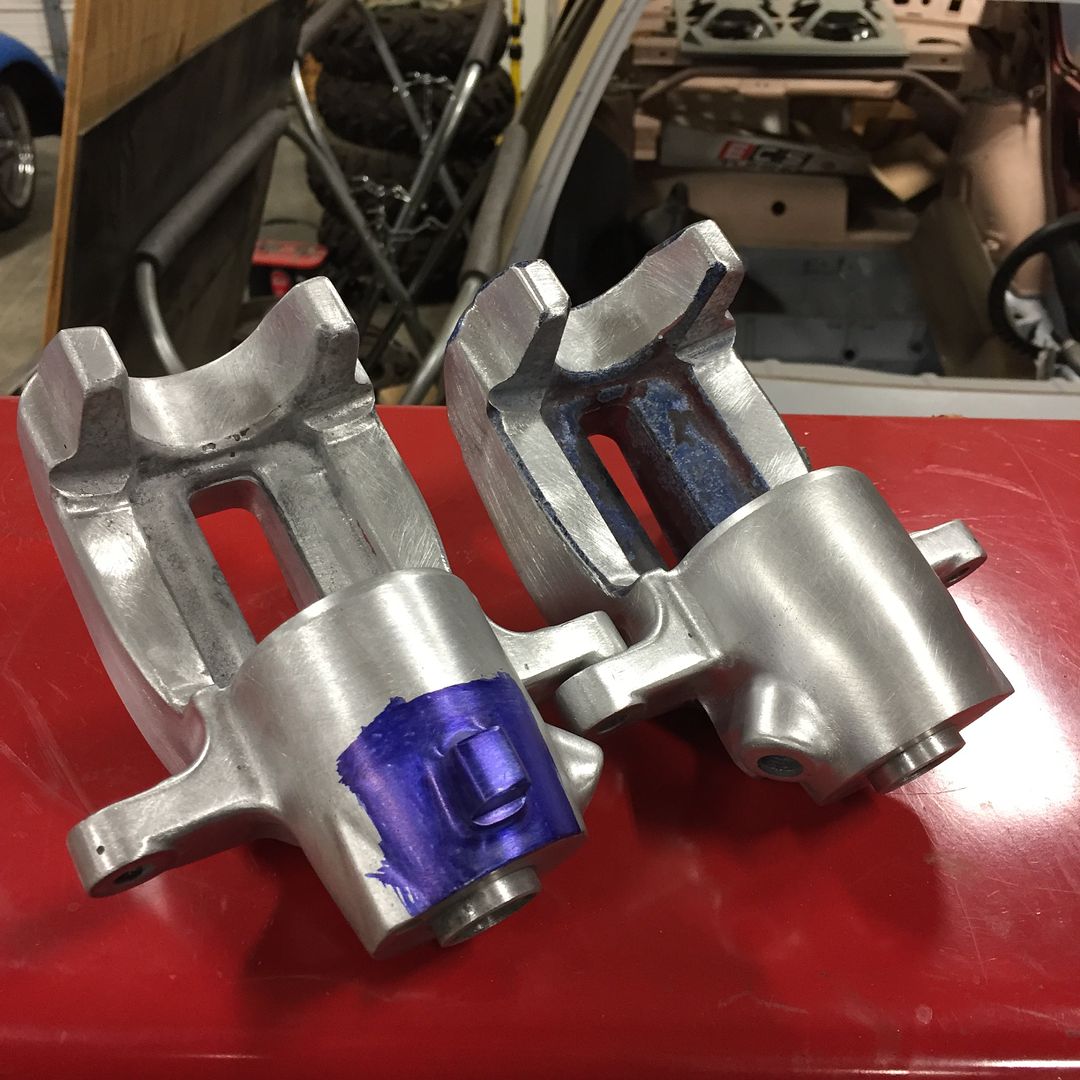
After blasting, I blued them up again to make sure I don't miss any spots with 150 grit or polishing.
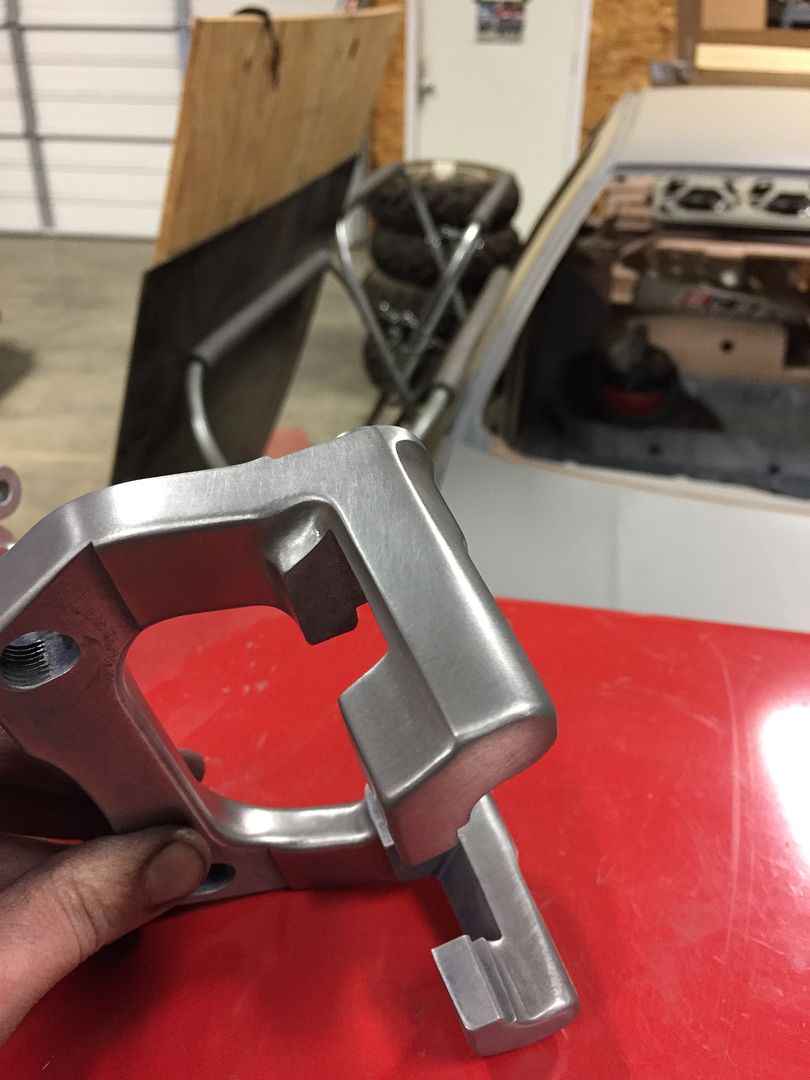
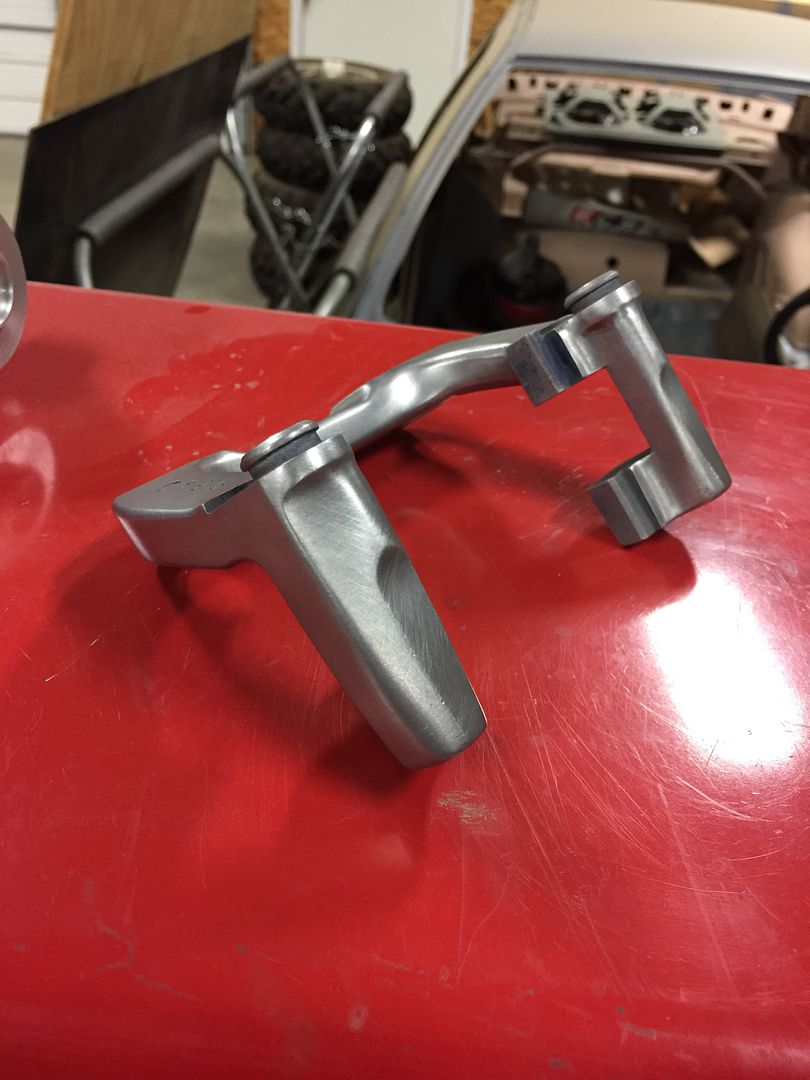
After a bit more sanding, I'm considering them finished. This is finished with 150 grit and then scotch brite.
This surface finish isn't really required, and will actually be sandblasted again before powdercoat, but going to this level of polish is important to make sure the lines and reflections will look right after coating. I could have stopped at 80 grit, but there would be some uncertainty that the parts would show flaws.
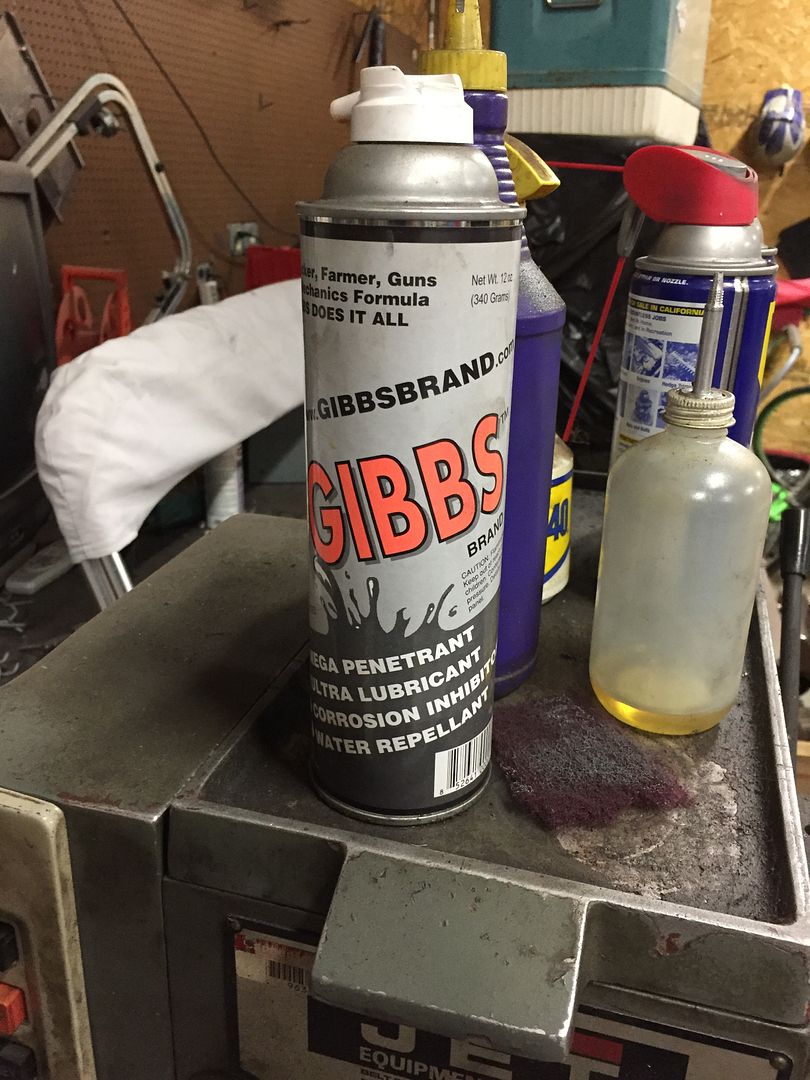
Since these are now bare steel, I coated them with Gibbs oil to prevent rust until they're ready for coating.
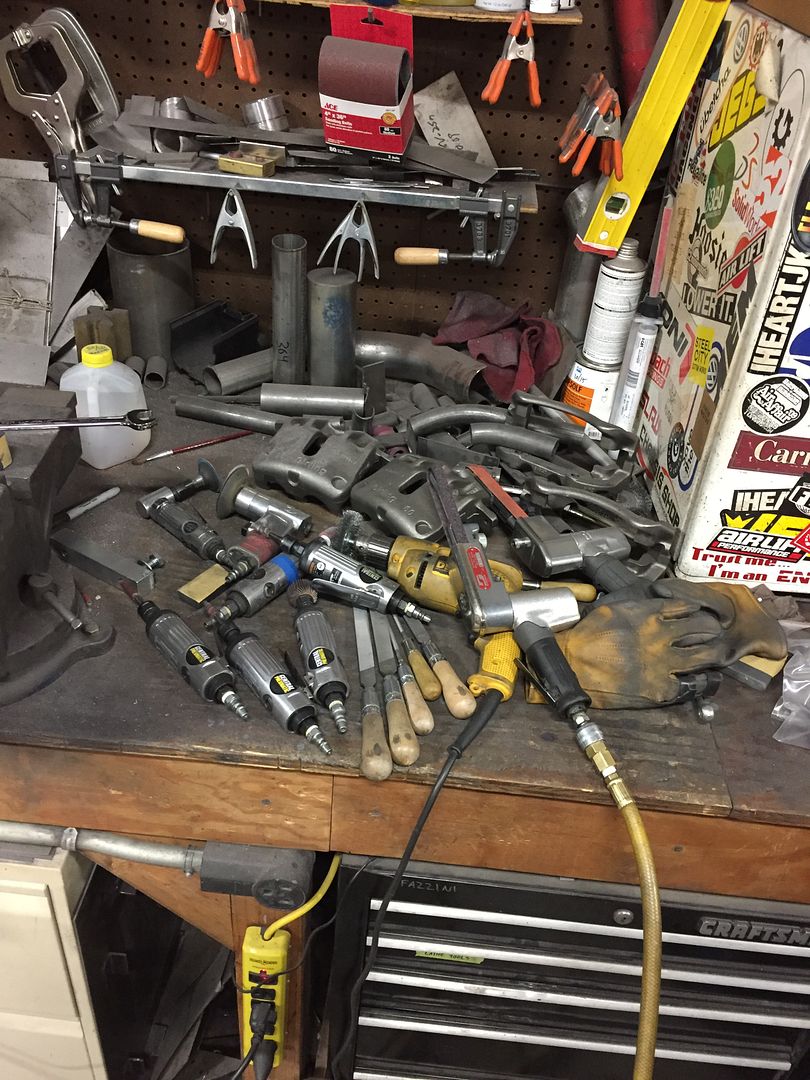
I think every grinding and filing implement I own was used in this project.
(Note: that's not true I have at least triple this)
Up next: Girling 60 dual piston front calipers. These are also steel, as are the carriers, and they're not quite as nice as the VW / Lucas rears.
When I left off, I had been smoothing my rear brake caliper carriers.
After sanding all of the faces to 80 grit, I marked it up with bluing to file consistent fillets all around the part.
After the edges were filed, I sand blasted the calipers to get a consistent finish before moving to higher grits. This was also my chance to remove any rust I had discovered, especially on the surfaces that won't be powdercoated (contact surfaces).
After blasting, I blued them up again to make sure I don't miss any spots with 150 grit or polishing.
After a bit more sanding, I'm considering them finished. This is finished with 150 grit and then scotch brite.
This surface finish isn't really required, and will actually be sandblasted again before powdercoat, but going to this level of polish is important to make sure the lines and reflections will look right after coating. I could have stopped at 80 grit, but there would be some uncertainty that the parts would show flaws.
Since these are now bare steel, I coated them with Gibbs oil to prevent rust until they're ready for coating.
I think every grinding and filing implement I own was used in this project.
(Note: that's not true I have at least triple this)
Up next: Girling 60 dual piston front calipers. These are also steel, as are the carriers, and they're not quite as nice as the VW / Lucas rears.
Sunday, February 5, 2017
For the last few weeks, I have been preparing my brake calipers for powdercoat.
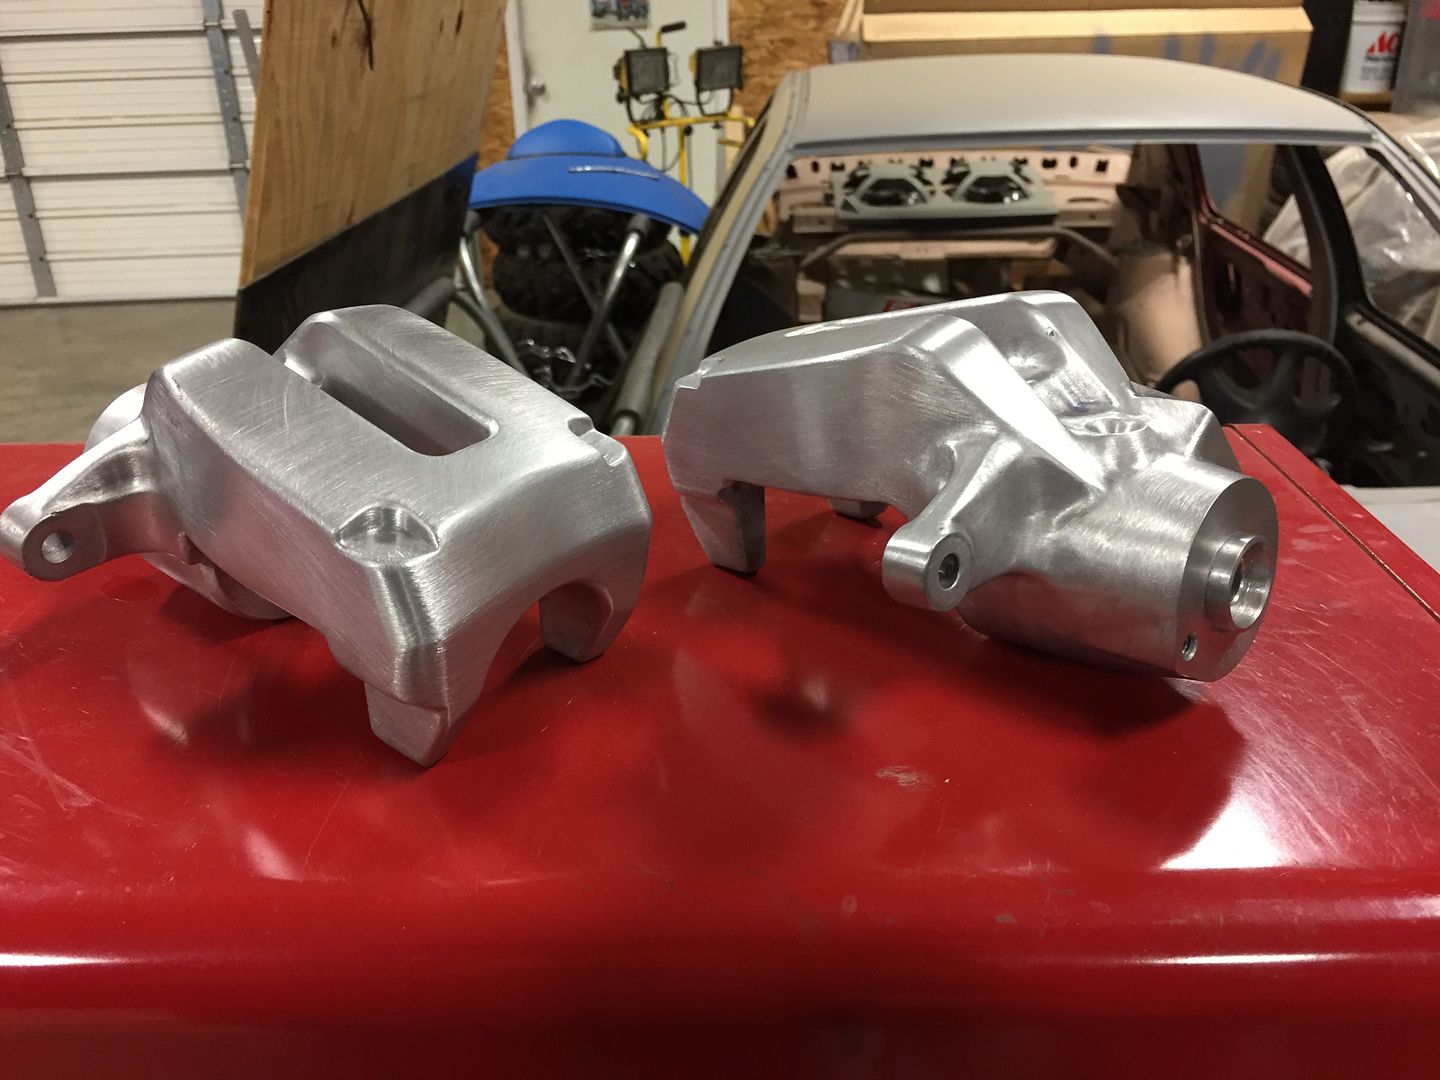
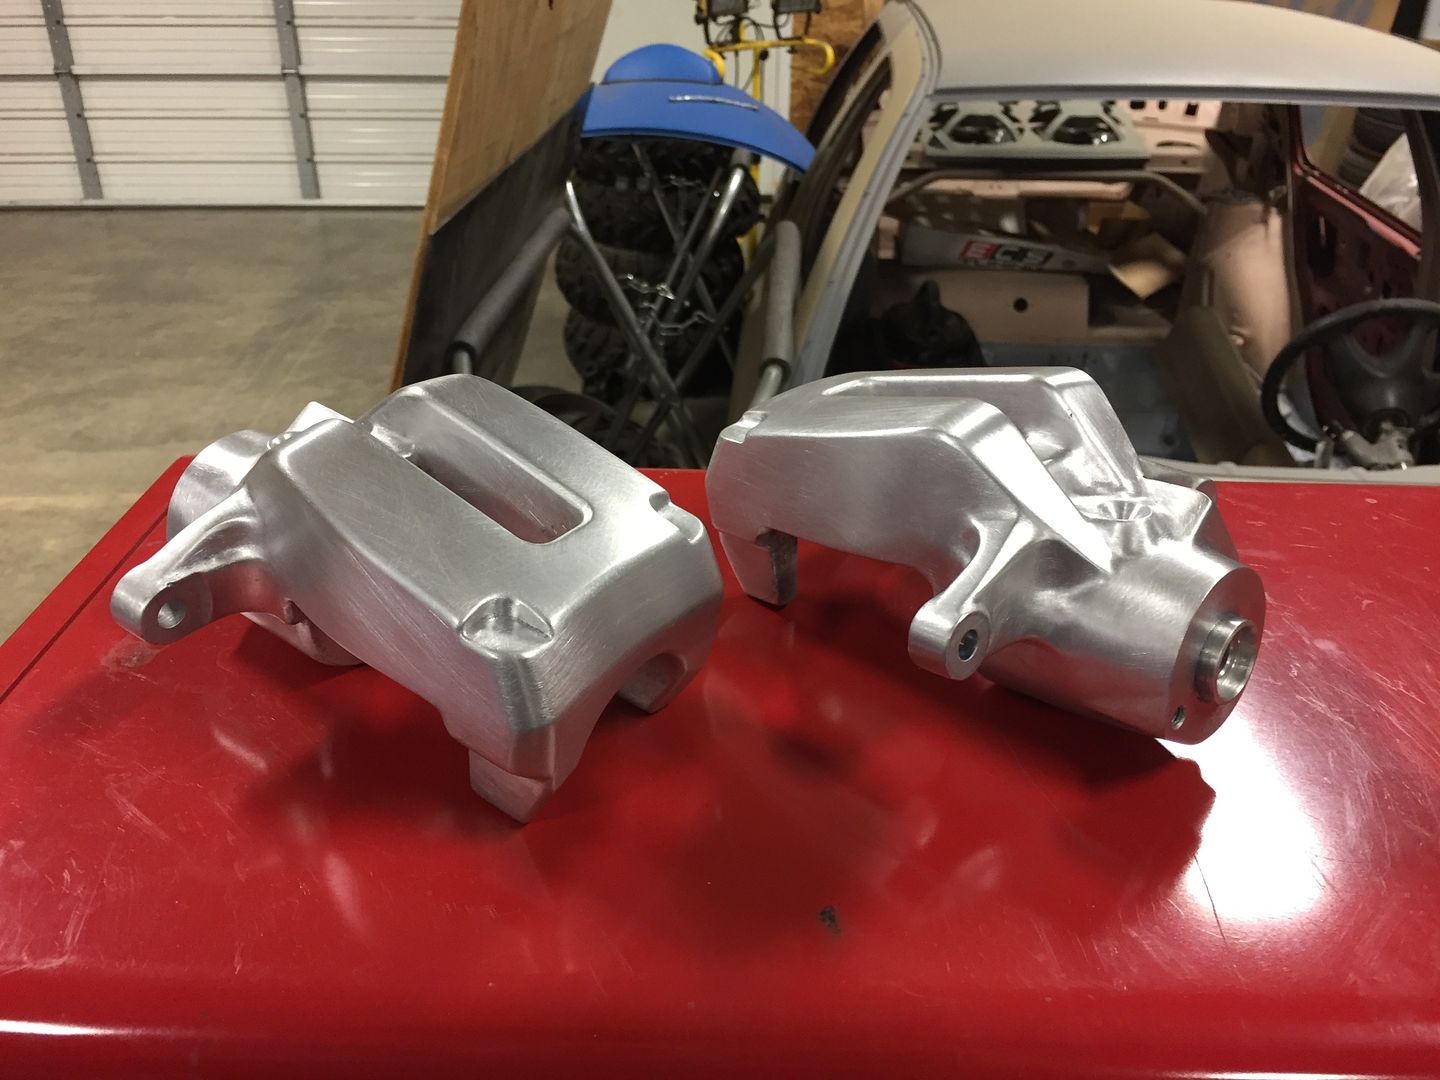
When I left off, I had just started to sand one of the rear calipers. These are cast aluminum, which sands quite easily by hand with some help from power tools occasionally.
In addition to sanding out the texture left from the casting process, I'm attempting to get all of the main surfaces straight and symmetric.
I noticed this bump on the back side of the calipers. It wasn't used for anything, so I'm cutting it off!
Before and after.
The caliper on the left is finished to 80 grit, and the one on the right is still in process here. I'm using bluing to help see the edges so I can tell if it will look straight after powdercoat.
After I was satisfied with all of the flat surfaces, I painted them up again to sand the fillets.
Two calipers in 80 grit.
After 80 grit, I blued them up again in preparation for 150 grit. The bluing seeps into the sanding scratches, I'm effectively using it as guide coat here.
Finished! These are both of the rear calipers finished in 150 grit and Scotch-Brite.
The rear caliper carriers and front calipers are all steel, so I will be using more power tools. I spent some time organizing my abrasives for quick access.
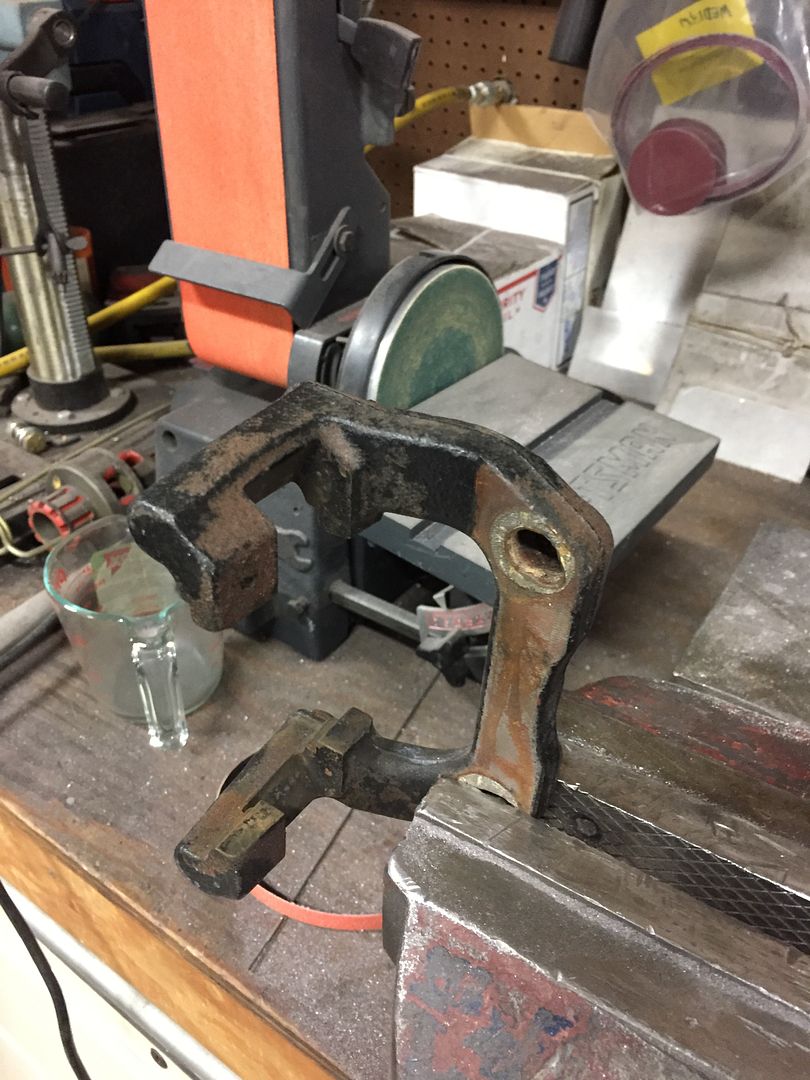
Next I will be working on the rear caliper carriers. These are cast steel so they don't sand as easily.
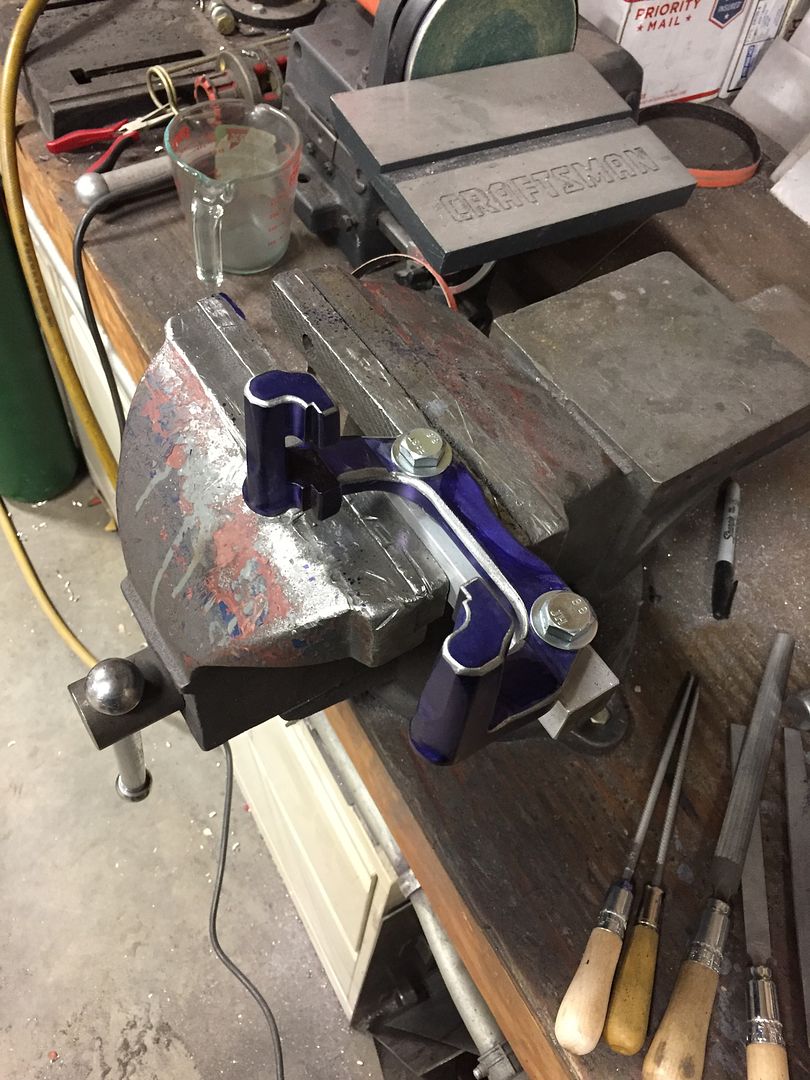
I made this fixture to help hold it in the vise during polishing. It's not a regular shape, so I can bolt it to this fixture instead of trying to clamp on the surfaces I'm polishing.
After a considerable amount of sanding, filing, and more sanding, I've made a bit of progress! The letters are recessed on these, so they may have to stay, unless I think I can get away with wet paint and putty on the carriers. I may also be able to powdercoat once, sand them flat, then add a second coat of powder.
In non-VW news, I spent a few hours sharpening and adding to a drill bit set I inherited from my Grandpa last year when he passed away. I also inherited his Drill Doctor, which works great! I filled out and sharpened his 29 piece set (1/16"-1/2" by 64ths).
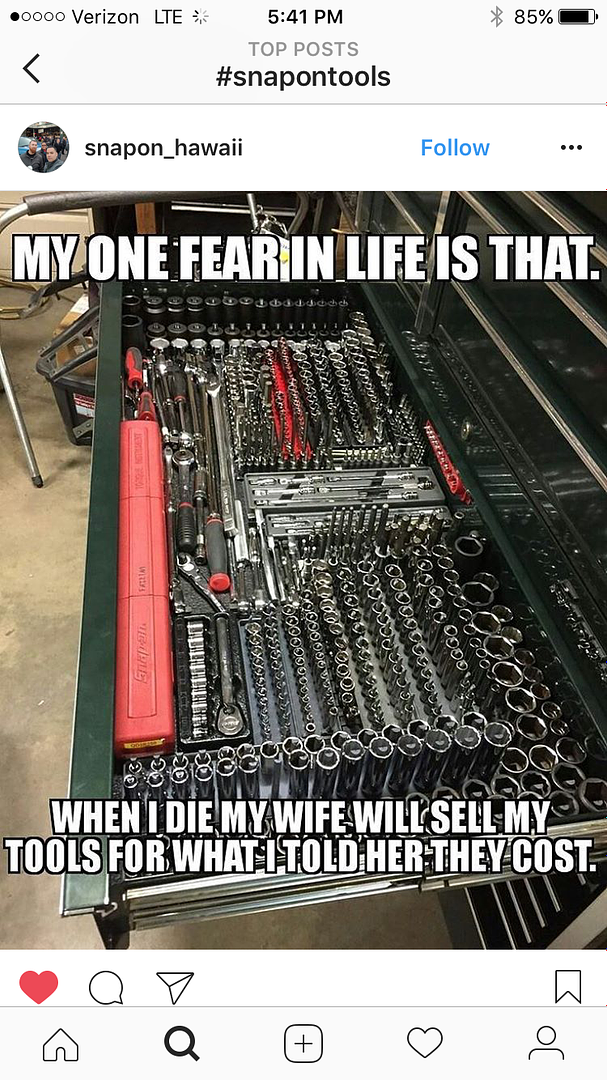
I also stumbled into this on Instagram. Somebody lifted a picture of my toolbox from the internet and made a meme from it haha. Pro tip: no wife = more tools.
Last week also brought some excitement as Woody Sr. hauled home his freshly completed '64 Chevy pickup. He started the build himself last year, and had it finished by 89 Speed Shop in North Carolina. They did an amazing job!
Crate LS3, Delmo tubs, all new chrome, fresh satin black. No big deal.
Accuair, Selfmade rear tubs, fresh wood, mostly real but some fake patina.
Custom AF.
He unveiled the truck at the World of Wheels custom car show in Pittsburgh.
When I left off, I had just started to sand one of the rear calipers. These are cast aluminum, which sands quite easily by hand with some help from power tools occasionally.
In addition to sanding out the texture left from the casting process, I'm attempting to get all of the main surfaces straight and symmetric.
I noticed this bump on the back side of the calipers. It wasn't used for anything, so I'm cutting it off!
Before and after.
The caliper on the left is finished to 80 grit, and the one on the right is still in process here. I'm using bluing to help see the edges so I can tell if it will look straight after powdercoat.
After I was satisfied with all of the flat surfaces, I painted them up again to sand the fillets.
Two calipers in 80 grit.
After 80 grit, I blued them up again in preparation for 150 grit. The bluing seeps into the sanding scratches, I'm effectively using it as guide coat here.
Finished! These are both of the rear calipers finished in 150 grit and Scotch-Brite.
The rear caliper carriers and front calipers are all steel, so I will be using more power tools. I spent some time organizing my abrasives for quick access.
Next I will be working on the rear caliper carriers. These are cast steel so they don't sand as easily.
I made this fixture to help hold it in the vise during polishing. It's not a regular shape, so I can bolt it to this fixture instead of trying to clamp on the surfaces I'm polishing.
After a considerable amount of sanding, filing, and more sanding, I've made a bit of progress! The letters are recessed on these, so they may have to stay, unless I think I can get away with wet paint and putty on the carriers. I may also be able to powdercoat once, sand them flat, then add a second coat of powder.
In non-VW news, I spent a few hours sharpening and adding to a drill bit set I inherited from my Grandpa last year when he passed away. I also inherited his Drill Doctor, which works great! I filled out and sharpened his 29 piece set (1/16"-1/2" by 64ths).
I also stumbled into this on Instagram. Somebody lifted a picture of my toolbox from the internet and made a meme from it haha. Pro tip: no wife = more tools.
Last week also brought some excitement as Woody Sr. hauled home his freshly completed '64 Chevy pickup. He started the build himself last year, and had it finished by 89 Speed Shop in North Carolina. They did an amazing job!
Crate LS3, Delmo tubs, all new chrome, fresh satin black. No big deal.
Accuair, Selfmade rear tubs, fresh wood, mostly real but some fake patina.
Custom AF.
He unveiled the truck at the World of Wheels custom car show in Pittsburgh.
Subscribe to:
Posts (Atom)