More parts came in; OEM clutch, a new flywheel, some hardware, and a receiver/dryer for the A/C system.

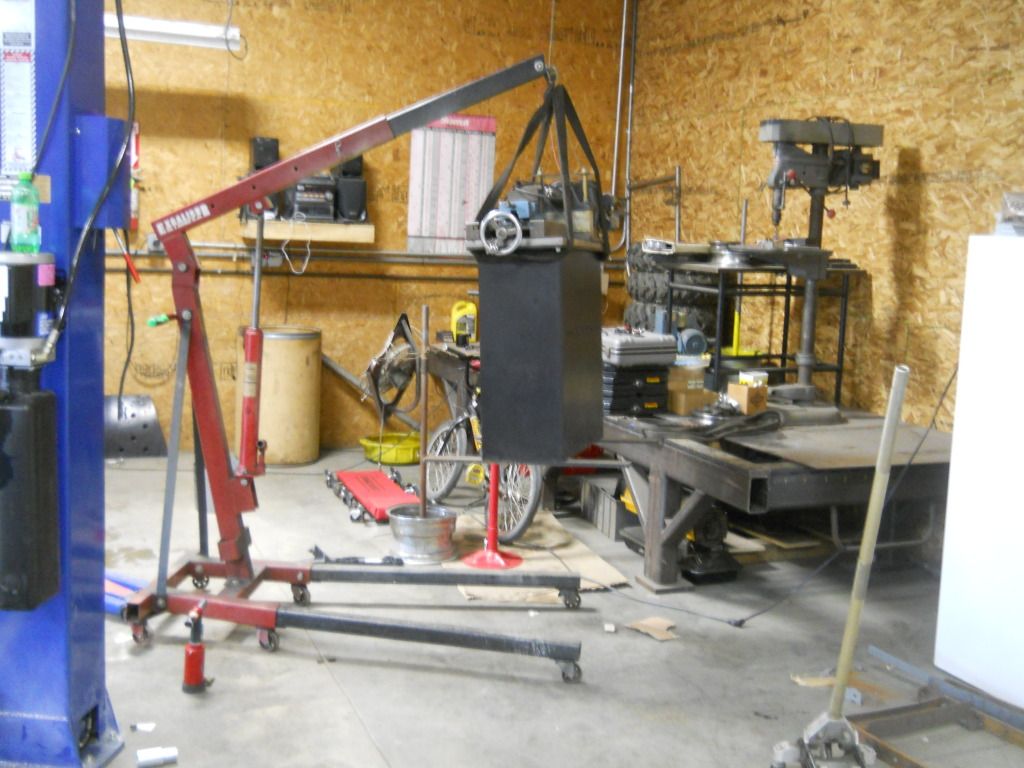
I decided to build an engine stand that will hold the assembled engine/transmission assembly and all the accessories. I wanted to bolt the engine/trans assembly down to a skid so I can store it until the rest of the car is done.
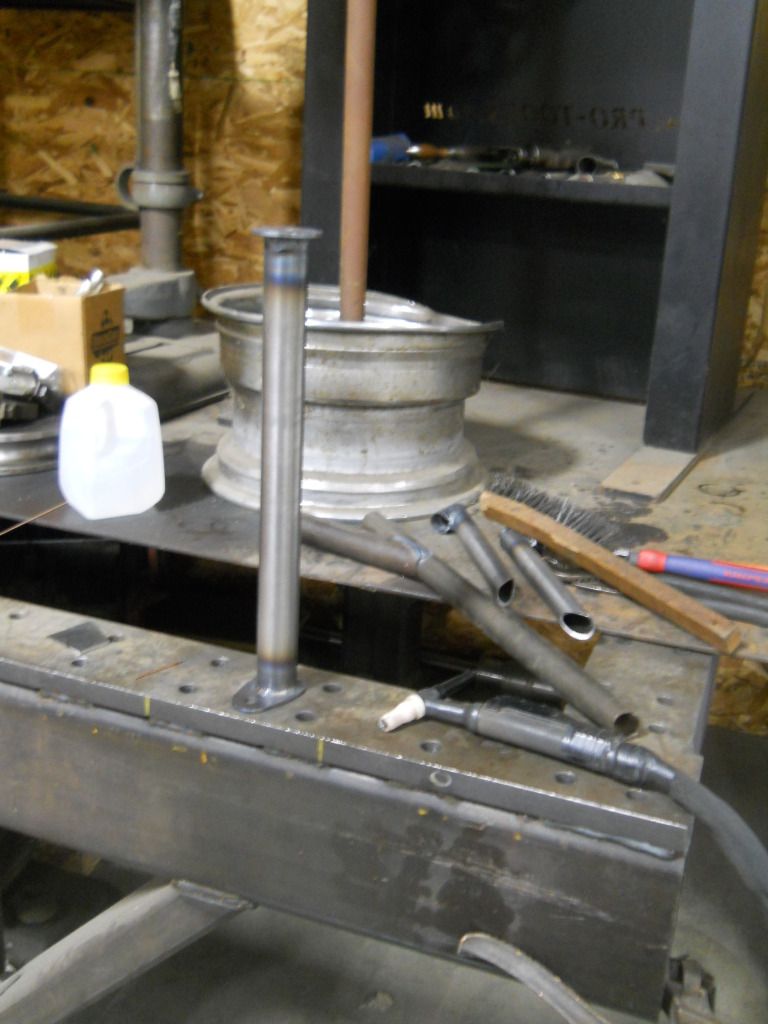
The OEM engine mounts are basically three posts - two shown here, and the 3rd is on the floor.

I machined a few pieces on my lathe; this will make a little more sense later.
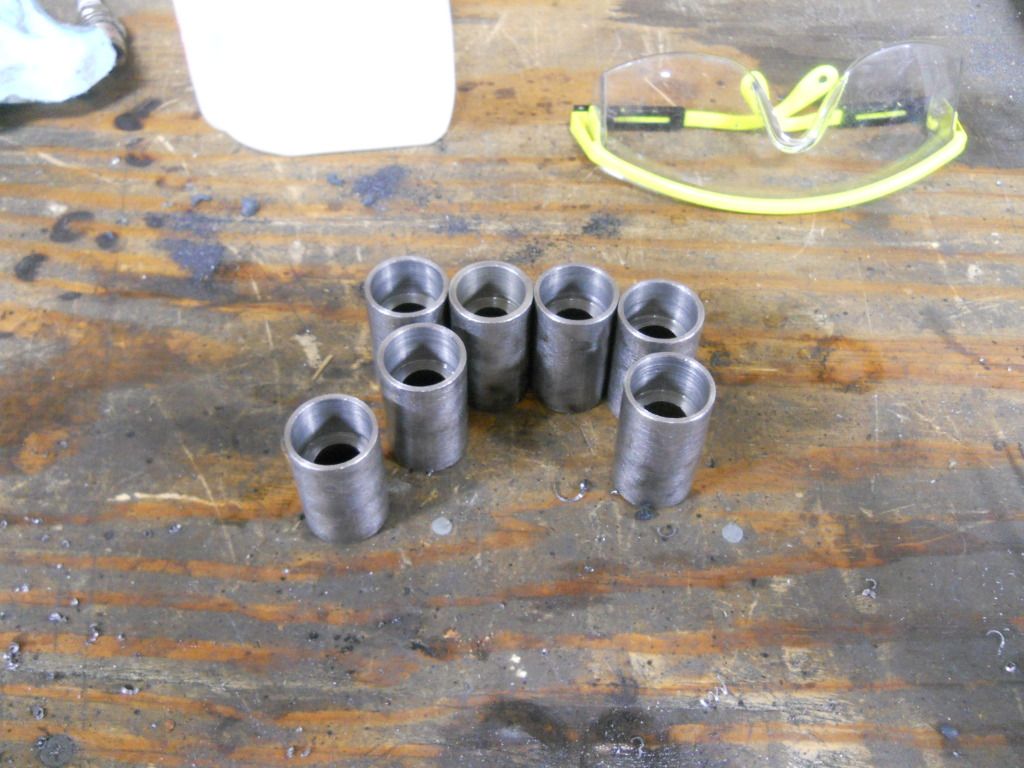
Cut up pieces of 1" and 1-1/4" tubing.

I had to notch the angled braces to fit, so I hauled the tubing notcher down from the shelf.


Notched for a 1" tube on one side and 1-1/4" on the other.

Cutting out round plates is always a challenge, I usually do it with the grinder and they still never turn out perfect. This time I cut out square plates and made a fixture to turn them on the lathe.
After clamping it in the chuck I faced it and tapped the center for an 3/8-24 bolt.

Three square plates

Three round plates!

I decided to TIG weld this engine stand together. I typically MIG weld everything and pay Bill Lewis when I need TIG welding done, but I like to practice on non-critical things.
This was the best weld all night! The rest certainly weren't this nice.

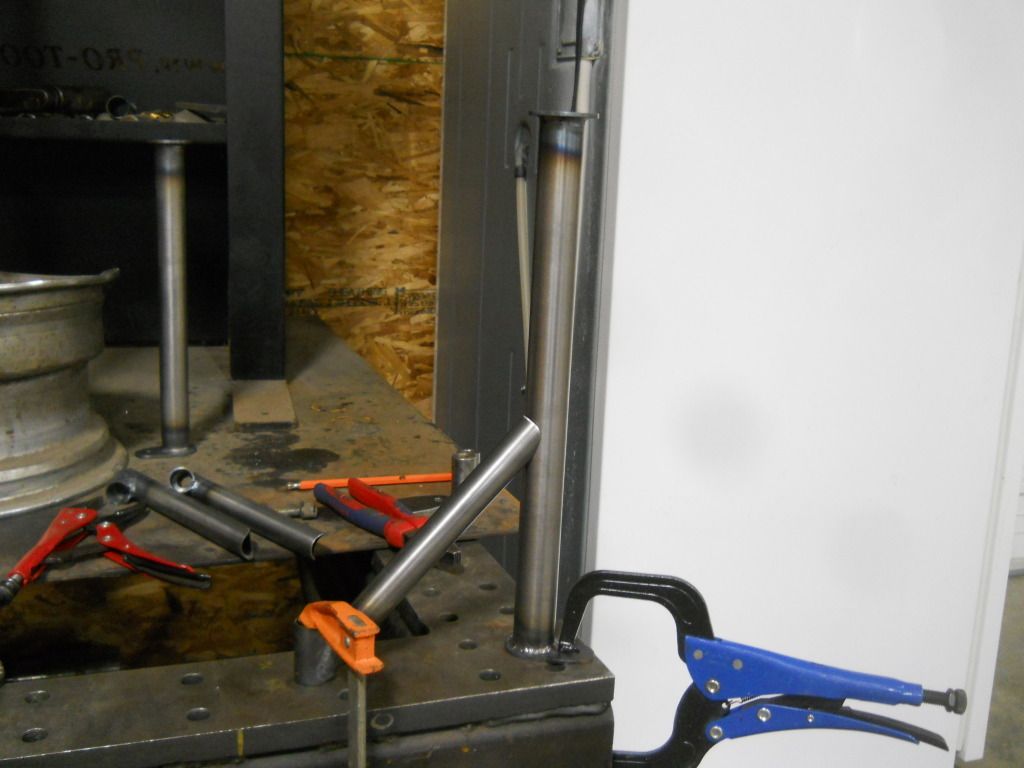
One of the three posts:
Here is a closeup of the the top. I welded an M10 weld nut inside, this will simulate the OEM engine mounting brackets. It's not as off-center as it looks!

Each post will bolt down in either 3 or 4 spots - one on this little tab, and the others are diagonal braces.

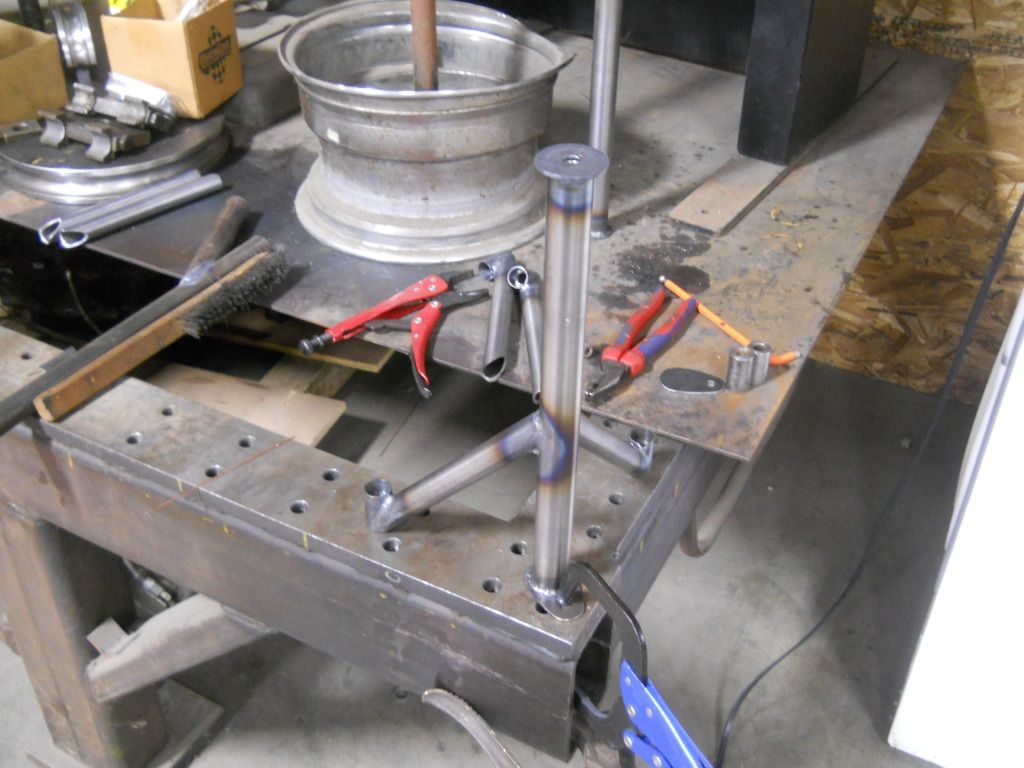
Here is one of the diagonals.

Now it's starting to take shape!
One is almost done; two more to go!
Woody attempted to sit in Kage's chair and got attacked, as usual.

No comments:
Post a Comment