Tuesday, December 13, 2011

Lately I have started collecting and restoring old Snap-on and Blue Point autobody hammers.  I'm not really sure why these fascinate me, but I can't get enough! 

I bought these two beat up old body hammers online, one is a Snap-on BF611 and one is an older Blue-point BF611 (they changed the name sometime I think in the 1960s).  Both were in pretty rough shape, so I restored them.  The Snap-on has a 1983 date code, the old Blue Points are not date coded.
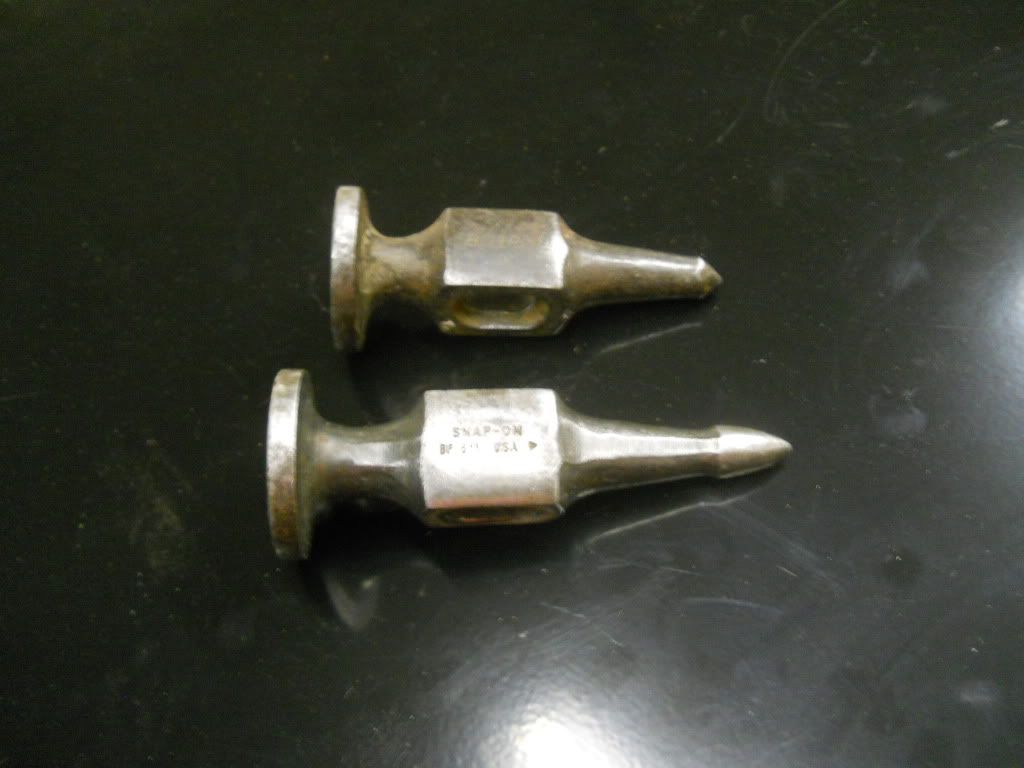
The faces were both really rough, the Snap-on (longer one) was in worse condition even though it looks a little better in the photo below.
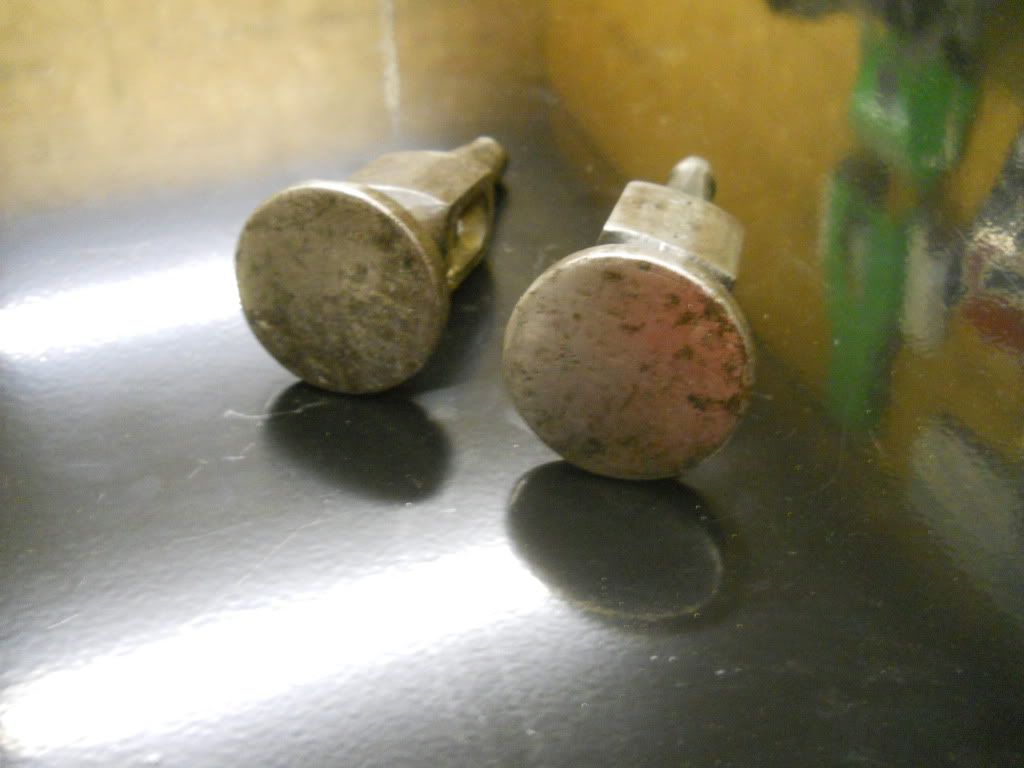
Since I couldn't easily salvage the face of the Snap-on, I decided to change its shape slightly.  These hammers came from the factory with a very low crown (slight curve), and I decided to make a high crown hammer with a smaller face radius.  I was able to load it in the lathe, but only to use it for spinning the part while I used a sanding disc on the face.  The faces are hardened steel, so I couldn't cut it on my lathe even if I wanted.
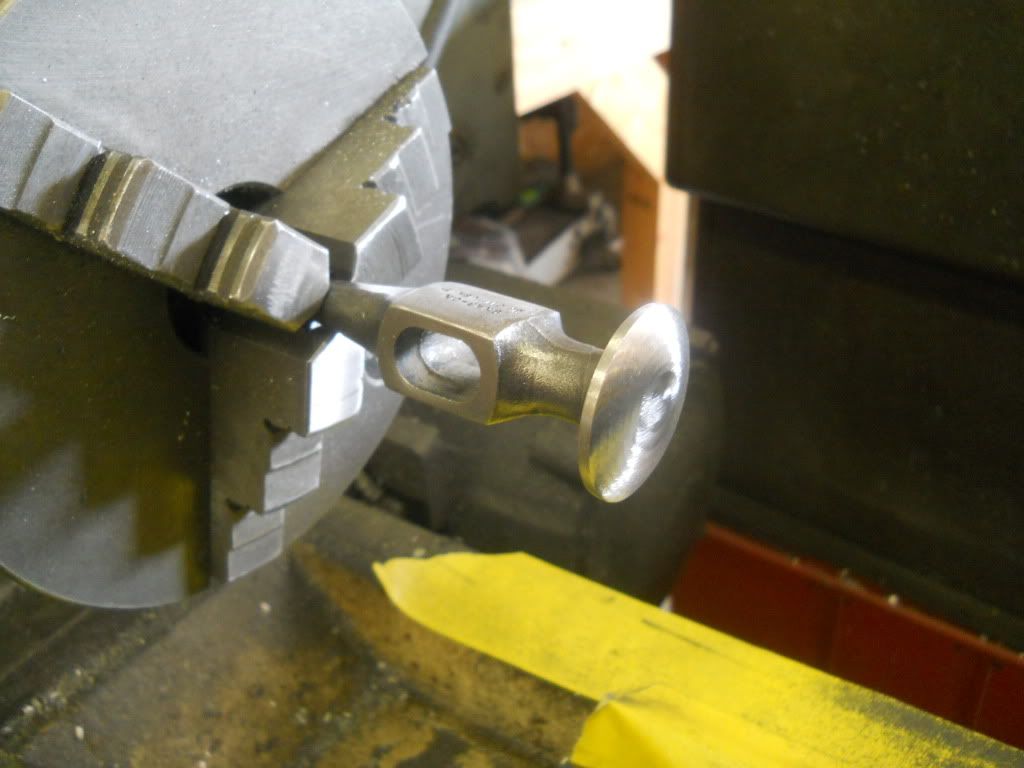
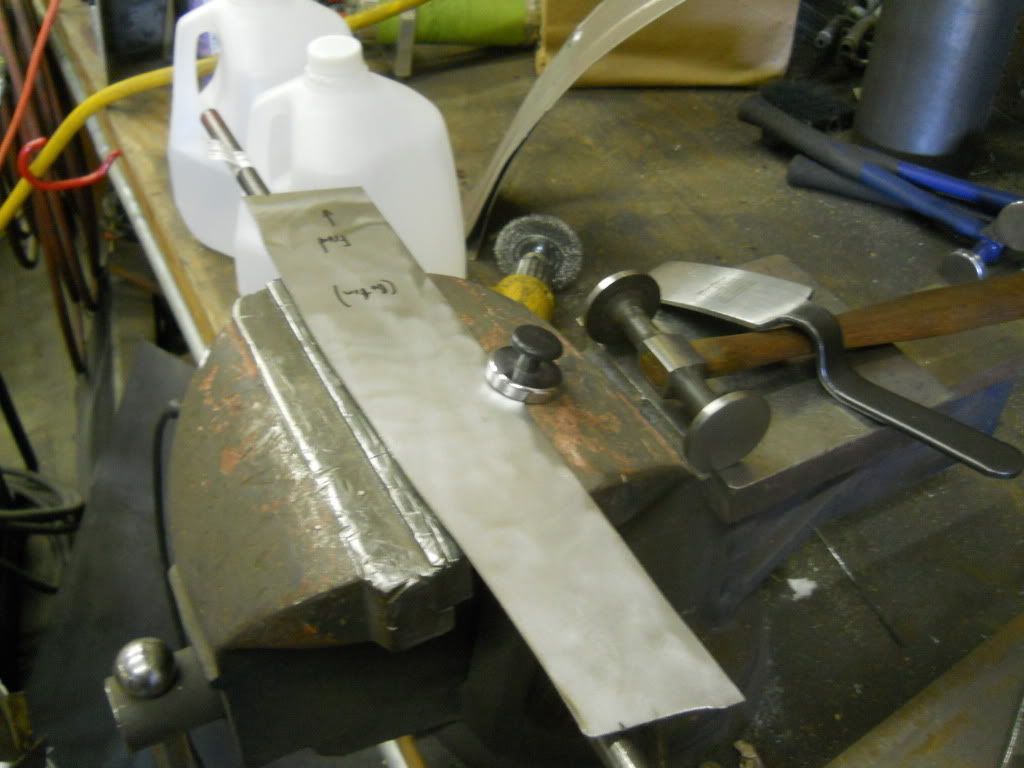
The profile gauge was set to the Snapon BF618B factory high-crown hammer, I added a little more crown.

Here are some comparisons with the unmodified Snap-on BF618 high crown hammer.

These are the crowns of some similar hammers - Snap-on BF618B, Fairmount medium crown, and the new modified BF611 high crown.  These each have their place in different sheet metal forming operations, it's handy to have a few different face radii.


I sharpened the pick end of the Snap-on to a sharp point, and blunted the Blue-point.  Similar to the faces, it's handy to have different pick radii at your disposal. 


Here is the CG location of the hammer heads.  Only the nerdiest of bodymen would ever need/want to know this!

The face of the high-crown hammer is really polished.  I went to 800 grit on the lathe, then switched to Tripoli compound on a sewn wheel and white rouge on a loose cotton wheel.


You can still buy new replacement handles from Snap-on, so I bought a pair and installed them.


Including the hammer heads, shipping, and replacement handles I have about $40 into these two hammers that are modified to my taste.  A brand new BF611 is $60 on the truck! 
http://buy1.snapon.com/catalog/item.asp?item_ID=73551&group_ID=1763

I also recently did a really old Blue Point BF613, this particular hammer was discontinued sometime in the late 1950s or early 60s.  This is one of the most useful shapes, one side is a medium crown face for bumping and dinging off the dolly, and the other side is a low crown larger face for finishing on the dolly. 

Stay tuned for the BF612 restoration, it's next on my list when I get a free minute.
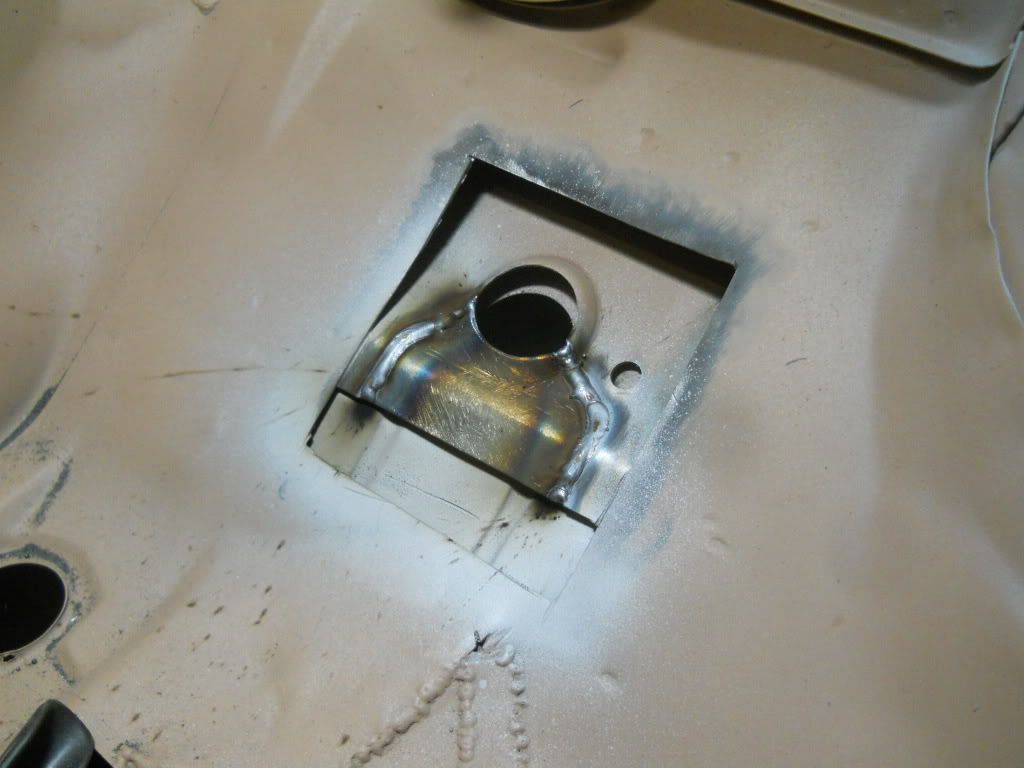
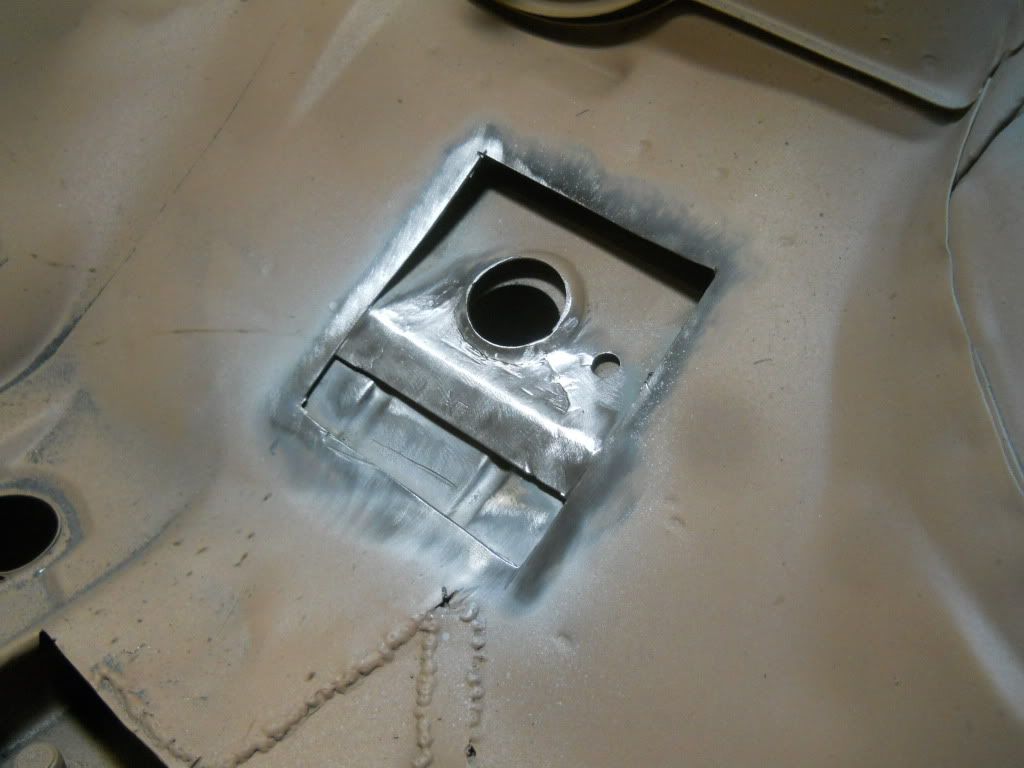
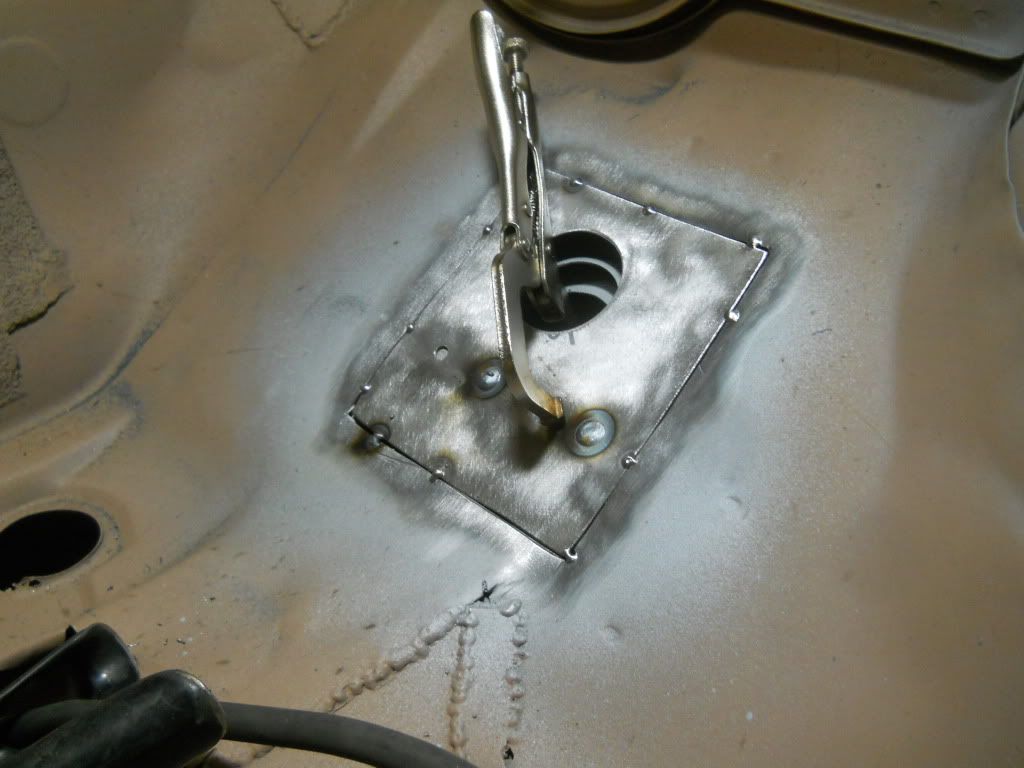
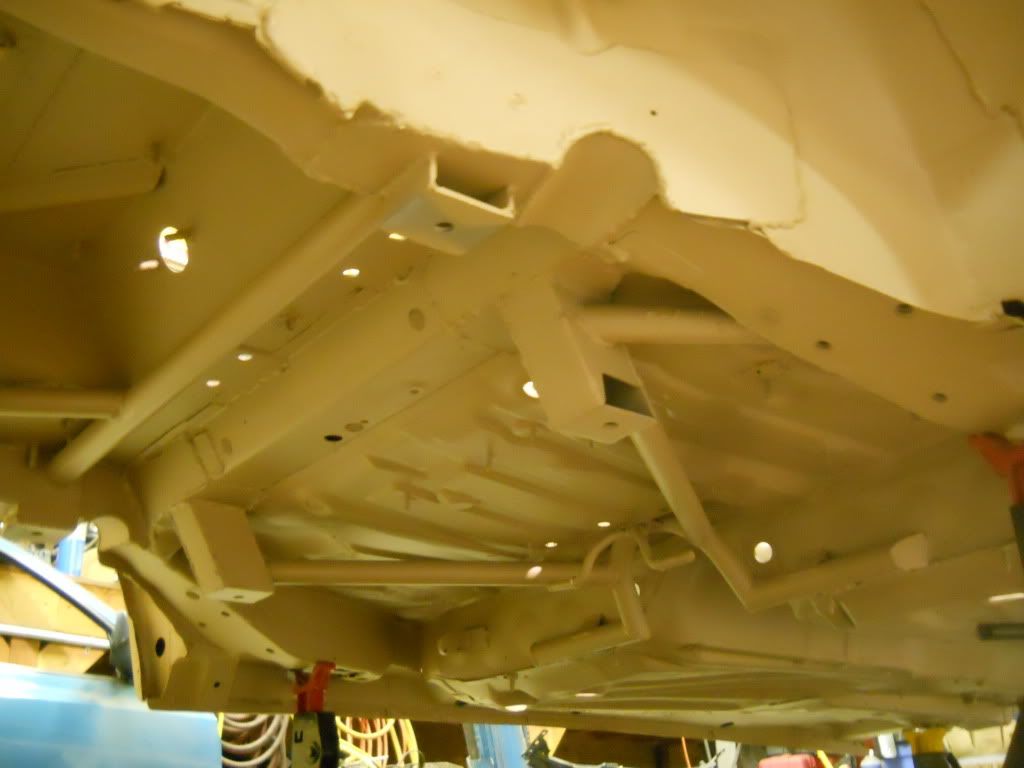
The next order of business was to patch an area of the floor I needed to cut open earlier.  I had to modify the inner frame rail for my new fuel lines, and this area had to be cut open for access.  This section is 3 layers thick - the first two are about 14ga and the top was thin (20ga).


First I cleaned up all the cuts then welded the first layer and ground it smooth.  I coated everything in 3M Weld-Thru II primer, which is a decent way to protect the areas in between layers.

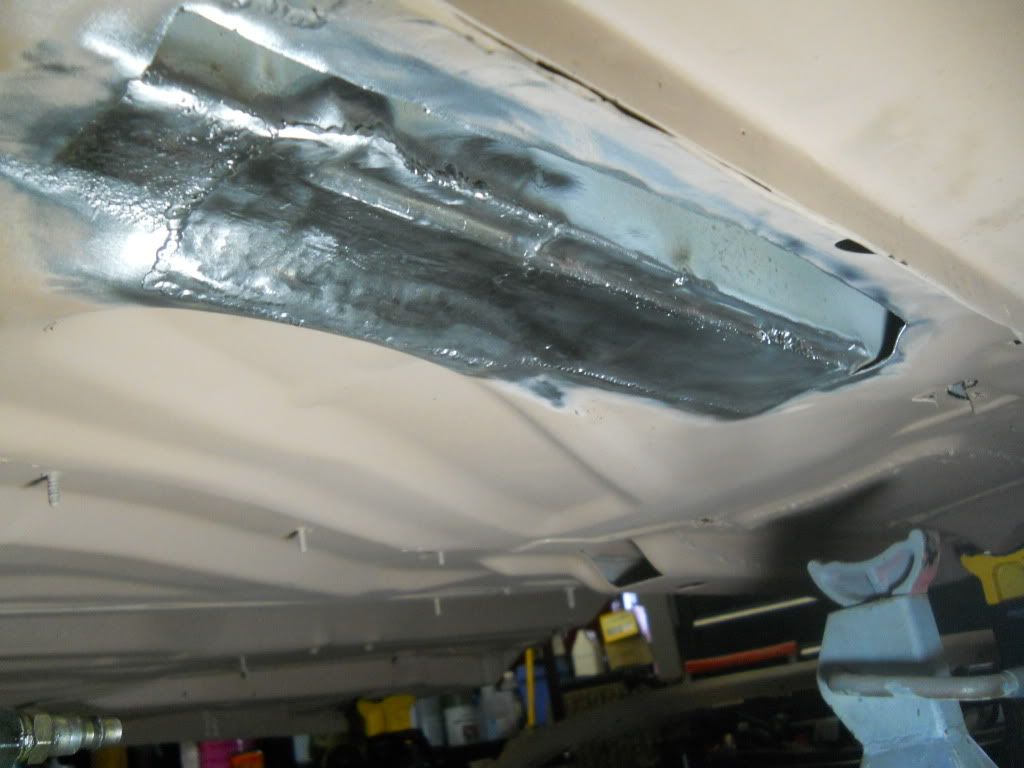
Then I formed a piece for the middle layer out of 1/8" steel and welded it in place.  The shape still needed some tweaking but turned out OK for something that will never be seen again.

Ground smooth and weld-thru primer sprayed on

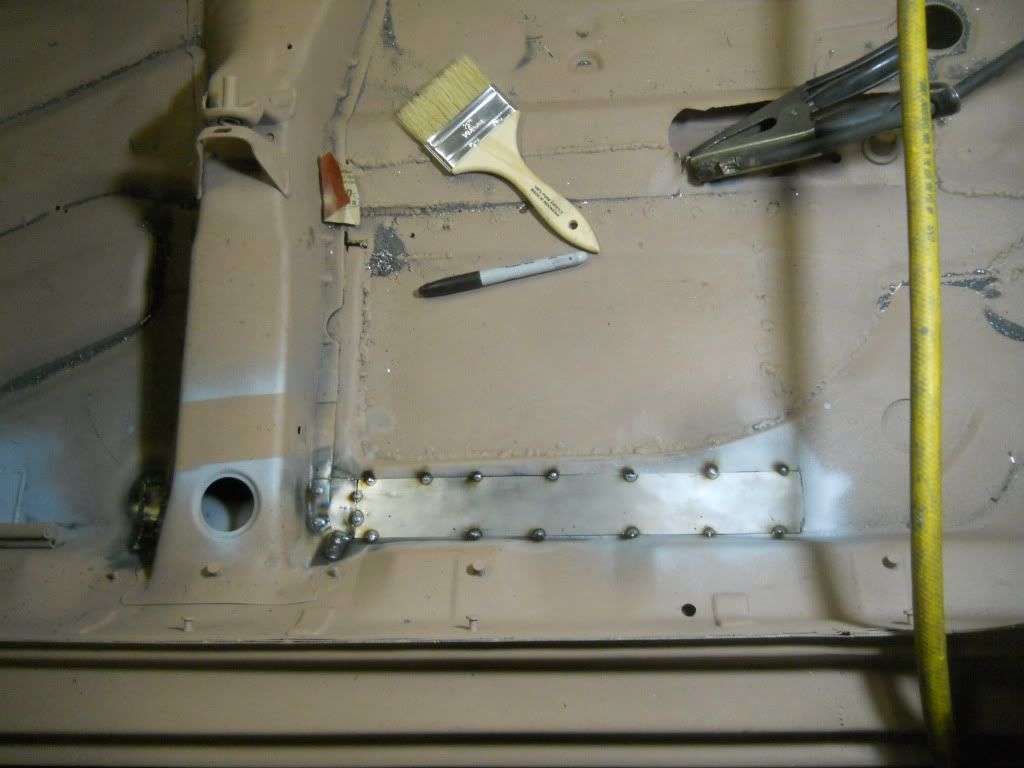
Then the top layer of 20ga sheet was butt welded in place and plug welded to the middle layer to recreate the factory spot-weld joint.
(I forgot to get an "after" picture)

The next patch was in the rear wheel arch.  I cut away the rot and coated everything with weld thru primer.

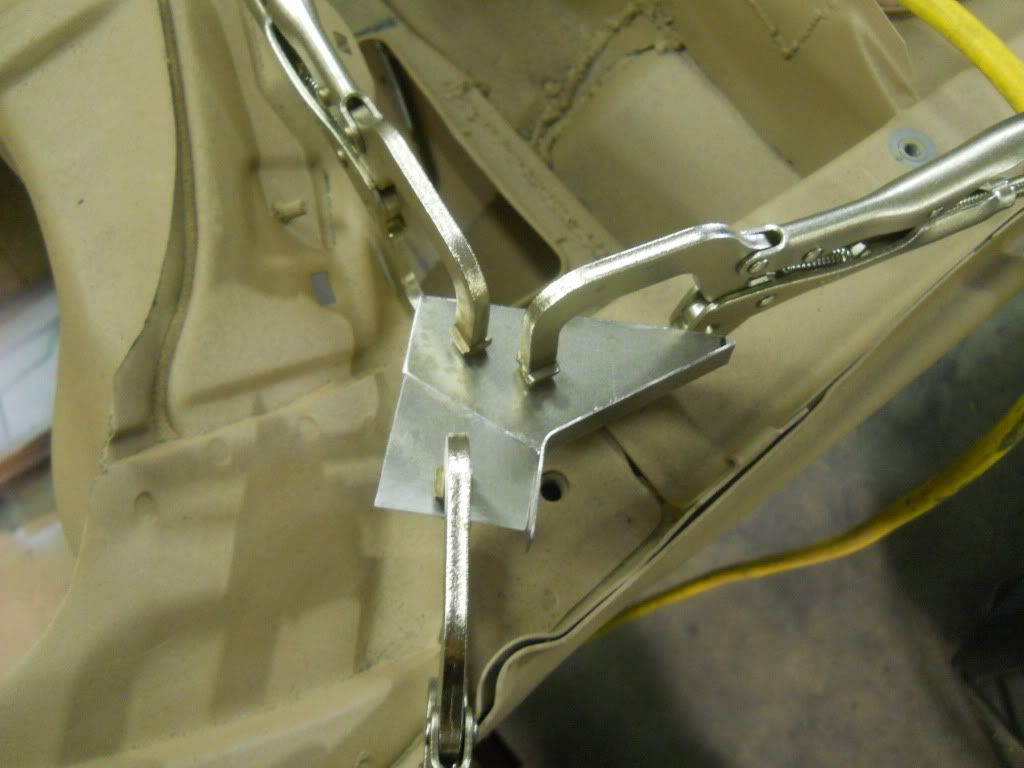
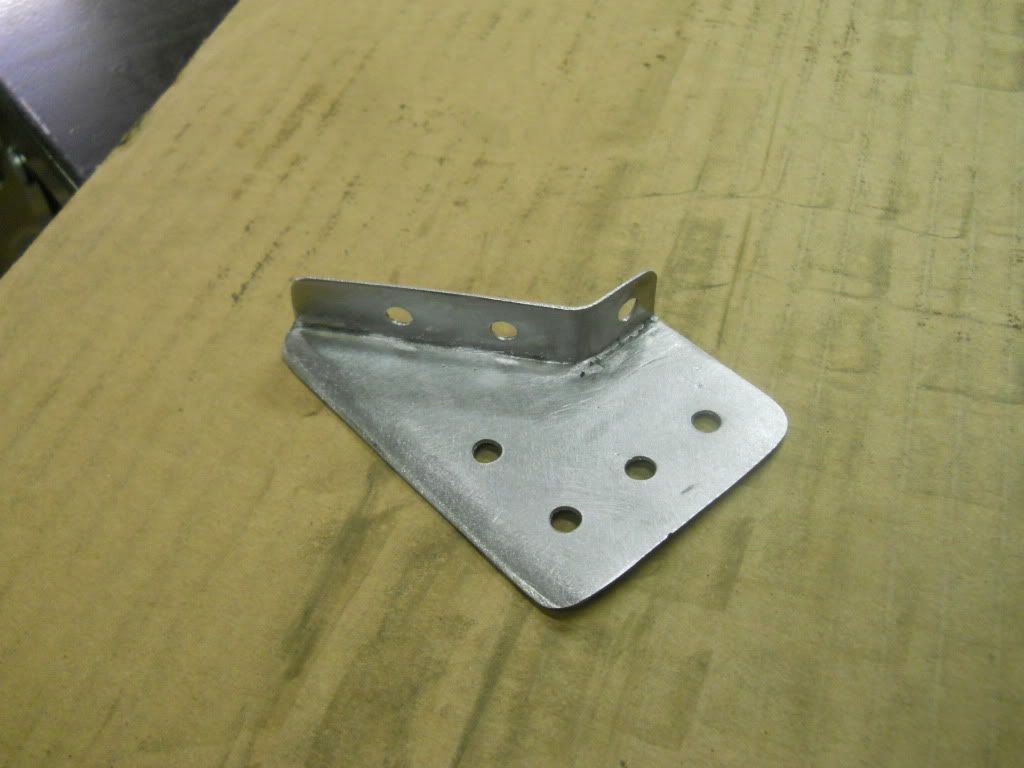
This piece couldn't be made from one piece, so I made it from 2 pieces and put a seam down the center where it could be easily blended.

After welding, grinding, drilling plugweld holes, and finishing with the DA.

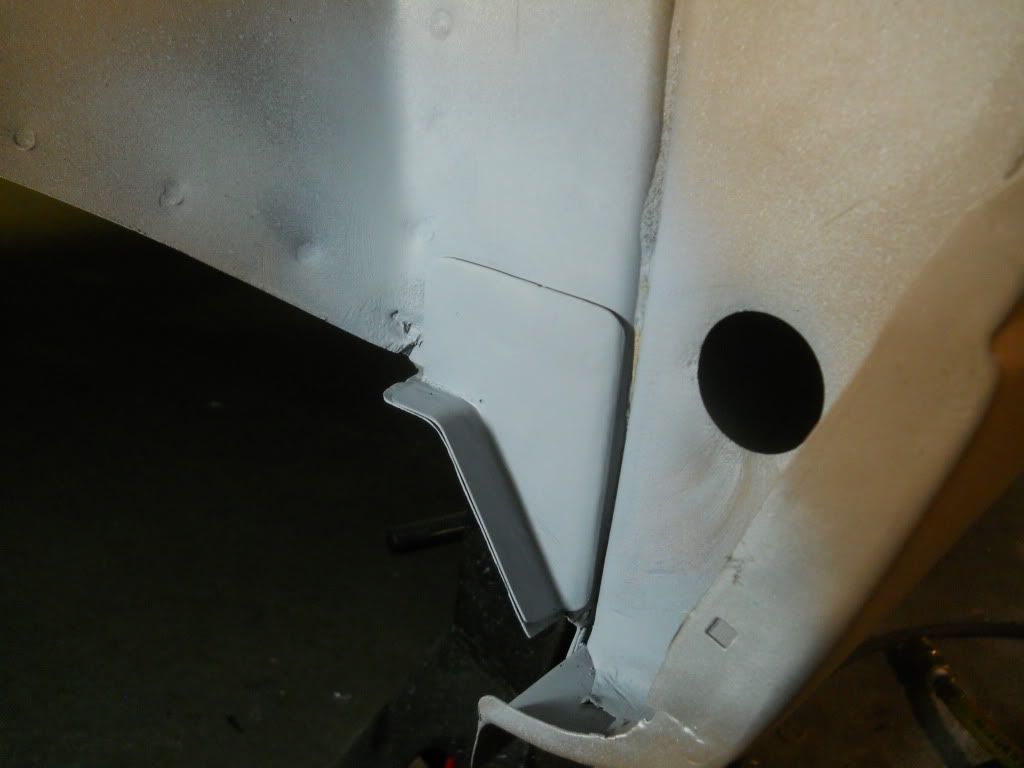
Plug welded, ground smooth, and primered up.
The patching begins.  The blasting uncovered some rust damage in the floor pan, so I decided to patch it all up.

This piece is just under the passenger side seat rail.  Most of the damage was at the seams, so I had to patch each layer then move on to the next.

Here was another spot just forward of the front passenger seat crossmember.  The rust hold was right at the seam, so I had to patch each layer.

I drilled out the spot welds first, then cut out the whole area.

I patched the upper level on this first, working from below was easier underneath the seat crossmember.
Fully welded.

I cut out a piece for the front section of the upper layer and tacked it in.
I had to make two different patches for the lower layer.

Installed.

All coated in some rattle can acid etch primer (UPOL Acid #8)

At the top of the previous picture you can see some damage I patched a few years back, the one section was pretty sketchy so I reworked it a little bit.
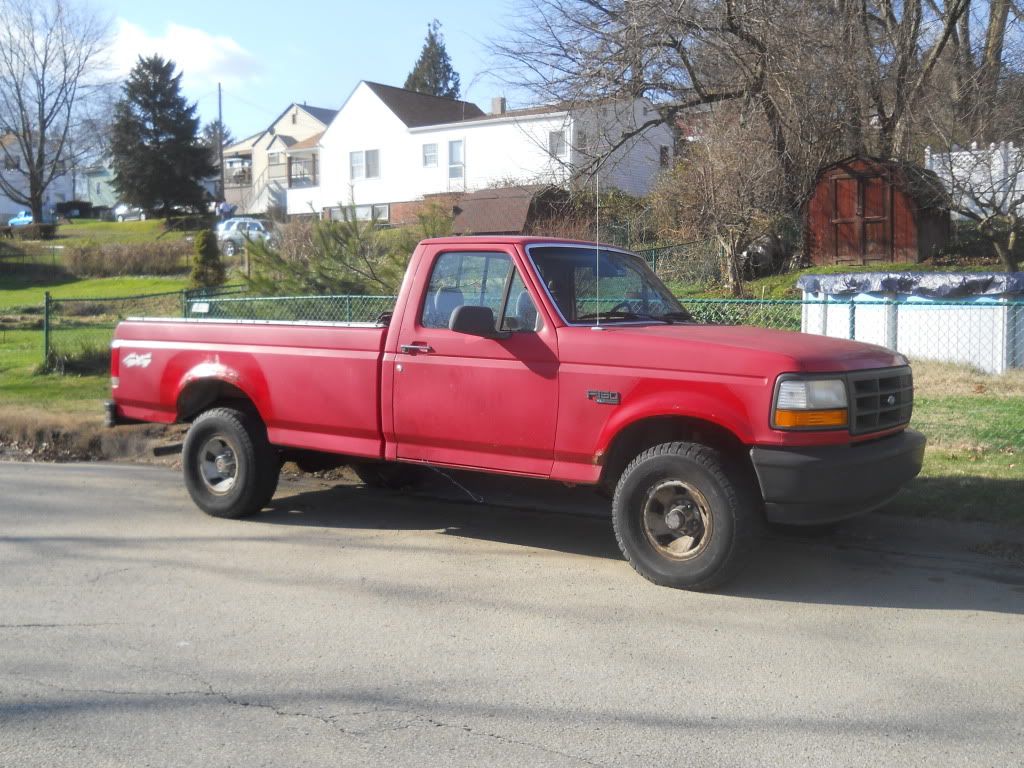
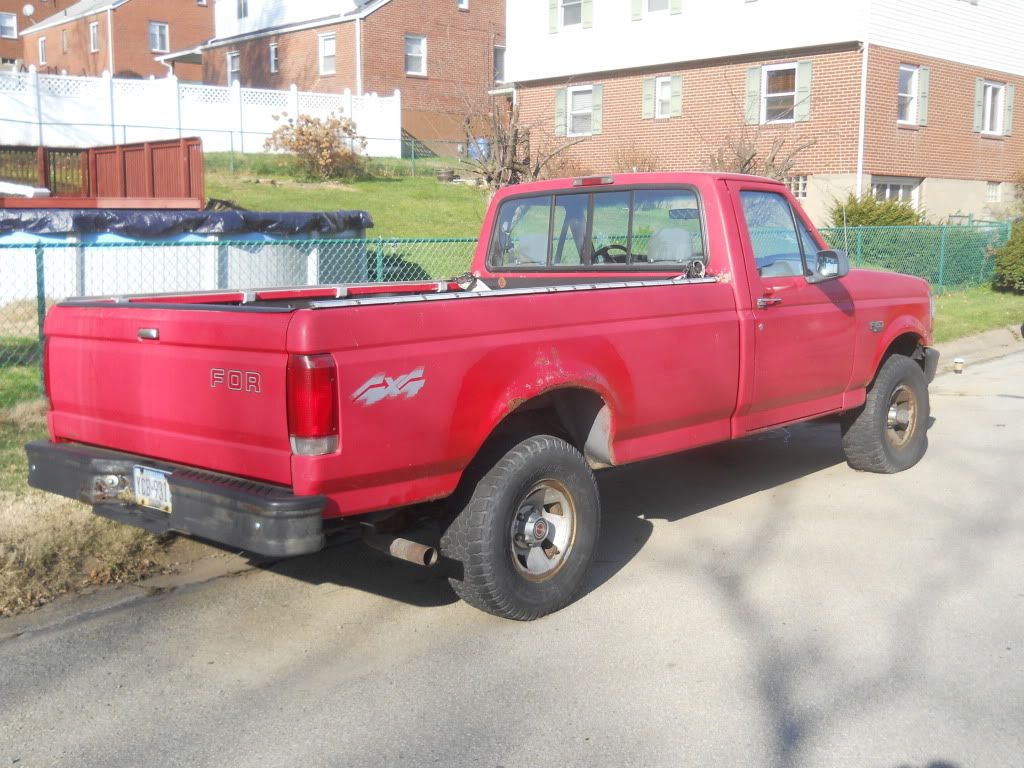
We took Papa Fazz's truck to the junkyard this weekend.  He bought it brand new back in 1994!  This thing hauled our lives for 17 years - the house we remodeled, hockey practices, soccer practices, BMX bikes, car parts, skateboard ramps, garden supplies... you name it and the trusty old For hauled it.  It has been degrading for years, it was finally killed by rust at 196k miles. 


The guy at the junkyard loved it!  He said it will be the "yard beater" for a while.  He doesn't need brakes or 4-wheel drive.... lucky for him none of those luxury features work anymore.


Nothing like a crisp $566 to turn that frown upside down!
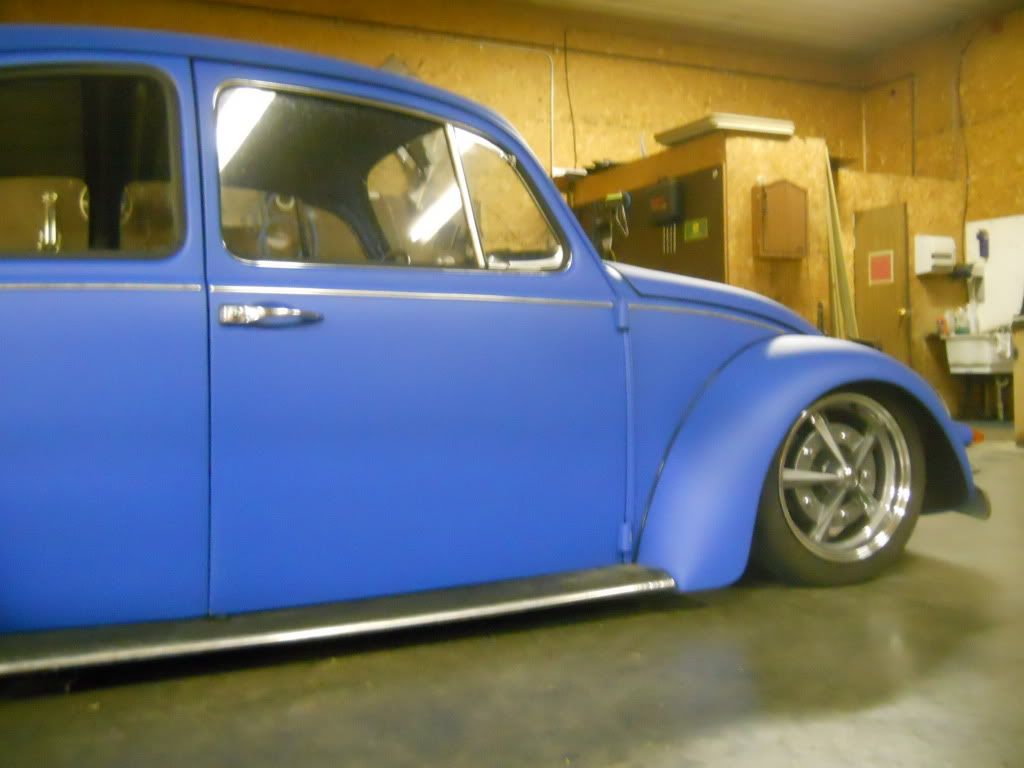
Woody bought a wheel to test fit.  Like?
I got the car back from the media blasters the week after H2O.  I was pretty pissed off the day I picked it up, the owner of Rocky Mountain was kind of a dick and there were a few trouble spots.  Not to mention the cost was 25% higher than the quote :(  A few weeks later, I'm really happy I had it done.  Clean and smooth, inside and out!  Next order of business: fix the rust holes the blasting uncovered.


Back on the jackstands.


Even the insides of the fenders are perfect!

Here is some of the damage I mentioned earlier, after a quick guide coat and blocking.  The C pillar warped a bit.  The low spots are only about 1/16" at the deepest, but the panel has lost its stiffness.  I think it needs shrunk a bit, but I'm not real sure what the hell to do here.

The driver side rocker panel extension also buckled, this is really hard to capture on film but it all needs redone.  And reinforced so it doesn't bend again!  (the little dimple is OEM, that's not the buckled spot)