Wednesday, April 24, 2013

I took a weekend off to visit my college buddies in Los Angeles to compete in the Chumpcar Desert Dysfunction 24-hour race at Buttonwillow Raceway.  It was probably the most awesome experience I've ever had!  It was great seeing some of my old FSAE buddies, and we had a blast.  I didn't sleep much, but what can be more fun than wrenching on a shitty old half-assed racecar in the desert sun?  Nothing.

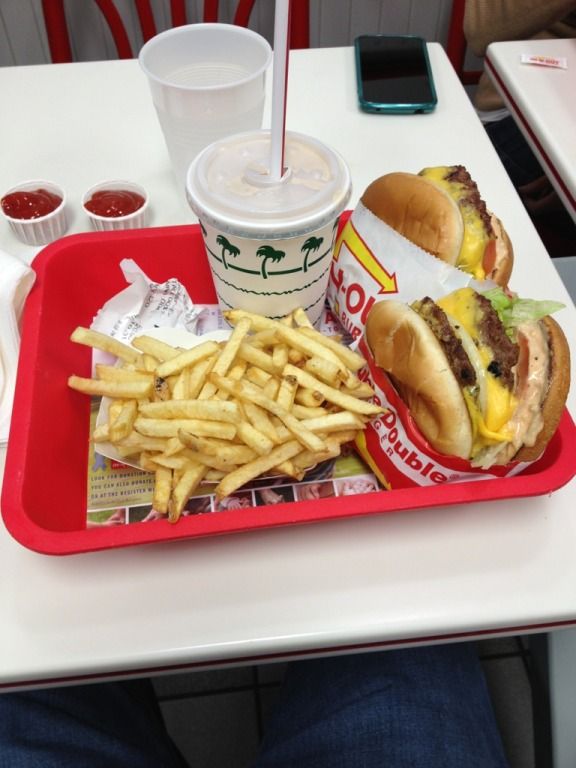
First things first: In'n'Out burger as soon as we left the airport.
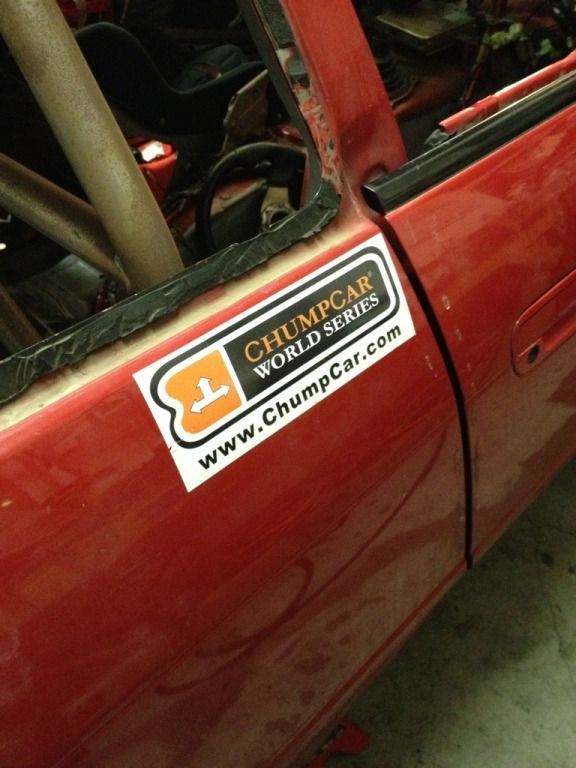
This sticker about sums it up lol.

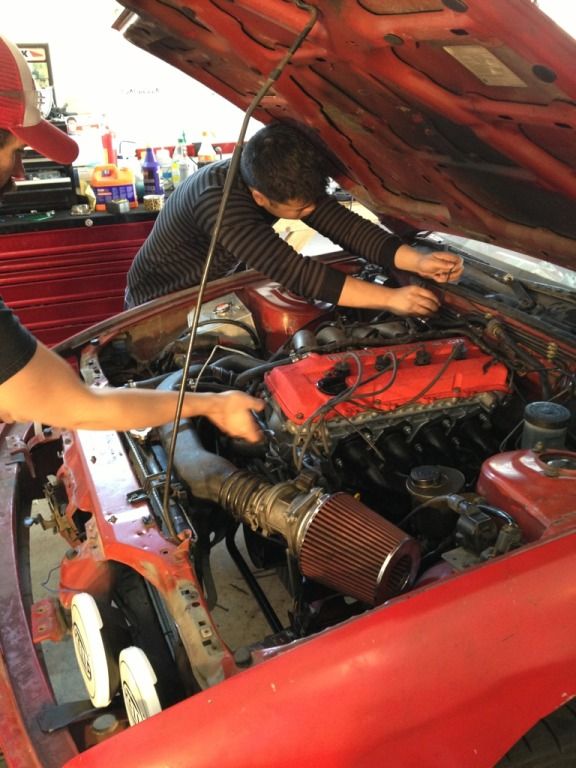
Billy making some adjustments to the headlights, which are required to run through the night.

Am I the only one that welds while on vacation?  Maybe.  I fabbed up the headlight brackets. 

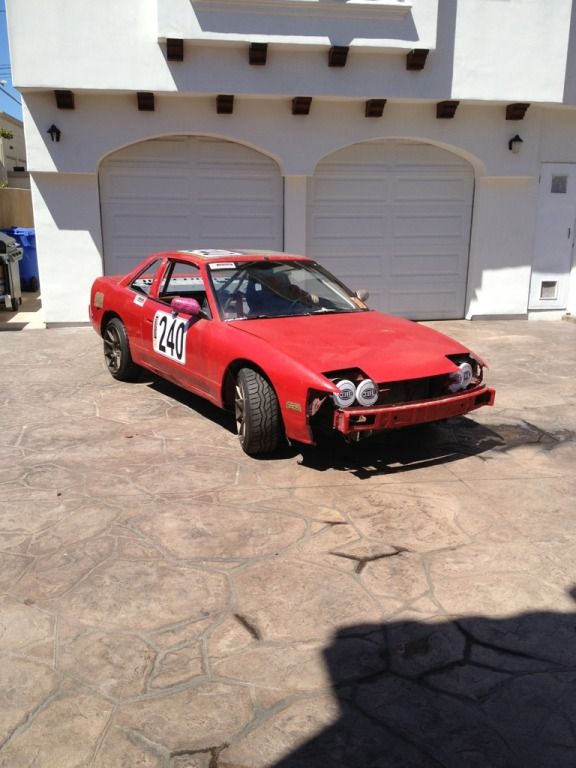
The beast
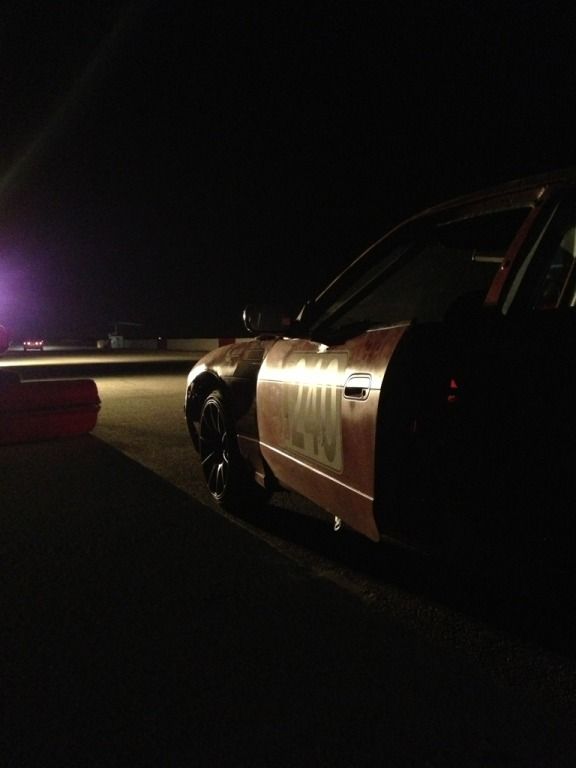
Team Red Rocket is ready to go!

We decided to rent an RV so we could sleep in the paddock.  This is probably the best decision we made all week!  Neel and Jimmy got to drive this beast.

It's about a 3 hour drive from my Billy's house to Buttonwillow.  It's even longer if your transmission overheats.

The fearless pilots.  Nicole looks worried.

Here is some of our competition.  Other than the E46 M3 (which was in the Exception class), it was a bunch of junk.  But nicer than our junk lol.

This E30 had 15,000 race miles on it!  These guys set the fastest lap of the race.... in the dark.

Sunset


An electrical problem had us in the pits through some of the night.  We got back on track just after sunrise.

At 11:00am on Sunday, we took the checkered flag!  We finished 19th out of 29 entries, and were one of only 14 to finish the race.
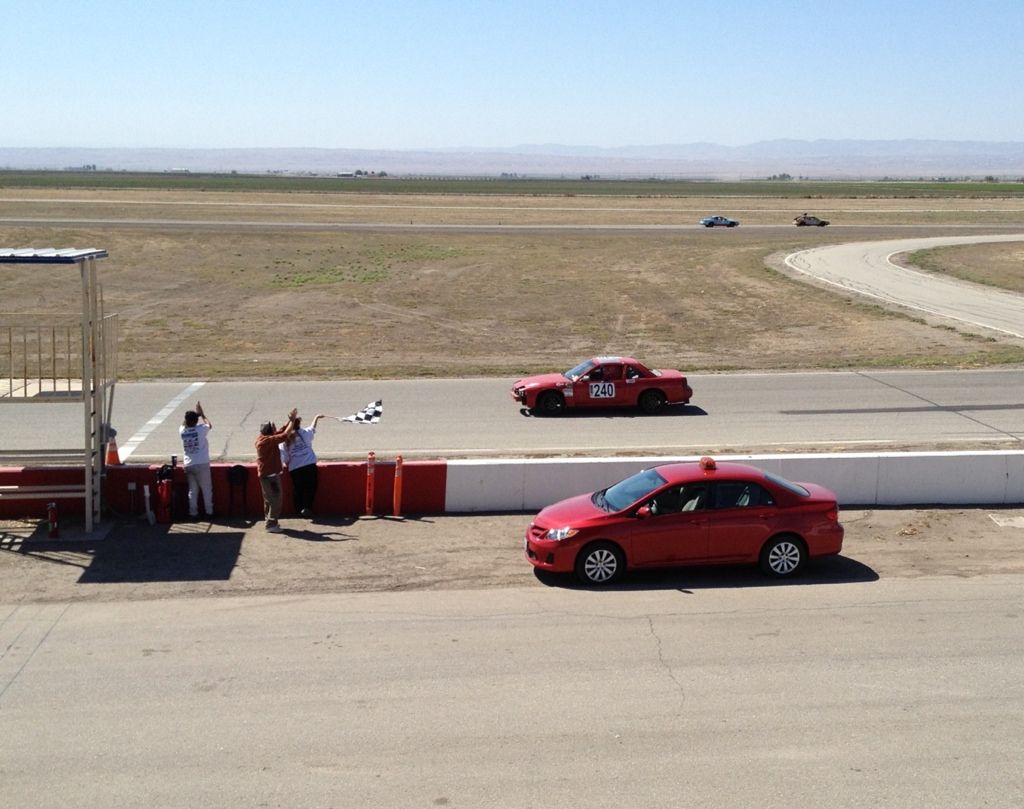
Celebration!

Me, Tom, Neel, Jimmy, and Billy share a smelly, sweaty photo

Back in the 'Burgh, Jimmy and I stopped to give Jason a play-by-play of the weekend.  Work kept him back at home, so he couldn't make the Cali trip this time :(
Back to work. 

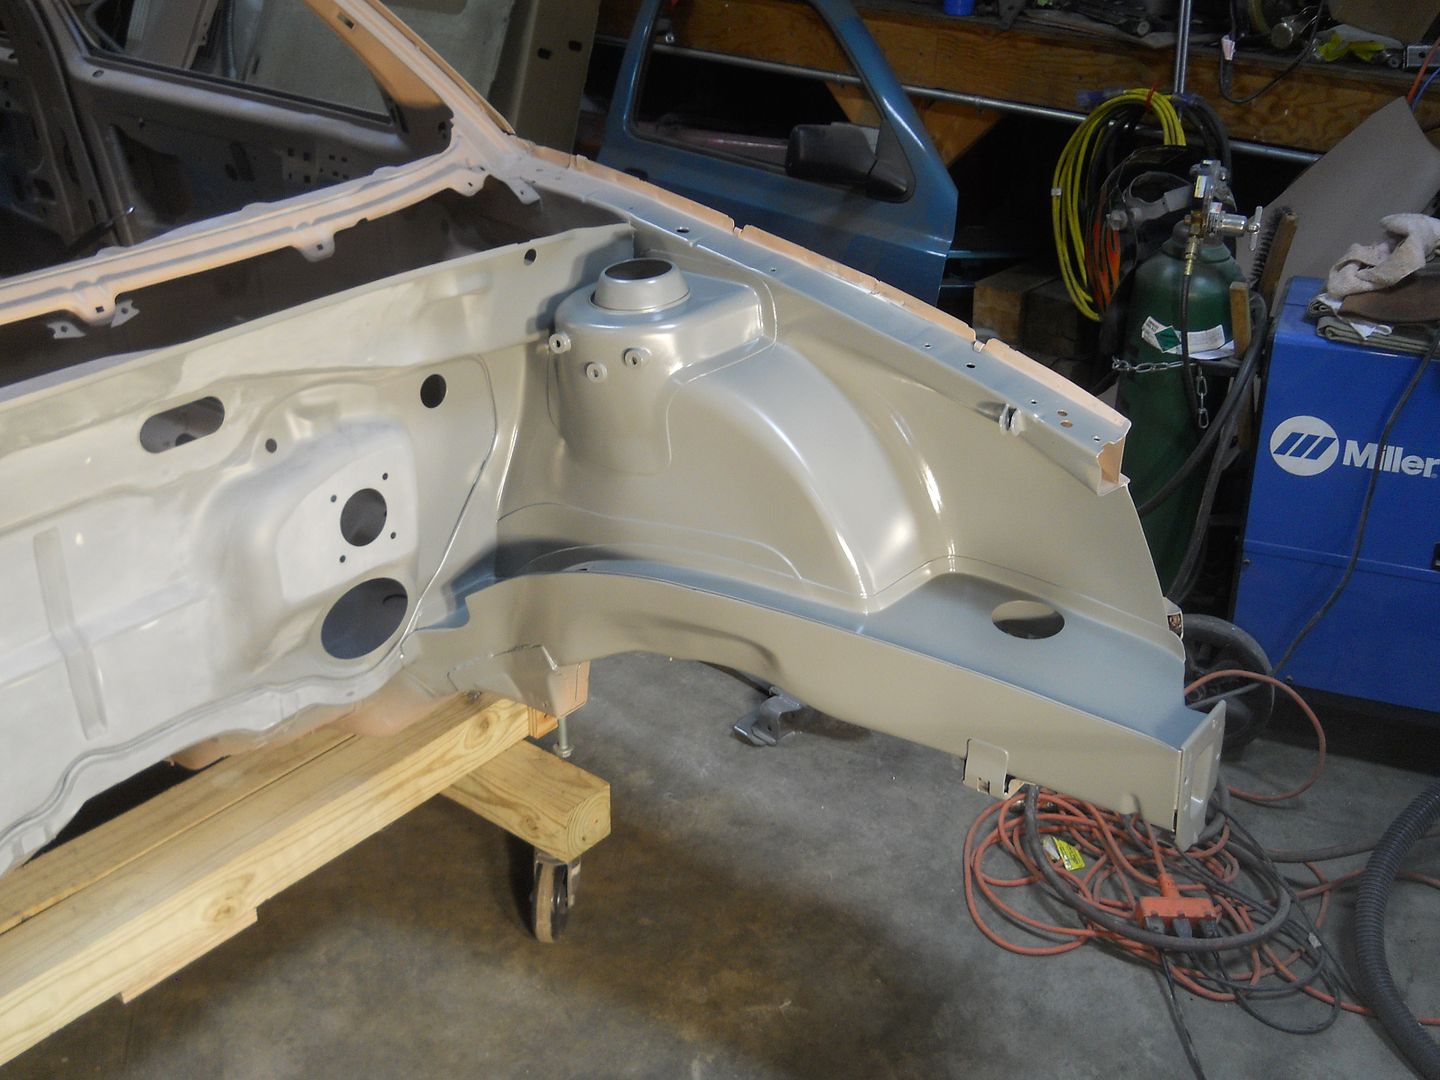
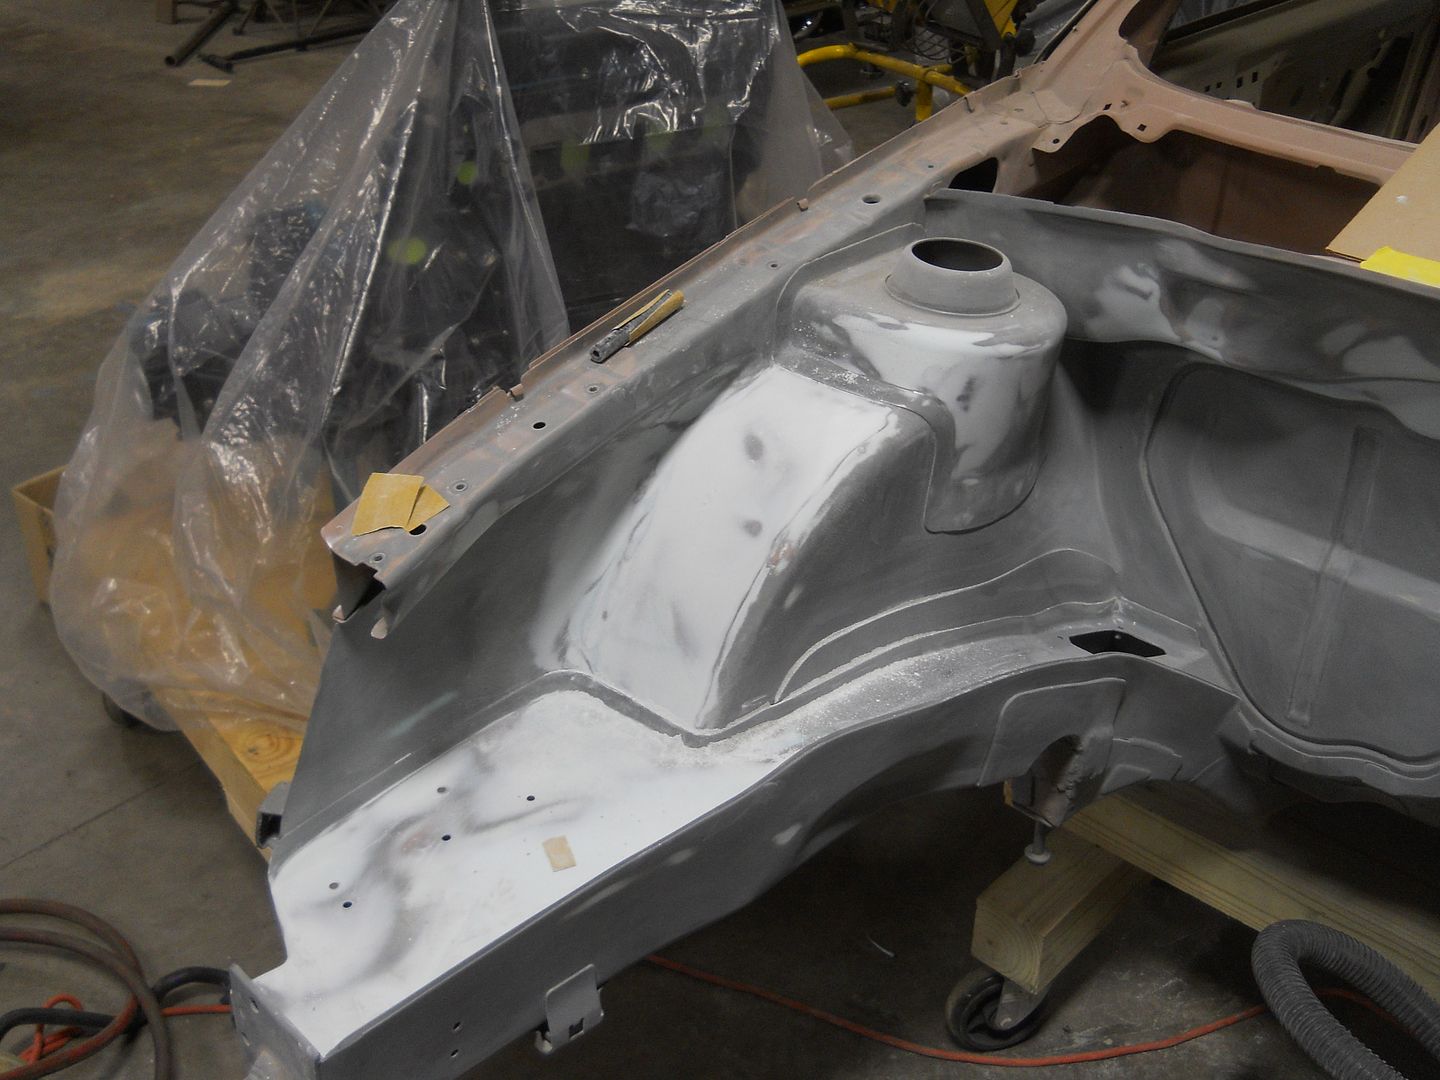
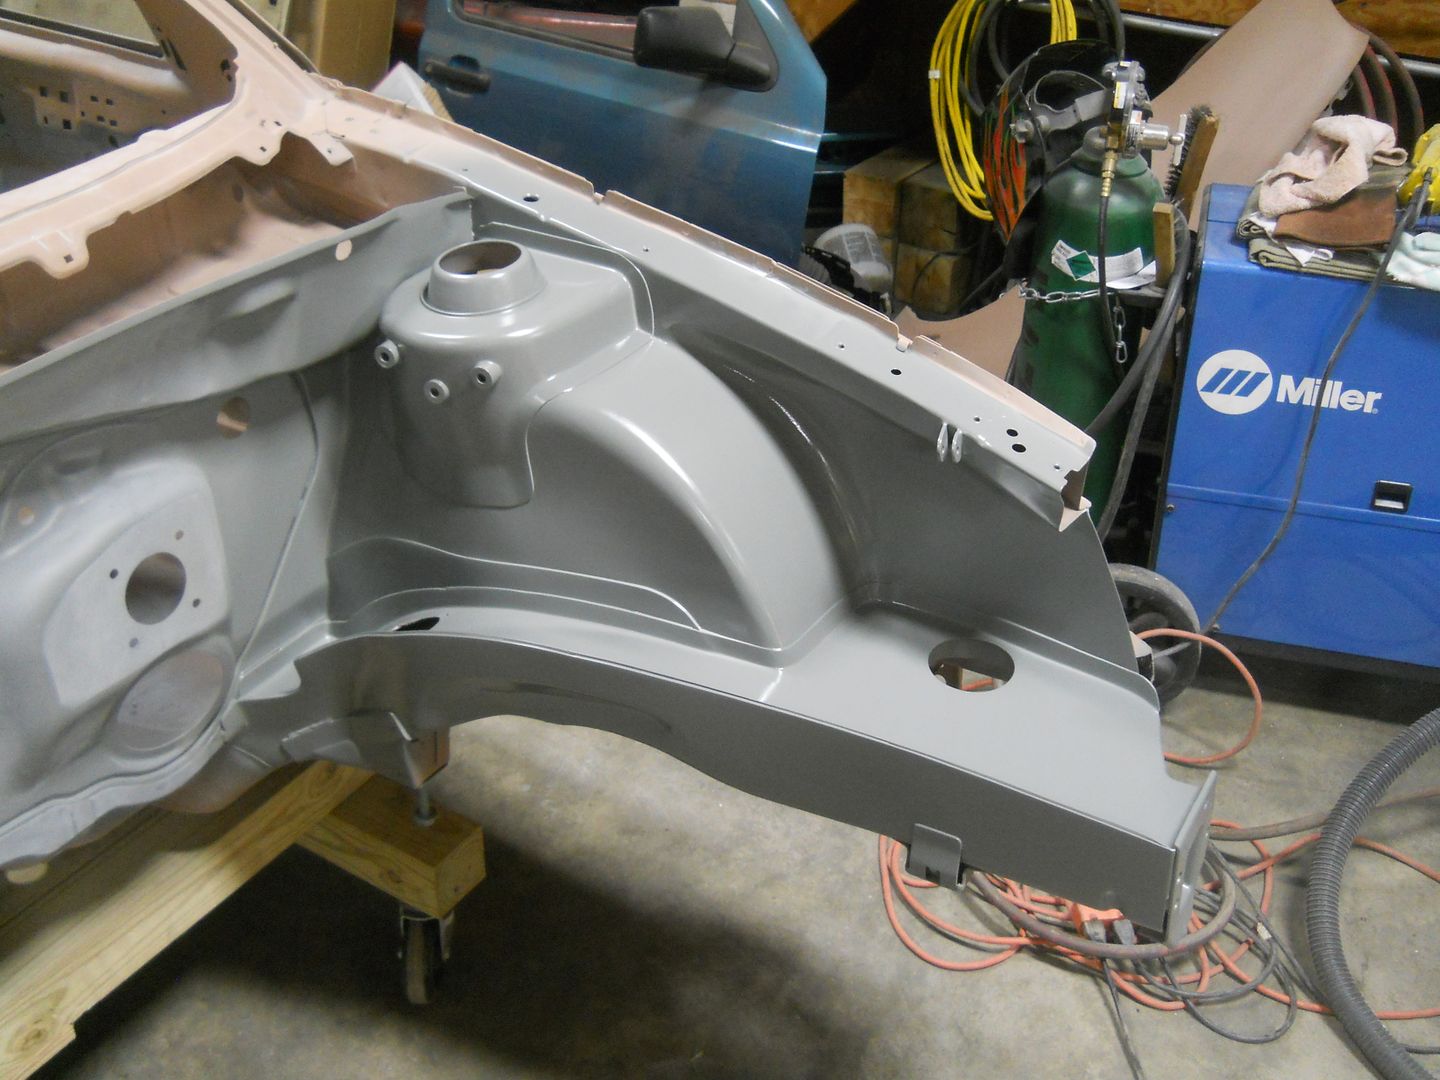
I said the engine bay was ready for primer, but I'm still not happy with the wheel tubs. 

I fashioned this curved round block out of a piece of hose, and that's working a little better.

It's getting closer, but it's still not perfect.  Now that spring is almost here, I can spray primer outside again.
Sunday, April 7, 2013

More sanding.


 I think I finally have the shape of the passenger side wheel tub correct.  The whole bay is sanded to 220 grit, I should be spraying everything with a few coats of urethane primer this week.


I went to visit my buddy Chuck, who is LS-swapping his E36 sedan!  Check it out. http://getoffmylon.blogspot.com/

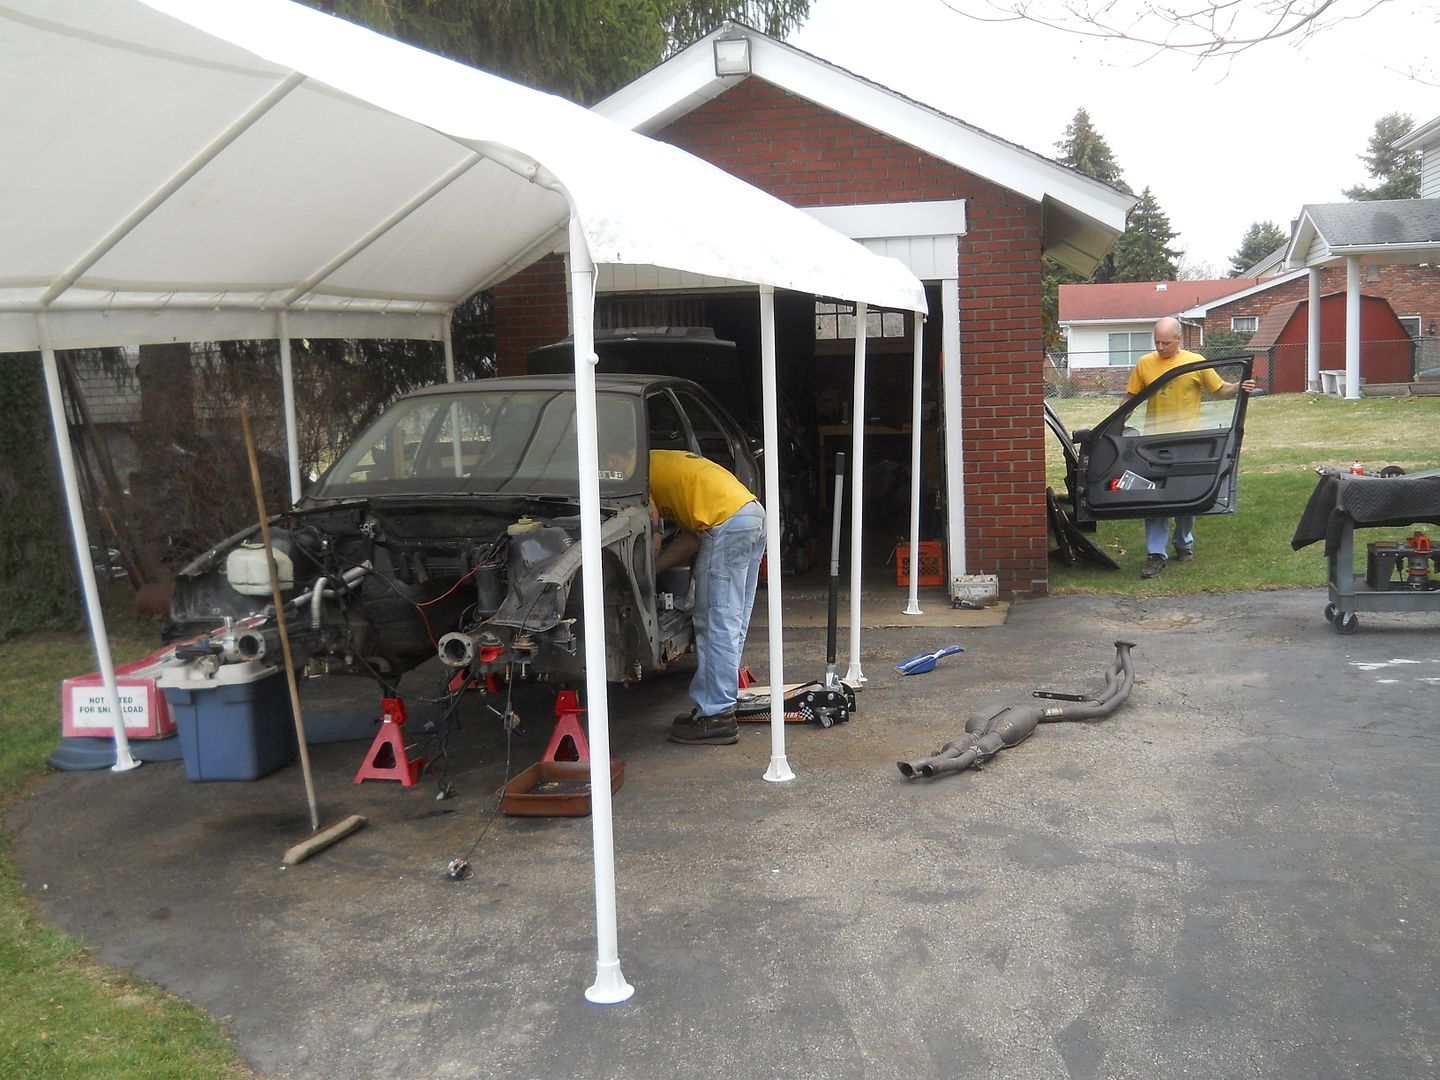
Chuck gets the shell ready for rust repair while Mr. Chuck moves some doors.  I like their uniforms.

There is a lot of rust in his rocker panels and floor.  The car has been in their family since it was basically new, he wants to save it from the junkyard and patch all the issues.  Speaking from experience, it will be a long road!

Sunday, March 31, 2013

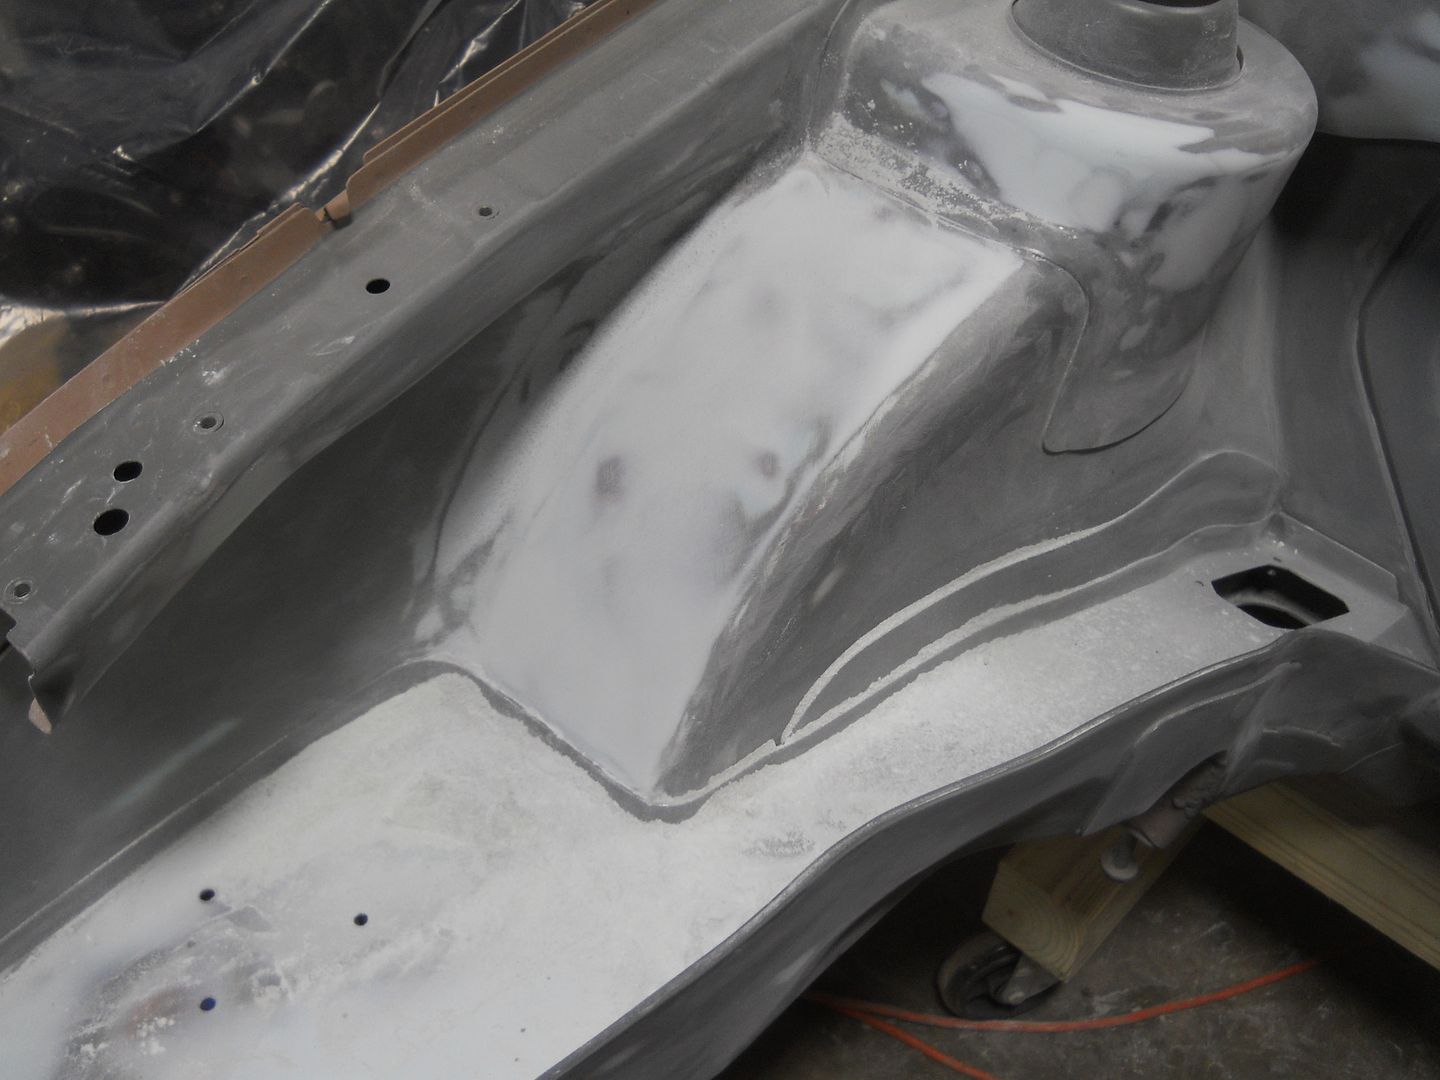
I block sanded the engine bay for a few more hours this weekend.  It's just about ready for a coat of regular urethane primer, except for the area around the passenger side wheel tub (left side of the pic).  I re-coated it a few more times with bondo, and just can't get the shape right.  I'll work on it this week.


I used my truck as a truck for the first time, it's finally past the 500 mile break-in period and I can start hauling shit.  Literally.  800lbs of horse manure for my dad's garden.  Papa Fazz observes as farmer Vinny loads 'er up.

Dave came out this weekend to weld up a gate for his garden using scrap fencing from the trash pile.  Our wild buddy Will showed up to help, we drank unhealthy amounts ofTurner's Tea, welded galvanized bolts to painted steel, and went to 380 Auction and Discount Warehouse - which is the most hilarious hillbilly store you can imagine.  It was an awesome day; except we forgot to take pictures until Dave was loading his old Chevy to leave.
 

Sunday, March 24, 2013

More sanding and bondo touch-ups.  I think the firewall is ready for primer.

The frame rails turned out pretty straight.  They should be perfect after a few coats of primer and more block sanding.

This one looks like it has a big dip in it, but it looks correct in person. 

Thursday, March 21, 2013

I don't have much to report.  I was sick all last weekend, and I have been really busy at work this week.

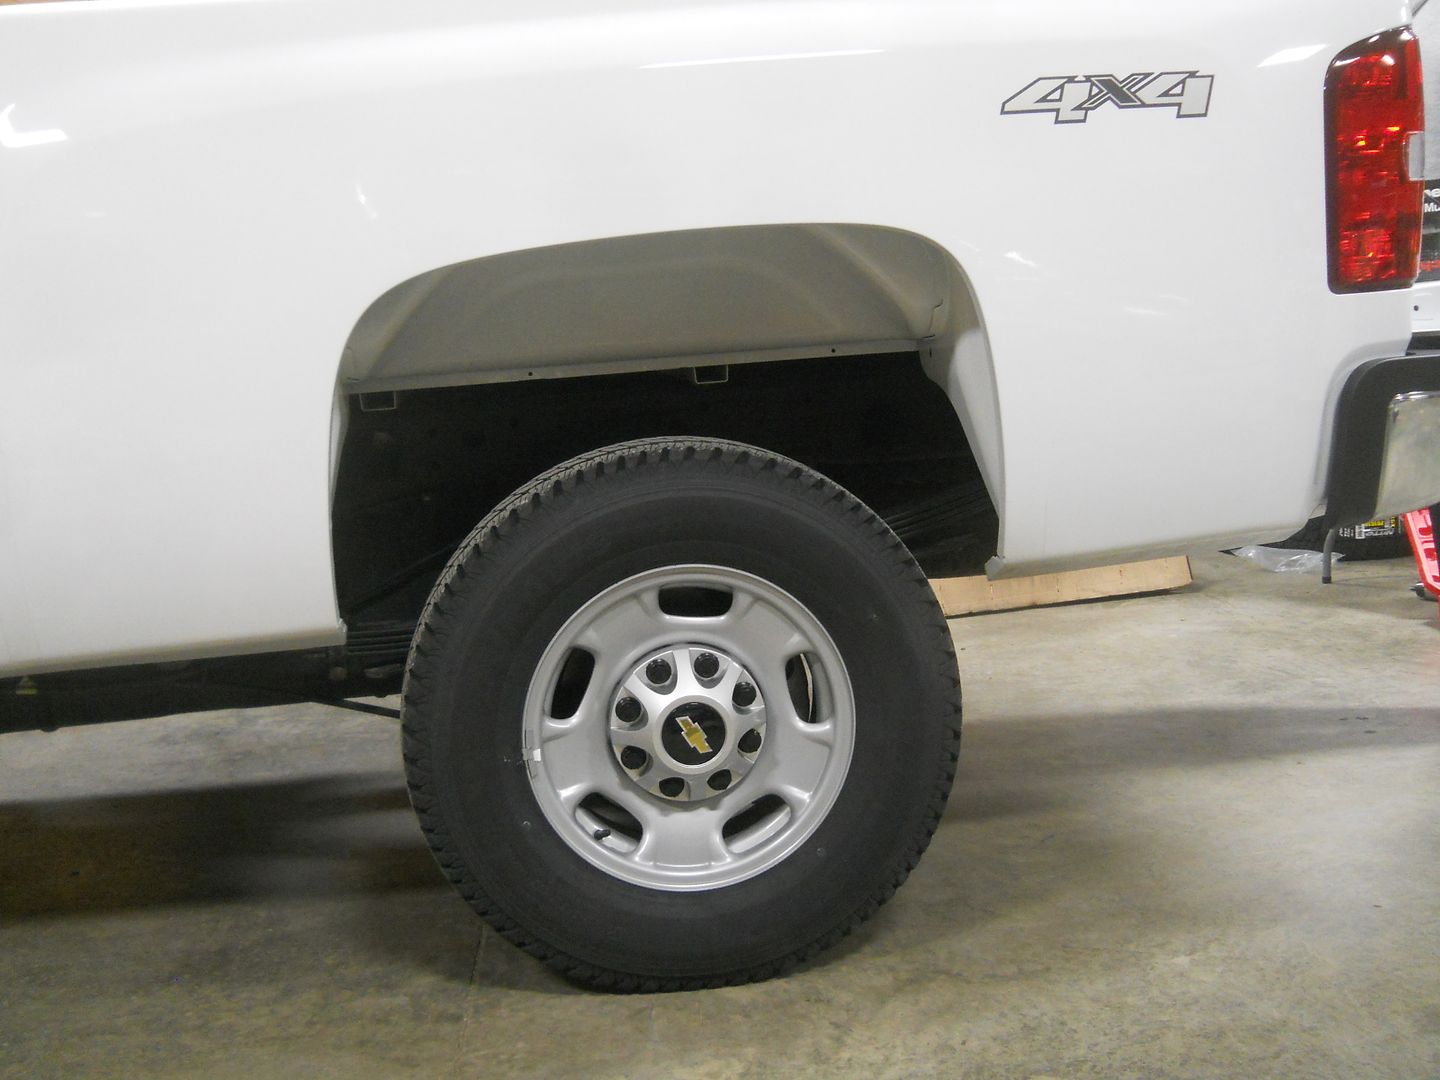
I installed some OEM rear fender liners and Weathertech mudflaps on my truck this week.  I installed OEM Chevy mudfaps on my buddy's truck a while back, and the Weathertech ones are a lot better quality and fit. 

Before:

After:

Monday, March 11, 2013

I spent most of my weekend slaving over broken MK5s.  Last week my interior door pull broke off.


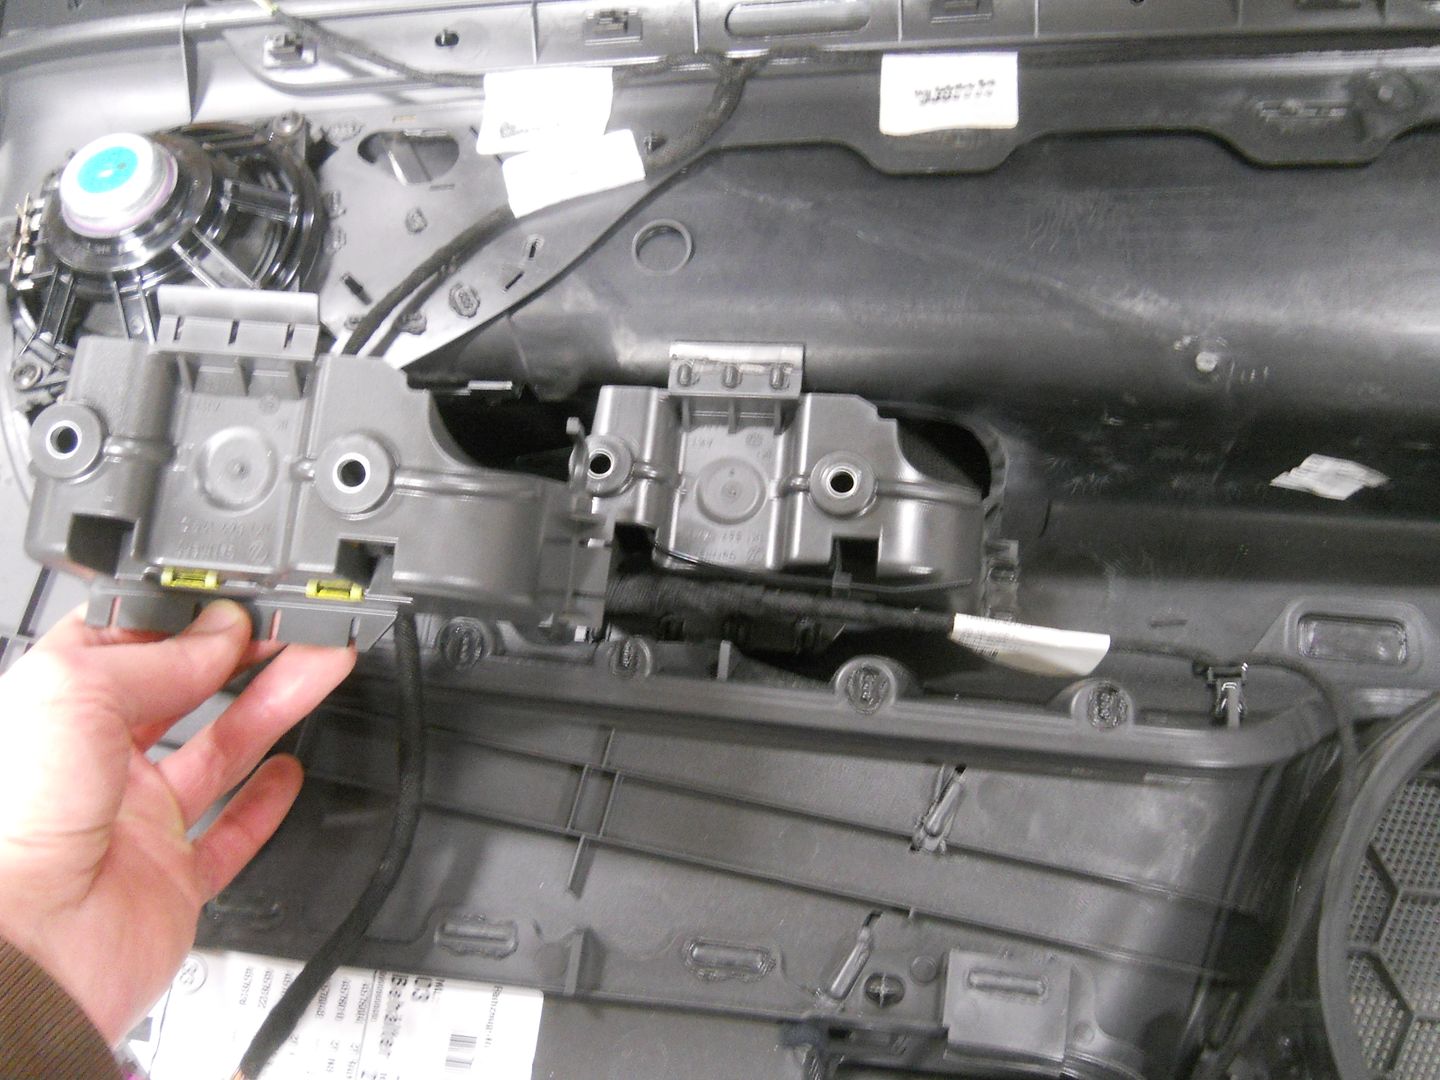
It turns out the door handle is held on by  two tiny plastic hooks.  I was really pissed when I saw how bad the design was.

I was REALLY pissed when I found out the piece is plastic welded to the door panel, and can't simply be replaced.  I was able to order a new piece from the dealer.


These two little hooks are all that hold the door handle on.  It reminds me of cheap toilet paper; the stuff that isn't strong enough to pull off the roll without tearing.


I was able to cut the old piece off.

Some glue and a little bit of plastic welding, and I'm back in action!  Until it breaks again.

I squeezed in a little bit of time on the mk3.  It was a beautiful day, so I did my sanding outside!

I went to see Dave and his buddy at their new shop.  They rent a big 'ol warehouse in the middle of the woods, it was built in the 1930s by the U.S. Government.  It's loaded with badass old American Iron.

This stove was made in the days when men were men.

Flame cut 1/2" steel.  Bad. Ass.

This grinder looks OSHA approved.

I think this compressor was in Saw IV

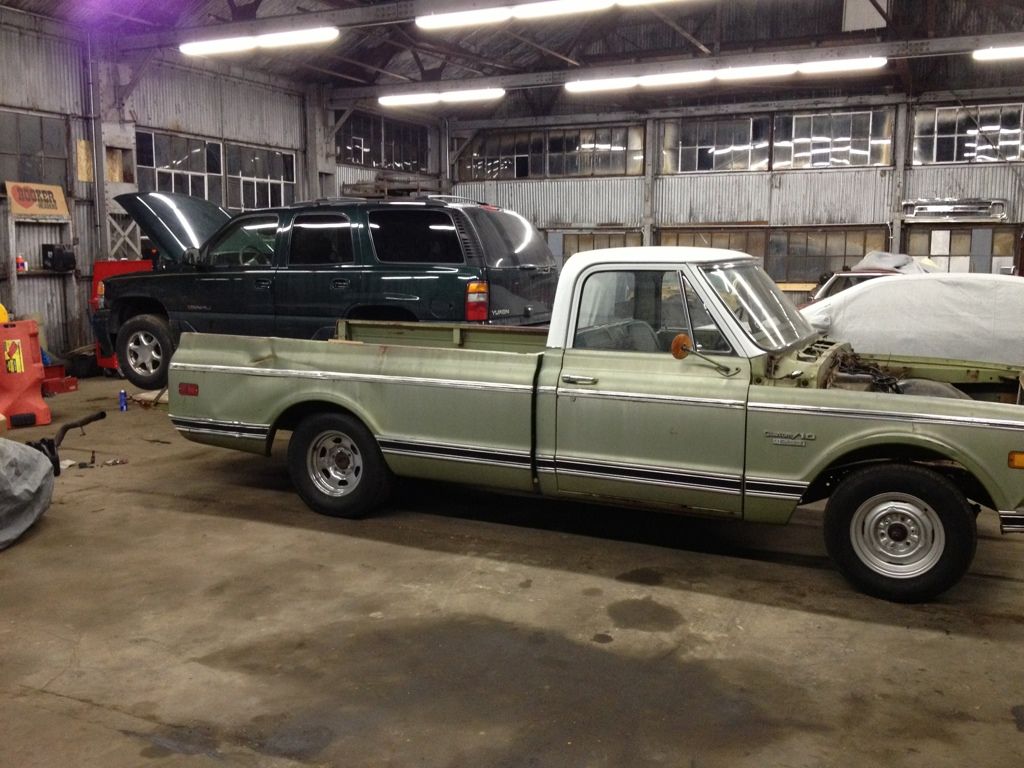
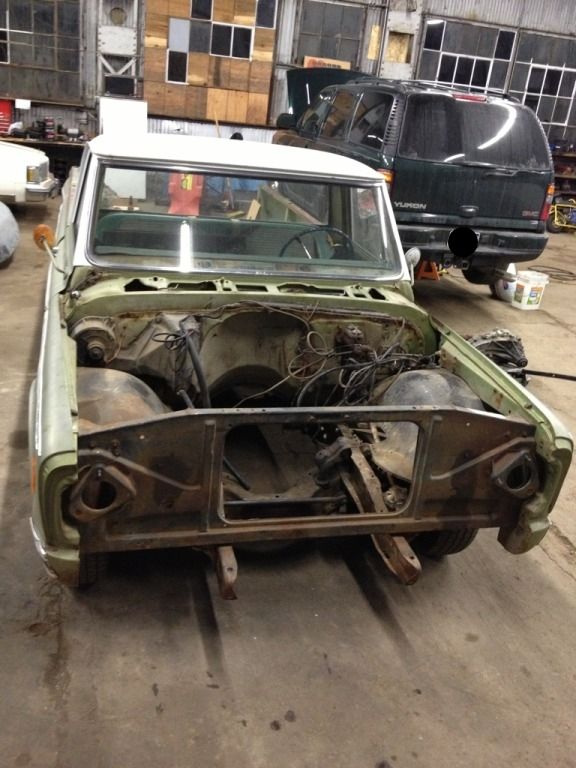
'67 Chevy pickup - the next project after the Denali trans is fixed.

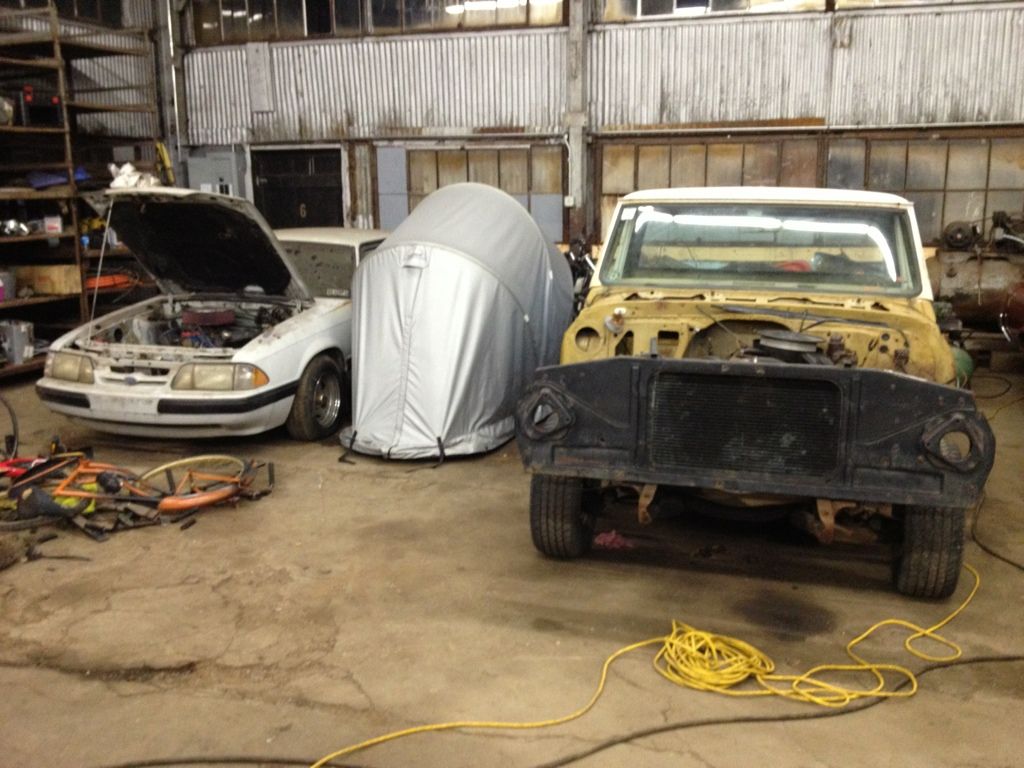
They drove to Ohio a few months back to pick up this parts truck

Loading up the old trans in Dave's pickup.

Dave on the right, and Ian - the mad scientist who runs this operation - on the left.

Monday, March 4, 2013

More putty, more guidecoat.


The first gallon is gone!  I'm switching from Evercoat Rage Extreme to Evercoat Quantum1.

Primer!  I sprayed epoxy primer (PPG DP40LF) on the driver side of the engine bay.  Now the whole bay is in epoxy primer.  Next steps: touch-ups with putty, high-build primer, more touch-ups (if necessary), then sealer, then wetsand, then color!

The Busch Light wasn't mine.


More putty

Woody Sr. got himself a new project this week.  2013 Harley Davidson Road Glide.  It will be sawed in half next week.