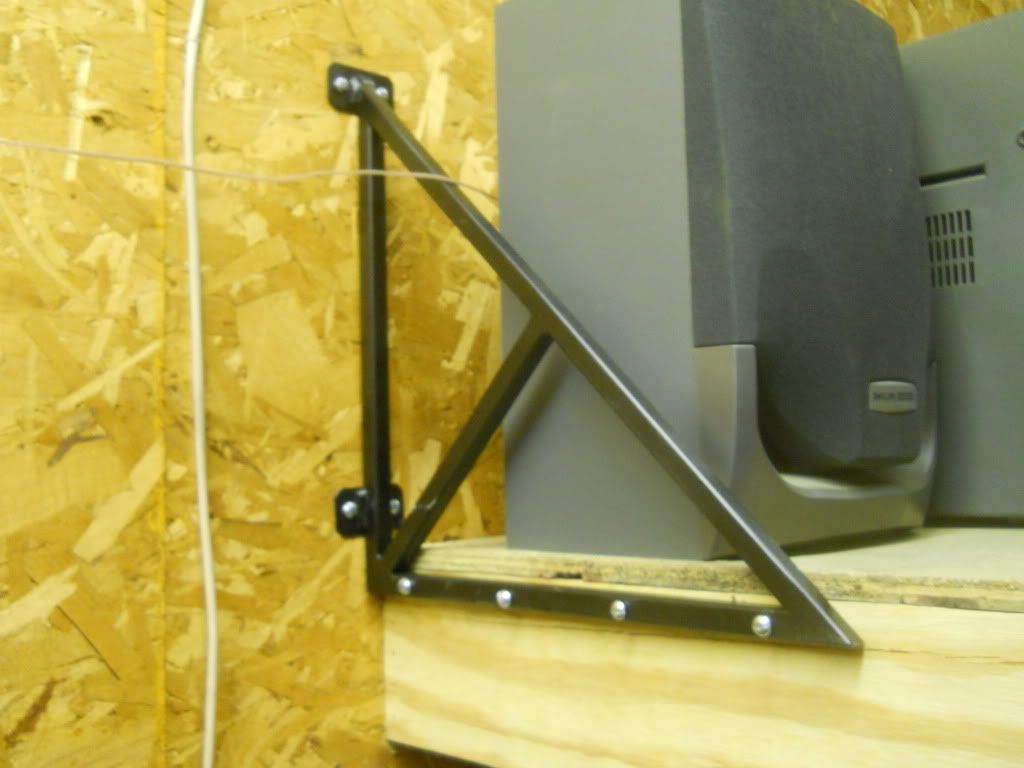
Some things had to move to make room for the lift, and the shelf that held the stereo was removed. This was the makeshift solution.
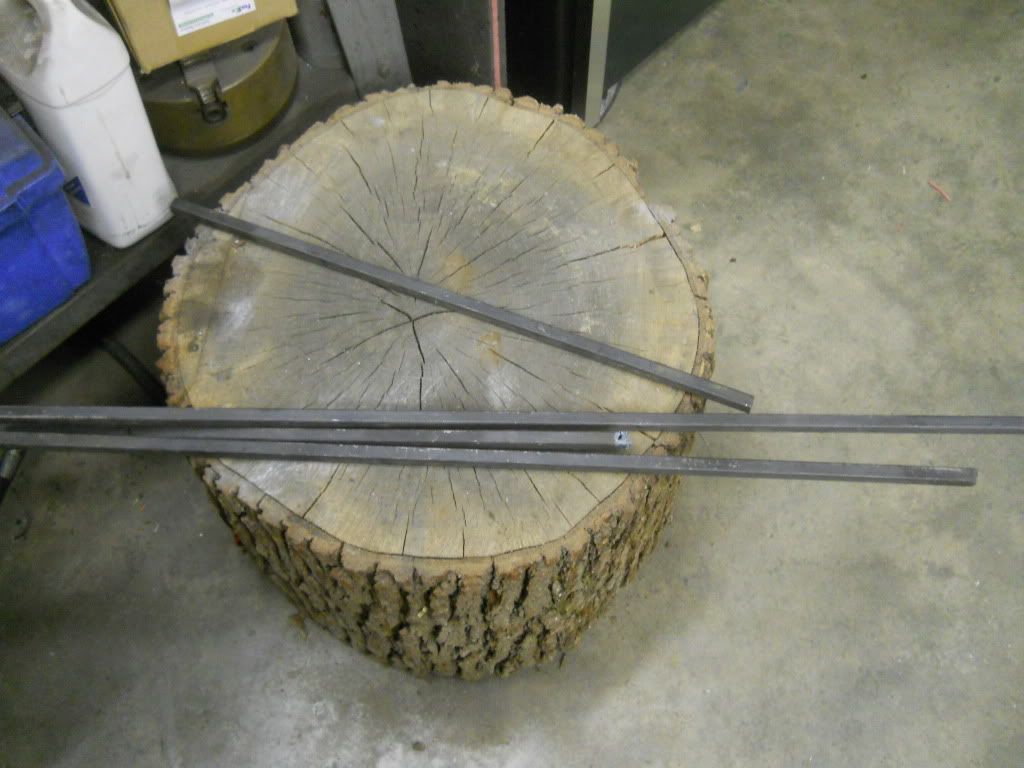
I had some scrap 1/2" square tubing laying around that I salvaged during the cleanup, I decided to make a shelf bracket out of it.
As usual, things got a little out of hand. I could have bought this for $3 at Target, but made it myself instead!
Done. The woodwork and paint are both a little sloppy, but I'm happy with it.
Sunday, January 8, 2012
We worked on the 2-post lift again on Saturday. The next step is drilling 12 anchor holes, 3/4" diameter and 4" deep into the concrete. We need to borrow a rotary hammer, or get a good bit for my Milwaukee hammerdrill.
Warning: do not stand on forks.
Nice view up from the top of the forklift.
I made this little holder for my extractors.
Warning: do not stand on forks.
Nice view up from the top of the forklift.
I made this little holder for my extractors.
Thursday, January 5, 2012
I think i corrected the comment settings. Now anyone with a Gmail account should be able to post comments. I think. I really have no idea what the fuck I'm doing.
I figured I would start 2012 by welcoming myself into 2008! P.S. I have a working phone again for those of you who haven't been able to call for 4 weeks. Iphone 4s
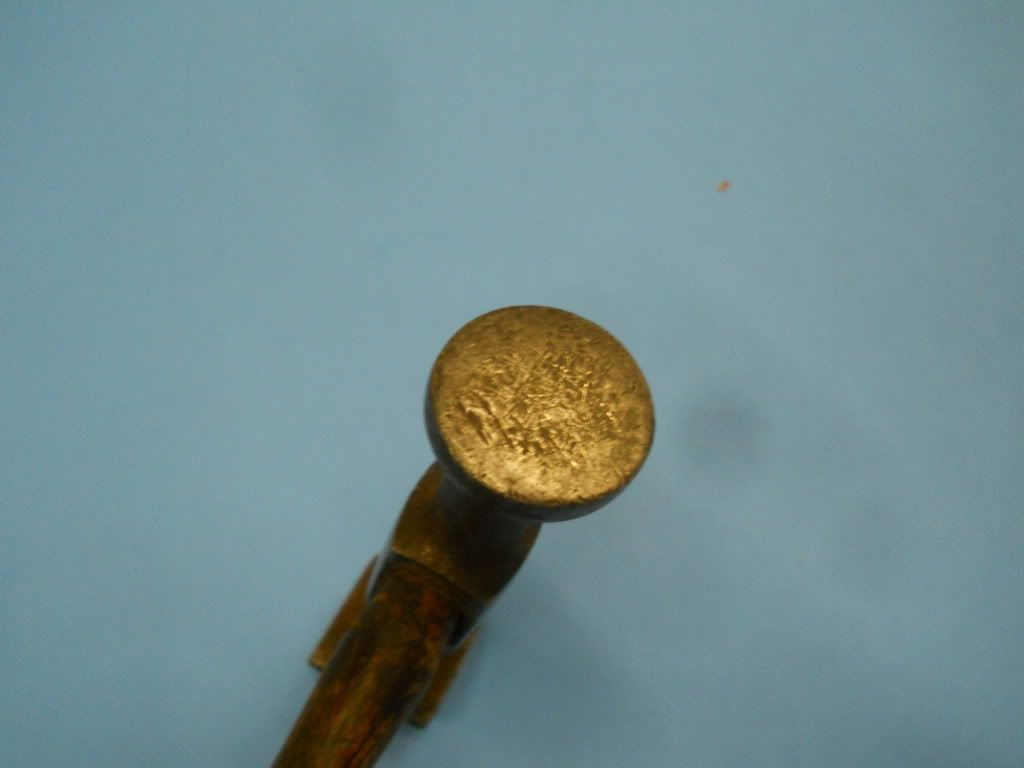
I worked on another hammer tonight. I ordered a new handle for this a few weeks ago, and the first one came in warped from Snap-on. They were really helpful and sent another one right away, but the holidays slowed the shipping.
I bought this hammer on Ebay, it's an old Blue Point BF612. It had the original handle that was in usable condition, but I decided to go for the "restomod" look to match my other hammers because I'm insane.
The handle on this one needed a lot of shaving, I think the eye is smaller in the older Blue Point heads.
Tapped the wood wedge in and ground it flush
I decided to use one steel wedge on this hammer because the fit was so tight. Here is a comparison against a Snap-on BF618B factory assembled hammer.
Done.
Here it is next to a 1967 Snap-on BF615 hammer, resored by Hammer1963 on the garage journal forums. The forgings are very similar, if not identical.
This will be a nice hammer for light bumping near edges, since the faces are much smaller than most fo the other hammers.
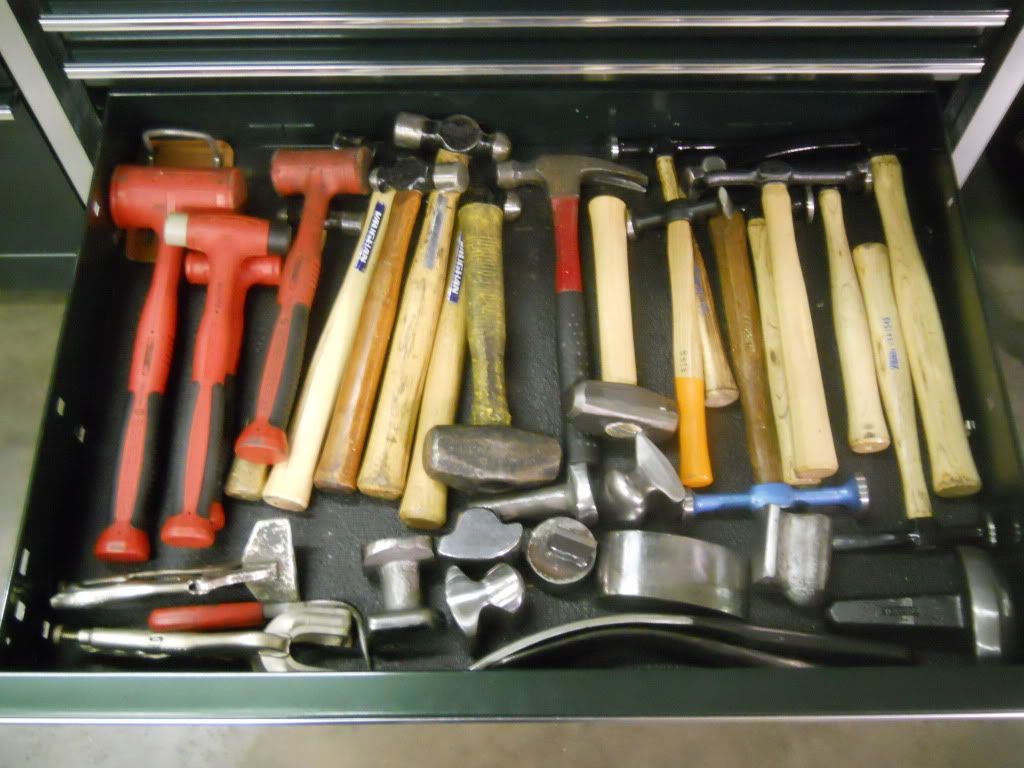
The hammer drawer spilled into a second hammer drawer with the new toolbox addition.
I bought a few plastic bins for organizing the new top chest. This purchase was easy on the budget!
LA's Totally Awesome is totally awesome.
They really helped clean up a few of the drawers.
I figured I would start 2012 by welcoming myself into 2008! P.S. I have a working phone again for those of you who haven't been able to call for 4 weeks. Iphone 4s
I worked on another hammer tonight. I ordered a new handle for this a few weeks ago, and the first one came in warped from Snap-on. They were really helpful and sent another one right away, but the holidays slowed the shipping.
I bought this hammer on Ebay, it's an old Blue Point BF612. It had the original handle that was in usable condition, but I decided to go for the "restomod" look to match my other hammers because I'm insane.
The handle on this one needed a lot of shaving, I think the eye is smaller in the older Blue Point heads.
Tapped the wood wedge in and ground it flush
I decided to use one steel wedge on this hammer because the fit was so tight. Here is a comparison against a Snap-on BF618B factory assembled hammer.
Done.
Here it is next to a 1967 Snap-on BF615 hammer, resored by Hammer1963 on the garage journal forums. The forgings are very similar, if not identical.
This will be a nice hammer for light bumping near edges, since the faces are much smaller than most fo the other hammers.
The hammer drawer spilled into a second hammer drawer with the new toolbox addition.
I bought a few plastic bins for organizing the new top chest. This purchase was easy on the budget!
LA's Totally Awesome is totally awesome.
They really helped clean up a few of the drawers.
Wednesday, January 4, 2012
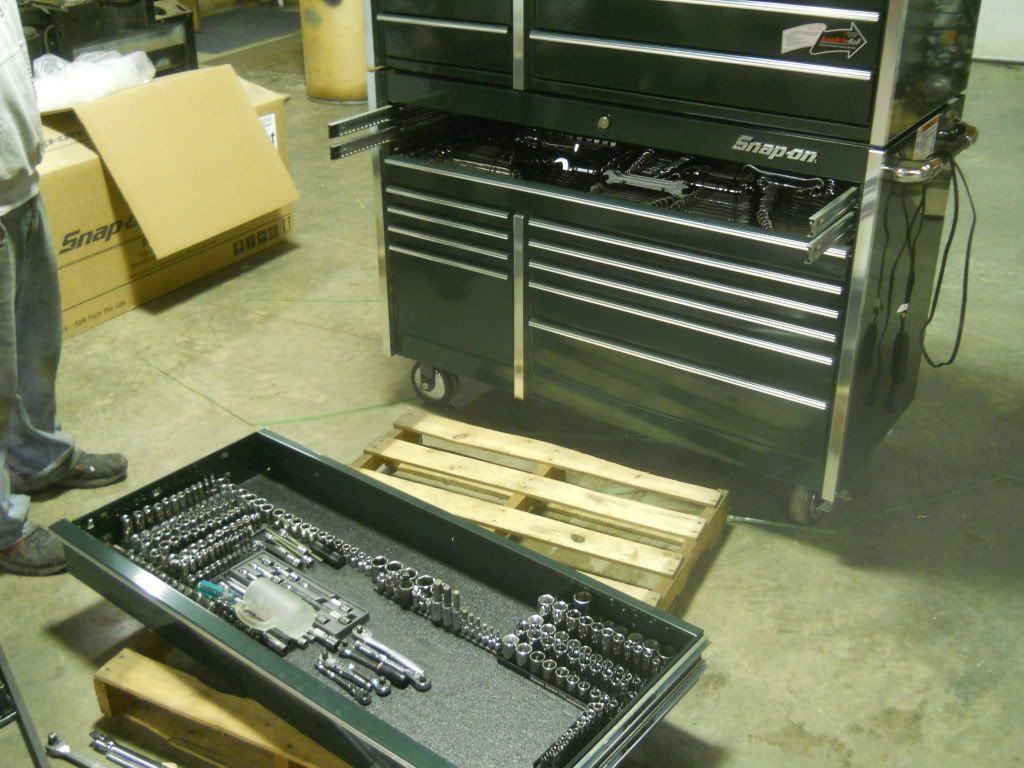
The Snap-on man brought a new toy tonight!
KRL791APAW top chest, in Green Mica to match my roll cab.
The bolts go up from the bottom, you have to remove the top drawer of the roll cab to gain access.
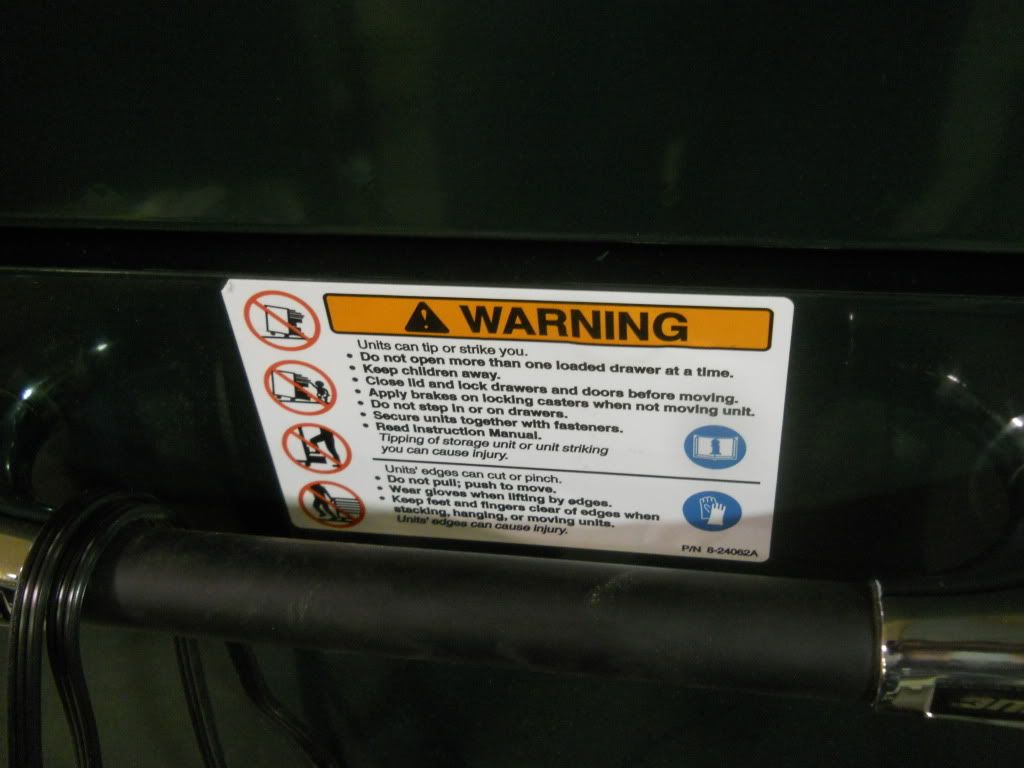
Warning: stickers are stupid.
After some work with the heat gun and some sticker remover, it looks clean now.
KRL791APAW top chest, in Green Mica to match my roll cab.
The bolts go up from the bottom, you have to remove the top drawer of the roll cab to gain access.
Warning: stickers are stupid.
After some work with the heat gun and some sticker remover, it looks clean now.
This was my old setup. The Craftsman lower will now be the lathe toolbox, the Craftsman ball bearing 3-drawer will be filled with hardware, and the Craftsman 8-drawer top chest will get a rest after 8 years of service.
The new setup, parked in its new home.
The lock only opens the top, there is a lever inside that locks the drawers. I thought that was interesting.
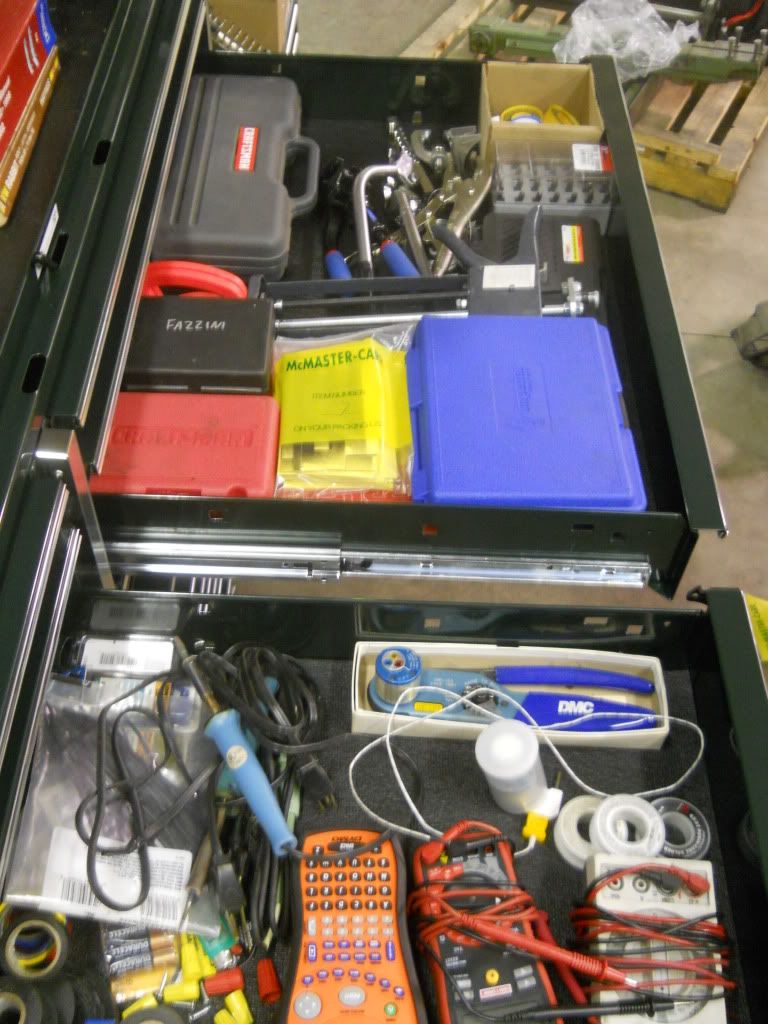
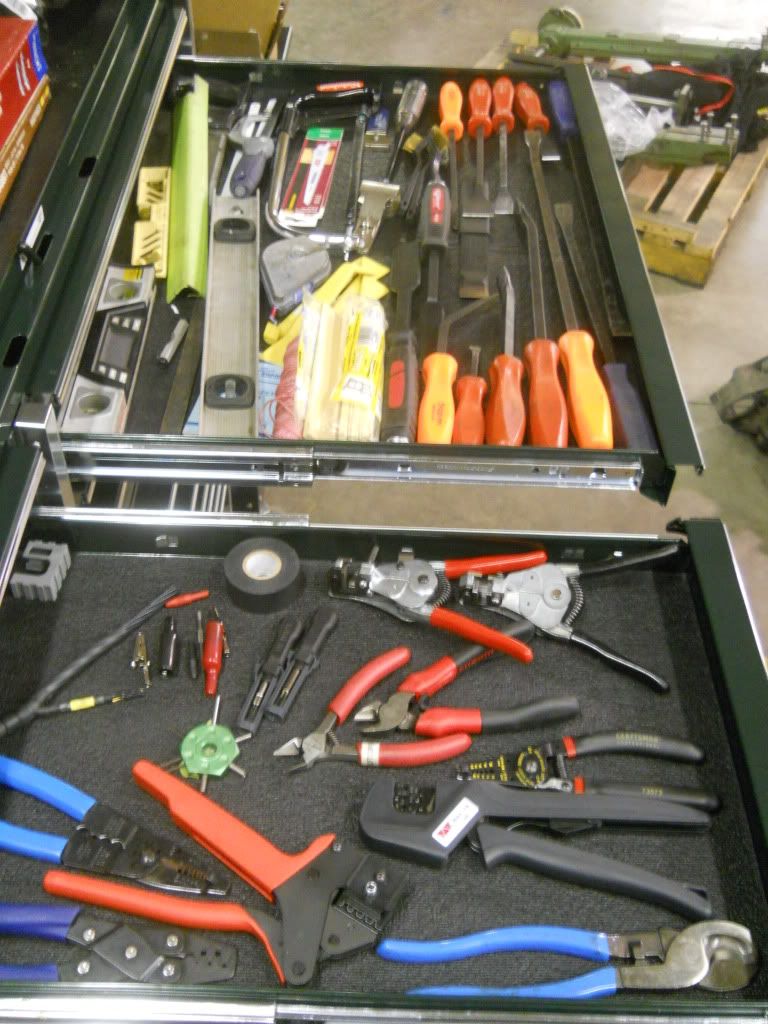
It's just about filled up, but I need to get it organzied. I'm sure things will move around a few times.
The roommates also got a new toy. Today was an expensive day!
Monday, January 2, 2012
I got this Craftsman jack for Christmas 2002. It has been degrading for a while, and finally quit working a few months ago. I started to tear it down to see if there was anything I could fix. Most of the seals and all of the shafts are grooved or torn, I don't think it's worth fixing :(
Don't adjust these.
This part required two men, two beers, and two huge breaker bars. We conquered it.
This is how it sits now, it might go to the scrap heap since aluminum prices are up.
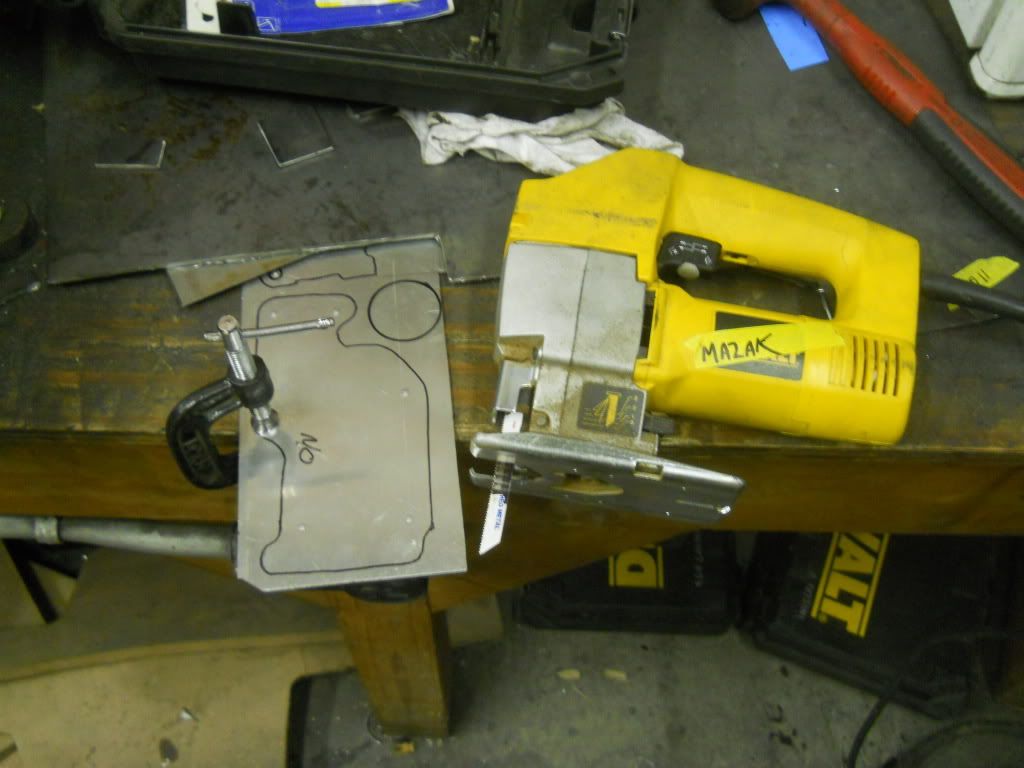
The next step is preparing the engine block for paint. I need to wire wheel all the rust off, but the internals are still in the block, so I need to mask everything off. Instead of using tape, I decided to make aluminum blockoff plates that I can use with a gasket to keep dust and metal chips out of the oil passages.
Template out of tape:
Cut along the dirt lines
The nice thing about using tape is that you can stick it right on your material after cutting out the shape.
After a considerable amount of filing and adjusting, it fits! One hole needs slotted out a bit, but the shape is pretty close.
Don't adjust these.
This part required two men, two beers, and two huge breaker bars. We conquered it.
This is how it sits now, it might go to the scrap heap since aluminum prices are up.
The next step is preparing the engine block for paint. I need to wire wheel all the rust off, but the internals are still in the block, so I need to mask everything off. Instead of using tape, I decided to make aluminum blockoff plates that I can use with a gasket to keep dust and metal chips out of the oil passages.
Template out of tape:
Cut along the dirt lines
The nice thing about using tape is that you can stick it right on your material after cutting out the shape.
After a considerable amount of filing and adjusting, it fits! One hole needs slotted out a bit, but the shape is pretty close.
Sunday, January 1, 2012
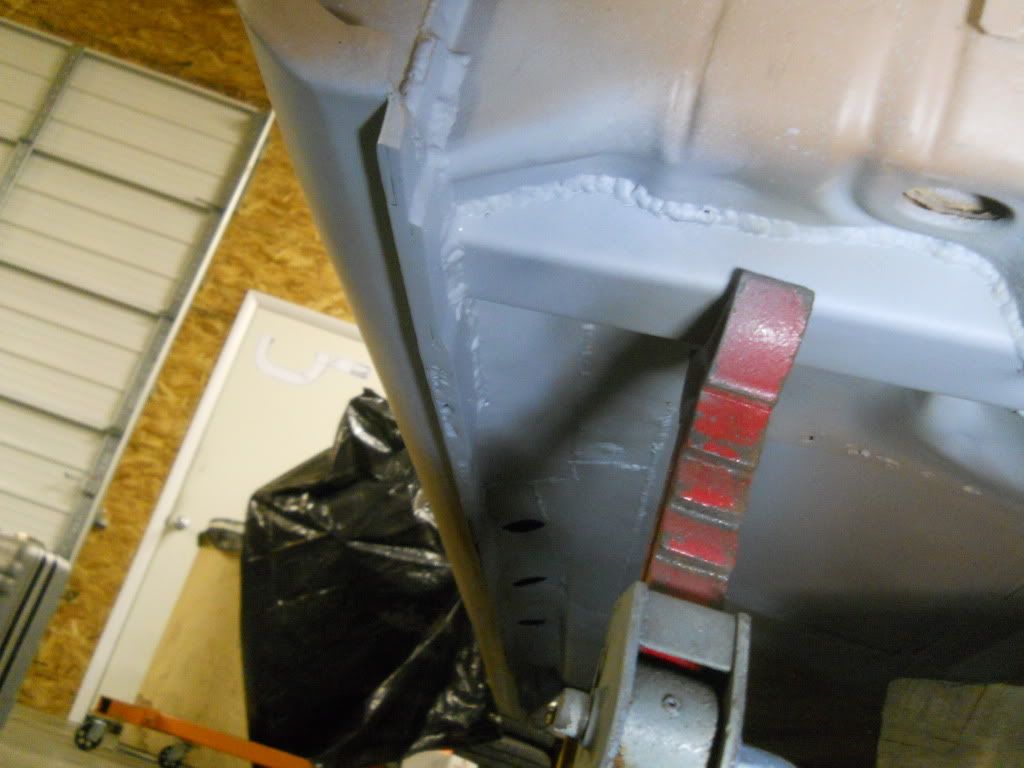
I finished up the reinforcing the rockers tonight, I added this last piece of 1/8" steel to the passenger side rocker. All 4 jack points are now at least 2 layers of 1/8" steel.
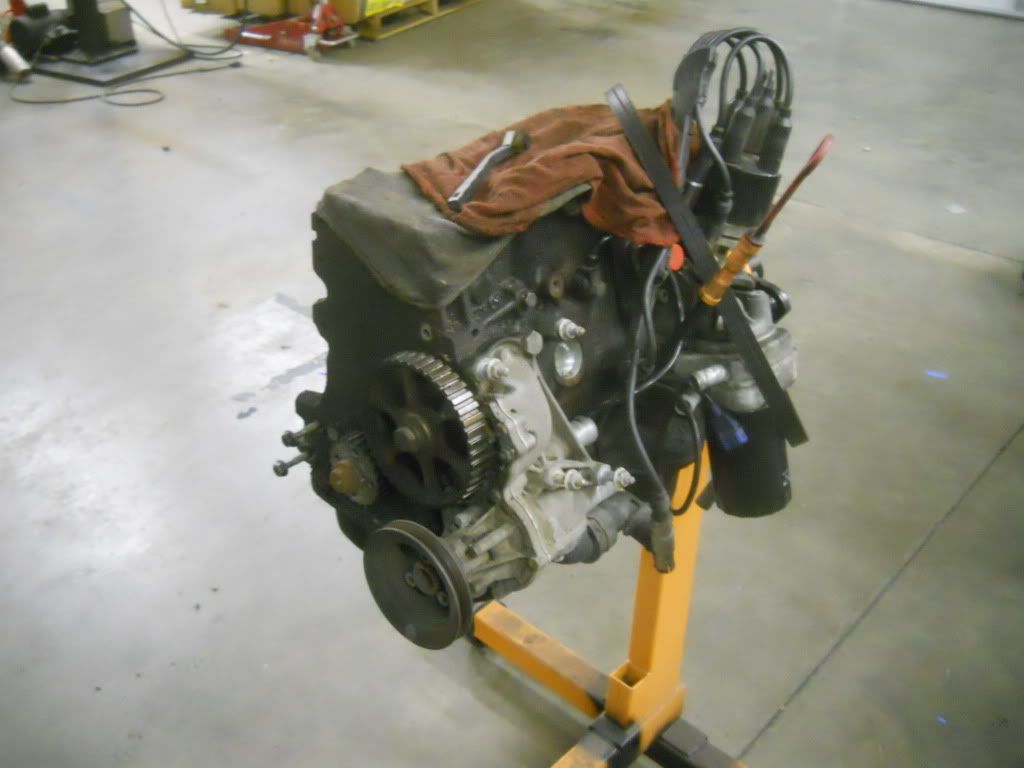
I decided to take a break from bodywork and work on prepping and painting the engine, suspension parts, and engine accessories. I started with working on the block again tonight, I unwrapped it and removed the last couple components.
See the paint color on that toolbox in the background?? Awesome.
Subscribe to:
Posts (Atom)